
Cross Hypervisor Migrations KB ID 0001925
Problem
At a time where a large slice of the community is moving away from VMware, my employer finds itself with a situation where it needs to migrate TO VMware (from Openstack KVM. We need to retire this platform and the customers we have on it, we are hoping will move to our VMware/NSX based IaaS platform.
In recent years we have faced challenges with potential customers who were on competitors systems and they had no access to the underlying hypervisor. Which is normal, we would not let a client loose on our multi tenanted systems.
So your choices are either;
- Build new VMs and migrate the data/applications, (best option for the providers, but needs professional services and tech savvy.
- Migrate the VMs from the old hypervisor to the new one, (great if there’s a tool, or a simple/quick way to convert the VMs.
Some clients simply will not entertain the risk of building from scratch so a migration approach is needed, but here’s the problem, in our case not a lot of replication/migration solutions support the source hypervisor (it’s running Openstack KVM on CentOS7). We can take all the source hard drives, copy them to the destination, and convert the drives from qcow to vmdk then import them into VMware but then there’s problems with volume sizes and the process is NOT QUICK. The sheer amount of downtime needed was impractical and not a pill the client want to swallow.
So if you need a solution where you have no access to the underlying hypervisor, and you want to preserve the source VMs you have two choices.
- Use an agent based migration tool, (there used to be a lot of them but now the only serious player is Carbonite which has gone through several software owners and currently marketed by Opentext.
- Use a backup and recovery procedure, that can target the source VM directly.
In the end we settled for the agent based solution, but I was still interested to work out how difficult this would be with my usual backup weapon of choice (Veeam Backup and Recovery).
Solution: Cross Hypervisor Migrations
Disclaimer: I’m going to use Proxmox as the source hypervisor (because I don’t want to build Openstack on an old version of CentOS, And I KNOW Proxmox is supported as a hypervisor in Veeam!) This process is to highlight the process IF Veeam does not have access to the source Hypervisor to perform Cross Hypervisor Migrations, I’m simply using backup agents. So the source can be ANYTHING if we have administrative access to the source machine. Even if that source machine is a physical server.

Before we start, at this point I have Veeam Backup and Recovery deployed, licensed and it has been connected to the destination Hypervisor (VMware vSphere). It also has an appropriately sized backup repository.
Veeam Deploy Agents (Cross Hypervisor Migrations)
Our first task is to deploy the Veeam Agent(s). Inventory > Physical Infrastructure > Create Protection Group. Add in the source VM either by IP address or DNS resolvable name.
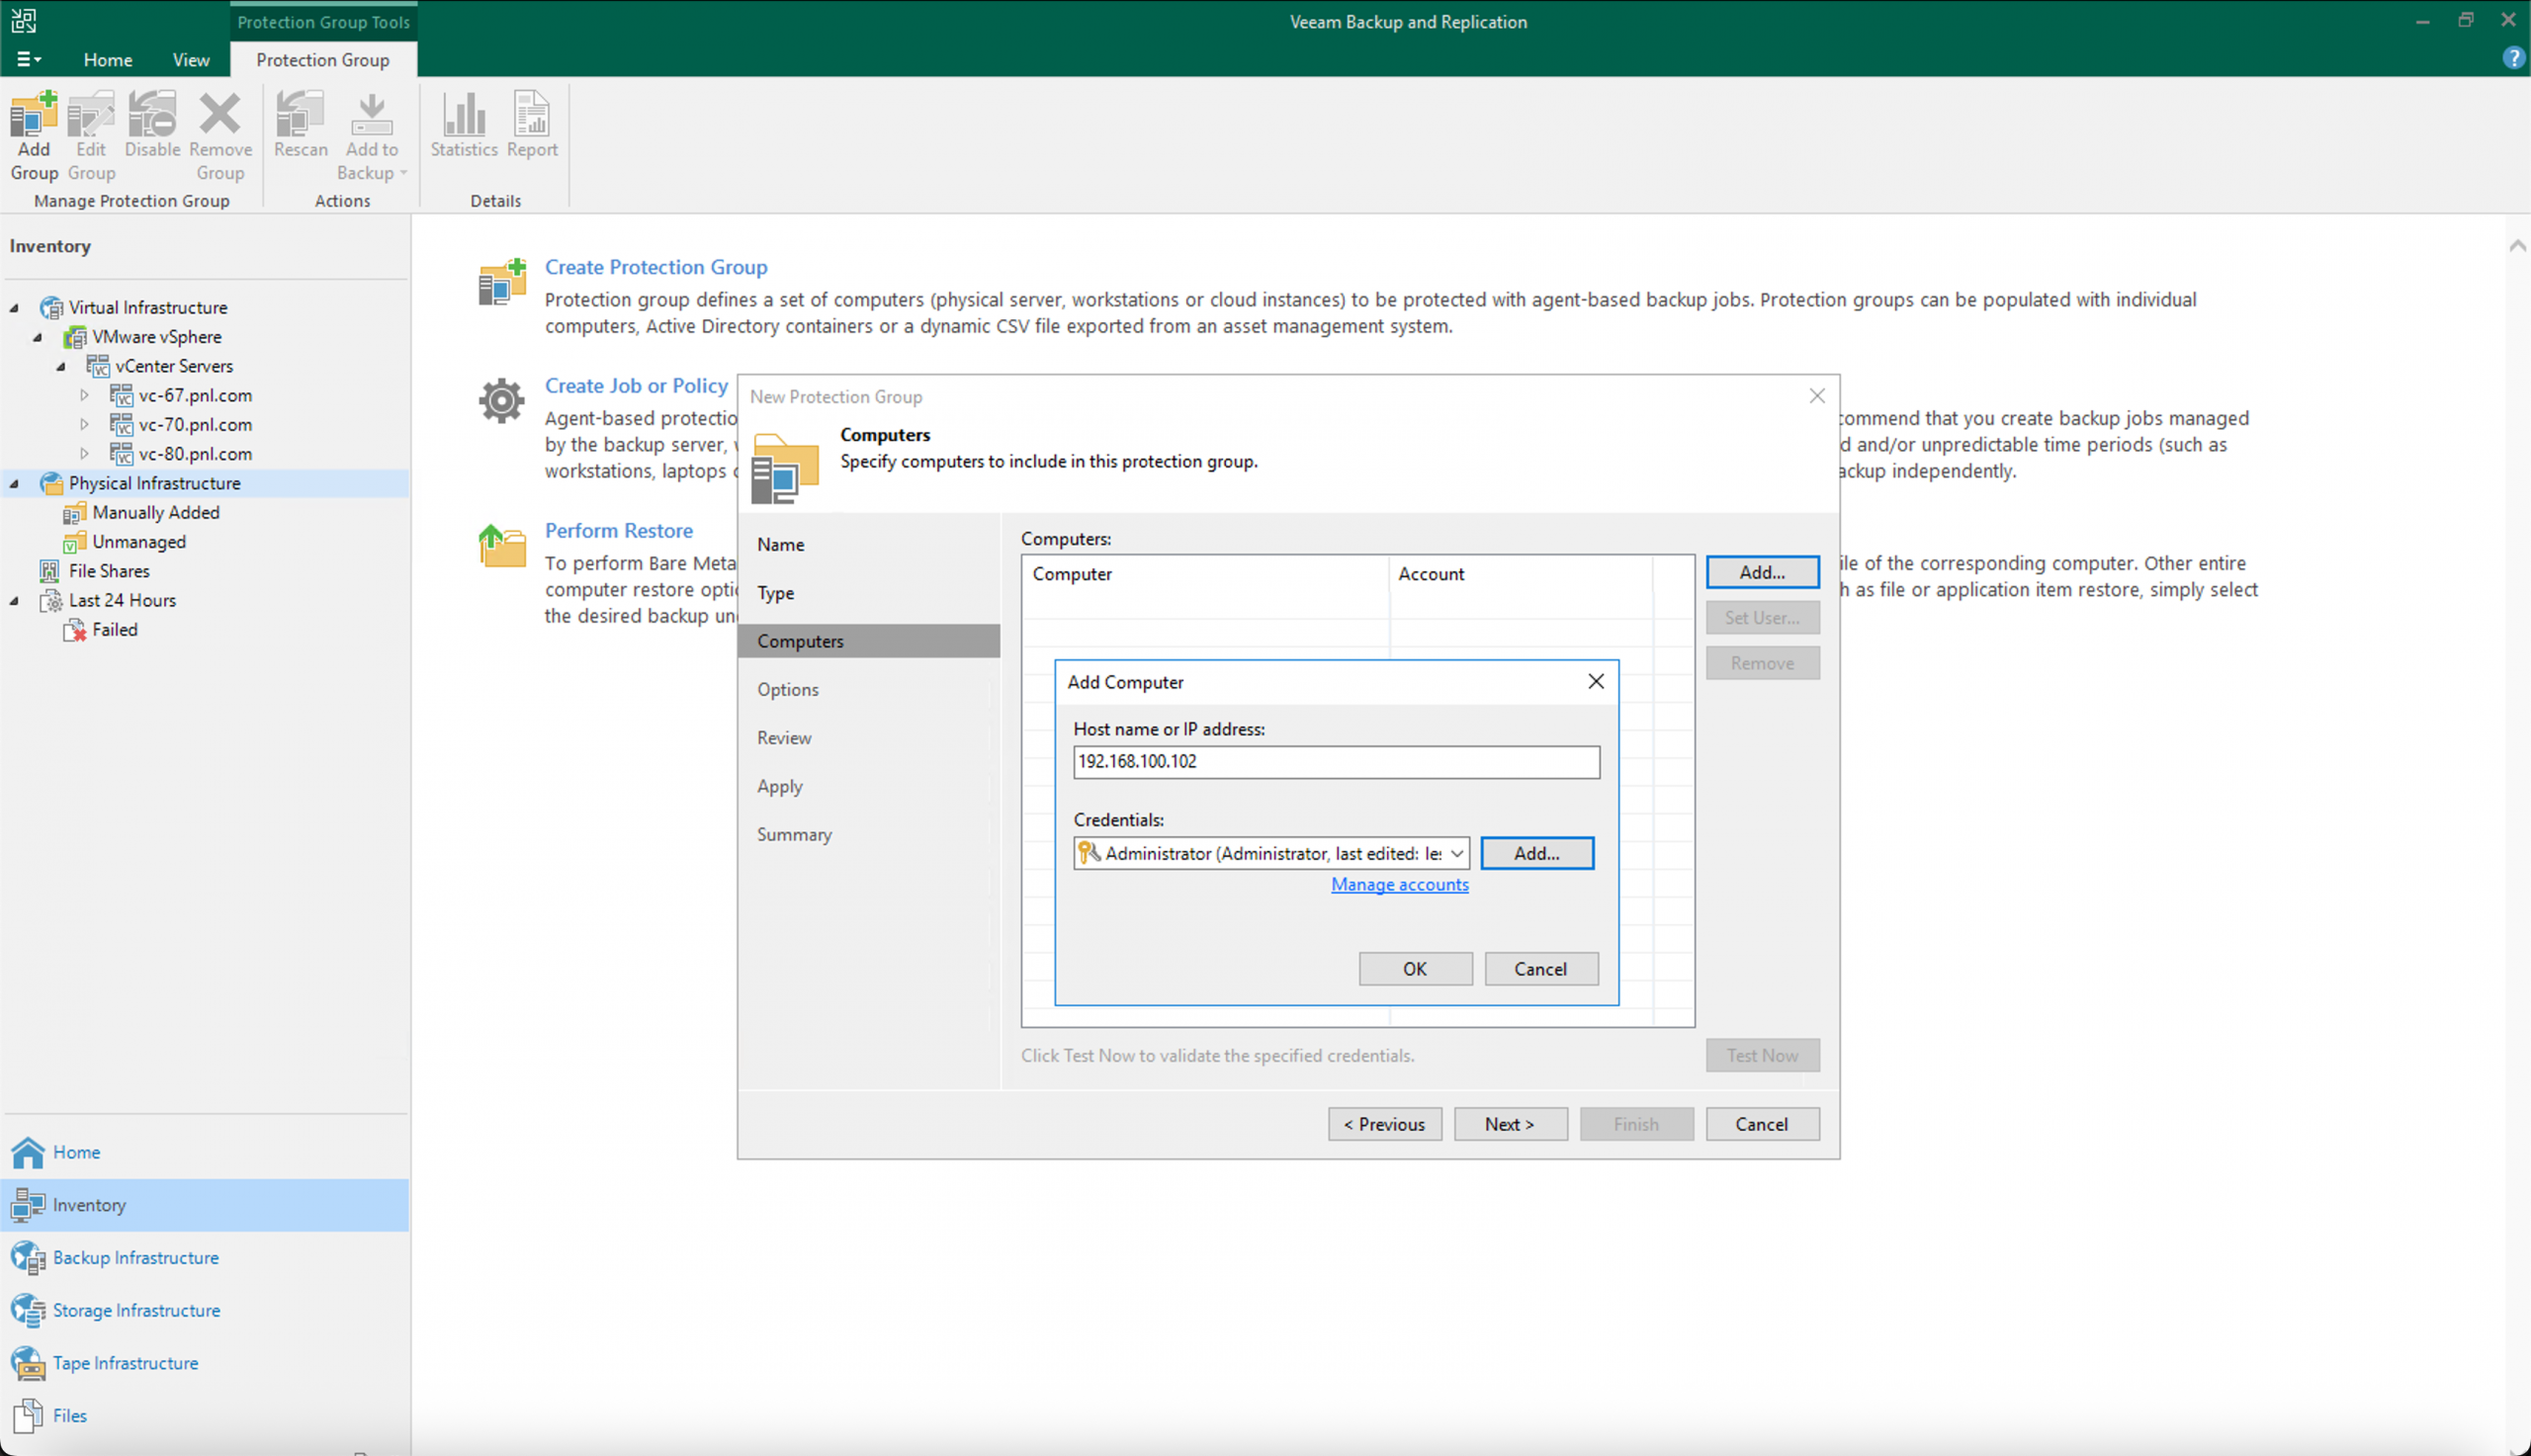
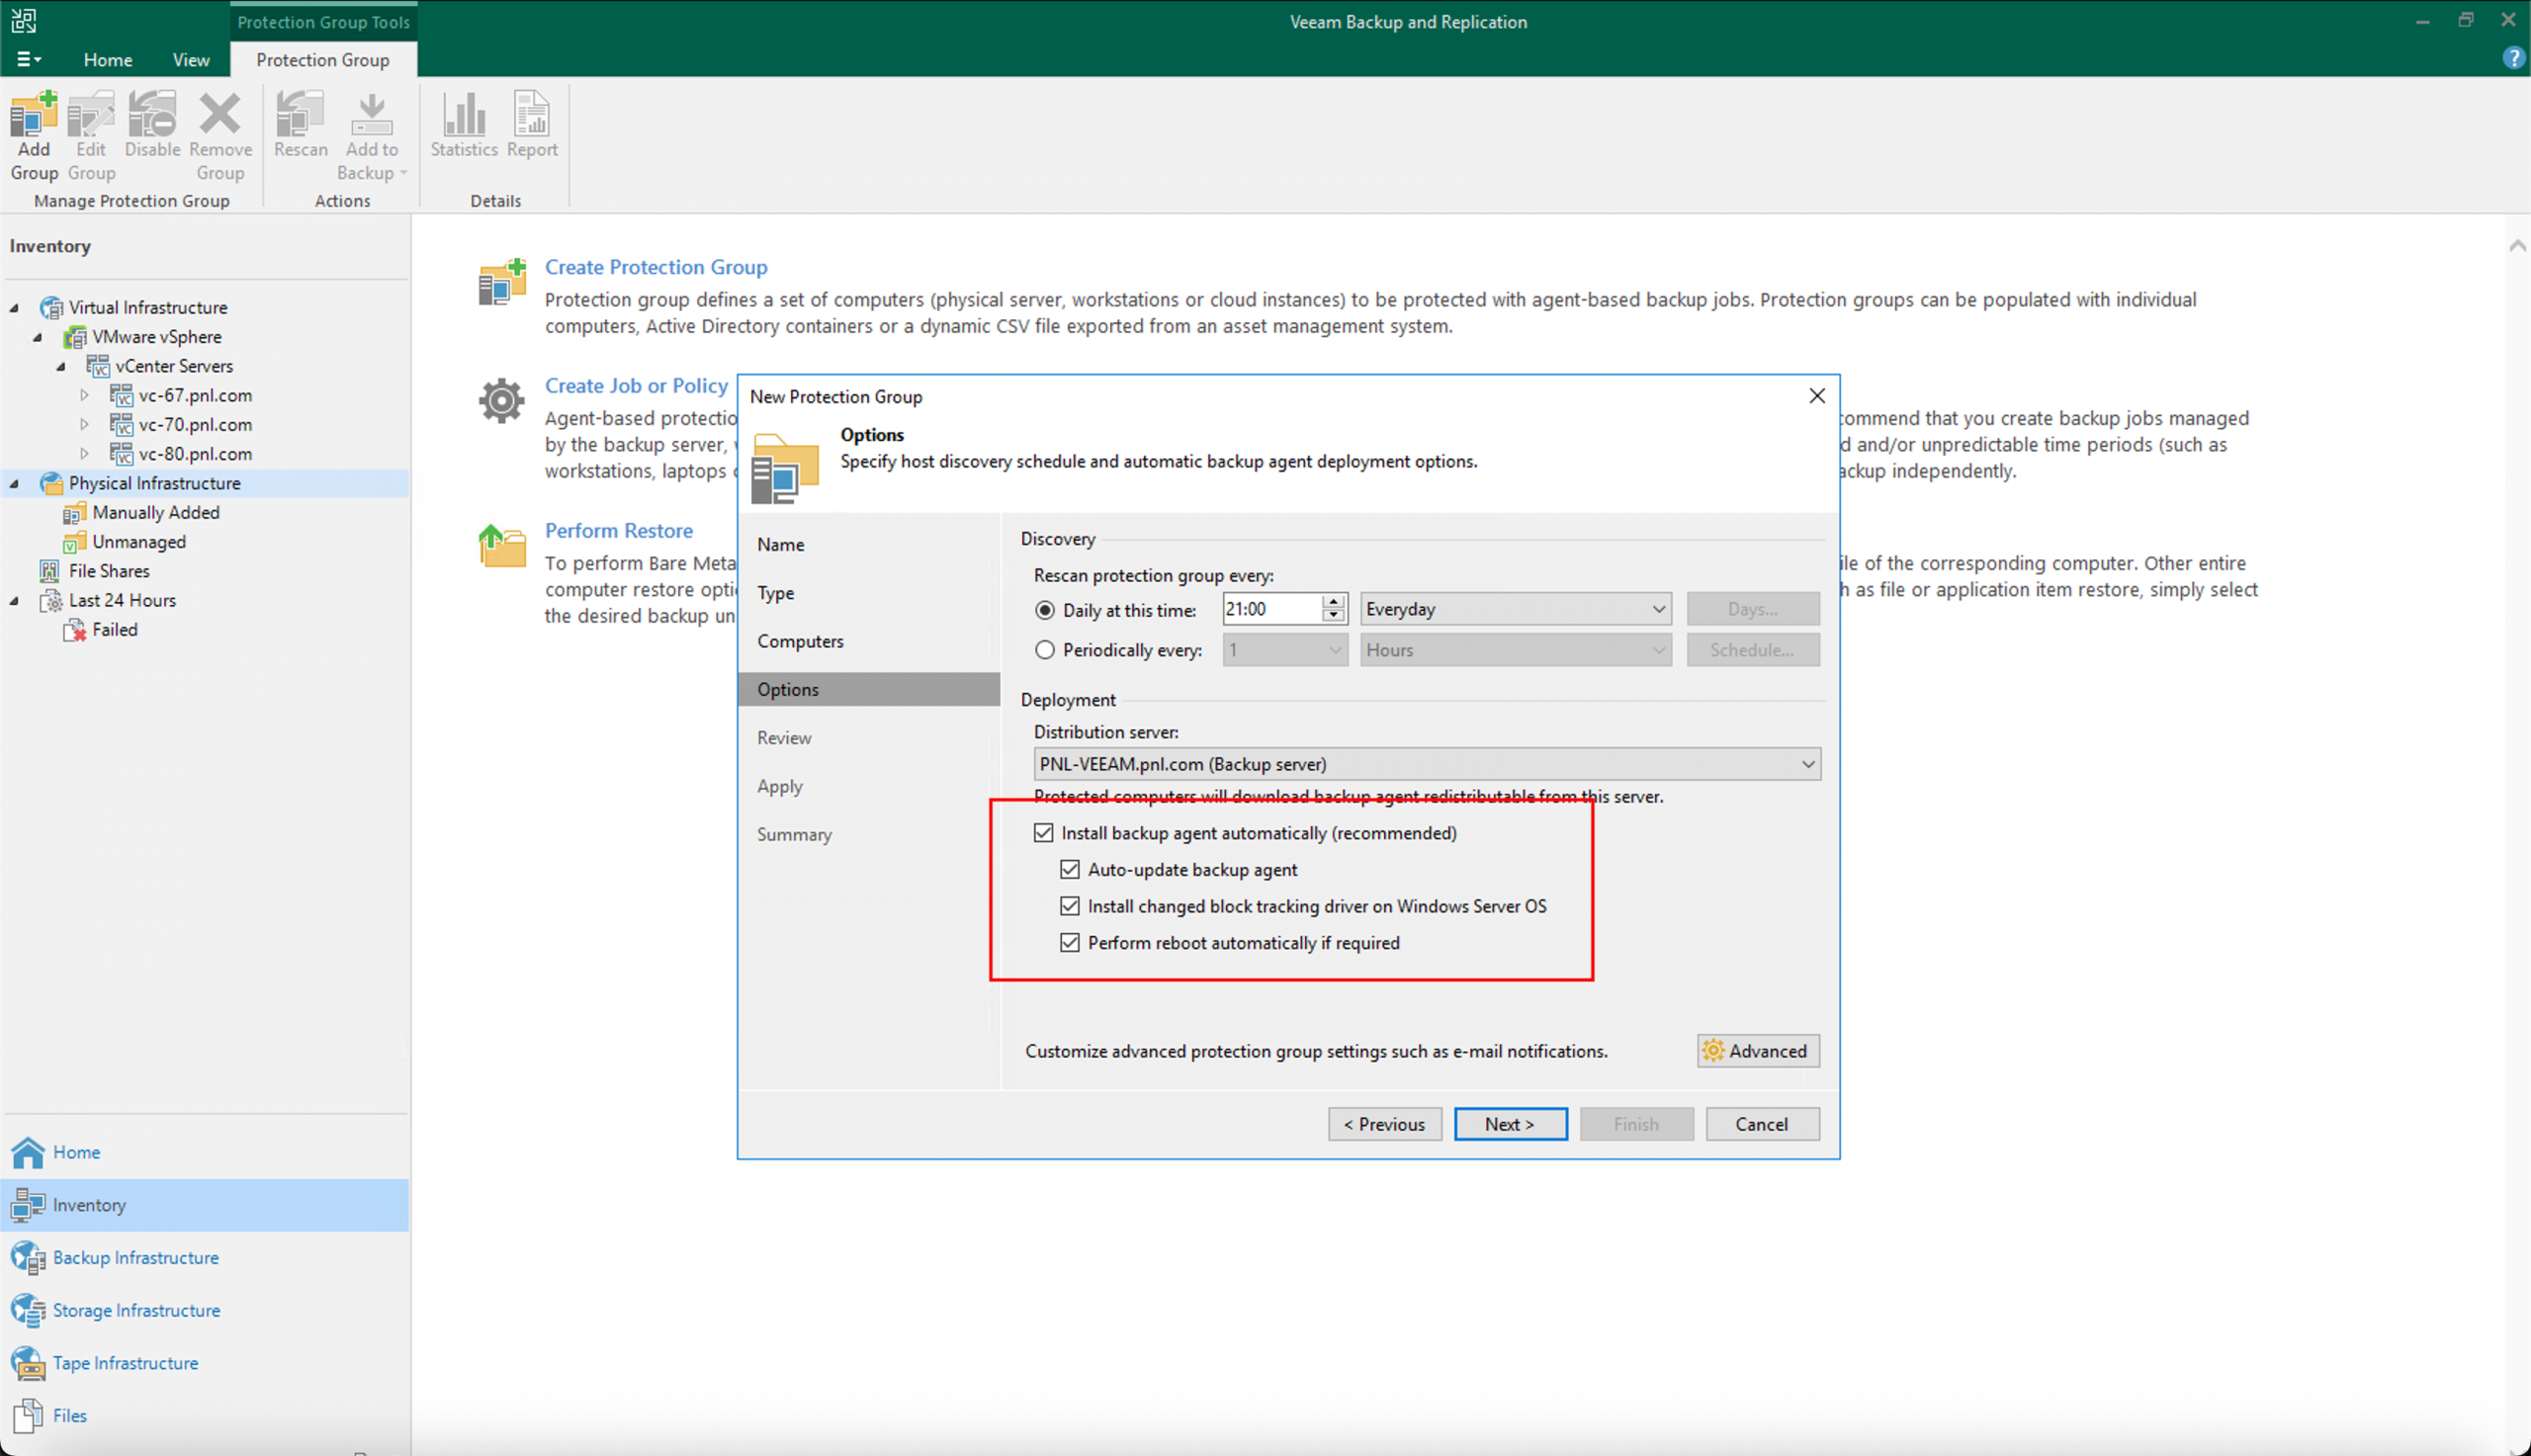
Make sure install agent is selected, (I’m also adding the change block tracking driver). Note: In production you might not want the source VM to reboot so be careful with the last option.
In some cases the deployment of the agent might fail (I started doing this with Veeam v11 and there’s a problem deploying agents to newer machines).
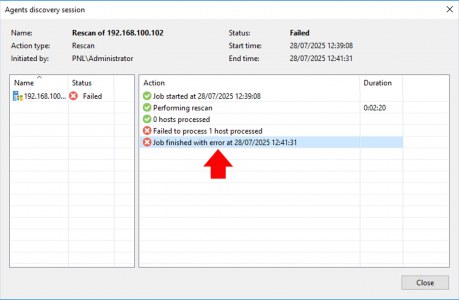
If you do encounter a problem you can either manually install the agent on the source VM (not very scalable but possible).

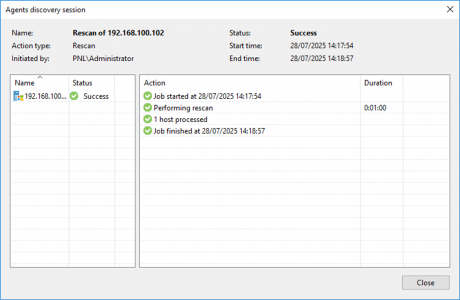
Or do what I did and simply update Veeam to the latest version (problem went away and agent deployed correctly).
Create Backup Job :(Cross Hypervisor Migrations)
Straight from the VM in the protection group, you can create a backup job.
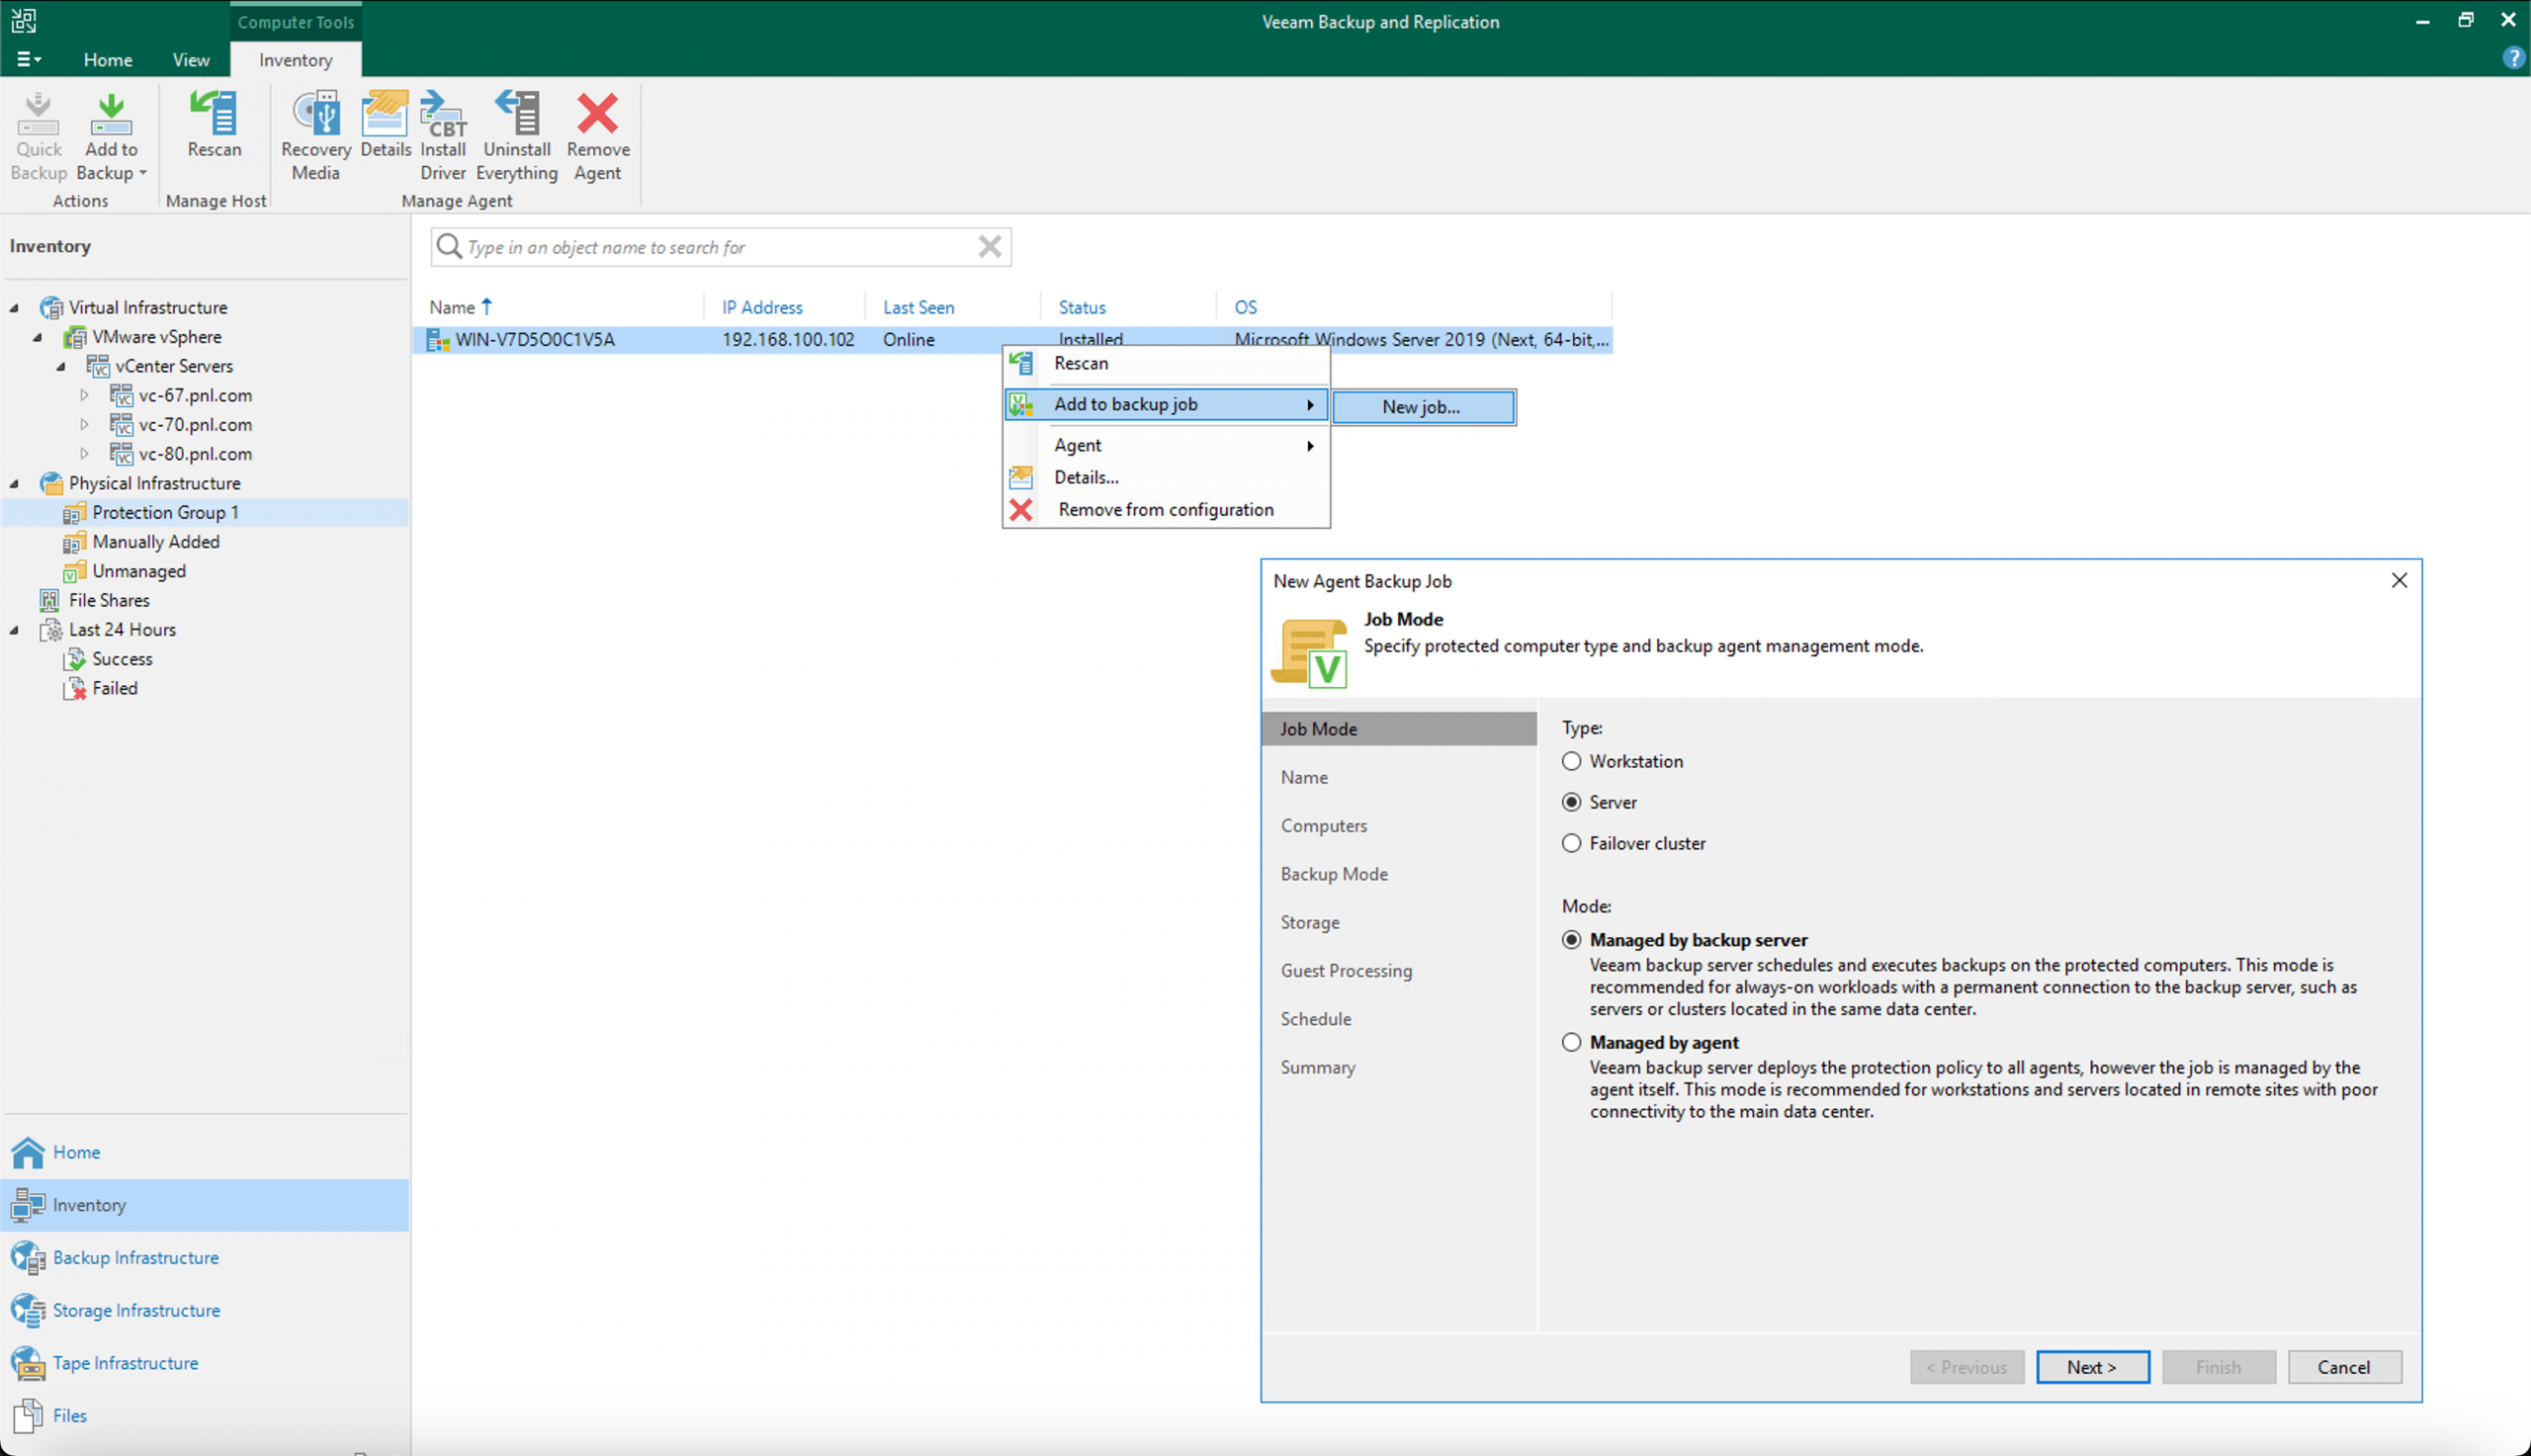
MAKE SURE you select ‘Entire Computer” (or the process will fail.)
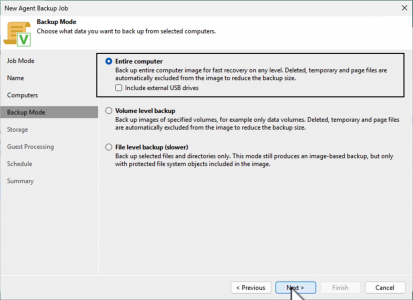
Technical Tip: BEFORE you run the backup job, I suggest you install VMware tools on the source VM (or it will run like a bag of spanners and frustrate you doing it afterwards.) This is not straight forward, you need to let the install fail and say “The VMware tools should only be installed inside a virtual machine” then you can extract the VMtools MSI file and edit using Orca to remove the check. Then deploy the tools. For further information watch the video {above,} or look at this article.
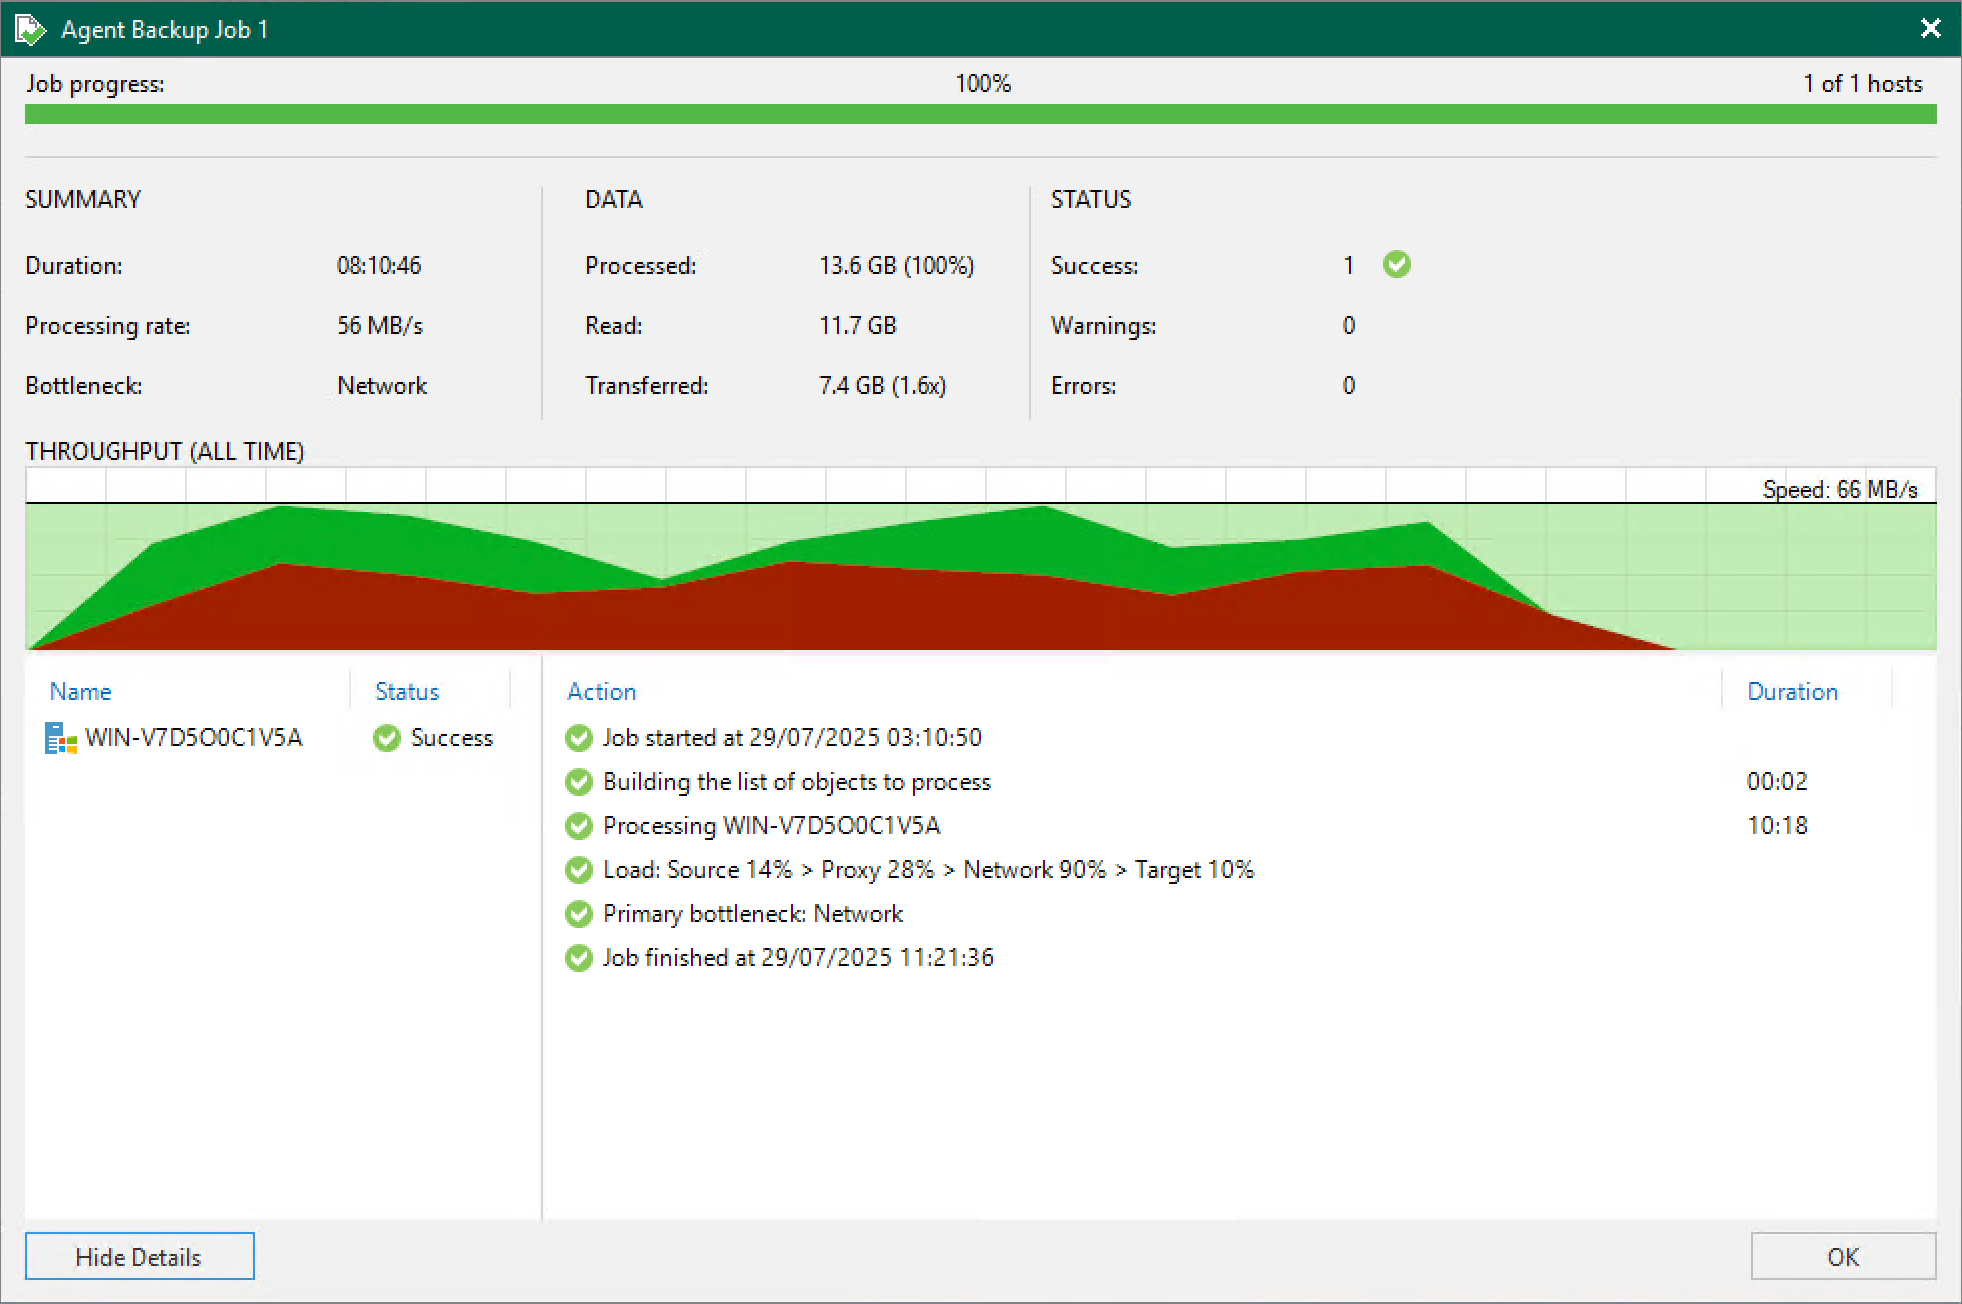
Once you are happy, run the backup job.
Restore the Guest VM to the Target Hypervisor
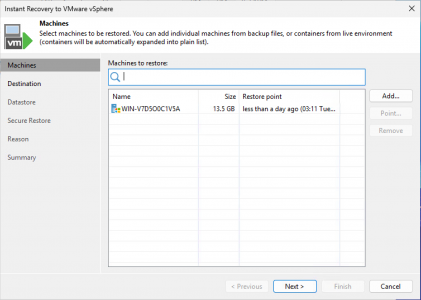
Navigate to Home > Backups > Disk > Select the VM to be migrated > Instant Recovery
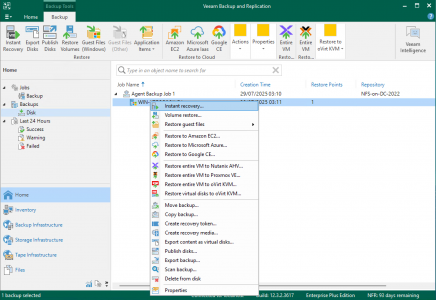
The guest VM will be selected by default, (if you have more you can add them here).
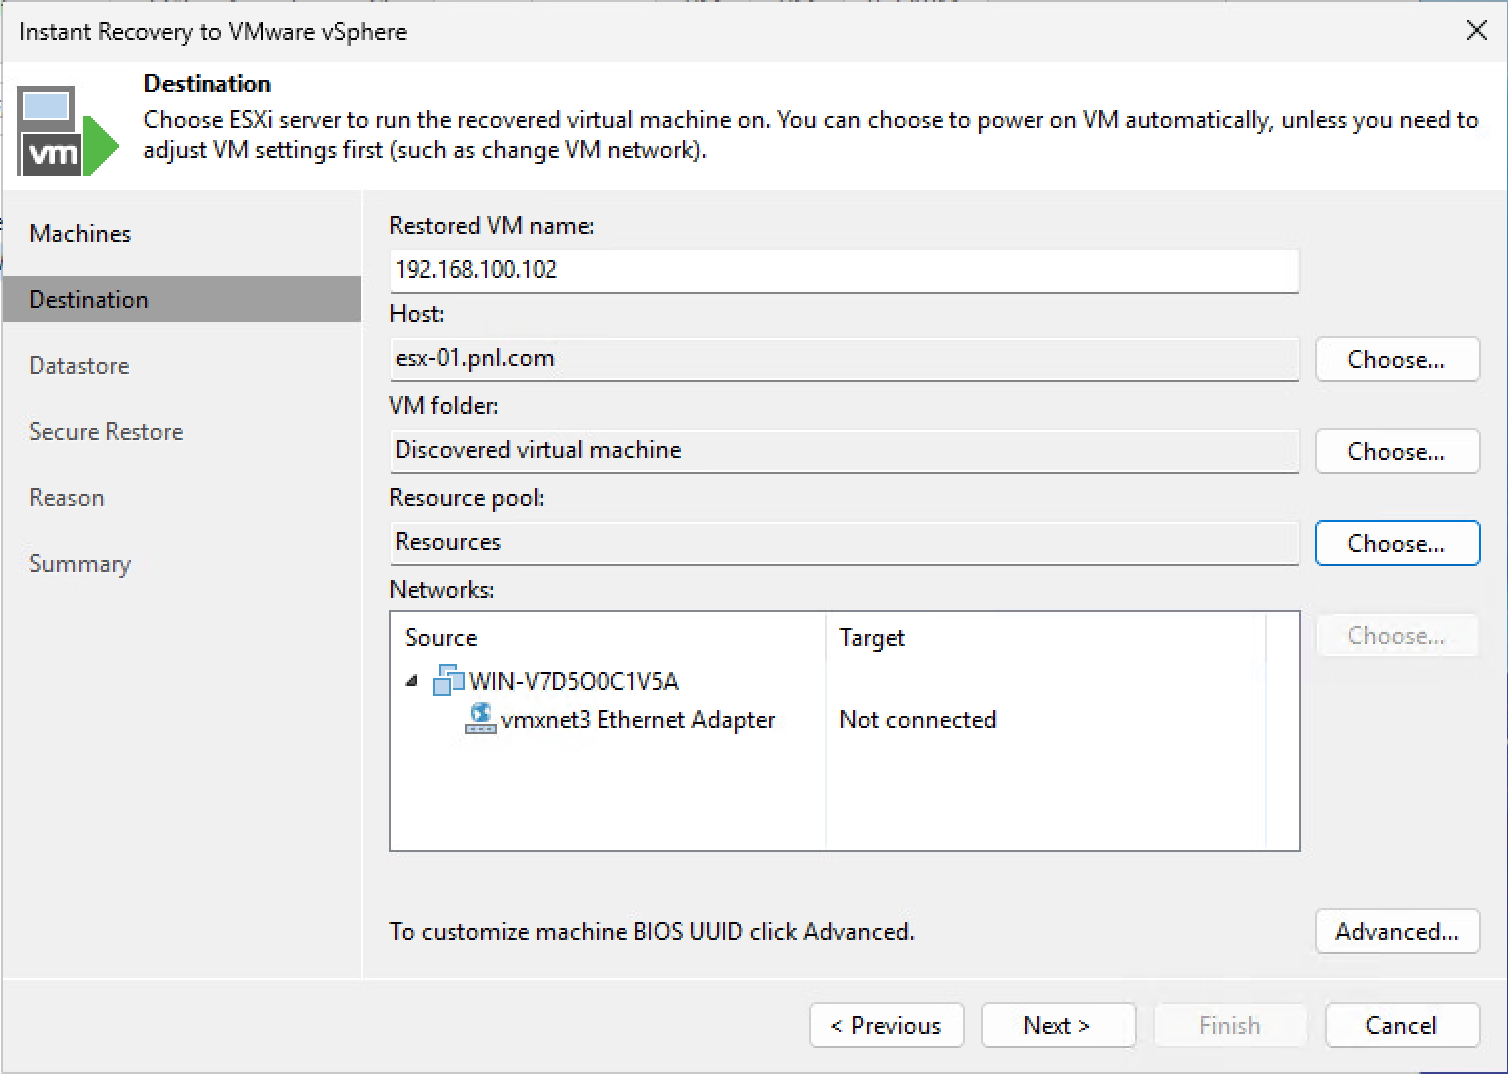
Select the target ESX Host, Folder (if applicable), and Resource pool (if applicable).
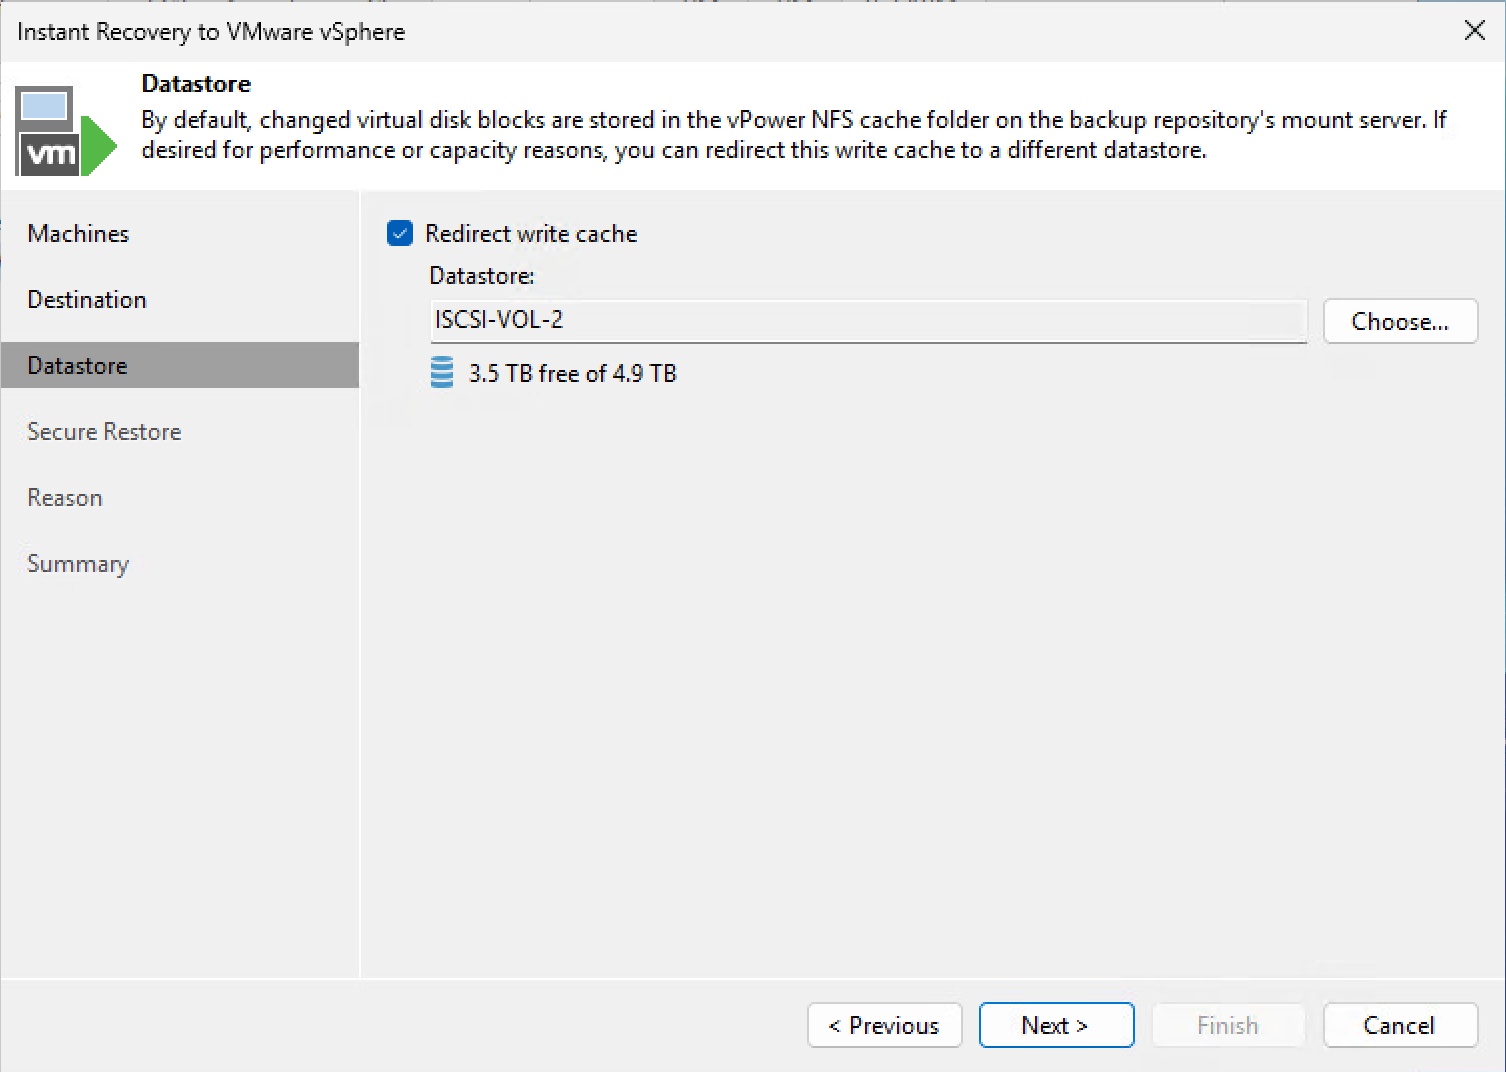
I’m going to offload the change block tracking information to a volume on my ESX storage (it will store them on the local repository if you don’t select this) it’s your choice.
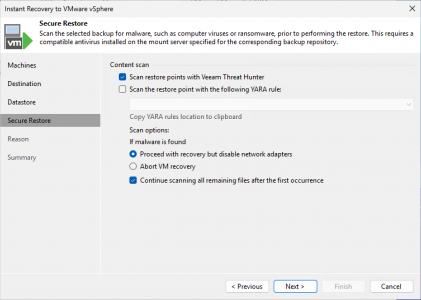
For migrations you may not want to do this, but if you are coming out of a crypto locker or ransomware scenario, you may want to scan the source backups for malware.
Inset a note if you wish.
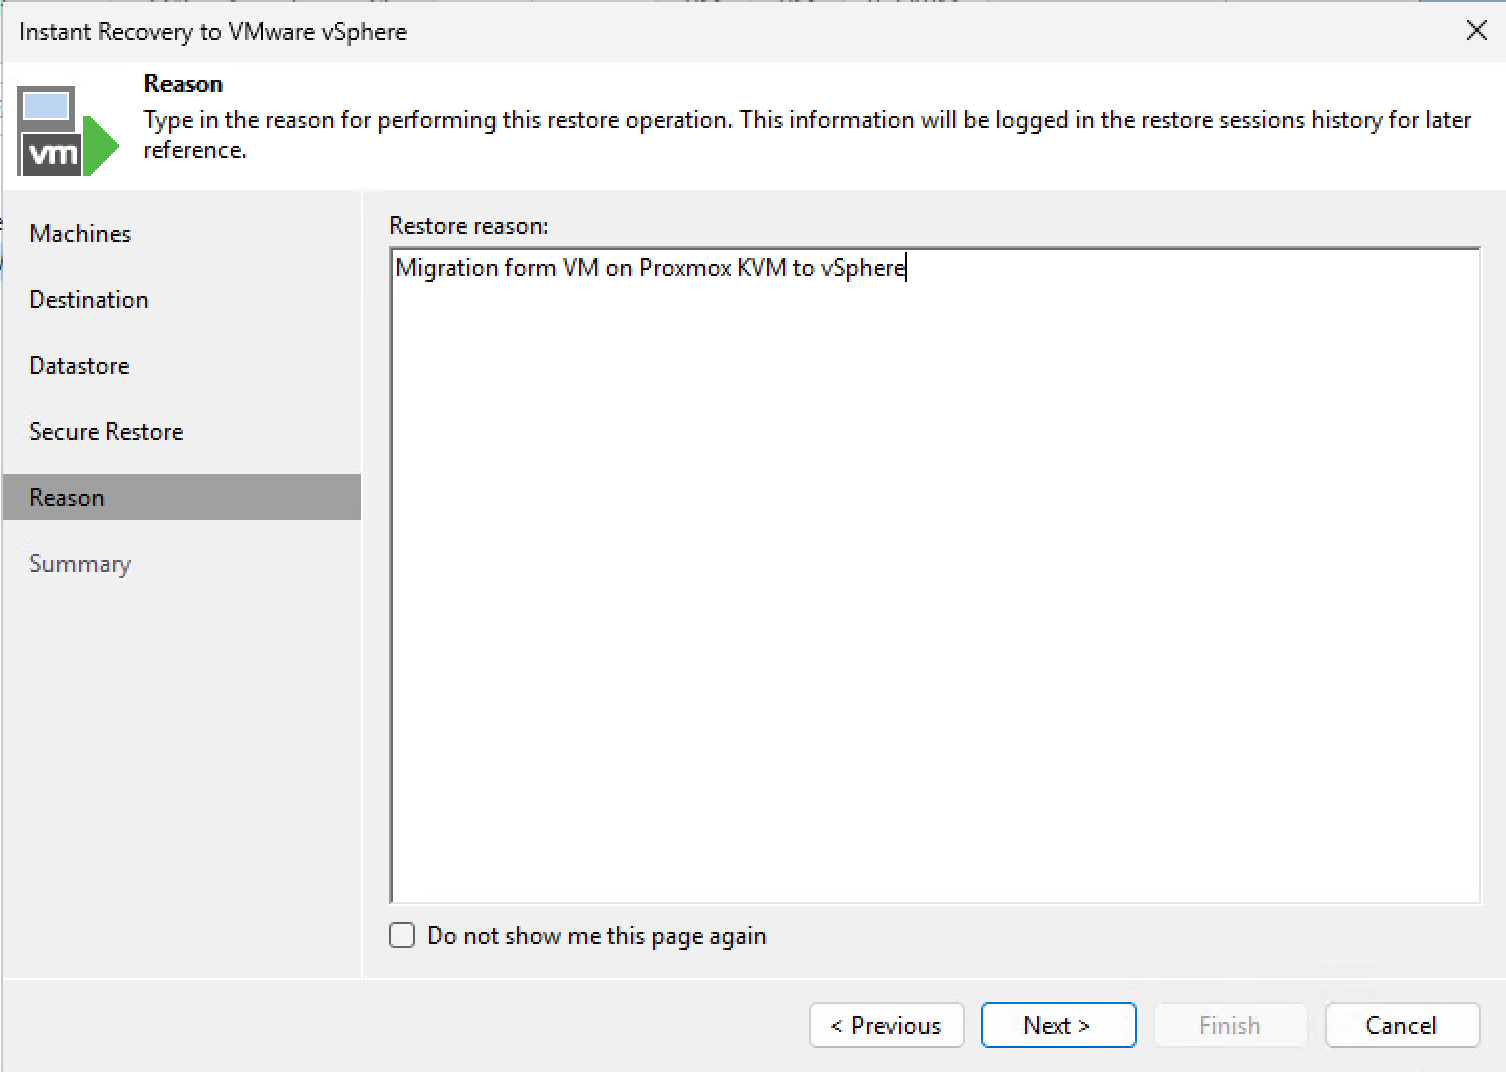
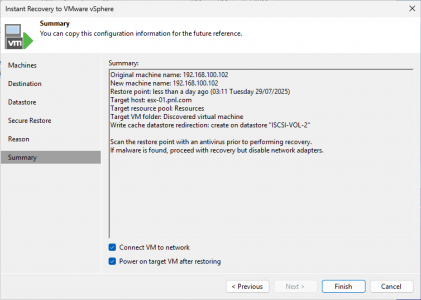
Both options are ticked but the destination (migrated VM) usually comes online with is NIC disconnected, as we will see shortly > Finish.
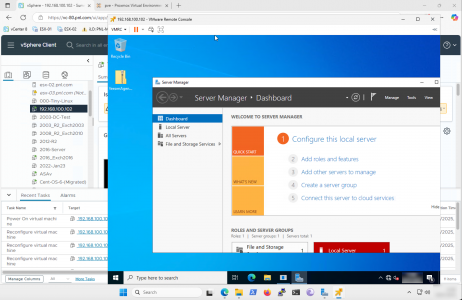
Note: While the restore is running you can view what’s going on in your vSphere “Recent Activity” pane.

And here we are successfully migrated, because you installed the VMware tools BEFORE you migrated it should run smoothly, if not now you will need to present the VMware tools ISO and using Tab and Shift Tab, and CTRL ~ to launch setup64.exe on the presented ISO, (bet you with you’d taken my advice now eh?)
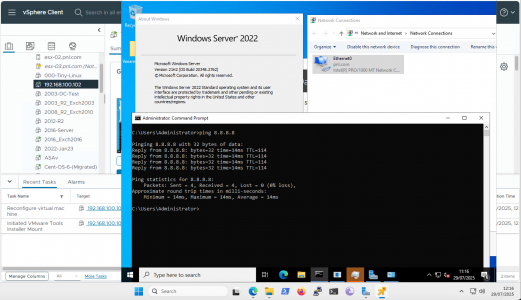
As stated the NIC of the migrated VM will be disconnected, if you connect it now the source is still online, so you will at least have an IP conflict, so let’s shut the source down.

Now we can connect the NIC of the migrated machine to the correct port group, and we are safely migrated, and our Cross Hypervisor Migrations have been successful.
You may at this point want to remove any other hypervisor integration tools depending on what system you migrated from.
Related Articles, References, Credits, or External Links
Using Azure Site Recovery for Migrations