
KB ID 0001320
Problem
So you want your own web server running WordPress? Previously in Parts One and Two, we setup a new Linux box, and got all the prerequisites installed. Now it’s time to deploy WordPress.
Solution
There are a few extra bits we need to add to the PHP installation before we setup WordPress, to get those installed run the following command;
Then restart PHP;
Download and Install WordPress.
We are going to use the /tmp directory and download wordpress into that, you don’t need to worry about what version to download because the good folk at WordPress use the same URL for the latest version and keep it updated.
cd /tmp
curl -O https://wordpress.org/latest.tar.gz

If you didn’t already guess from the file extension, the WordPress files are compressed, we need to ‘extract’ them.
WordPress has a file called wp-config.php in the root of the website that we will be editing in a while, so we are going to create that file by using the ‘sample’ file provided.
And, to save you hassle, (in future) we will pre-create the folder that WordPress will need when you eventually come to upgrade it, it will also, (after we have moved it in a minute), have the correct permissions.
Now we have all the files, but they are in the WRONG PLACE, they are all sat in the /tmp directory, but we want them in the root of your website, i.e. the /var/www/html directory. So to copy them (in bulk).
You won’t see anything happen, but if you have a look in your /var/www/html directory, the files will be there.
![]()
To set the correct permissions, execute the following commands;
sudo chown -R www-data /var/www/html
sudo find /var/www/html -type d -exec chmod g+s {} \;
sudo chmod g+w /var/www/html/wp-content
sudo chmod -R g+w /var/www/html/wp-content/themes
sudo chmod -R g+w /var/www/html/wp-content/plugins
Configuring WordPress
Run the following, and it will return a large block of incomprehensible text;
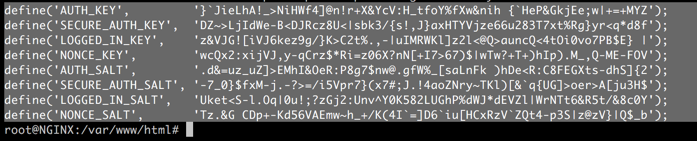
COPY THAT TEXT TO THE CLIPBOARD (Yours will look different to the one above!)
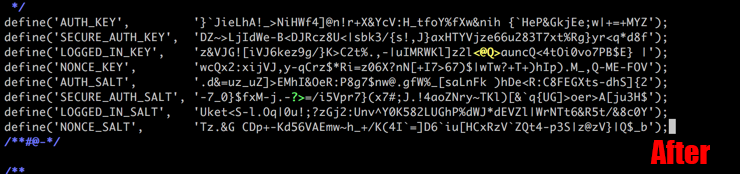
Now edit the wp-config.php file, when its open go the the section that ‘looks like’ the text you copied above and paste your text over the top.

While you are still in the file, you need to enter the database settings you setup in Part One. Near the top of the file you will see there’s a space for database name, username and password.

Enter your settings;
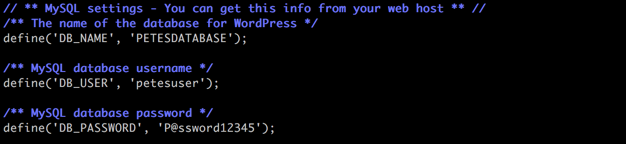
Save and close the file.
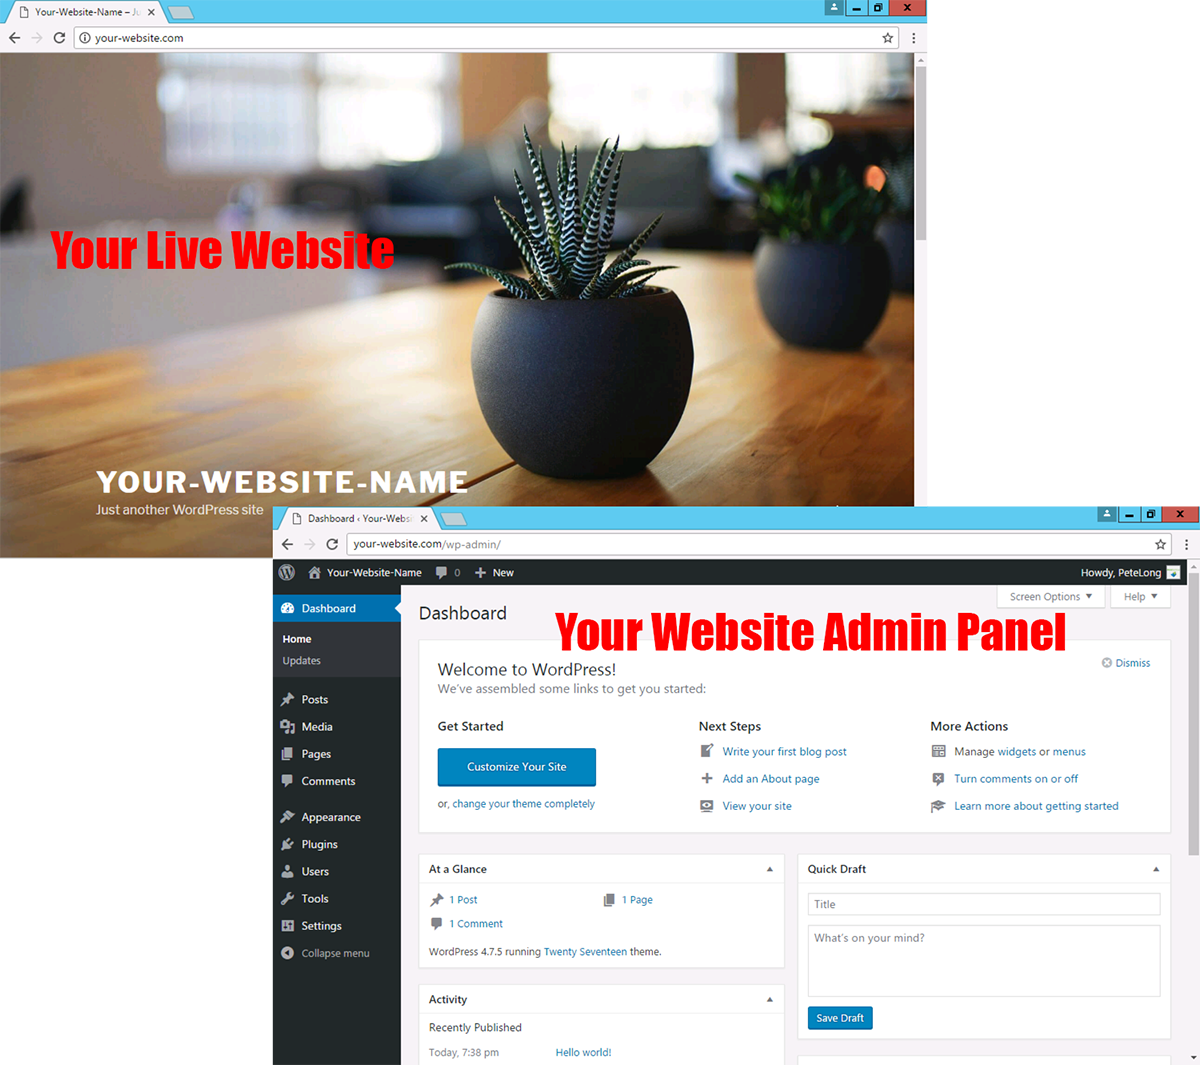
Now if you browse to your website, you should see the WordPress language selection, select your language and enter the settings and logon details for your website.

You will be logged into your sites admin panel (http://your-site/wp-admin). From here you can install new themes, add new plugins, and create new posts. Your website will now be ‘live’.
You may want to consider raising the maximum upload limit before proceeding;
Nginx Error – 413 Request Entity Too Large
If you are migrating data from another WordPress site into this one, see the following article;
Migrating WordPress From One Server To Another
If you are unsure on how to setup DNS records for your website see the following article;
Setting up the Correct DNS Records for your Web or Mail Server
Related Articles, References, Credits, or External Links
NA