
KB ID 0001319
Problem
Back in part one we deployed the server and setup our database, now we are going to setup our nginx web server, and get it to work with PHP.
Solution
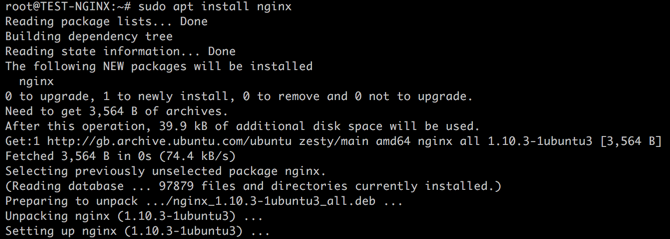
Install NGINX
To get the nginx package installed;
Now ensure nginx is set to start automatically with the server, and manually start the service.
sudo systemctl enable nginx
sudo systemctl start nginx

Make sure it’s up and running;

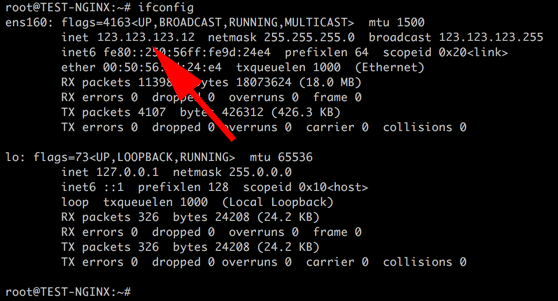
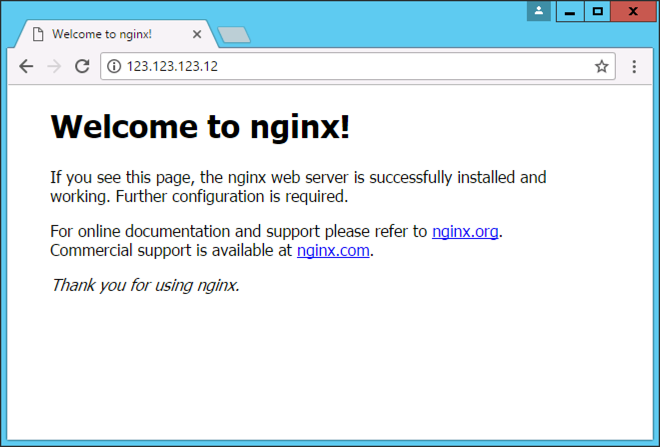
Now the test if the web server is up and running, get the IP address (ifconfig), and browse to the IP address and you should see the nginx welcome page.
Note: If you get a 403 error, issue a ‘cp index.nginx-debian.html index.html‘ command and try again.
Install PHP7
Run the following command;
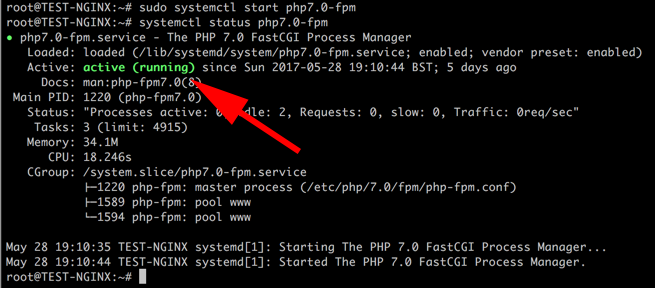
Start the service and check it’s running;
sudo systemctl start php7.0-fpm
systemctl status php7.0-fpm
Now to enable nginx to pass information to the FastCGI server (allows php scripts to be executed outside the web server). Your nginx install should be taking its settings from a configuration file ‘/etc/nginx/sites-enabled/default’. To make sure execute an ‘nginx -t’ command. We need to edit that file.
Note: Below you will want to change the values in red to match your server, and the values in blue are optional. You can remove all the contents of the existing file and paste in the following.
To Edit;
# Default server configuration

server {
listen 80 default_server;
listen [::]:80 default_server;

# Set The Root Directory for the Entire Website

    root /var/www/html/;

# Adding index.php to the list if you are using PHP

    index index.html index.htm index.nginx-debian.html;

# Add The Server IP Address or FQDN

    server_name 123.123.123.12;

# Auto Remove and re-write .htm from requests (to maintain old back-links)

    rewrite ^(/.*)\.htm(\?.*)?$ $1$2 permanent;

# The following does the WordPress Rewrites for the permalinks

      location / {
        index index.php index.html index.htm;
        try_files $uri $uri/ /index.php?$args;
      }

# Allow the user to Cache Static files for 1 year

      location ~* .(jpg|jpeg|png|gif|ico|css|js)$ {
        expires 365d;
      }

# pass PHP scripts to FastCGI server

     location ~ \.php$ {
    fastcgi_pass unix:/run/php/php7.0-fpm.sock;
    fastcgi_param SCRIPT_FILENAME $document_root$fastcgi_script_name;
    include fastcgi_params;
    include snippets/fastcgi-php.conf;
  }
}
Now save and exit the file, make sure its ok by running;
Providing it says ‘successful’ restart nginx.
![]()
Testing PHP7 Works
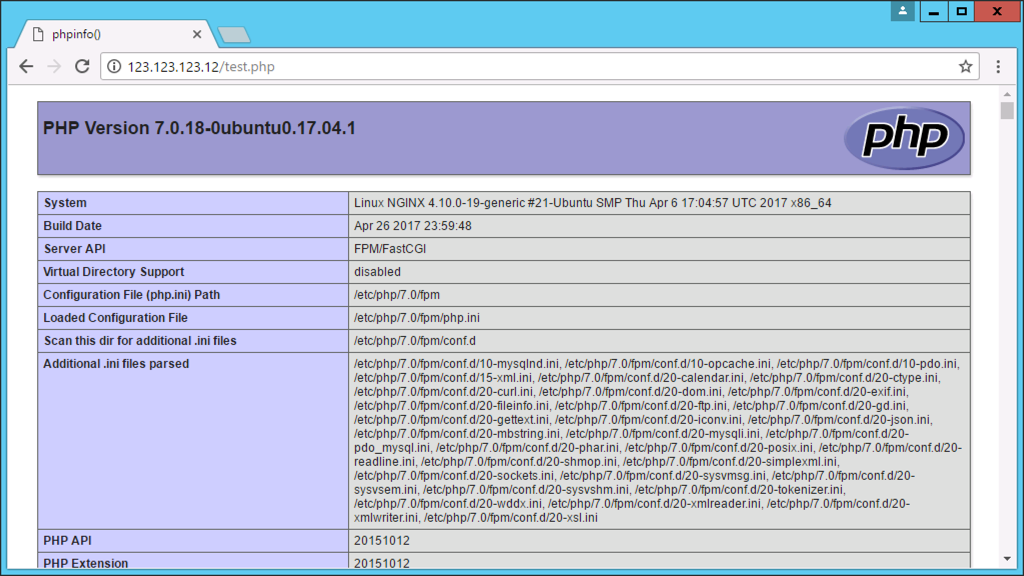
Make sure we are up and running on version 7.

Now just to be sure we are going to create a test page, put in some PHP and make sure it works.
Create a file;
Pete in the following;
Save and exit the file, then browse to http://{ip-address}/test.php it should look something like the image below.
It’s considered bad practice to have that file on the server, so lets delete it with the following command;
That’s us with a fully functioning nginx web server thats processing PHP, in part three we will install WordPress, connect it to the database we made easier, and then you will be ready to start posting.
Related Articles, References, Credits, or External Links
NA