
KB ID 0000600
Problem
Note: This is an old post for VMware view version 5, you might want to read Deploying VMware Horizon View instead.
In Part 3 we ran through manual pools, if you want to deploy automated pools using ‘Linked Clones’, then you will need VMware Composer. Composer installs on your Virtual Center Server. It also requires a database, the following is a step by step guide to installing SQL Server 2008 R2 and configuring it for Composer.
VMware View 5 Suppored Database Platforms

When you have your databse platform installed and configured, on the Virtual center server create an ODBC connection to the database and install VMware Composer. Finally you will need to enable composer in the VMware View Administrator Console.
Solution
VMware View – Installing SQL 2008 R2 and Configuring for Composer
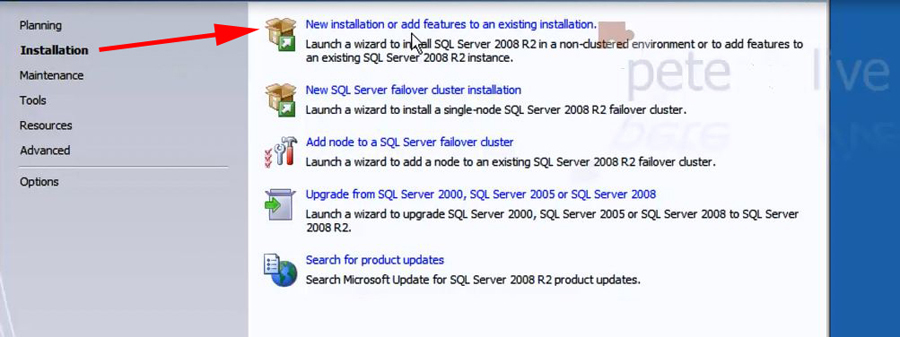
1. Let the SQL DVD auto-run and choose Installation > New installation > OK > Product Key > Next > Accept the EULA > Next > Install the setup files.
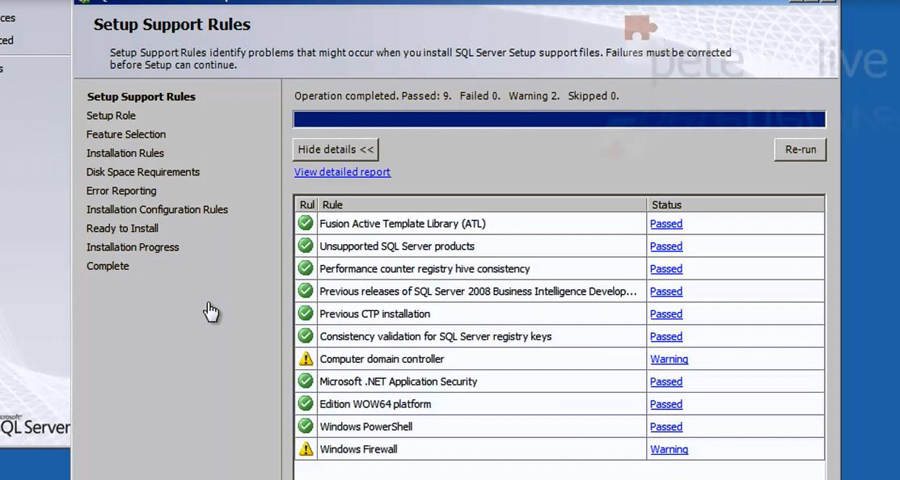
2. Take note of any warnings, here it’s complaining that I’m on a domain controller (in a test environment this is OK, don’t do this in production!). And it’s giving me a firewall warning. I’m going to disable the firewall as I’m behind a corporate firewall, BUT if you want to create an exception for TCP port 1433, or run the following command. That would be the correct way to address the warning.
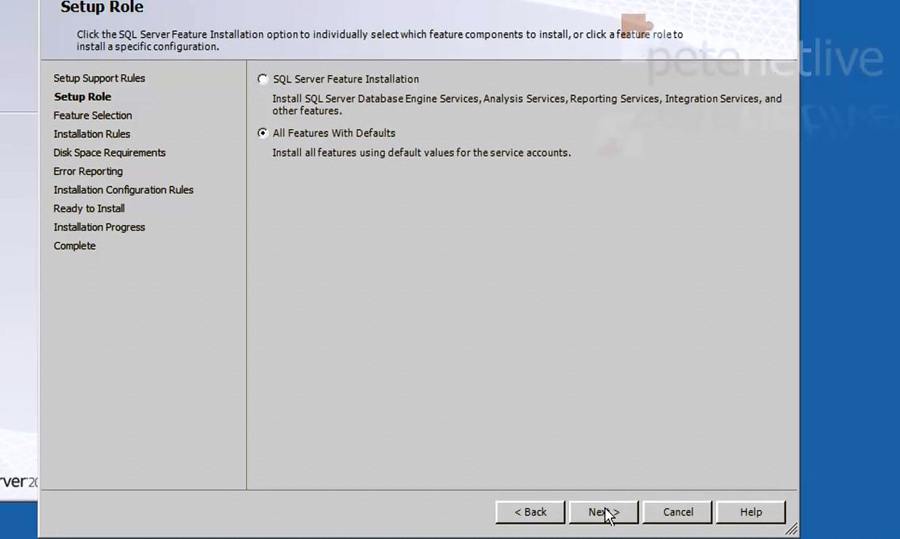
3. You only need the “Database Engine Services” and the “Management Tools” , or you can simply install everything > Next > Next > Select Default Instance* > Next > Next.
*Unless you specifically want a named instance.
4. I set the services to run under the ‘System’ account, if you want to use the domain admin, or another domain service account use that instead. You can use the “Use same account button for all” to save typing > Next.

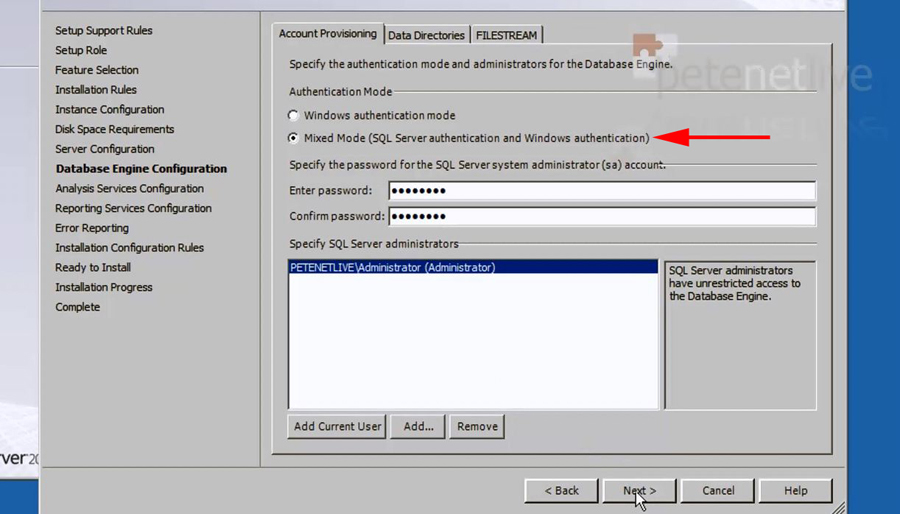
5. We will need SQL authentication, type in a suitable complex password (You can add the current user of the domain administrator as well) > Next > If your installing Analysis services you can add an account here > Next.
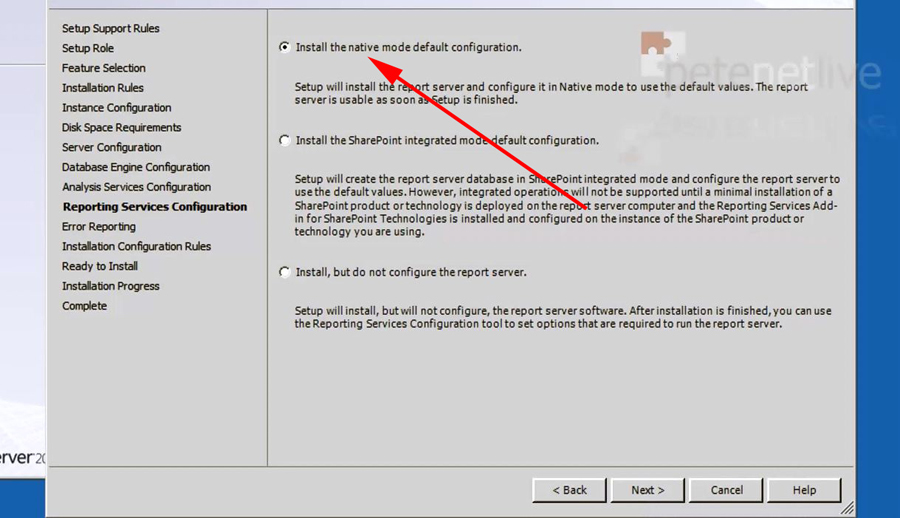
6. Install the native mode default configuration > Next > Next > Next > Install > Close > Exit the SQL installer.
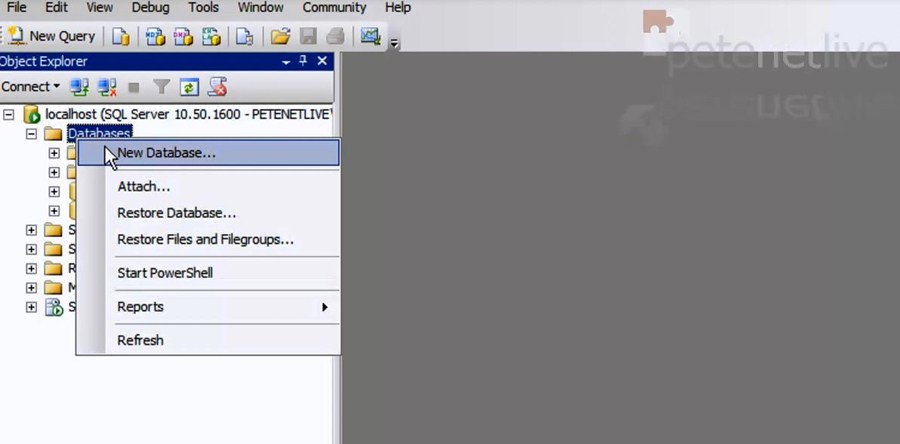
7. Launch the SQL Management Studio > Log in (for servername simply type in localhost) > Right click Databases > New Database..
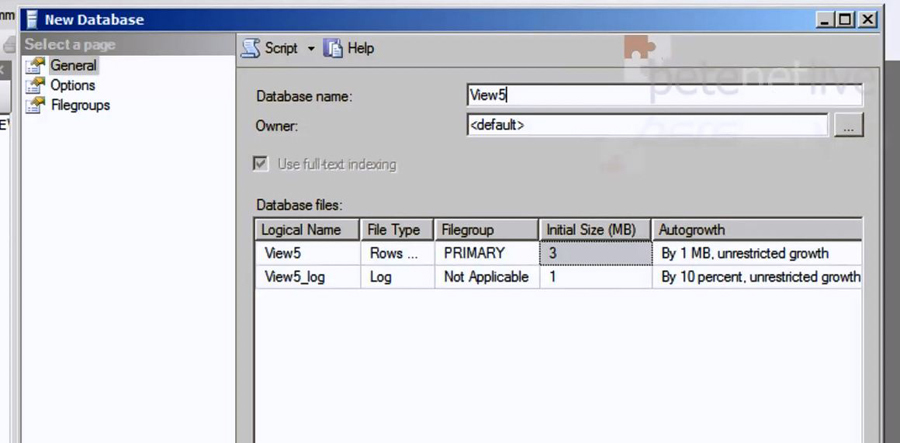
8. Give the Database a name > Select the ‘Options’ Settings.
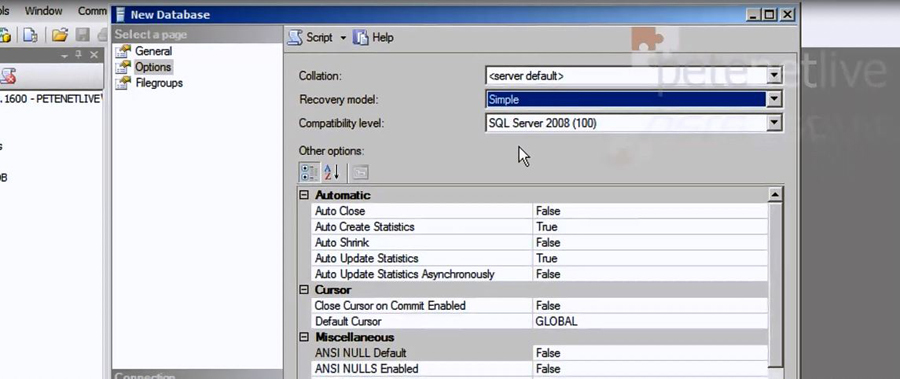
9. Change the recovery model to ‘Simple’ > OK.
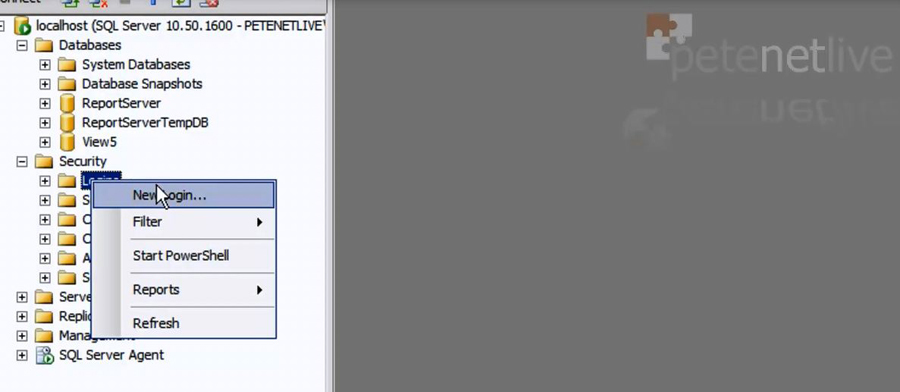
10. Expand Security > Logins > Create a new login.
13. Give the new user/login a name, select SQL authentication > Set a complex password > Untick Enforce password expiration > Select the user mappping section (on the left).
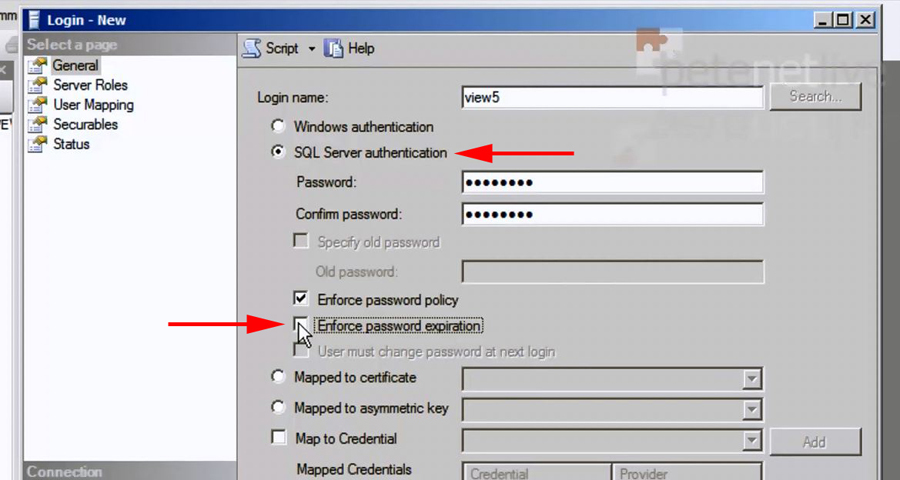
14. Select the database you have just created and give this new user the “db_owner” role > OK > Exit the management studio

VMware View – Configure ODBC Settings on the Virtual Center Server
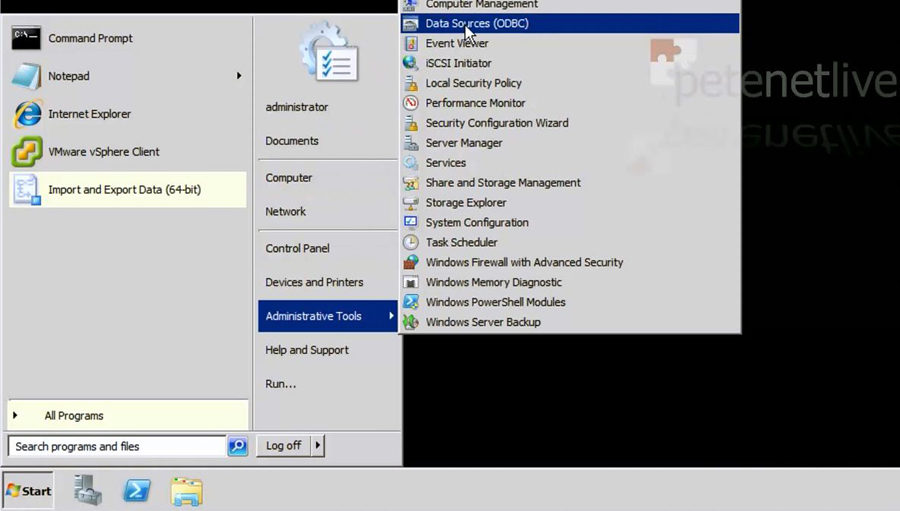
15. On the vCenter Server > Start > Administrative Tools > Data Sources (ODBC).
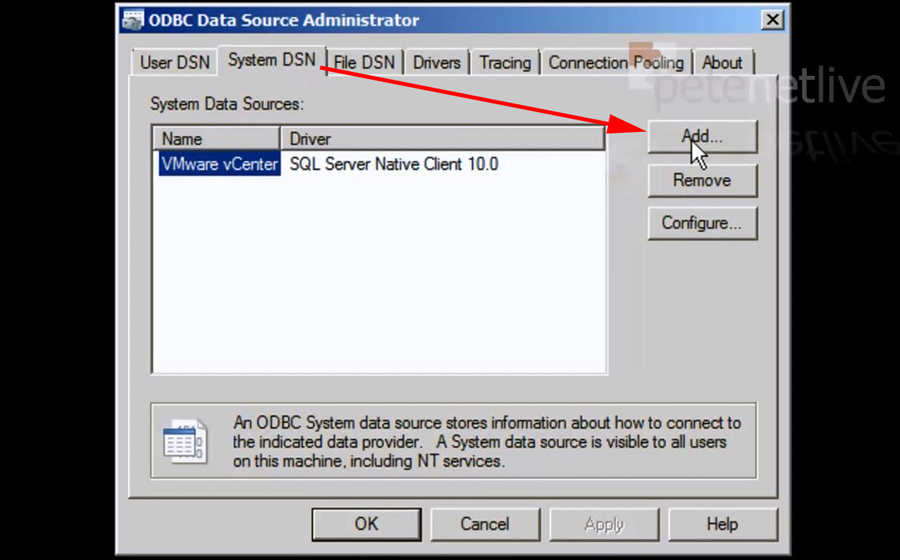
16. System DSN > Add > SQL Server Native Client > Finish,
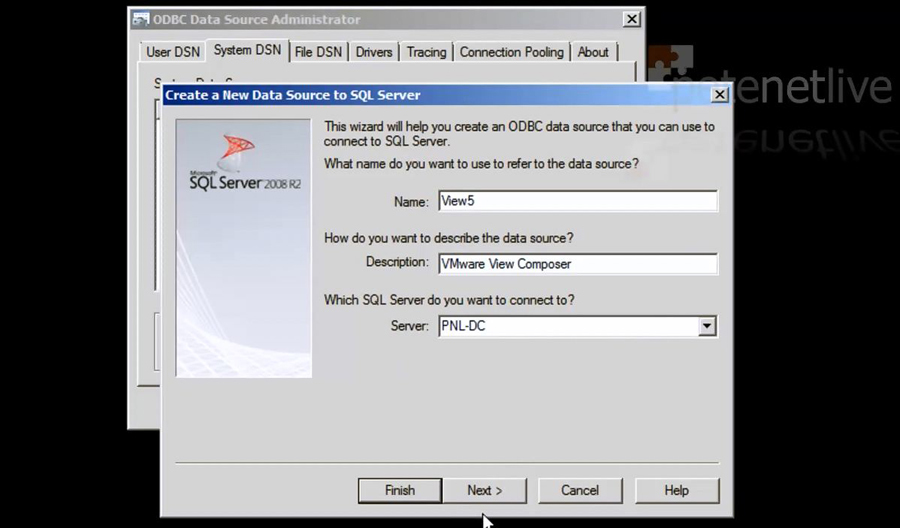
17. Add in the Database name and the server you installed SQL on > Next.
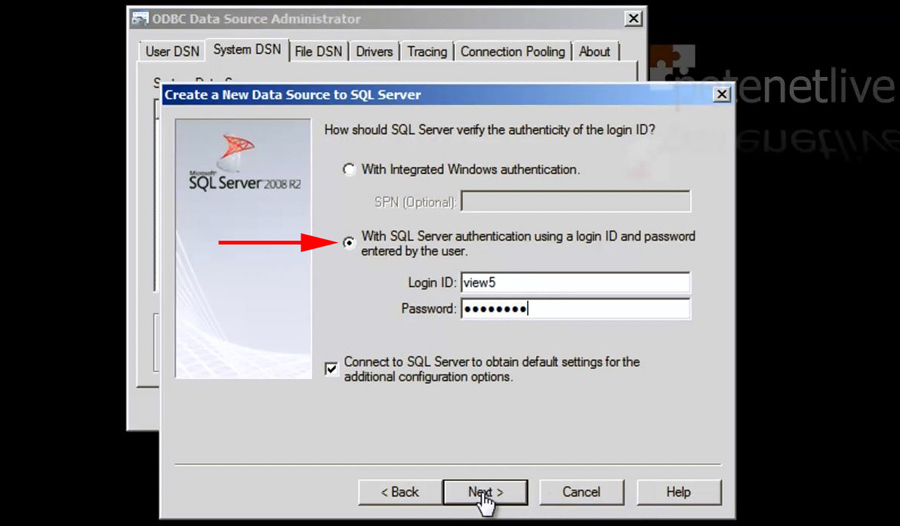
18. Supply the details for the user you created and the password you set > Next.
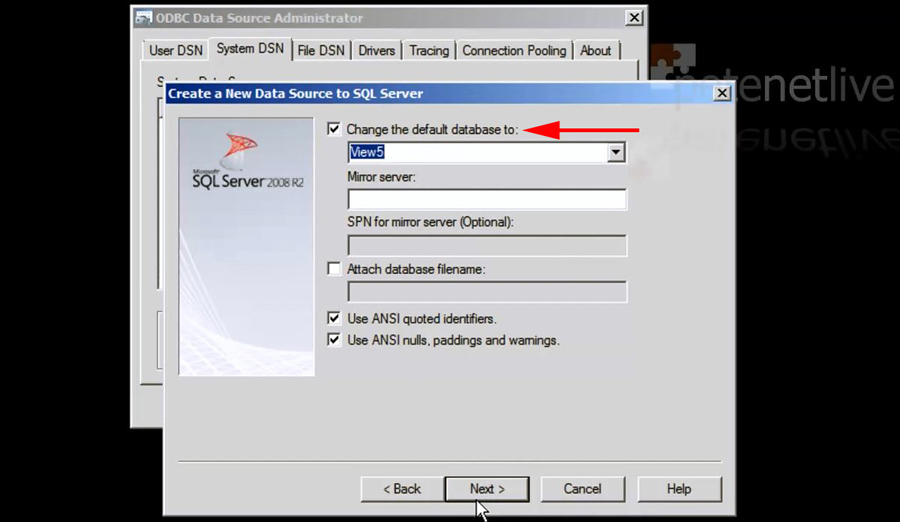
19. Change the default database from ‘master’ to the one you created > Next > accept all the defaults > Finish.
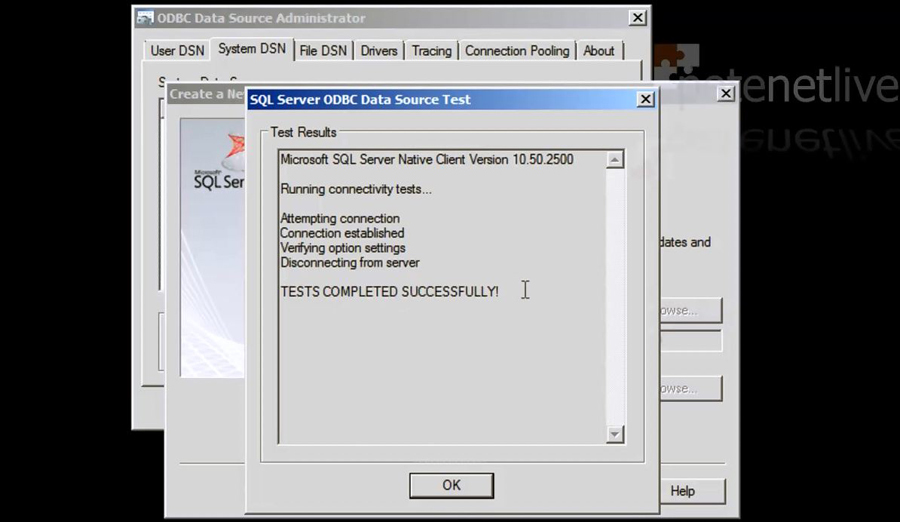
20. Click ‘Test Data Source’ and it should say TEST COMLPETED SUCESSFULLY > OK > OK > OK.
VMware View – Installing VMware Composer
Note: Composer MUST be installed on your VMware virtual Center (vCenter) Server.
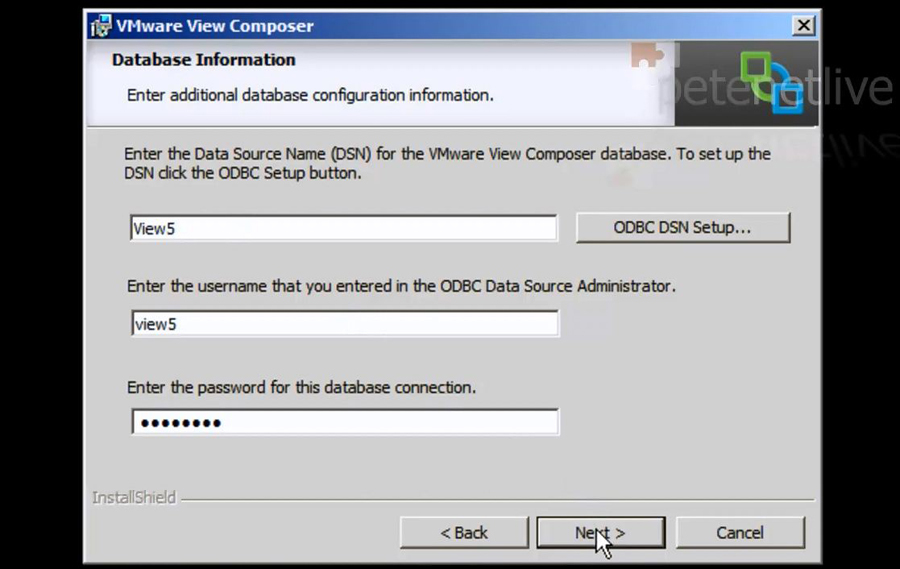
21. Run the installer > Next > Next > Accept the EULA > Next > Next > Enter the ODBC details and login you created earlier > Next.
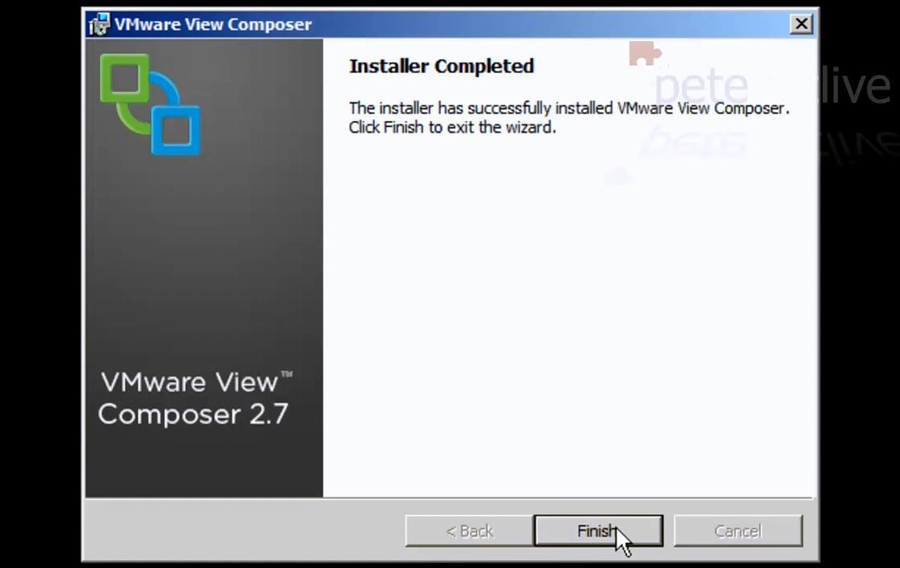
22. Next > Install > Finish.
VMware View – Add Composer to VMware View Administrator Console
23. Connect to, and log into the VMware View Administrator Console > View Configuration > Servers > If you already have a vCenter server select Edit > If not select Add.
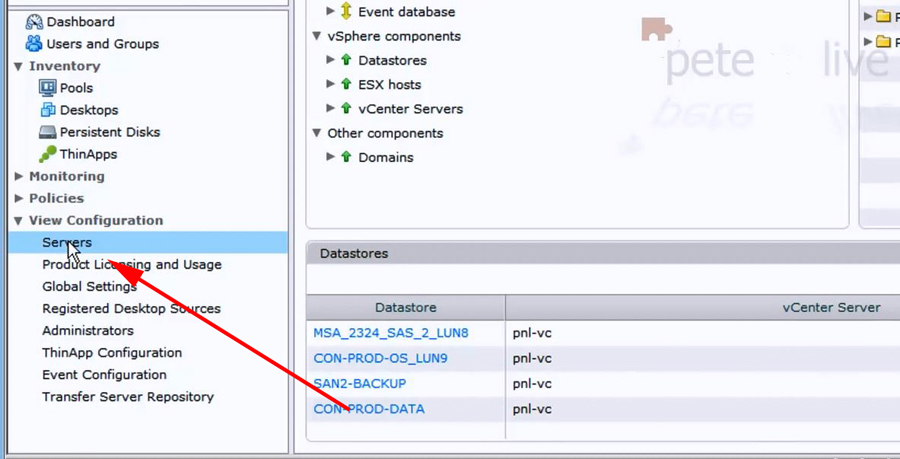
24. On the vCenter Server settings tab ensure ‘Enable View Composer’ is ticked and add in a domain user (with rights to create, and delete computer objects in the domain) > OK.

25. You will know if the operation was successful as the vCenter logo will change, it will now have a gold/yellow box around it.

Related Articles, References, Credits, or External Links
Deploying VMware View 5 – Part 5 Deploying Linked Clone View Desktops