
KB ID 0000607
Problem
Note: This is an old post for VMware view version 5, you might want to read Deploying VMware Horizon View instead.
It’s been a while since I wrote Part 4, so it’s time to wrap this up. Now we have Composer installed on the Virtual Center, we can start to deploy our linked clone desktops.
Solution
VMware View – Prepare your Source Machine
1. I’ve already covered how to prepare your Windows 7 client machine to be a View client here. Once that’s done, release its IP address (ipconfig /release) and shut it down.

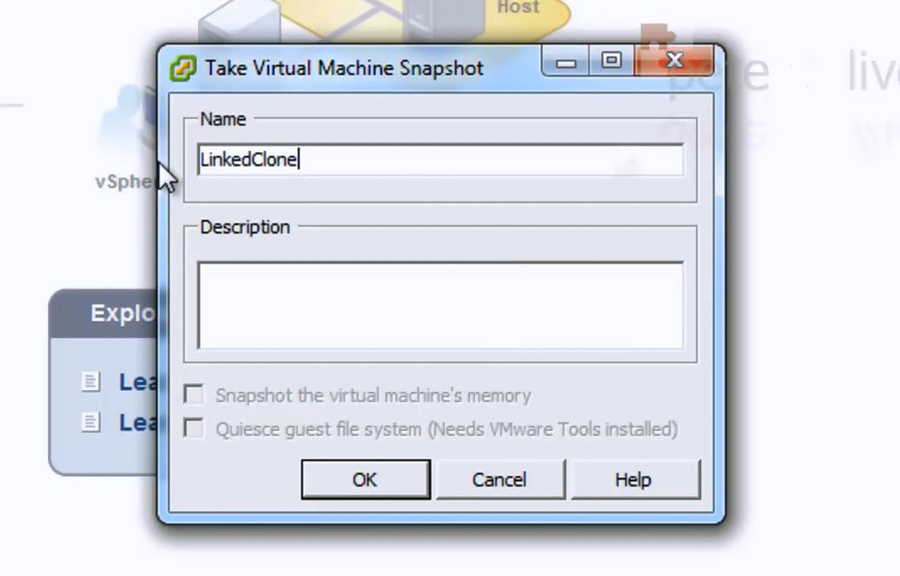
2. With your source machine shut down, take a snapshot of the machine.
VMware View – Create an Automated Linked Clone Pool
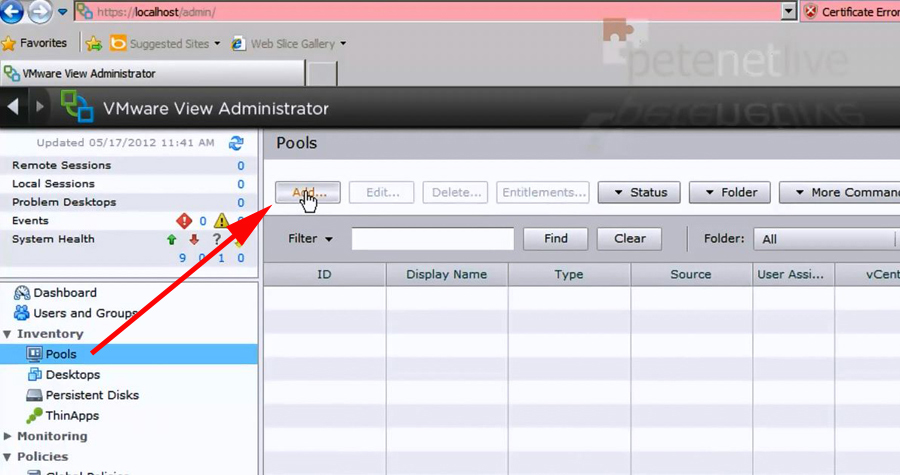
3. Log into your VMware View Administrator console > Inventory > Pools > Add.
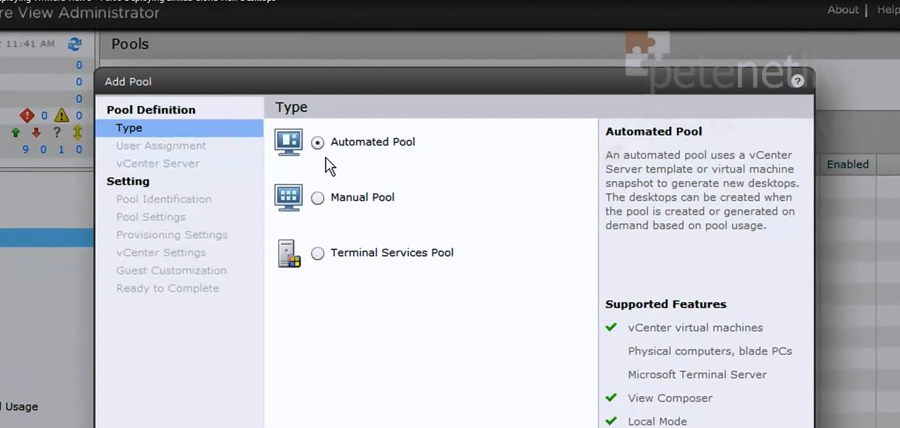
4. Automated > Next.
5. Dedicated > Next (unless you want a floating user assignment, the description of each is on this page).

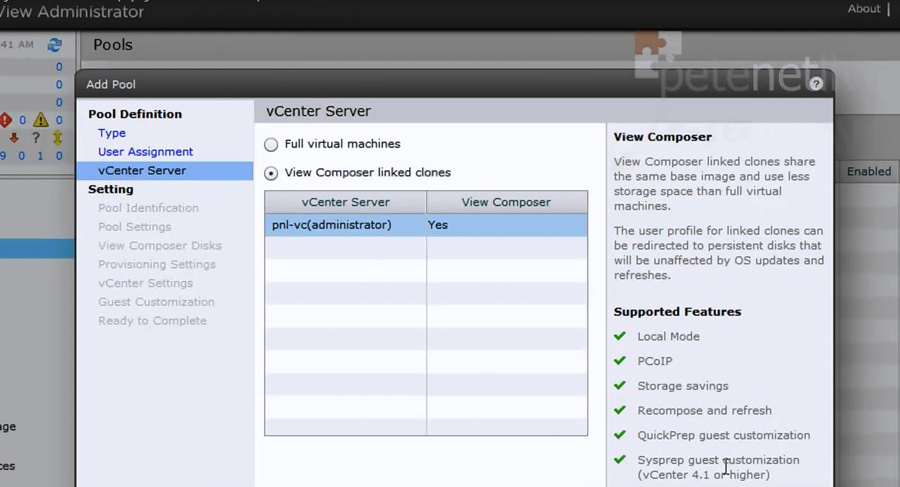
6. View Composer linked clones > Next (ensure your vCenter is listed, and has “Yes” in the View Composer section).
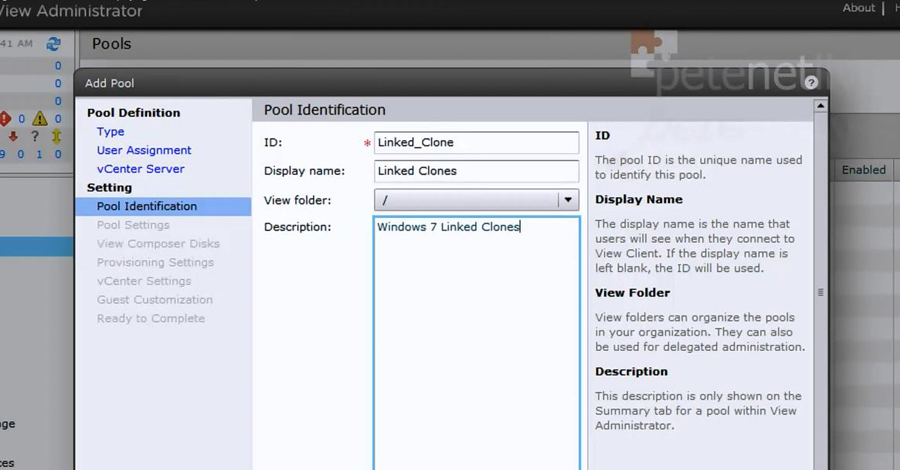
7. Give the pool an ID, name, and description. (Note: If you use folders for your VM’s, you can also select those here).
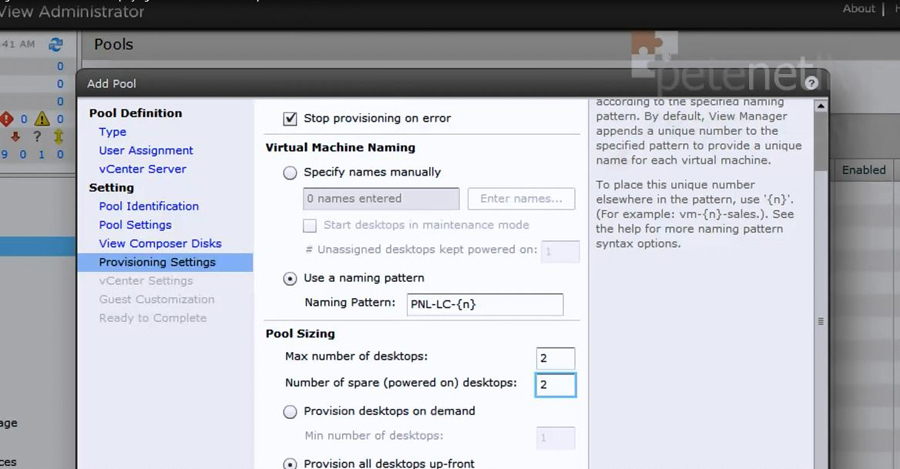
8. I tend to stick with the defaults, except I let the users reset their desktops > Next.

9. I’m not redirecting any disposable files or profiles > Next.

10. Expand Security > Logins > Create a new login.
11. For the default Image, browse to your source machine, then select the snapshot. Set the Folder, Host/Cluster, and Resource pool as applicable. Then browse for a datastore.

12. Here I’ve selected to store my disks on different datastores. If you can, put your replica disk on the FASTEST storage, as this gets the most “Read” traffic > OK > Next.

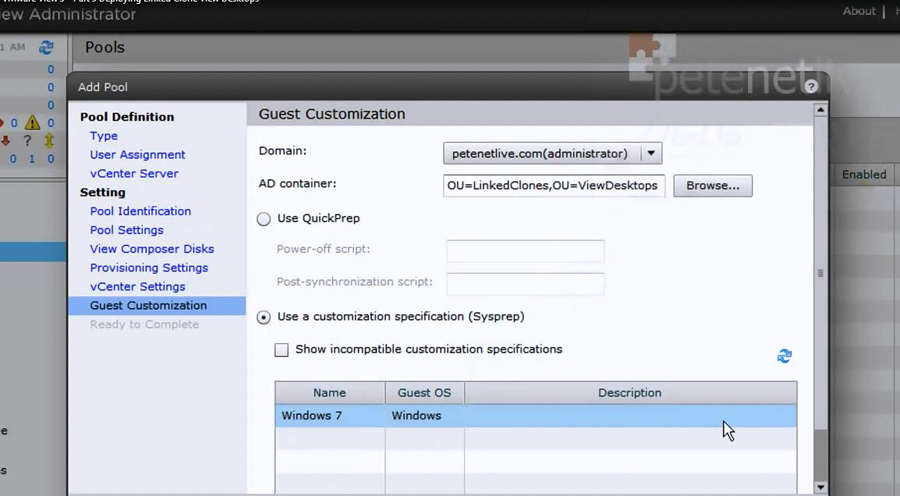
13. The domain should auto populate > Pick an OU to place the new machines into, then select either to use quickprep (the VMware one), or Sysprep (the Microsoft one). > Next.
Note: You can also use a customization specification (yes Americans are worse at spelling than me!), you set these up in the VI client on the home screen under ‘Customization Specifications Manager’.
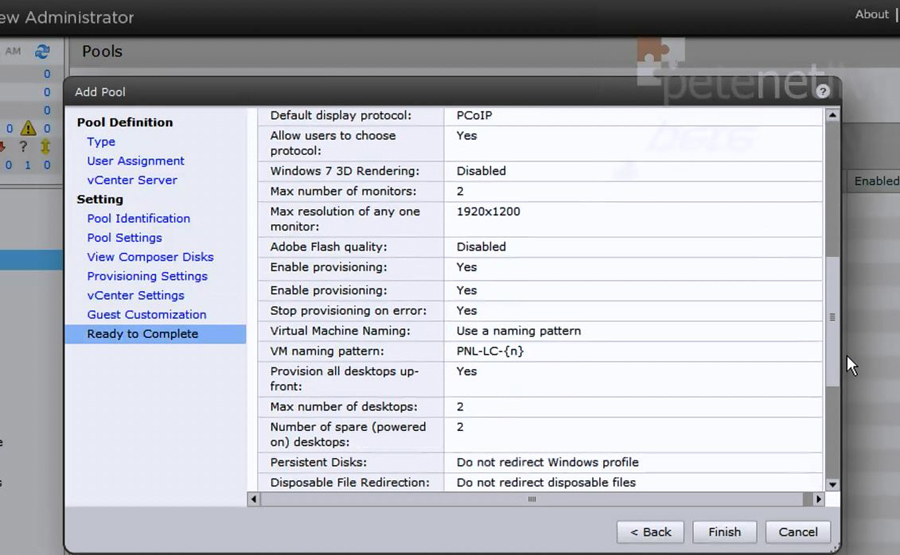
14. Review the information > Finish.
15. Now you have you pool, you need to allow your users to connect to it, with it selected press ‘Entitlements’.
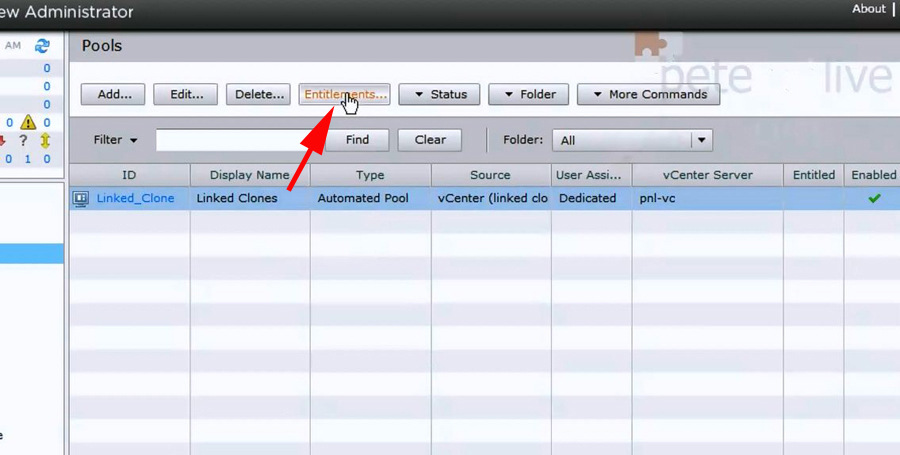
16. Add in the users and/or groups you want to grant access to > OK.

17. It can take a while for the replica to be created then all the linked clones to become ‘Available’ watch progress under ‘Inventory > Desktops’.

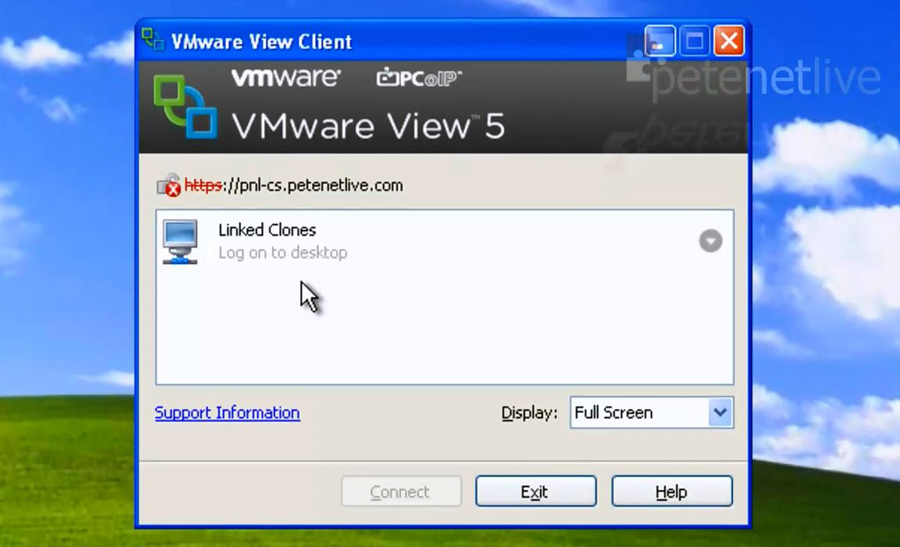
18. When available you should be able to connect to them using the VMware View Client.
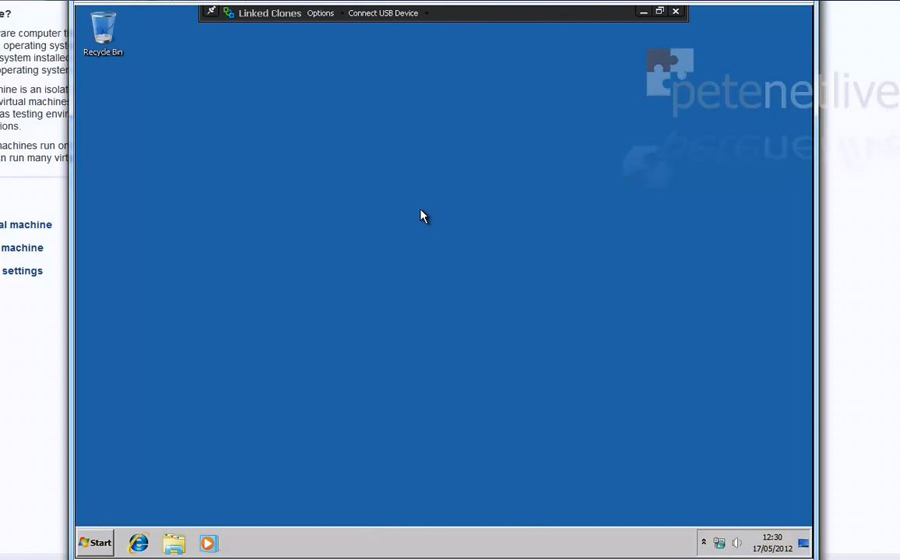
19. And finally get your new Windows 7 linked clone desktop.
Related Articles, References, Credits, or External Links
NA