
KB ID 0000596
Problem
Note: This is an old post for VMware view version 5, you might want to read Deploying VMware Horizon View instead.
In Part 1 we looked at setting up your connection server. To actually deliver a virtual desktop you need to a) have a desktop built, and b) have the VMware View ‘agent’ installed on it.
In addition there are various changes you need to make, both to streamline the virtual machine, and make it more efficient for VMware View.
Note: If you are doing manual assignment of desktops to users, then this is not as important, but if you are going to deploy linked clone desktops this is VERY important. Either way its still good practice to ‘prep’ desktops first.
Solution
1. Build the desktop you intend to deliver via View (In this example I’m using Windows 7 Pro x32 bit).
Licencing Note: For manual desktop assignments you can use MAK license keys, but for larger deployments using VMware composer and linked clones, use Microsoft’s KMS server to service your licensing needs.
Using KMS Server for Windows Server 2008 R2, Windows 7, and Office 2010
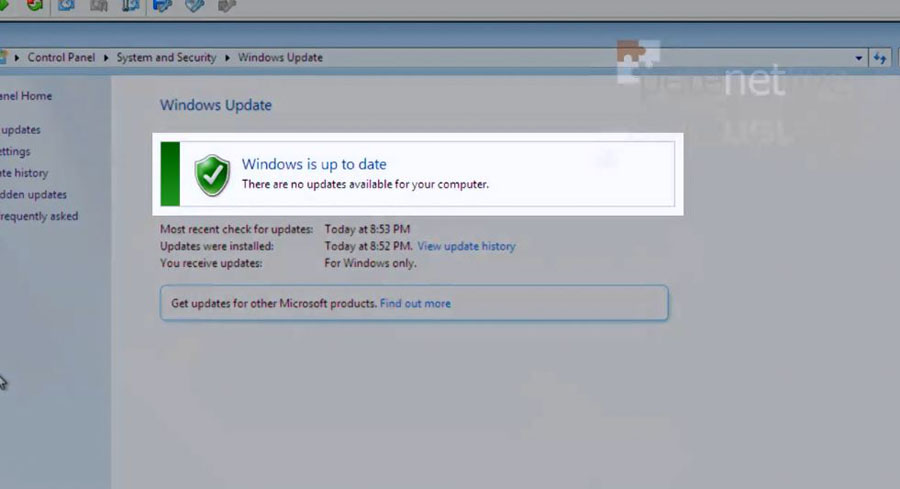
2. Run a full Windows update, allow the machine to reboot, then keep running Windows update until it says that it is up to date.
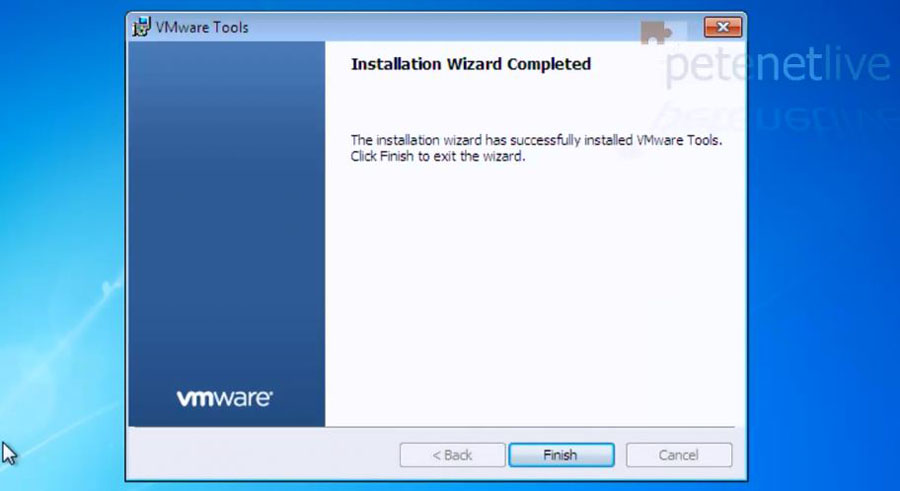
3. Then install the VMware tools.
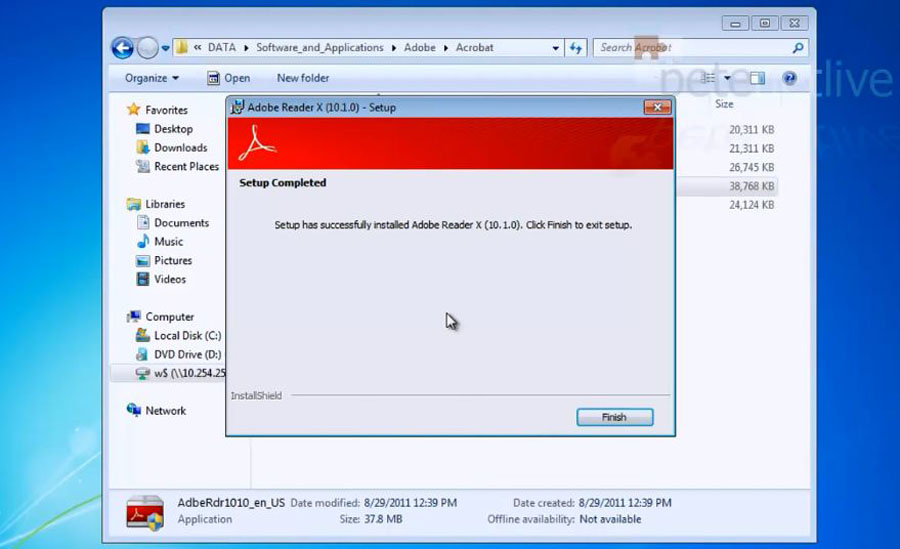
4. Install any software and applications you require.
5. Download these scripts to auto configure your clients.
Note: There are two scripts, one called PrepClient.bat and the other called PrepClientPM.bat (Only use the latter if you are going to deploy persona management). I originally got these scripts from VMware, and have made a subtle change to them, they are 99% NOT my work!
Make sure you execute the scripts from a command window “As Administrator”, (right click the cmd shortcut while holding down Shift). You will need to do this even if you are logged in as the administrator.

What this script is doing?
a. Sets screen saver to “Blank Screen”, enable after one minute, and password protects it. b. Empties the internet cache. c. Turns off RSS Feeds in Internet Explorer. d. Disables Microsoft Action center. e. Stops the “Welcome to Internet Explorer” Dialogue for new users. f. Disables “Superfetch”. g. Disables Windows update (Note: If you are not using linked clones you might want to remove this line);
h. Disables System Restore, and removes access to the restore options. i. Sets the application log size to 10MB and allows it to overwrite events as needed. j. Sets the system log size to 10MB and allows it to overwrite events as needed. k. Sets the security log size to 10MB and allows it to overwrite events as needed. l. Disables the Network Location Wizard. m. Disables Crash Dump Logging. n. Deleted files are instantly deleted, they do not go to the recycle bin (Stops the recycler file filling up with junk), to stop this remove this line.
o. Enables Remote Desktop (RDP Connections) from all clients (the less secure option) p. Disables Windows User Access control. q. Disables Windows SideShow. r. Disables the following services.
Bitlocker Drive Encryption Service ‘BDESVC’ Block Level Backup Engine Service ‘wbengine’ Diagnostic Policy Service ‘DPS’ Desktop Window Manager Session Manager Service ‘UxSms’ Disk Defragmenter Service ‘Defragsvc’ Home Group Listener Service ‘HomeGroupListener’ Home Group Service ‘HomeGroupProvider’ IP Helper Service ‘iphlpsvc’ Microsoft iSCSI Initiator Service ‘MSiSCSI’ Microsoft Software Shadow Copy Provider ‘swprv’ Client side Caching Service ‘CscService’ Secure Socket Tunnelling Protocol Service ‘SstpSvc’ Windows Security Center Service ‘wscsvc’ Simple Service Discovery Protocol Service ‘SSDPSRV’ ReadyBoost Service ‘SysMain’ Tablet Input Service ‘TabletInputService’ Themes Service ‘Themes’ Universal Plug and Play Service ‘upnphost’ Volume Snapshot Service ‘VSS’ (Note: NOT Disabled if using the Persona Management Batch File) Windows Backup Service ‘SDRSVC’ Windows Defender Service ‘WinDefend’ Windows Error Reporting Service ‘WerSvc’ Windows Firewall Service ‘MpsSvc’ Windows Media Center Receiver Service ‘ehRecvr’ Windows Media Center Scheduler Service ‘ehSched’ Windows Search Service ‘WSearch’ Windows Update Service wuauserv’ Wireless LAN Service ‘Wlansvc’ Wireless Auto config Service ‘WwanSvc’
s. Sets Windows to show “Blank Screen” when booting instead of the Windows animation. “bcdedit /set BOOTUX disabled”. t Remove all Shadow Copies, “vssadmin delete shadows /All /Quiet” (Note: NOTDisabled if using the Persona Management batch file). u. Disables Hibernation “powercfg -H OFF”. v. Disables the “Last accessed” timestamp for windows files “fsutil behavior set DisableLastAccess 1”. w. Stops scheduled Windows Defragmentation (Note: In Linked clone environments this would expand all the delta disks and is a common ‘gotcha’). x. Stops the registry backup which happens every 10 days. y. Stops the scheduled Windows Defender tasks. z. Stops the Windows System Assessment Tools (this gives your PC its ‘performance rating’ from 1 to 5).
Another Option to Prepare Windows 7 for View
You can also (If you prefer a graphical tool) use Desktop Optimizer from Quest. (Note: Also needs to be ran as administrator or you will get runtime errors!)

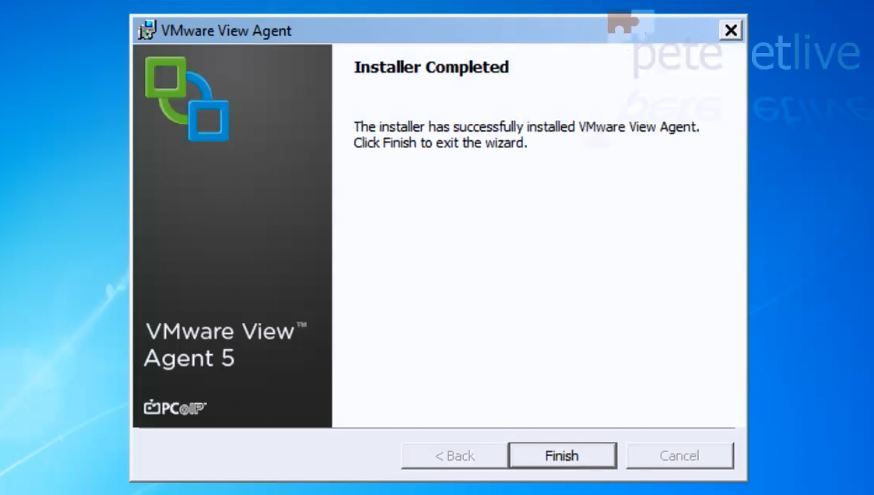
6. Then Install the VMware View Agent.
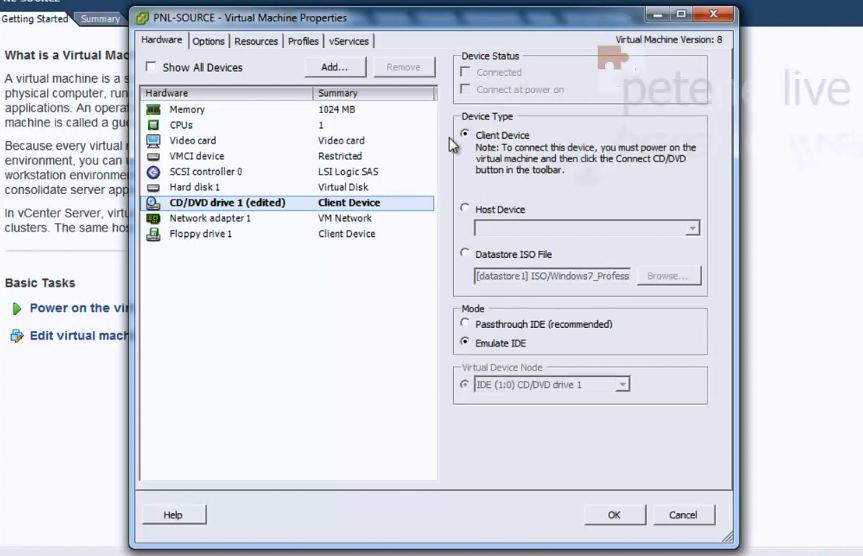
7. Then make sure any floppy drives, and CD/DVD drives are also disconnected.
8. If the virtual machine is going to be in a manual pool leave it powered on. If it’s going to be part of an automated pool, you can snapshot it.
Related Articles, References, Credits, or External Links
Deploying VMware View 5 – Part 1: Configure Active Directory and Deploy VMware Connection Server
Deploying VMware View 5 – Part 3: Creating a ‘Manual Pool’ and Connecting a View Client