
KB ID 0000218
Problem
A while ago I wrote an article about adding drivers to a WindowsPE Image, this was part of an installing Symantec Ghost with WDS procedure. Recently one of my colleagues was using my instructions, and despite his best efforts could not get the procedure to work with a new PC (Intel NIC).
So he decided to give it a go with the new version of the WAIK he was successfull, but the procedure is slightly different. This prompted re-write number 1, Then I started messing around with Windows PE on USB, and found out a bit more, so here we are with re-write 3
Solution
The following procedure assumes the following,
Folder Locations :- c:TEMP_IMG is where the boot image will be mounted. c:drivers is where your additional network drivers will be stored. c:ghost is where you have saved a copy of GHOST32.exe (Note: Only if using Ghost).
1. Download an Install the WAIK.
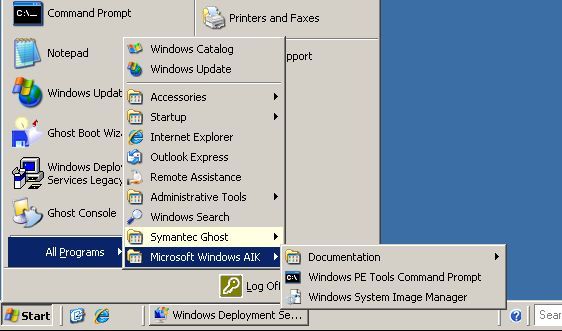
2. Startup the Deployment Tools Command Prompt (under Microsoft Windows AIK folder).
3. I’m assuming you allready have a Windows PE Image, If not go here first.
4. Click Start > In the “search programs and files” box type notepad {enter}
5. Mount your image (NB the path to the image to suit your own requirrement. in the example below its G:sourcesboot.wim yours will be different).
mkdir c:TEMP_IMG

mkdir
c:drivers

imagex /mountrw G:sourcesboot.wim 1 c:TEMP_IMG
6. Now Get your drivers, a good place to get multiple driver packages is here.
7. Once you have your drivers downloaded extract then to your c:drivers directory.
8. Now I’m going to add/inject all the drivers from multiple folders to the Windows PE image, execute the following command.
9. All being well when completes, it will say “The operation completed successfully”.
10. If you are using Ghost, open notepad > File > Open > Change file type to “All Files” > Navigate to c:TEMP_IMGwindowssystem32startnet.cmd > Add in the line GHOST32.EXE after the initial statement. (and copy ghost32.exe to the c:TEMP_IMGwindowssystem32 directory.
11. Now unmount the image and commit the changes with the following command at the Deployment Tools Command Prompt.
12. If you are using WDS you can now import the image.
Related Articles, References, Credits, or External Links
NA