
KB ID 0000108
Problem
There’s very little about this that seems to be stored in one place out there on the Internet, Why would you want to use Ghost and WDS together anyway? Well once upon a time we used the PXE element is RIS, (WDS’s Predecessor) to use the Symantec GhostCast server. So yes I understand why people raise an eyebrow because you can achieve all your imaging needs with WDS alone. however people have invested heavily in Ghost over the years and rely on ghost images – also if you are using ghost to back up machines, then you may want to image them WITHOUT sysprep-ing then first (Which WDS does not seem to want to let you do.)
Doing this in a virtual environment tends to be fraught with problems, with both with Microsoft and
VMware, I’ve had trouble testing this. But when using real machines it works fine – remember any drivers you need must be Windows Vista ones. And Windows PE wont run in a Guest VM in VMware ESX, unless you set the client type to Vista (Even if it is another OS).
Pre Requisites
1. The Server needs an installed and working DHCP Scope, WDS adds a PXE option to it.
2. You need a reference PC set up.
3. You need to download the WAIK (Windows Automated Installation Kit).
Solution
Phase 1: Install WDS
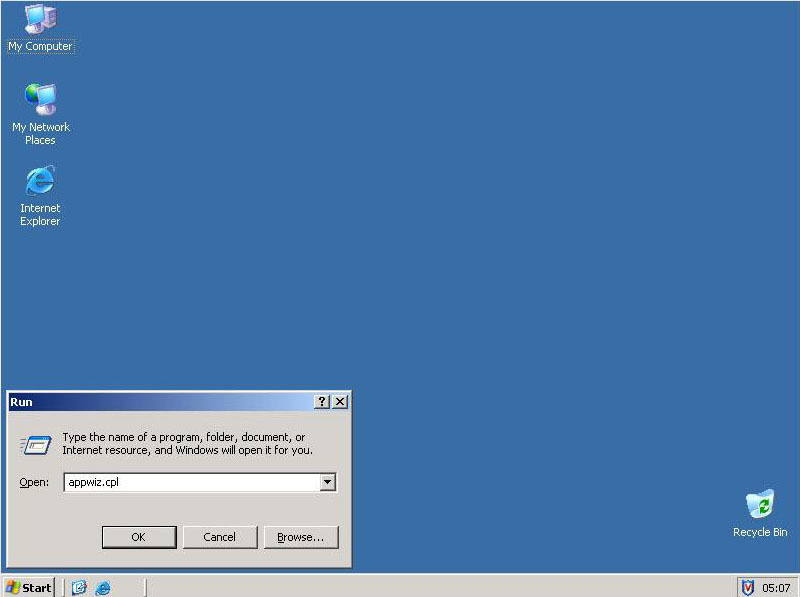
1. To start with, you need to add WDS as a Windows component, Start > Run > appwiz.cpl {enter}.
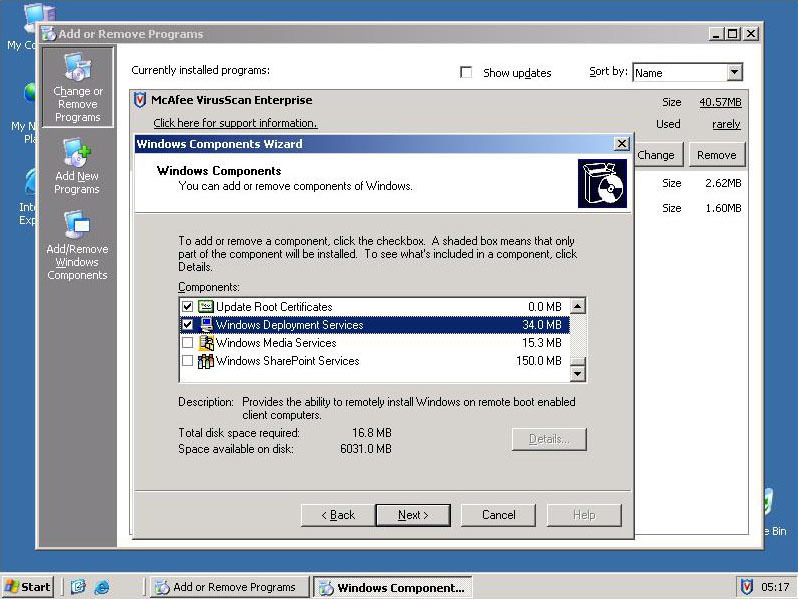
2. Scroll down to Windows Deployment Services and tick the box > Next. Note: This in an R2 SP2 Version of Windows Server 2003, if you cannot see WDS then install SP2.
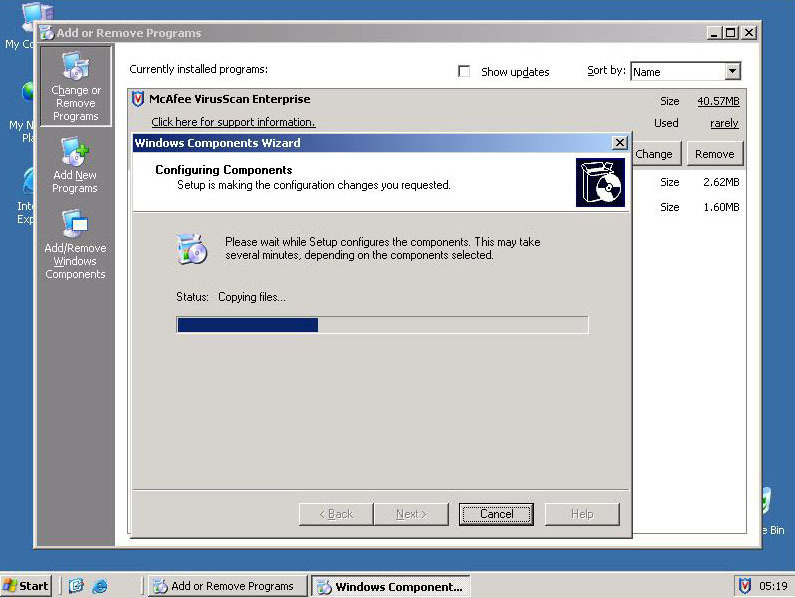
3. WDS is added (The server may ask for the install CD).
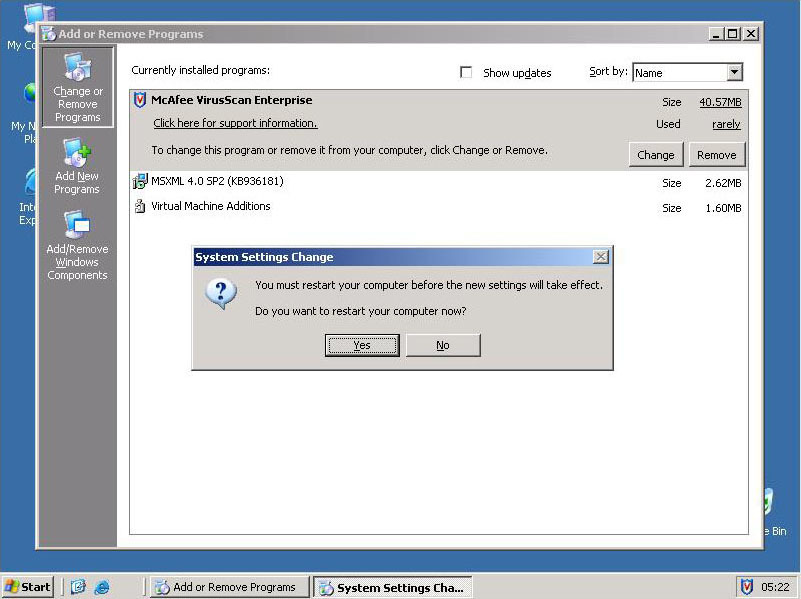
4. Click Finish.
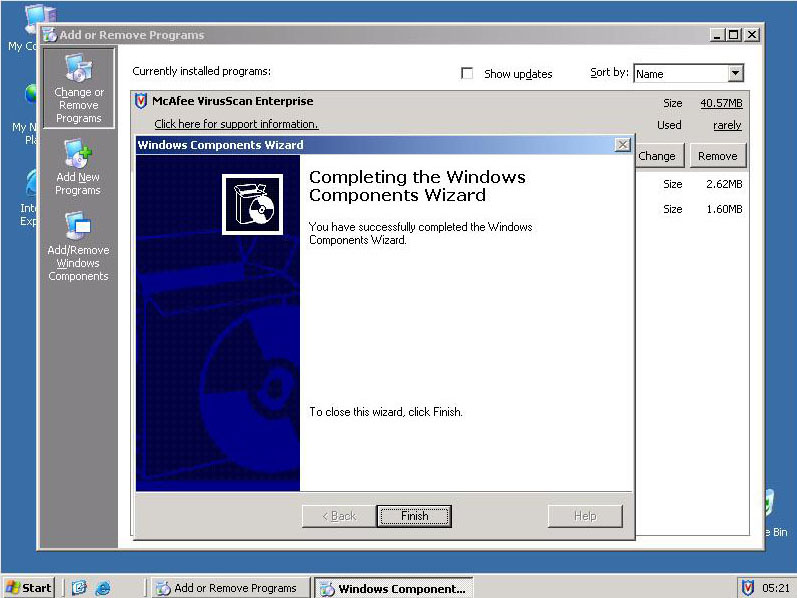
5. Click “Yes” to Reboot.
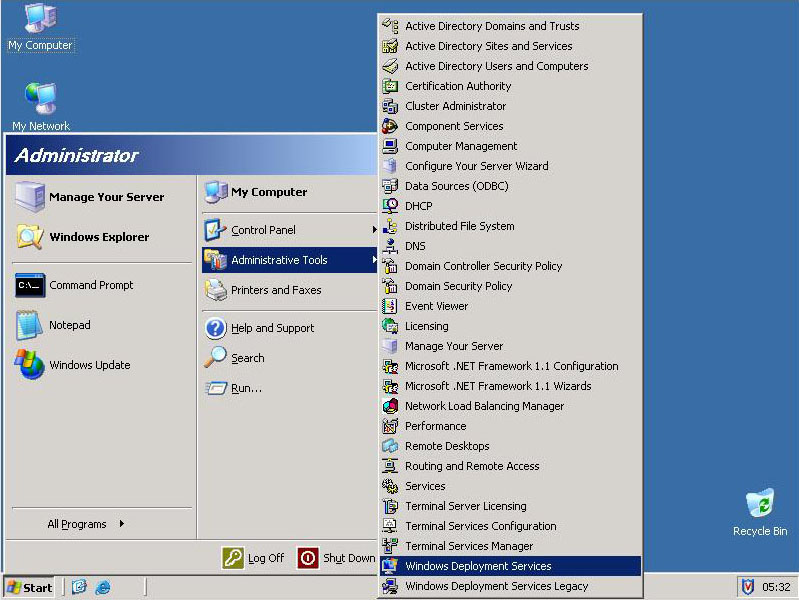
6. Start > Administrative Tools > Windows Deployment Services.
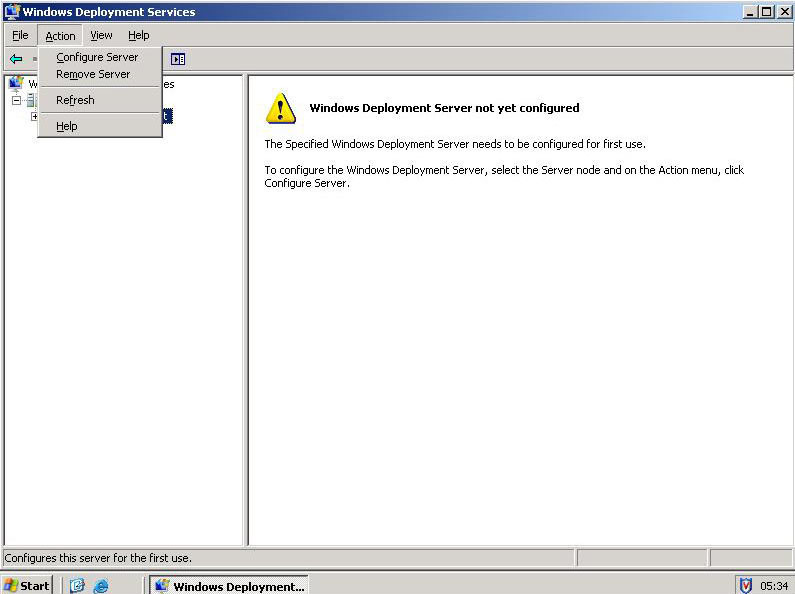
7. Expand Servers.

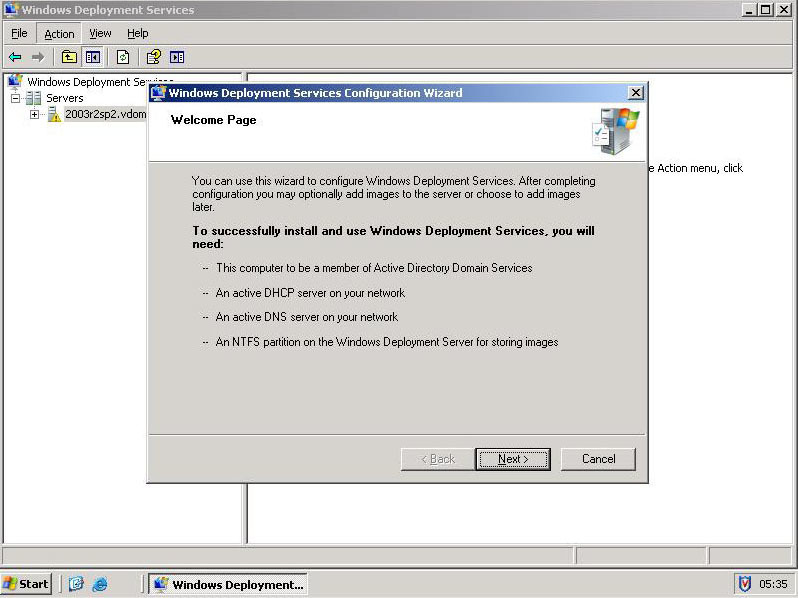
8. Select your server > Actions > Configure Server.
9. Next.
10. Provide a path to the location you want to store your images in.
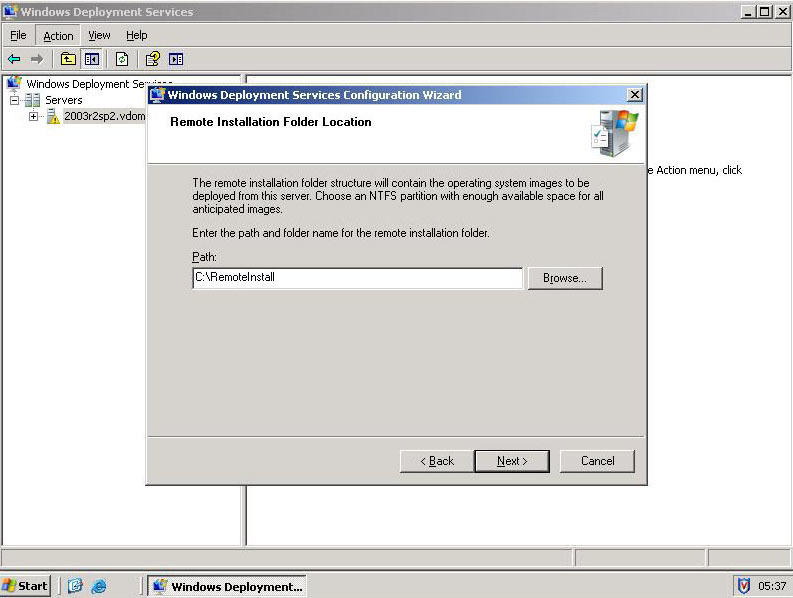
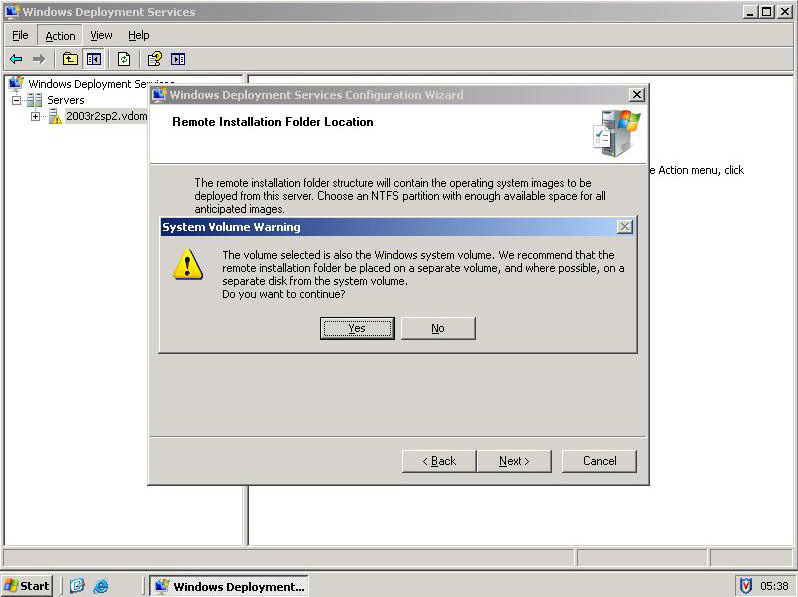
11. If the location is on the system drive you may see this warning > Click Yes.
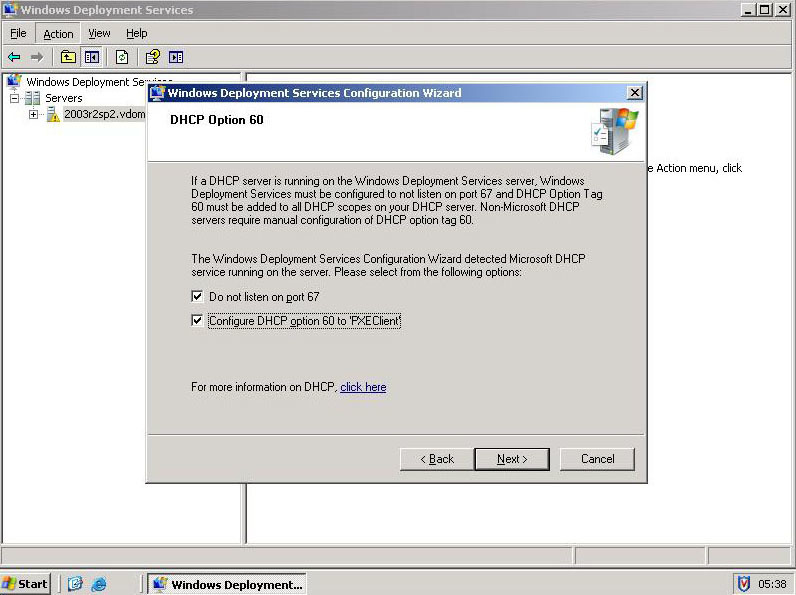
12. Tick Both > Next.
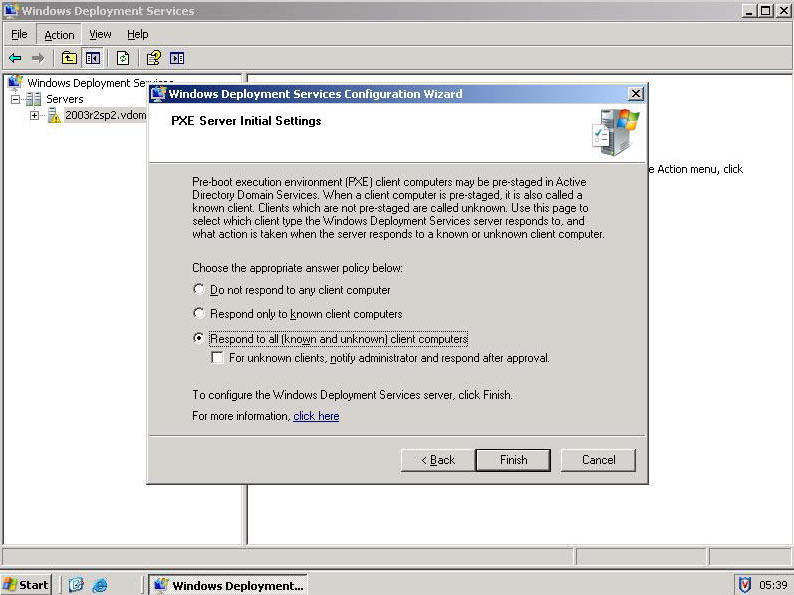
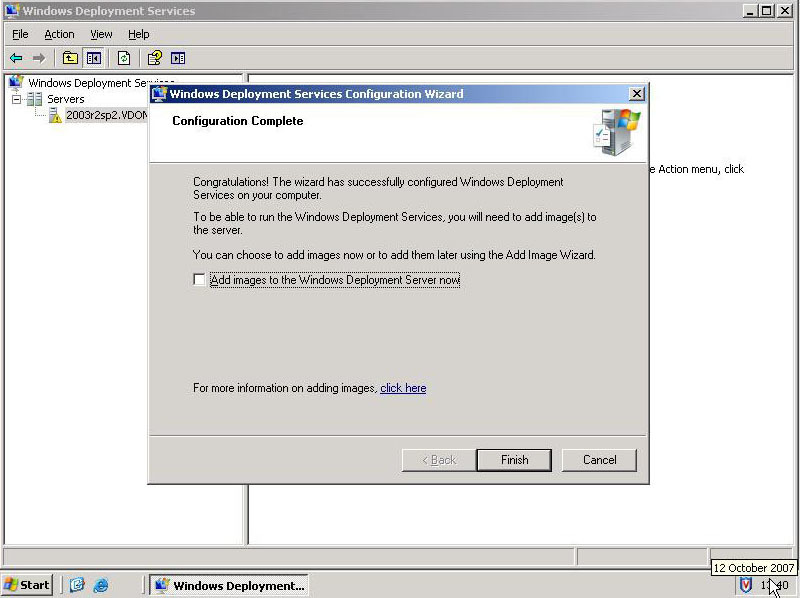
13. Bottom Option > DONT tick the box > Finish.
14. WDS Copies over some files and configures itself.

15. Untick the box, we are going to do this manually and just add what we want. > Finish.
Phase 2: Install Symantec Ghost
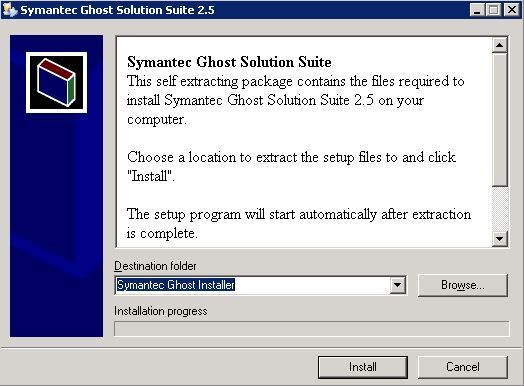
1. Run the setup.exe > Install.
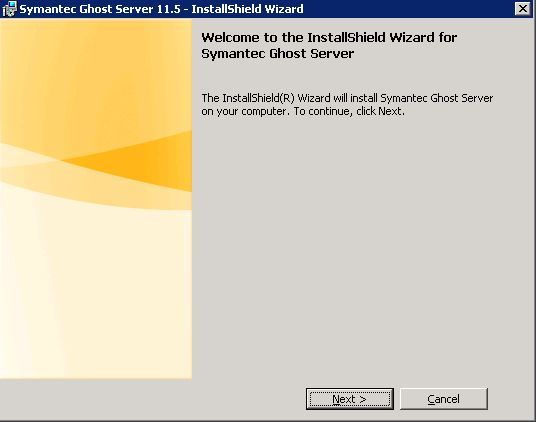
2. Next.
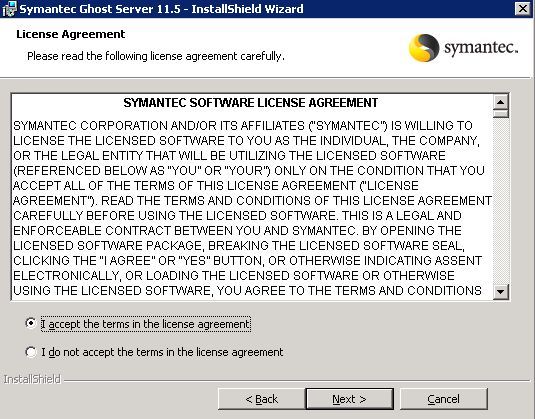
3. Tick “I Accept..” > Next.
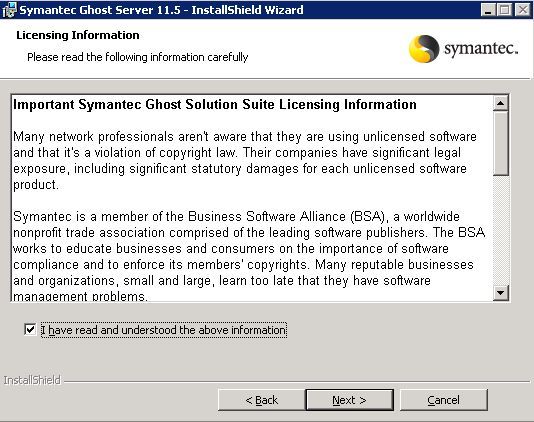
4. Tick “I have read….” > Next.
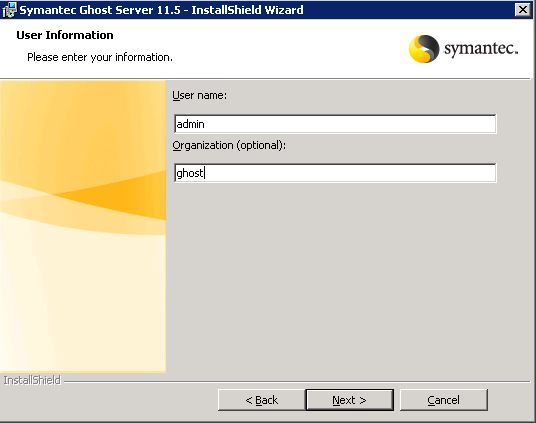
5. Enter a User and Organisation > Next.
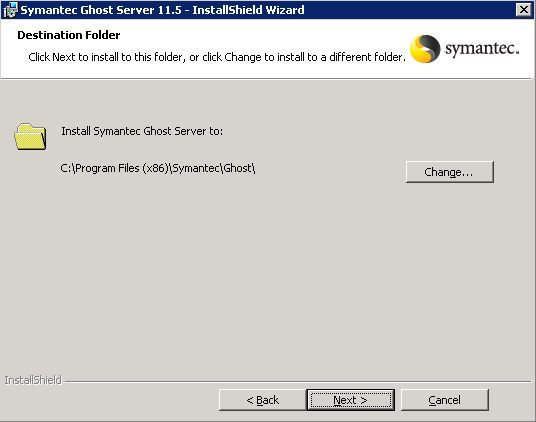
6. Select Install Location > Next.
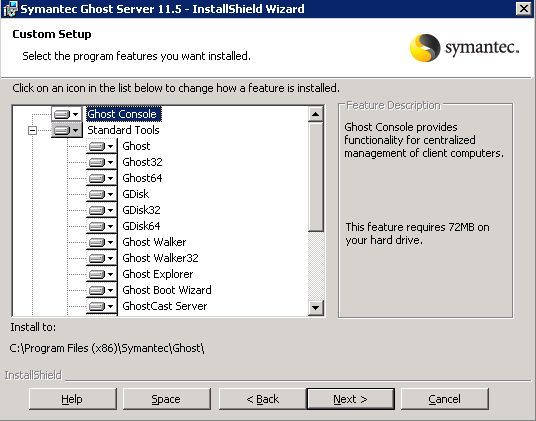
7. Next.
8. Install.
9. Coffee Time………..
10. Next.
11. Next
12. Finish
Phase 3: Install WAIK and create the Boot Image
Note: This is using the Windows Vista WAIK – If you are using the Windows 7 Version CLICK HERE
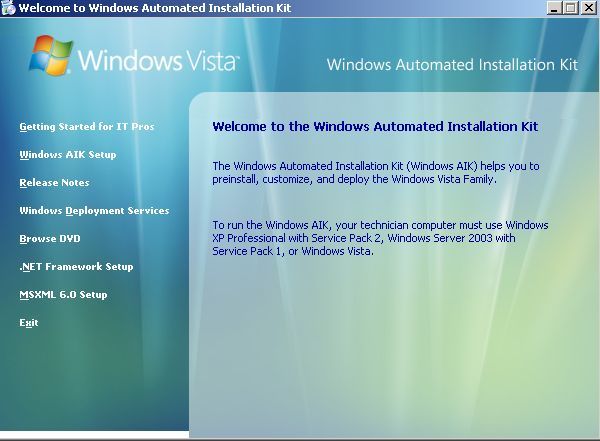
1. Download and install the WAIK.
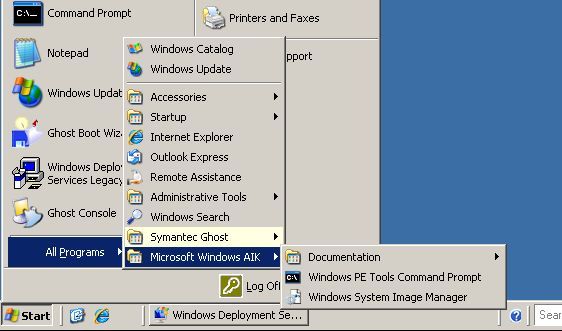
2. Click Start > Microsoft Windows AIK > Windows PE Tool Command Prompt.
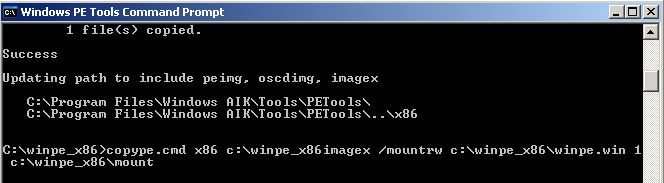
3. Execute the following command,
.copype.cmd x86 c:winpe_x86 {enter}
![]()
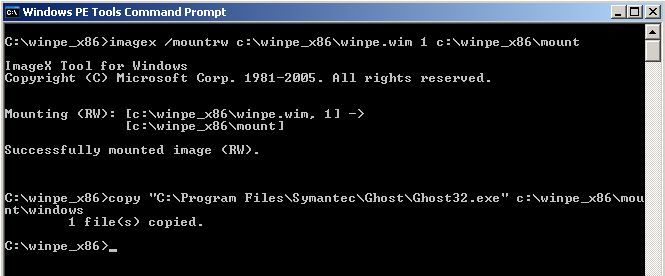
4. Execute the following command,
.imagex /mountrw c:winpe_x86winpe.wim 1 c:winpe_x86mount {enter}
5. Execute the following two commands,
.copy “C:Program FilesSymantecGhostGhost32.exe” c:winpe_x86mountwindows {enter}
copy “C:Program FilesSymantecGhostGhost32.exe” c:winpe_x86mountwindowssystem32 {enter}
Note: At this point you may want to copy and Network Card or Mass Storage Drivers to the Windows PE
Image as well (Remember they are vista drivers NOT DOS.NDIS Drivers).
copy “[NIC driver location]” c:winpe_x86mountwindows {enter}
copy “[Mass Storage Driver Location]” c:winpe_x86mountwindows {enter}
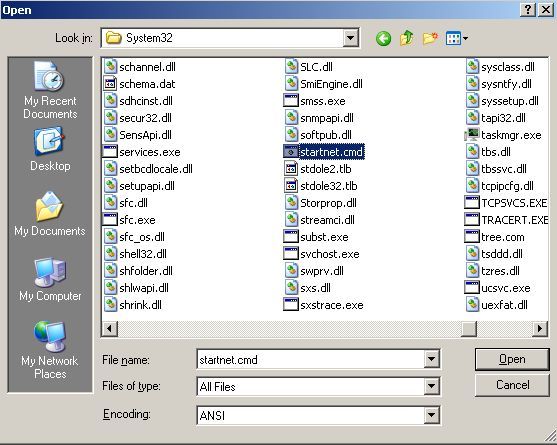
6. Click Start > Run > notepad {enter} File > Open > Navigate to c:winpe_x86mountwindowssystem32startnet.cmd (Note: change files of type to “all files” or you wont see it).
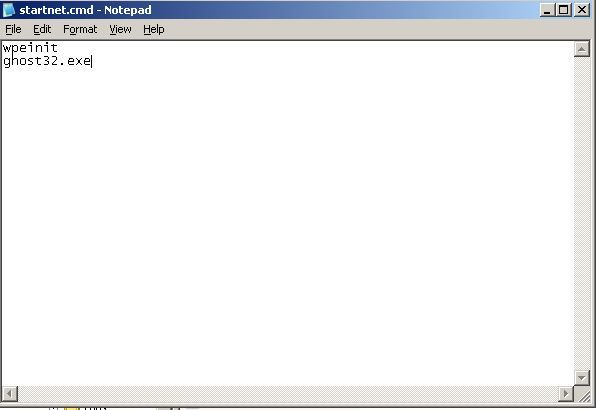
7. Add ghost32.exe (as shown) then save the file and exit.
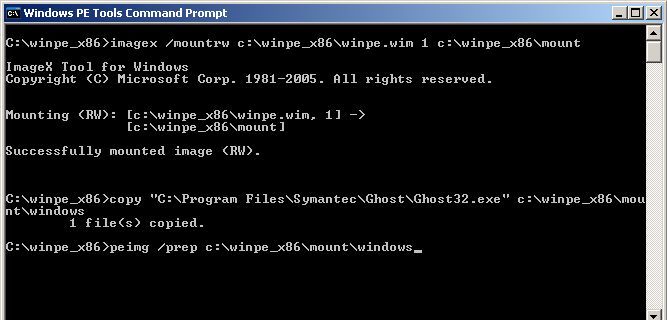
8. Switch back to the Windows PE Tools Command Prompt, Execute the following command,
peimg /prep c:winpe_x86mountwindows {enter}
9. Type “Yes” {enter}.
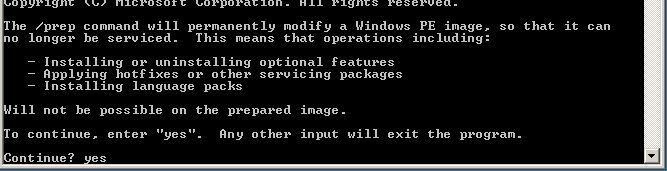
10. When done it should say “PEIMG completed the operation successfully.”
![]()
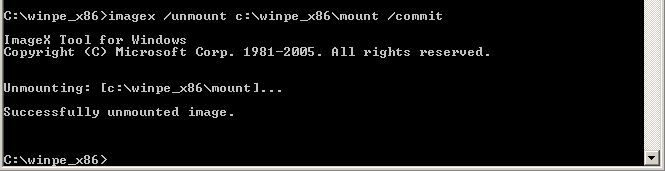
11.Execute the following command,
.imagex /unmount c:winpe_x86mount /commit {enter}
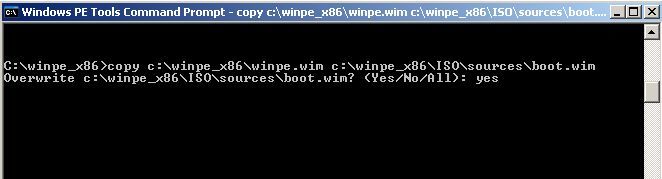
12. Execute the following command,
copy c:winpe_x86winpe.wim c:winpe_x86ISOsourcesboot.wim {enter}
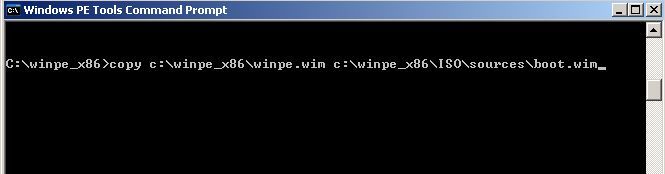
13. Type “Yes” to overwrite > When finished it should say 1 file copied.
Note: The image you need to give to WDS is called boot.wim, and you can find it here
C:winpe_x86ISOsources, You may wish to Copy it to your WDS Server to the directory you specified when setting up WDS (to hold Images).
Also: You can create a bootable CD iso from the .wim image using the following command,
oscdimg -n -bc:winpe_x86etfsboot.com c:winpe_x86ISO c:winpe_x86winpe_x86.iso
Phase 4: Add your new boot image to WDS
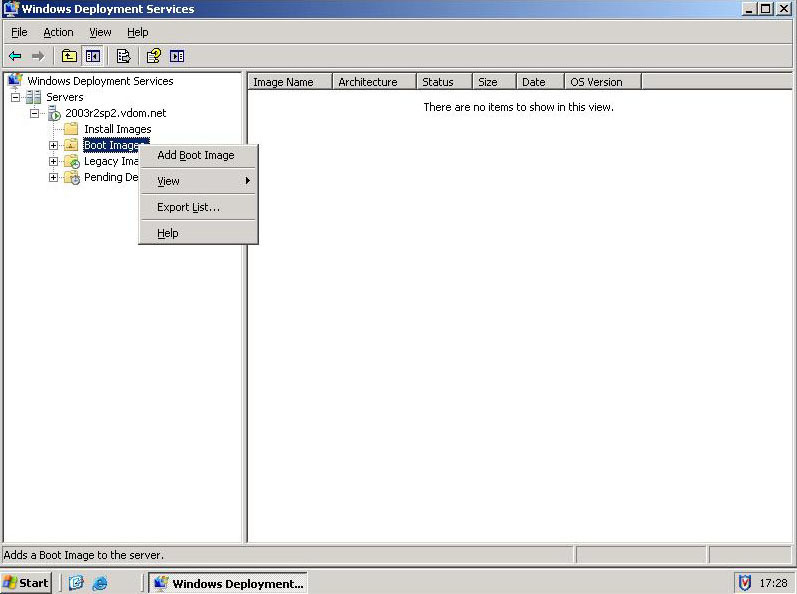
1. Start > Administrative Tools > Windows Deployment Services. > Expand Windows Deployment Services > Servers > Your Server > Right Click Boot Images > Select “Add Boot Image”.
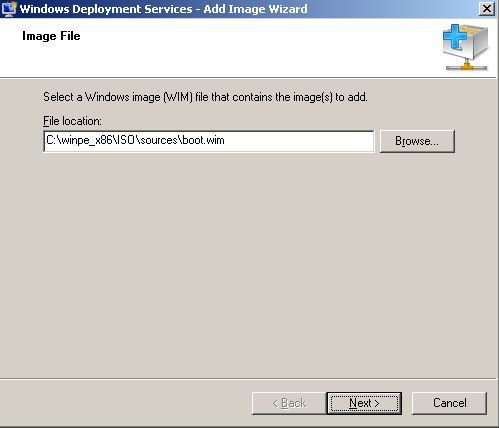
2. Browse to the Boot.wim file you created above.
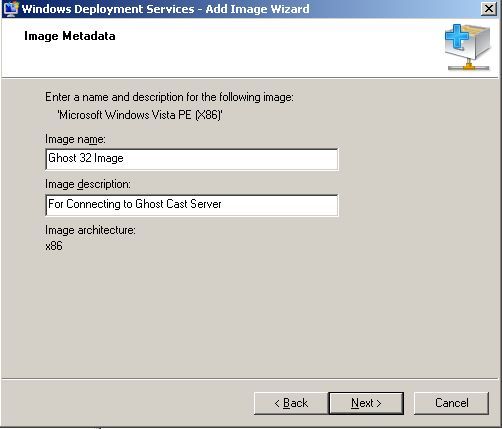
3. Give the image a sensible name and description > Next.
4. Next
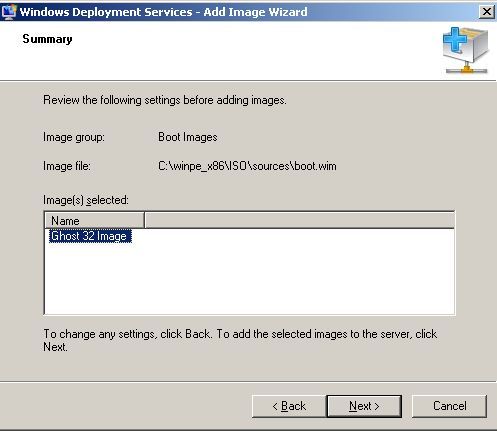
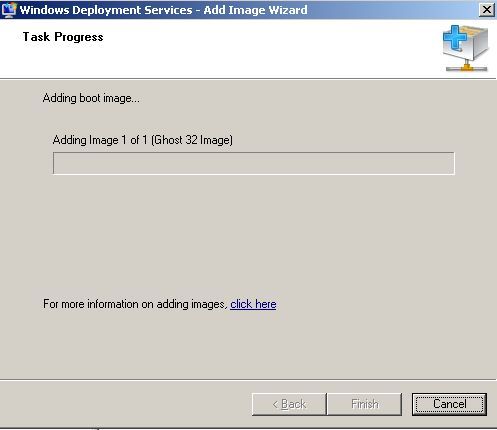
5. The image will be coped into WDS.
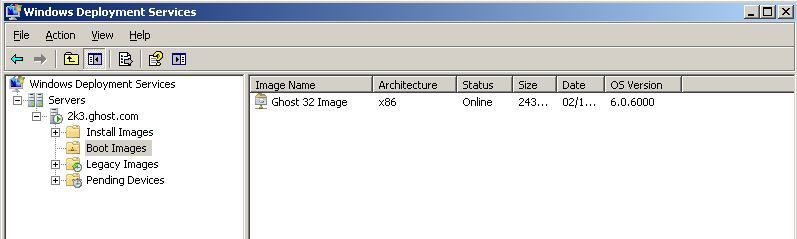
6. When done you should see it on the right.
Phase 5: Set GhostCast Server to Accept an Image
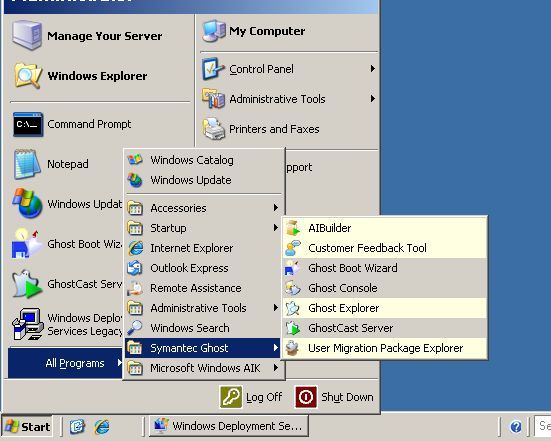
1. Start > All Programs >Symantec Ghost > Ghostcast Server.
2. Give it a Session Name > Select Create Image (Assuming you have a reference machine ready to image TO the server) > Click Browse to Find a location that has enough space to hold the image file. > Note you will need to create the filename.gho to continue. > Click “Accept Clients”.

Phase 6: PXE Boot your client to the network, and image it
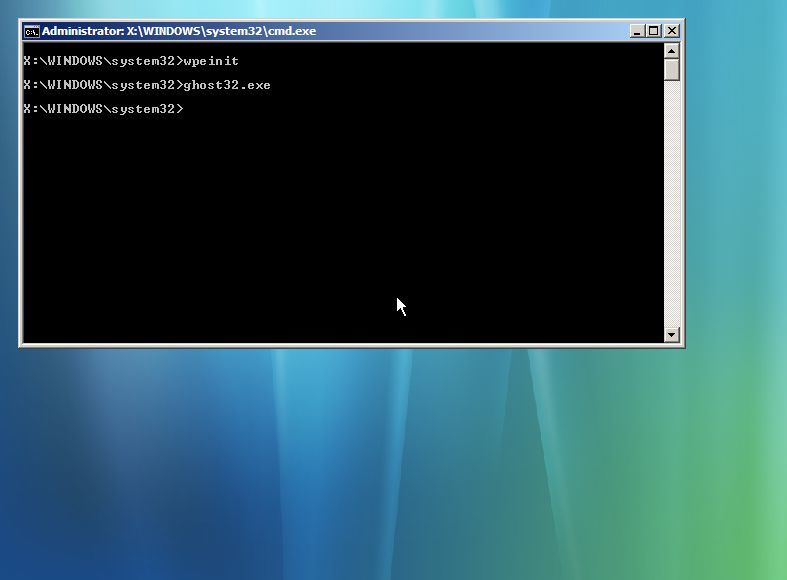
1. Remember to boot from the network the client must have a PXE capable network card and it must be set in the BIOS to be higher in the Boot order that the system drive, most machines now give you a key to press on boot, to boot from the network (Usually F12).
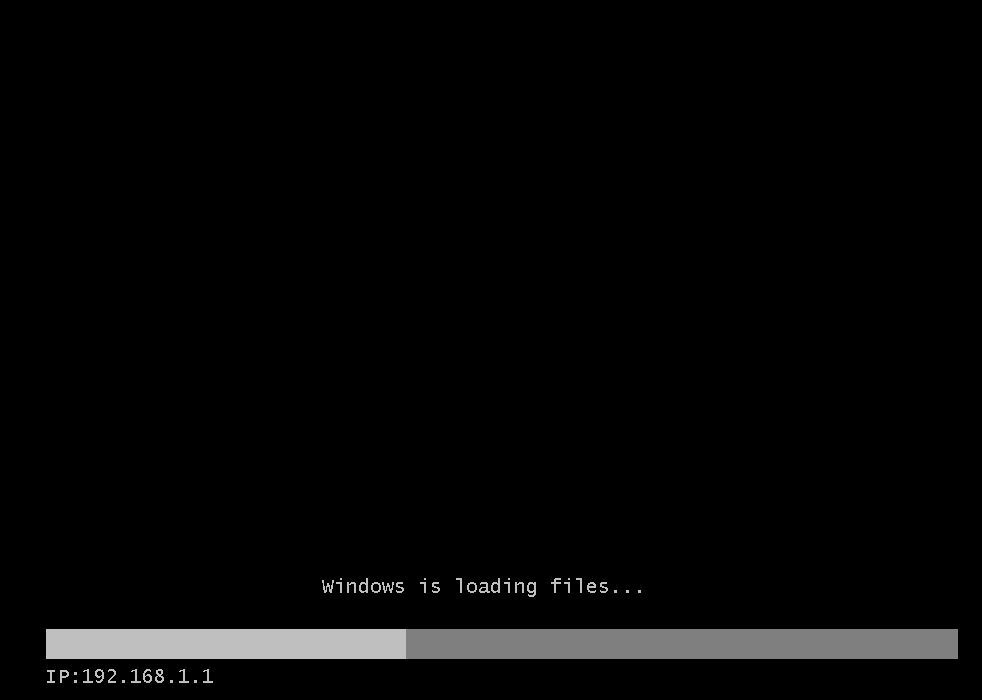
2. Cast you mind back to phase 3 step 7, those are the commands getting executed, winpeinit is the plug and play loader for windows PE.
Note: If you are using VMware and you have not set “Vista” as the machine type it may hang here and never launch ghost.
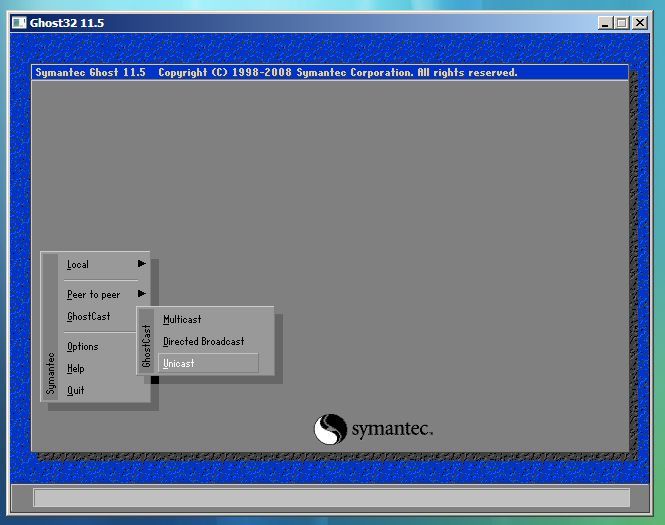
3. Like an old friend, Ghost appears > OK.

4. GhostCast > Unicast.
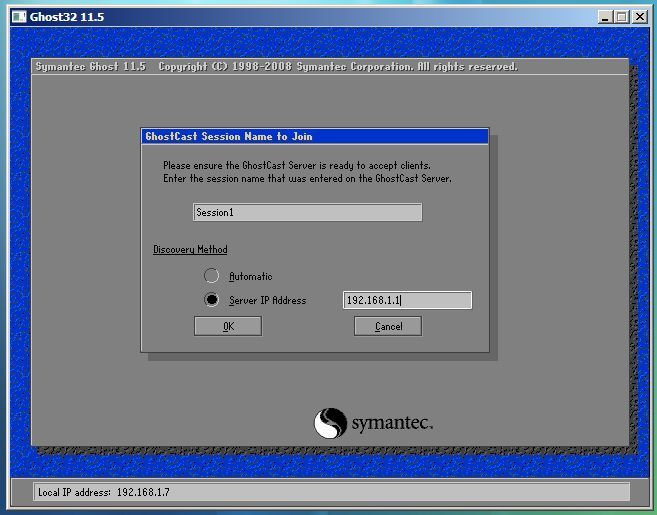
5. Give it the session name you set up in phase 5, > Either let ghost find the ghost cast server or enter its IP address. > OK > Select the Disk you wish to Image > OK > When asked about compression Select High > Click OK > Imaging will start.
Note: Make sure it displays a valid IP address at the bottom or it will fail, (If it says 127.0.0.1 then you need to add the drivers for his machine to the image).
Adding drivers to a WIM image.
6. Back at the GhostCast Server > You will see the session imaging across.
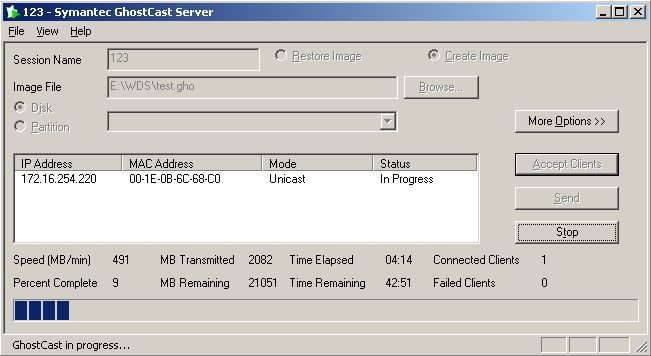
Note: To Deploy an Image TO the client, the operation is the same exept in the ghostcast server tick “Restore Image” and point it to the image-name.gho file to deploy, and on the client select “Multicast” when PXE Booted.
Related Articles, References, Credits, or External Links
NA