
KB ID 0001303
Problem
In Part-One we covered Exchange Pre-Install Tasks, in Part-Two we installed Exchange 2016, but it still won’t be working properly, so we need to carry out a few Post-Install Tasks.
Solution
Install Exchange 2016 Product Key
Log into Exchange Admin Center > Servers > Servers > Select the Server > Enter Product Key.

Manually enter your product key > Save.

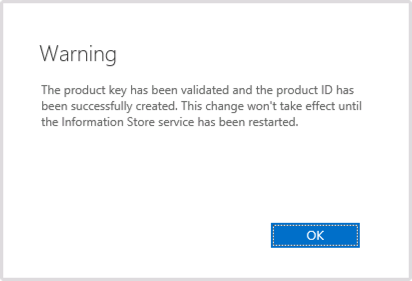
Heed the warning > OK.
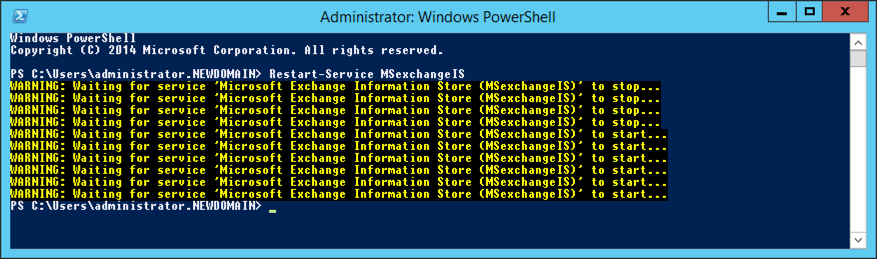
Open an administrative PowerShell window, and run the following command;
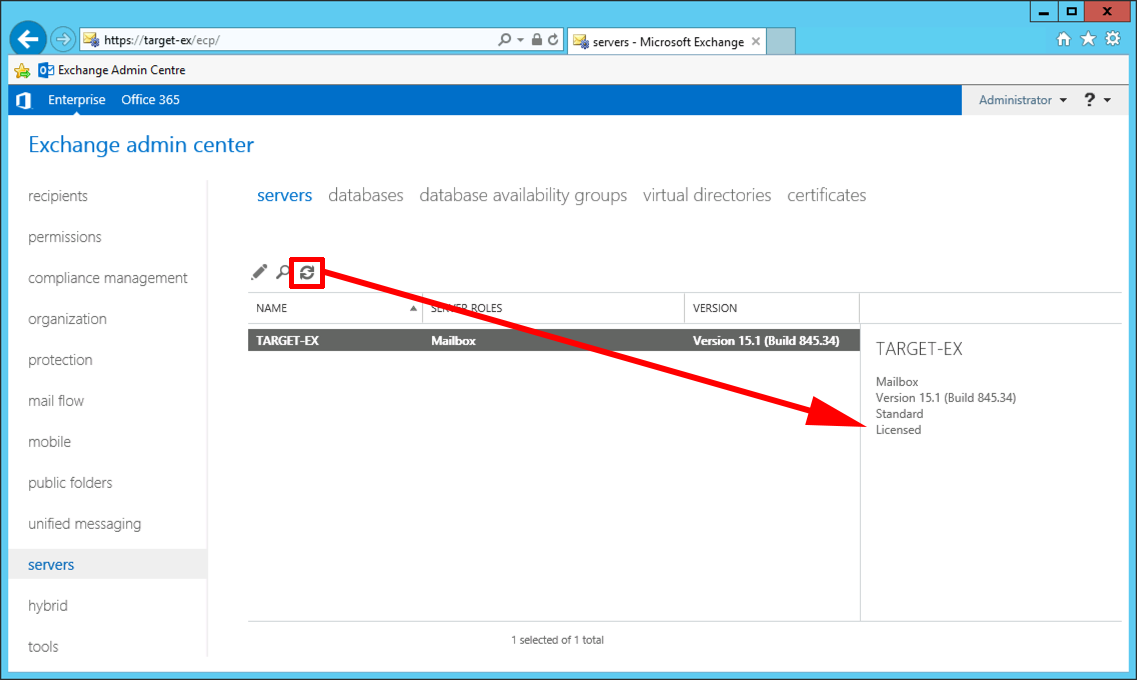
Now if you hit the refresh button it should say the product is licensed,
Exchange 2016 Install Certificate
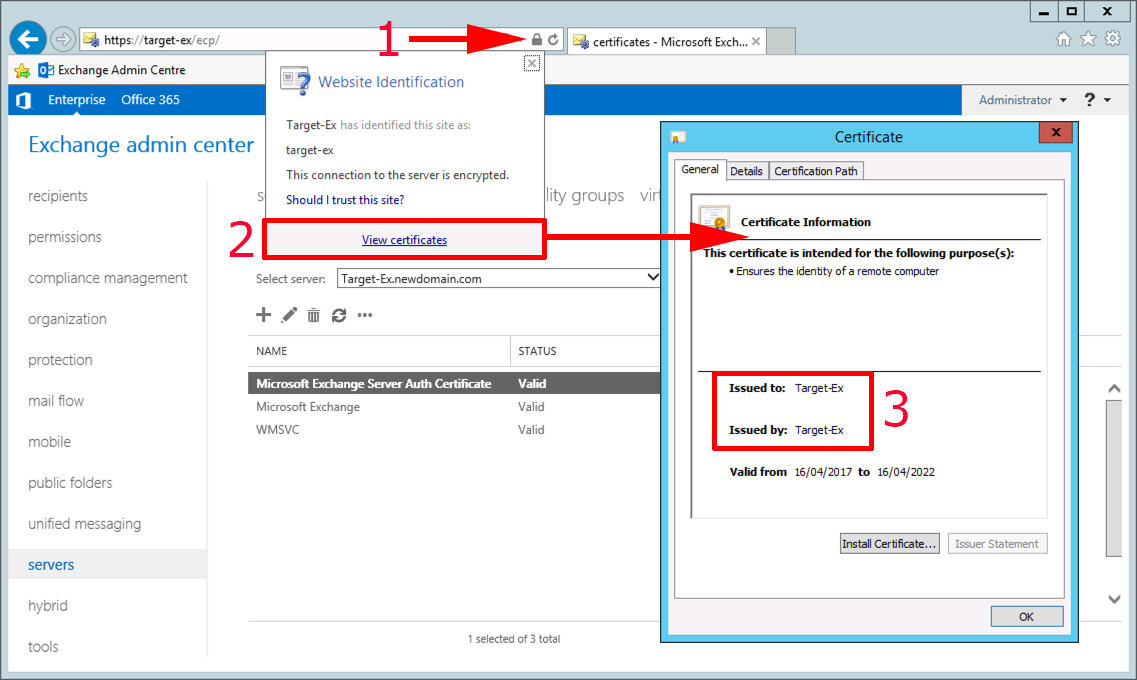
As you can see (below) Exchange 2016, (like its predecessors) creates and installs a locally signed certificate. These days I just recommend that clients use wildcard certificates, they are much less hassle even if they are a bit more expensive.
To create the request > Servers > Certificated > Select the server > Add.

Create a request > Next > Give the request a sensible name > Next.

Don’t forget the asterisk i.e “*.publicly-addressable-domain.com” > Next > Add in the server > Next.

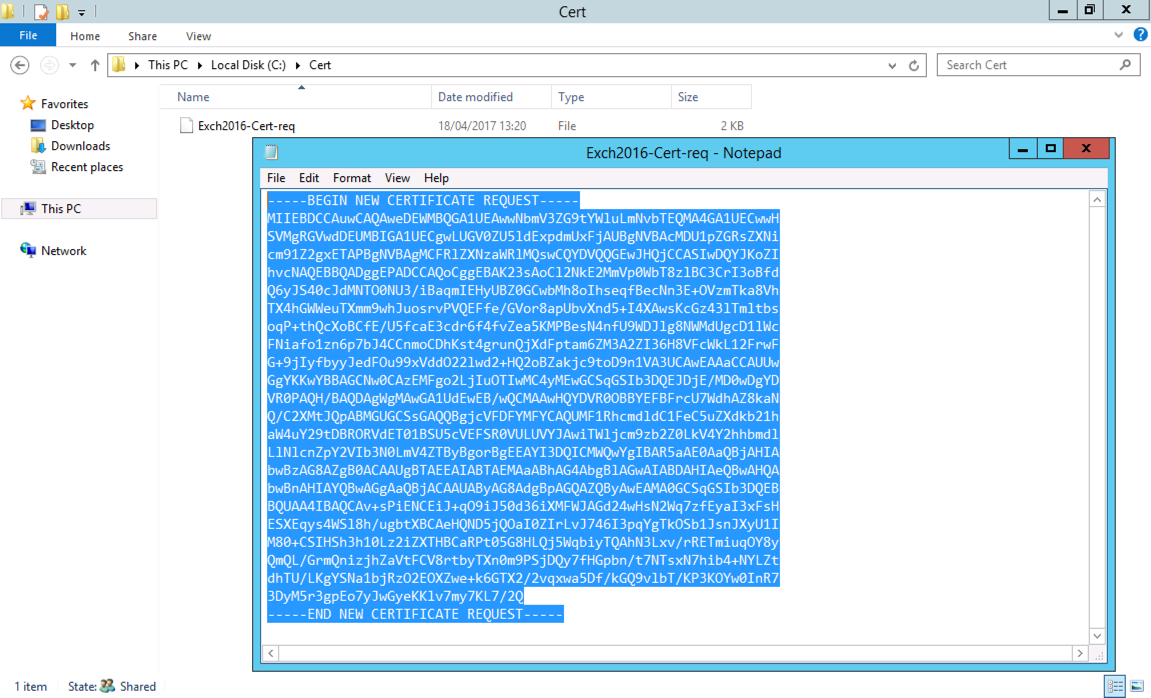
You need a “share” to save the certificate request in > Finish.

The request will be stored in PEM format, this is the information you will need to send to your certificate provider to obtain your wildcard certificate. Use the link below to get the correct certificate.
Click to Buy Exchange 2016 Certificate
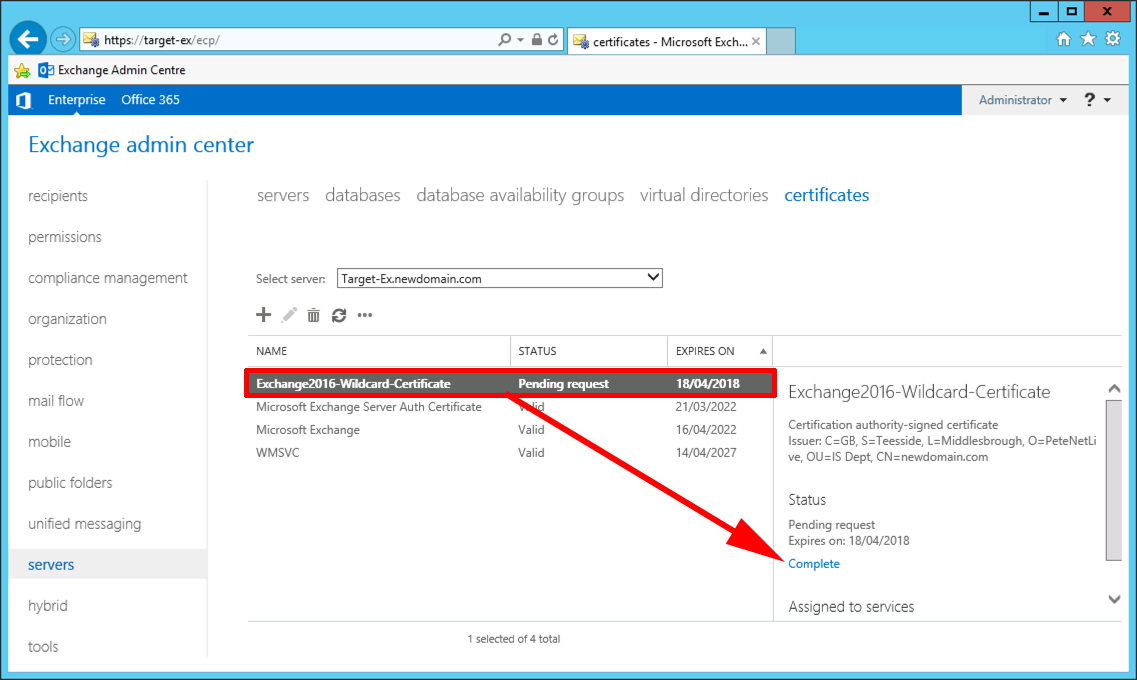
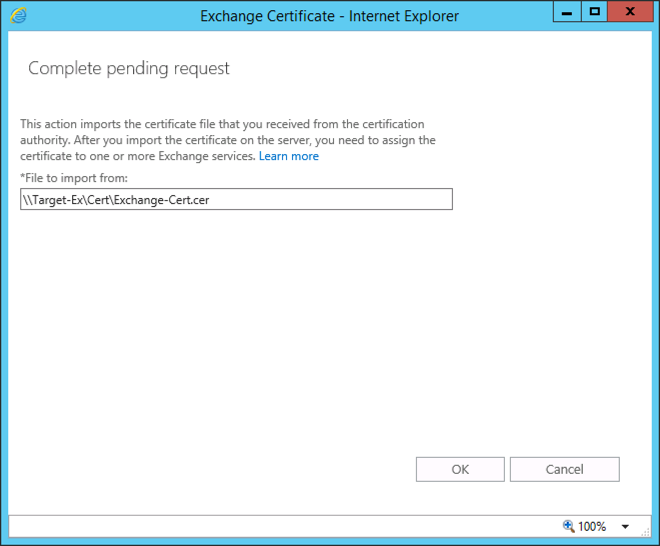
Once you have received your certificate back from your certificate vendor, then locate your request and ‘Complete’ it.
Browse to the certificate you have saved > OK.
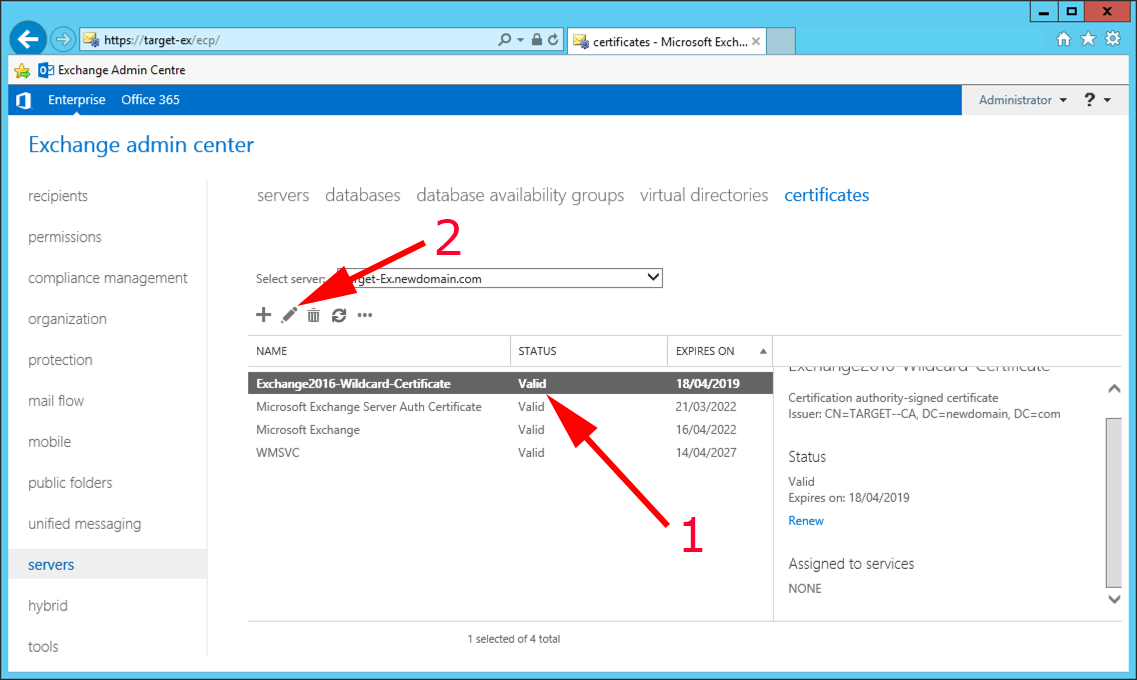
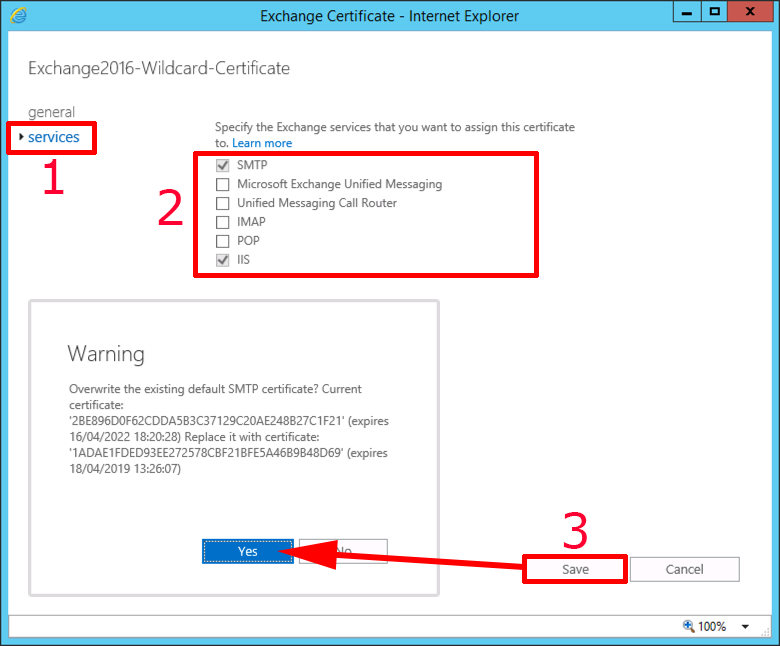
Exchange 2016 Assigning Services to a Certificate
Now we have the certificate we need to enable it, select the new cert > Edit.
Select SMTP and IIS > Save > Yes.
Note: POP and IMAP will be disabled and don’t like using wildcard certificates!
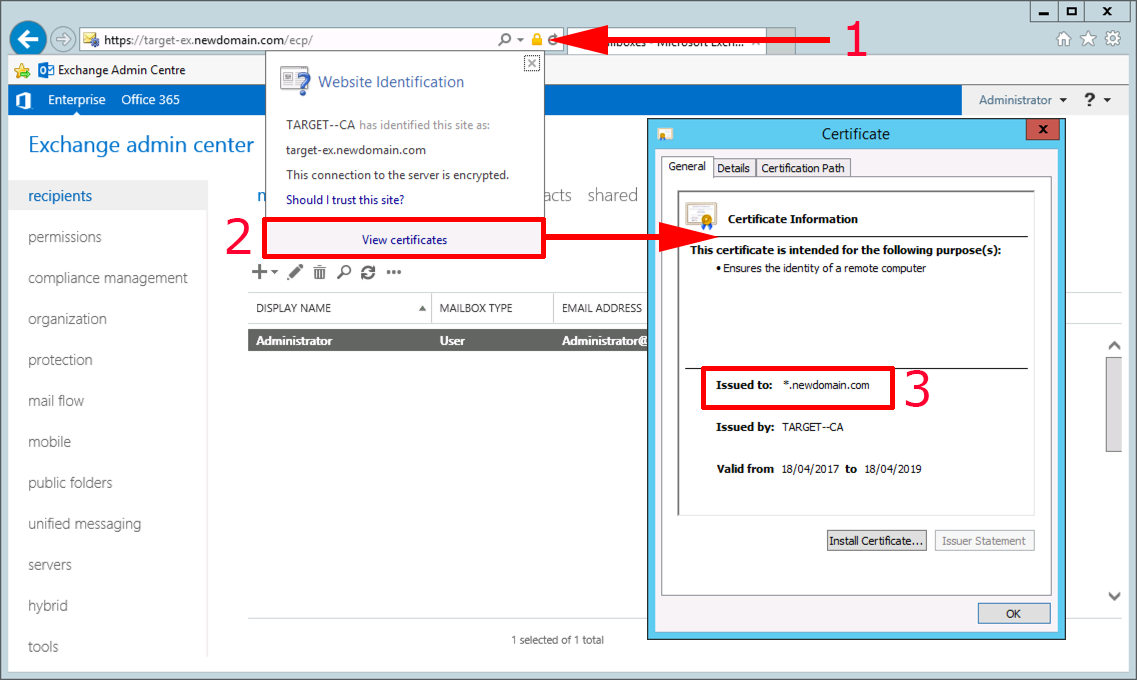
Now navigate to https://{server-FQDN}/ecp and log back into Exchange Admin Center, to check it’s using the correct certificate.
Remember you need to use the FQDN, NOT the server name, or you will get certificate errors!
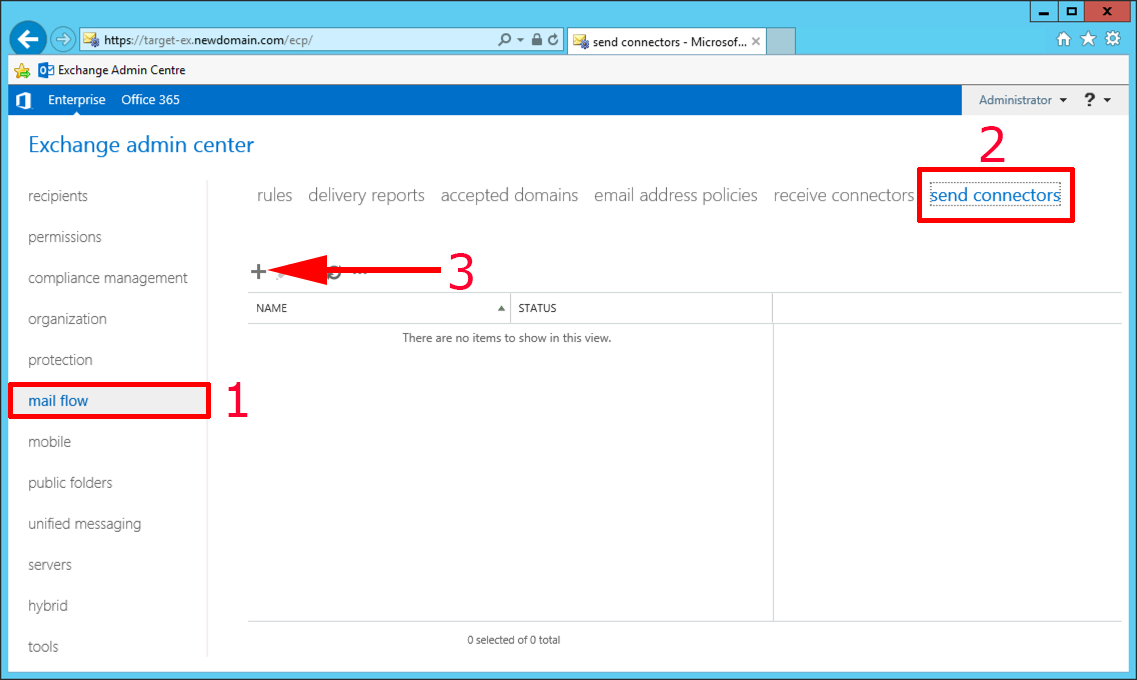
Exchange 2016 Create a Send Connector
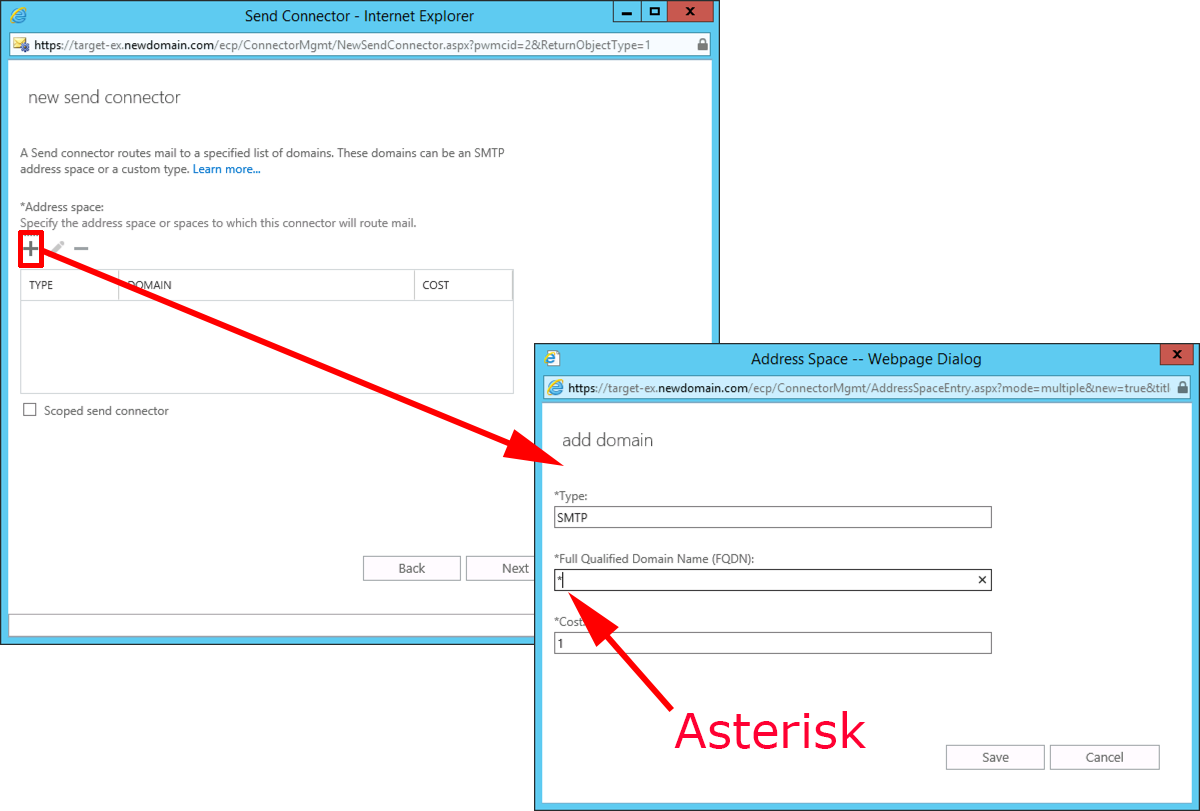
Before you can send mail externally, you need to create a send-connector. Mail flow > Send Connectors > Add.
Give it a sensible name, select ‘Internet’ > Next > Unless you have a mail filtering appliance/server then you will want to use DNS/MX records to route mail > Next.
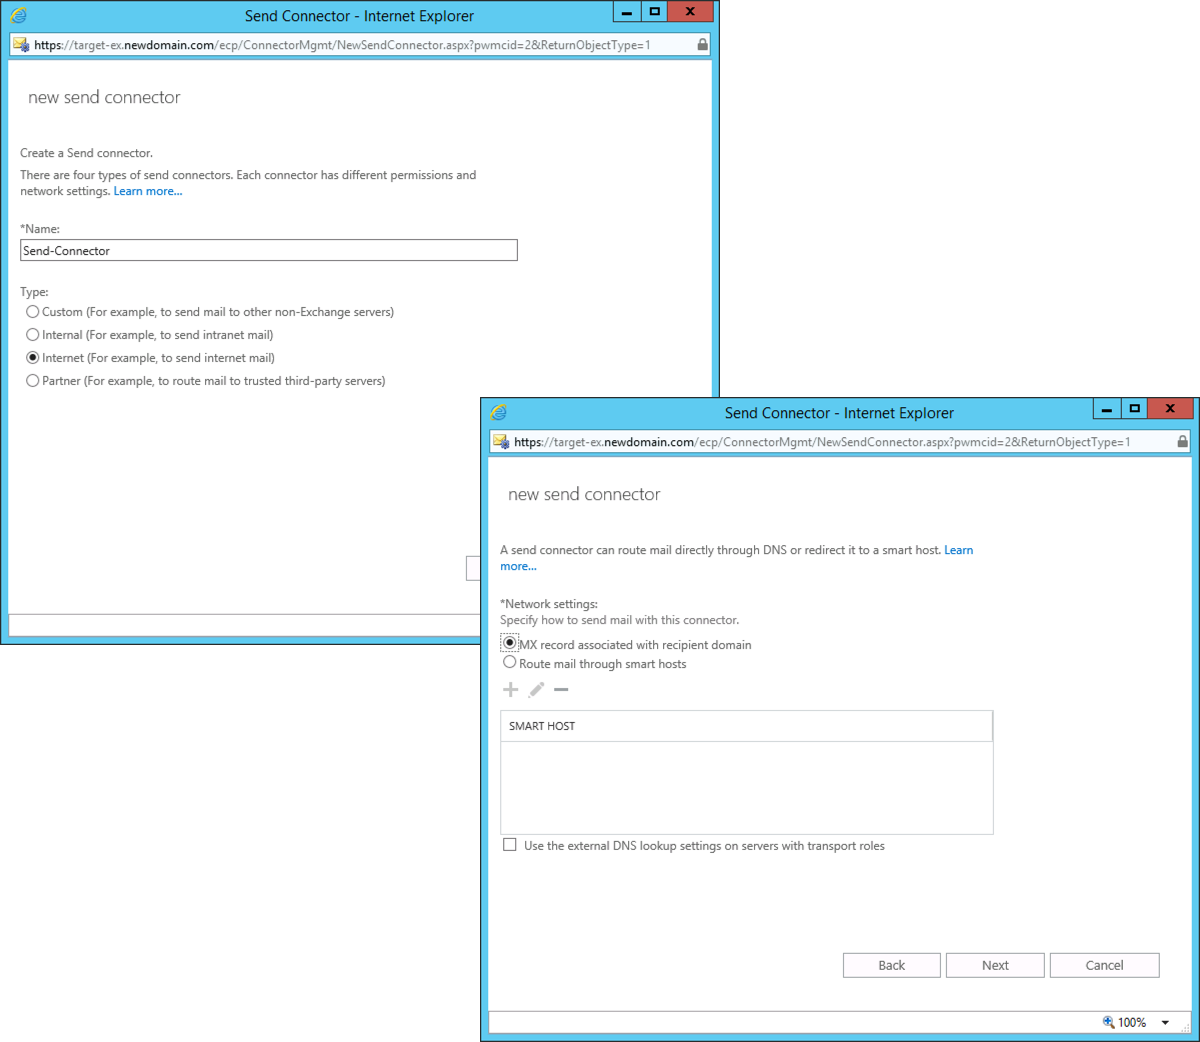
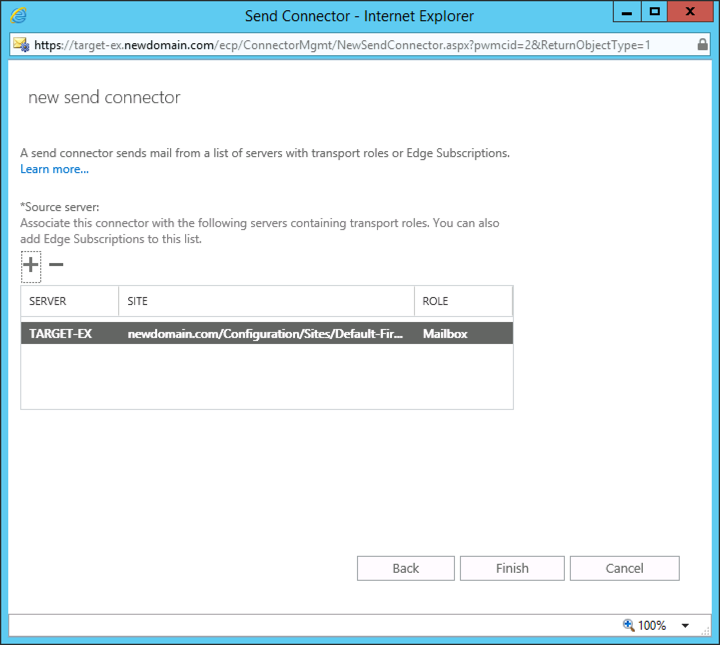
Add > Simply add an asterisk to the FQDN field (meaning all domains) > Save > Next.
Finish.
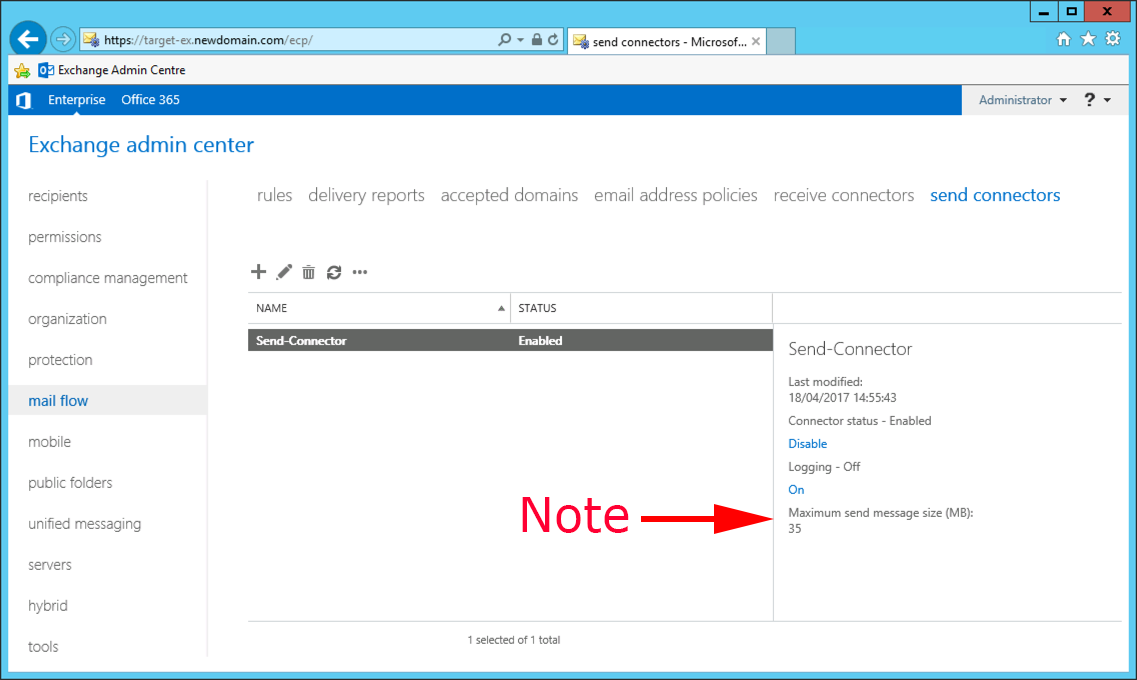
Beware: By default this connector has a 35Mb limit on it, for most people that will be fine, but you may need to change this.
Exchange 2016 Add An Accepted Domain
Freshly installed the Exchange server will only be serving email addresses for your internal domain, most people will need to add in their public domain name. See the following article;
Exchange 2016 / 2013 Adding a New Email Domain

Exchange 2016 Move Mailbox Stores
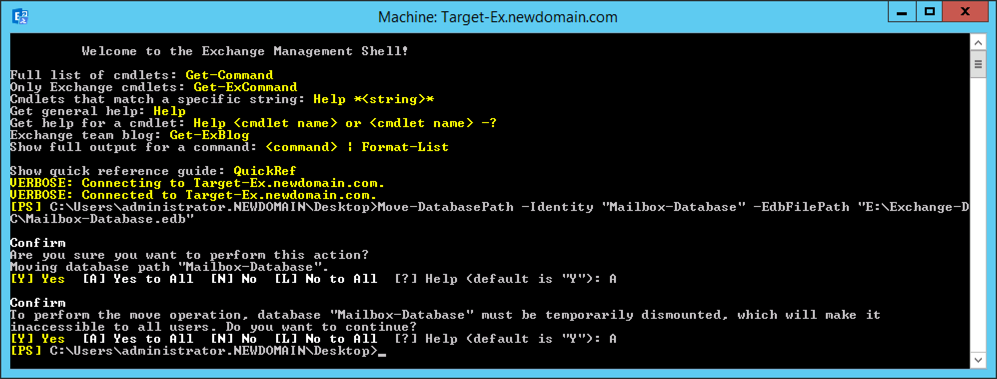
Freshly installed your Exchange databases will be in the program install directory, I prefer to have the databases on their own volumes. See the following article;
Exchange 2016 (2013) Renaming and Moving Databases
Exchange 2016 Setup Split DNS
Most people have a different domain name publicly to their internal domain name, if yours is the same then skip this section. The easiest way to address this is to use split DNS, see the following article;
Windows – Setting Up Split DNS
Finally: Don’t forget to add your new Exchange servers into your backups! And install some AV (Note: Some AV providers have very specific settings that might need disabling, (I’m looking at you you McAfee). At the very least exclude the folders holding your data-stores, logs, and queue databases from AV scanning.
Related Articles, References, Credits, or External Links
NA