
KB ID 0001302
Problem
Back in Part-One, we looked at all the things to consider before you start to install Exchange 2016. Now we will start installing software, and getting to a point where we can configure Exchange 2016 and carry out some post deployment.
Solution
Your forest functional level needs to be at ‘Windows Server 2008’ before you can install Exchange 2016.

The server you intend to deploy Exchange on, needs to be a domain member server.
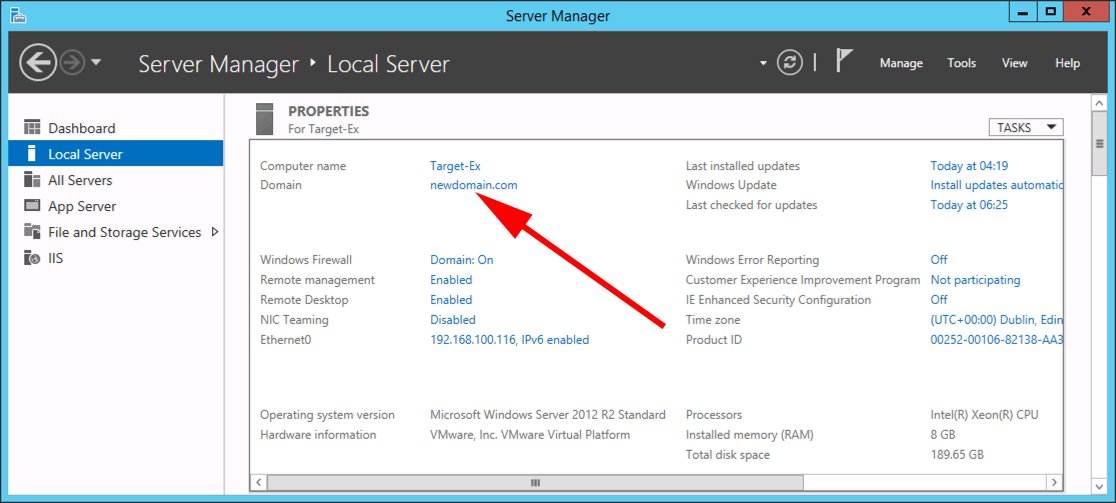
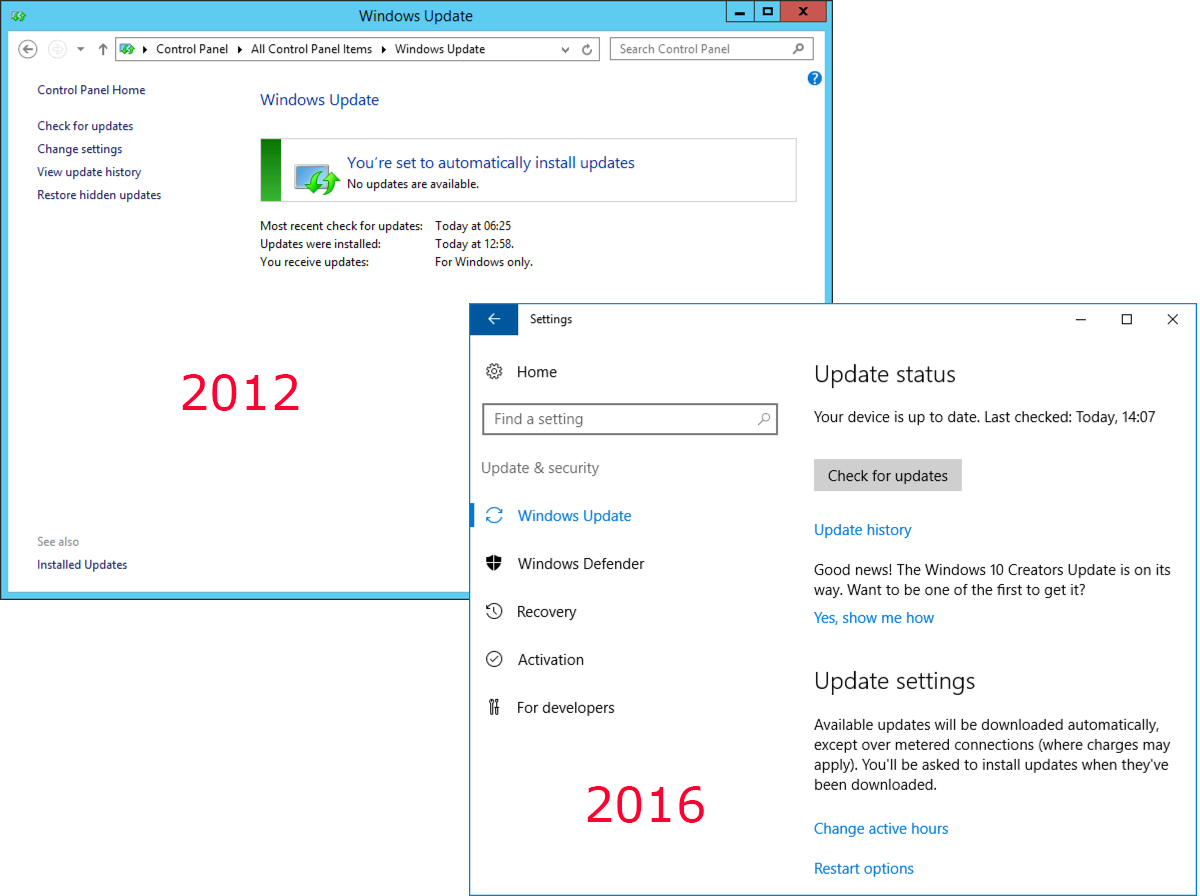
To save you any hassle, make sure your intended server is fully updated.
The server needs .Net installing, the versions, (at time of writing ) are;
- Exchange 2016 CU3 Req.Net 4.5.2 (or greater).
- Exchange 2016 CU5 Req.Net 4.6.2 (or greater).
- Exchange 2016 CU6 Req.Net 4.7.2 (or greater).

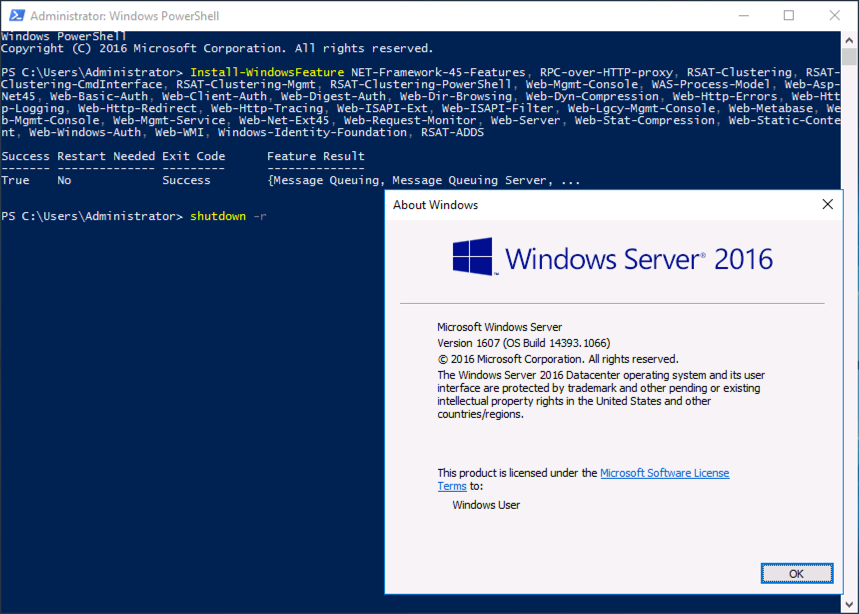
Exchange 2016 Roles/Features Windows Server 2016
As with previous versions of Exchange there’s a long list of roles and features that needed to be added, open an administrative PowerShell Window and run the following;
Install-WindowsFeature NET-Framework-45-Features, RPC-over-HTTP-proxy, RSAT-Clustering, RSAT-Clustering-CmdInterface, RSAT-Clustering-Mgmt, RSAT-Clustering-PowerShell, Web-Mgmt-Console, WAS-Process-Model, Web-Asp-Net45, Web-Basic-Auth, Web-Client-Auth, Web-Digest-Auth, Web-Dir-Browsing, Web-Dyn-Compression, Web-Http-Errors, Web-Http-Logging, Web-Http-Redirect, Web-Http-Tracing, Web-ISAPI-Ext, Web-ISAPI-Filter, Web-Lgcy-Mgmt-Console, Web-Metabase, Web-Mgmt-Console, Web-Mgmt-Service, Web-Net-Ext45, Web-Request-Monitor, Web-Server, Web-Stat-Compression, Web-Static-Content, Web-Windows-Auth, Web-WMI, Windows-Identity-Foundation, RSAT-ADDS, Server-Media-Foundation
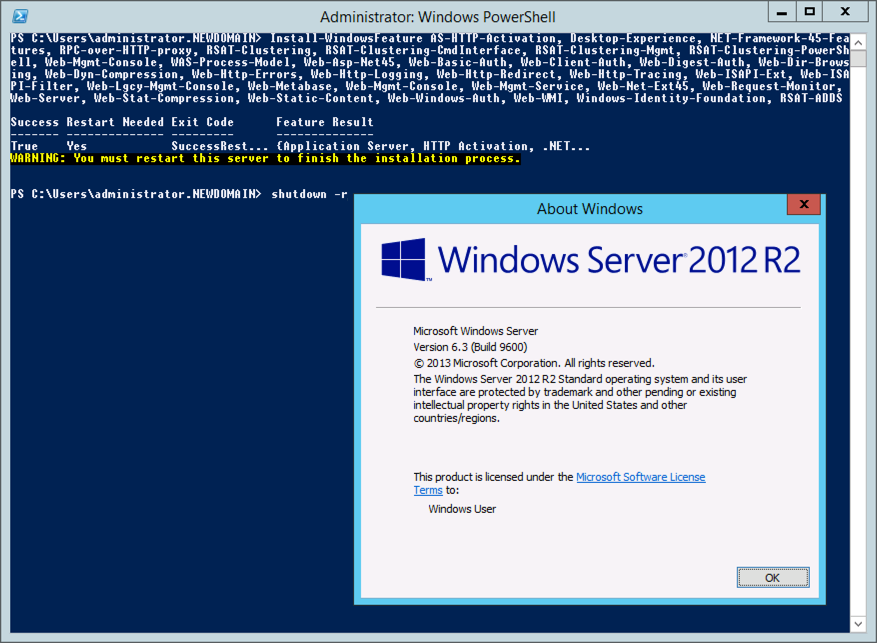
Exchange 2016 Roles/Features Windows Server 2012 (2012 R2)
As with previous versions of Exchange there’s a long list of roles and features that needed to be added, open an administrative PowerShell Window and run the following;
Install-WindowsFeature AS-HTTP-Activation, Desktop-Experience, NET-Framework-45-Features, RPC-over-HTTP-proxy, RSAT-Clustering, RSAT-Clustering-CmdInterface, RSAT-Clustering-Mgmt, RSAT-Clustering-PowerShell, Web-Mgmt-Console, WAS-Process-Model, Web-Asp-Net45, Web-Basic-Auth, Web-Client-Auth, Web-Digest-Auth, Web-Dir-Browsing, Web-Dyn-Compression, Web-Http-Errors, Web-Http-Logging, Web-Http-Redirect, Web-Http-Tracing, Web-ISAPI-Ext, Web-ISAPI-Filter, Web-Lgcy-Mgmt-Console, Web-Metabase, Web-Mgmt-Console, Web-Mgmt-Service, Web-Net-Ext45, Web-Request-Monitor, Web-Server, Web-Stat-Compression, Web-Static-Content, Web-Windows-Auth, Web-WMI, Windows-Identity-Foundation, RSAT-ADDS
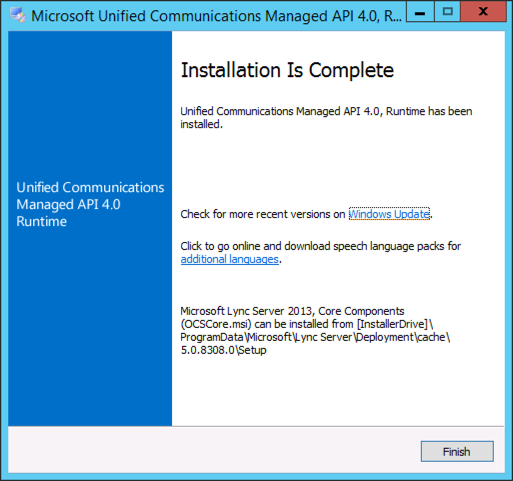
You will also need to install the ‘Unified Communications Managed API 4.0 Runtime‘ software. Note: Not required if you are only installing the management tools.
Windows Server 2016 Only: You should already have update KB3206632 as we updated the server above, if you skipped that step you need to pre install that update, so update now!
Installing Exchange 2016
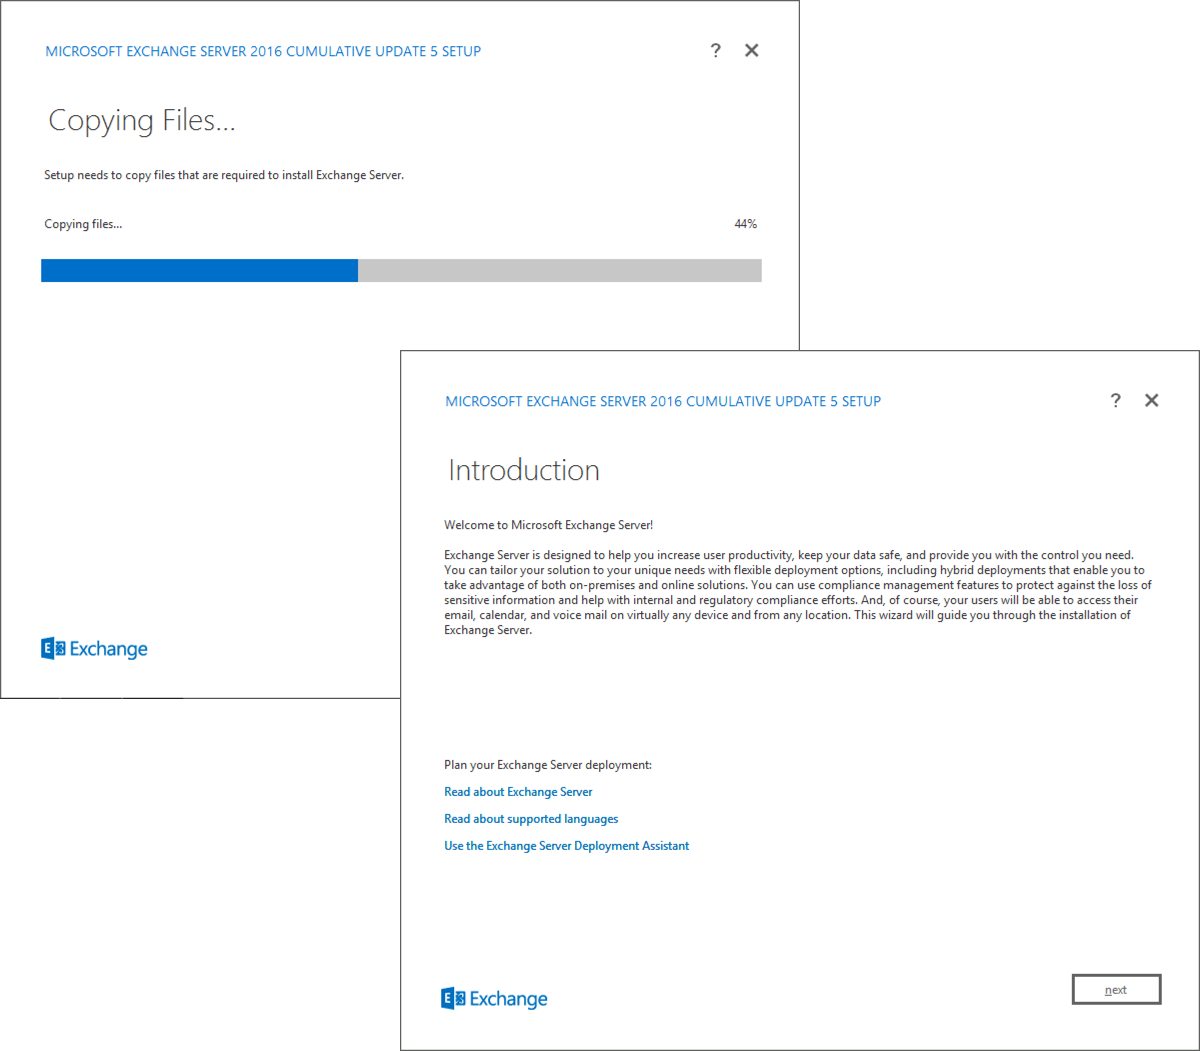
If you downloaded the Exchange media as a .iso file mount it and let it autoplay. If you extracted the software run Setup.exe. The first thing it will do is look to see if it has any updates.
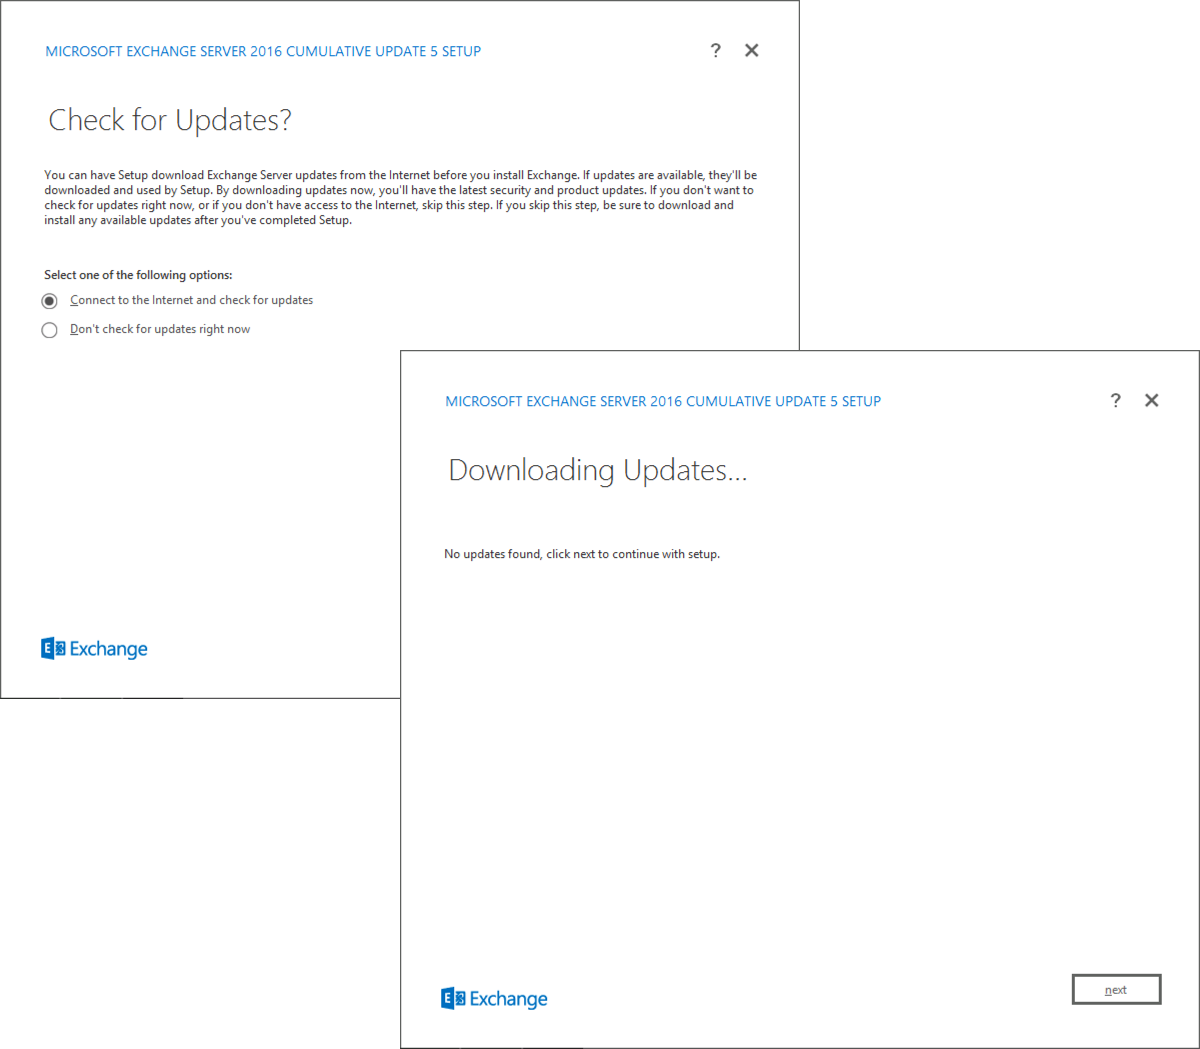
Files will get copied over > Next > You will be presented with an introduction > Next.
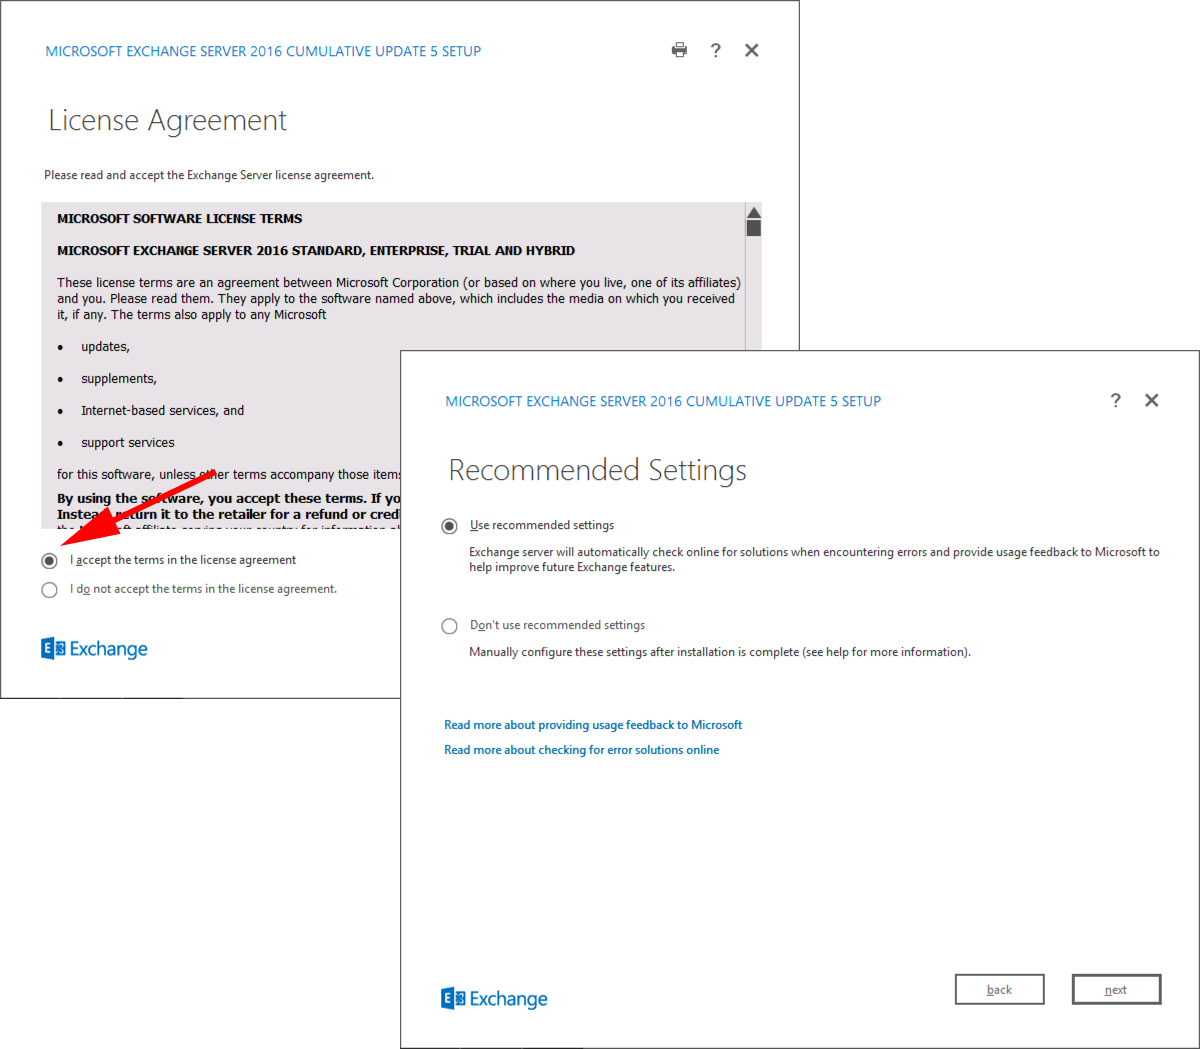
Accept the EULA > Next > I usually just accept the recommended settings > Next.
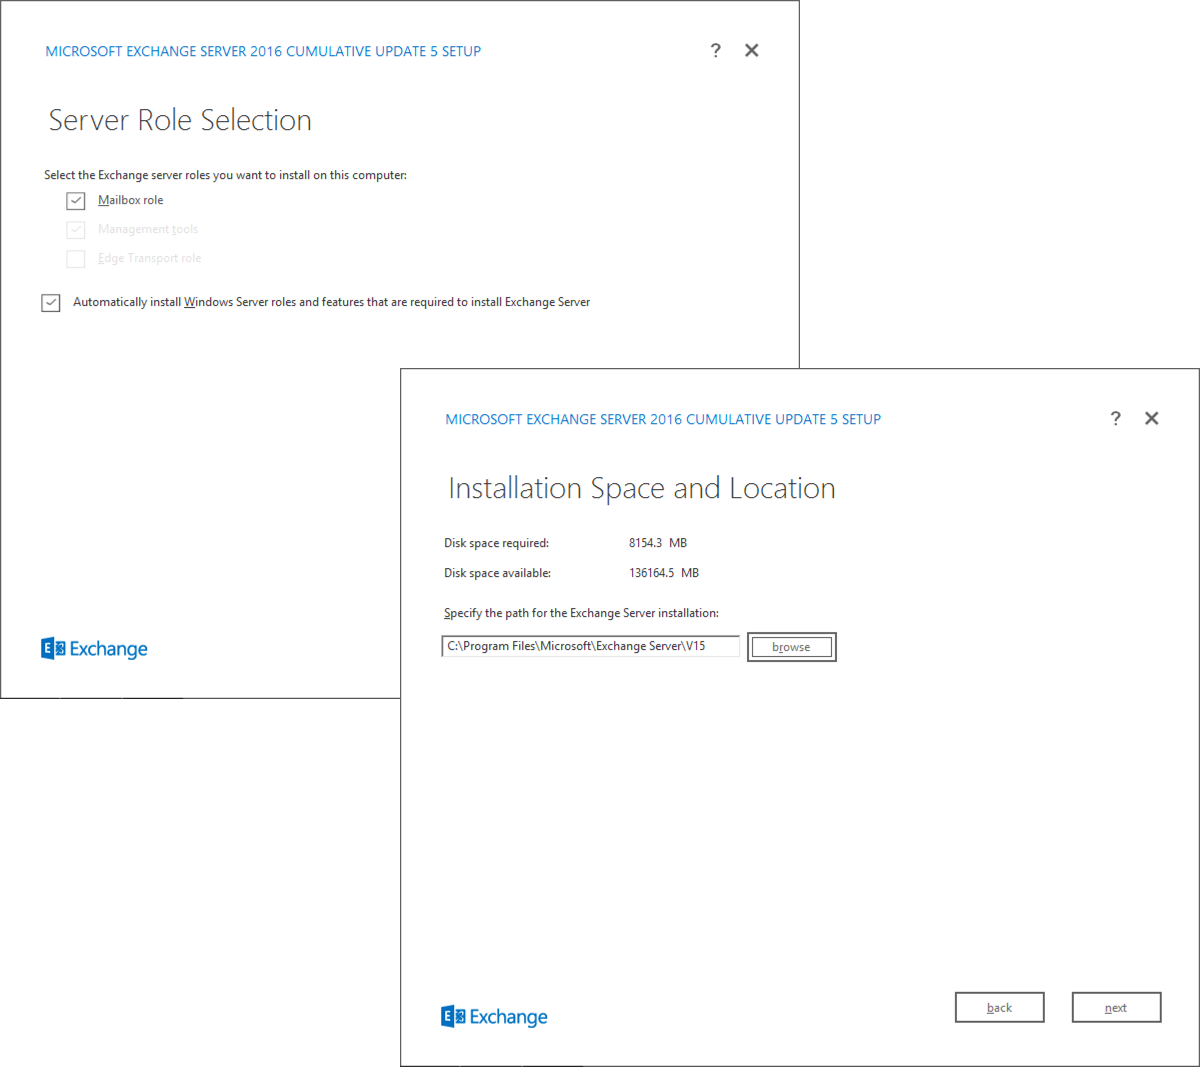
Select either Mailbox server, Edge Transport server, or just the management tools > Next > Select the location that you want to install Exchange to > Next.
Note: Although in the example below, I’m using the ‘C:’ drive, for production I would always install Exchange onto a separate volume to the OS.
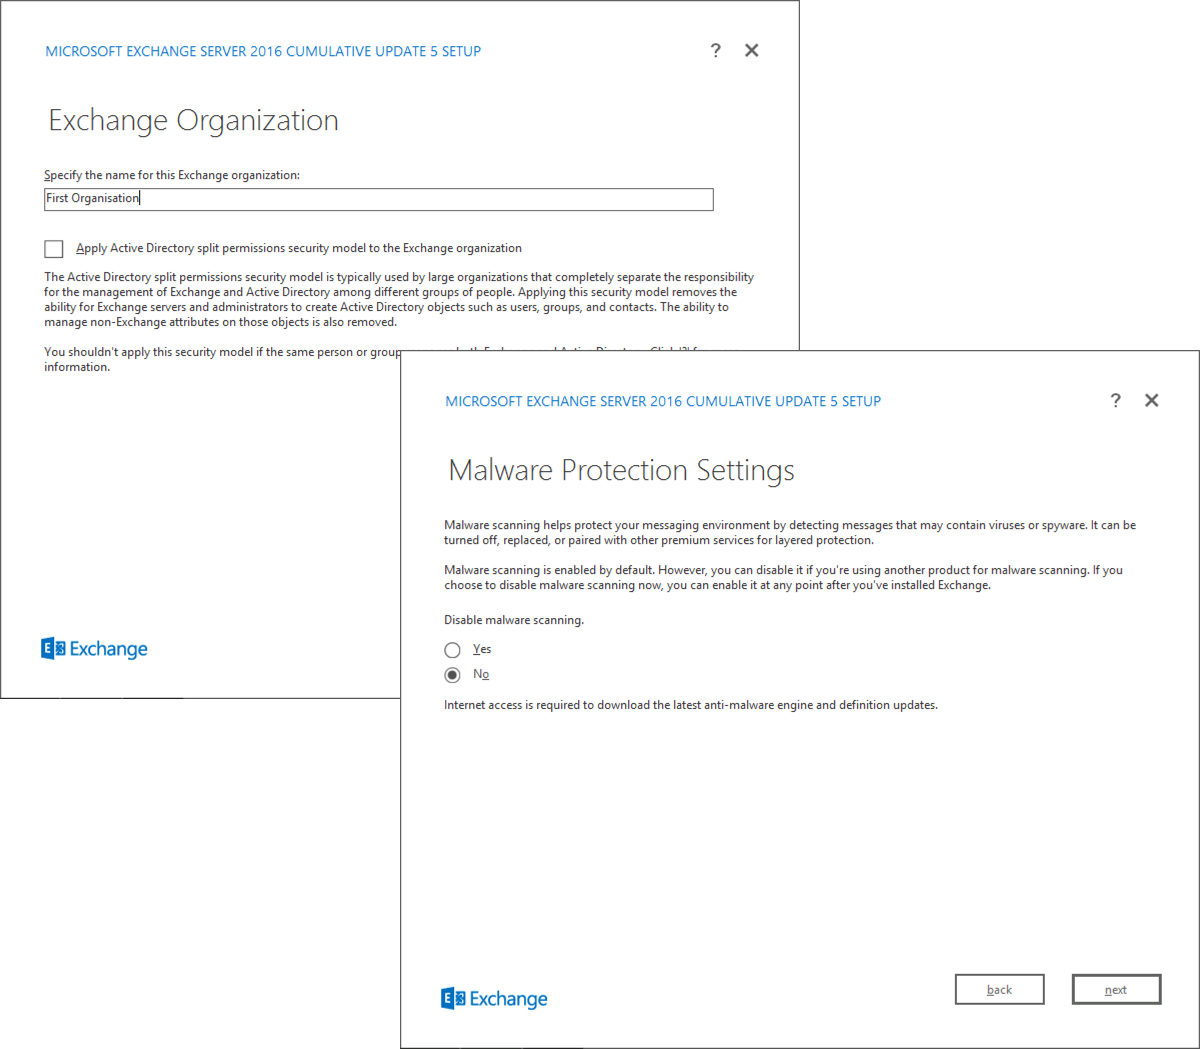
I usually accept the default organisation name of ‘First Organisation’ you can change it if you with, but choose wisely because you can’t change it once installed > Next > Unless you have a specific requirement to disable the built in malware protection, leave it enabled > Next.
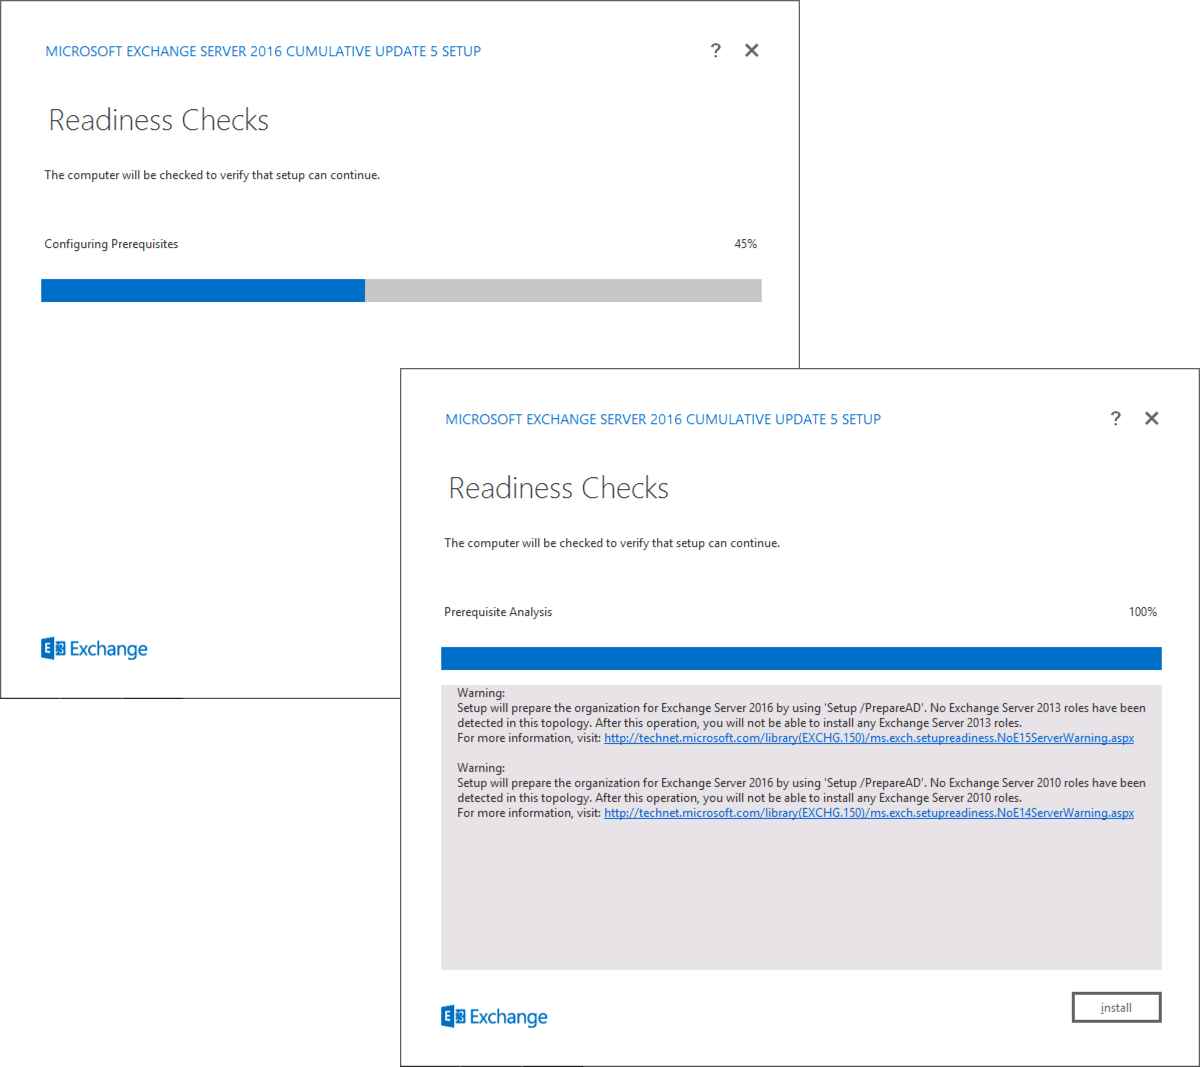
Exchange now does a quick check to make sure it’s happy to progress, you will always get a couple of warnings, if it complains about anything else rectify it and click ‘recheck’, once you are happy click Next.
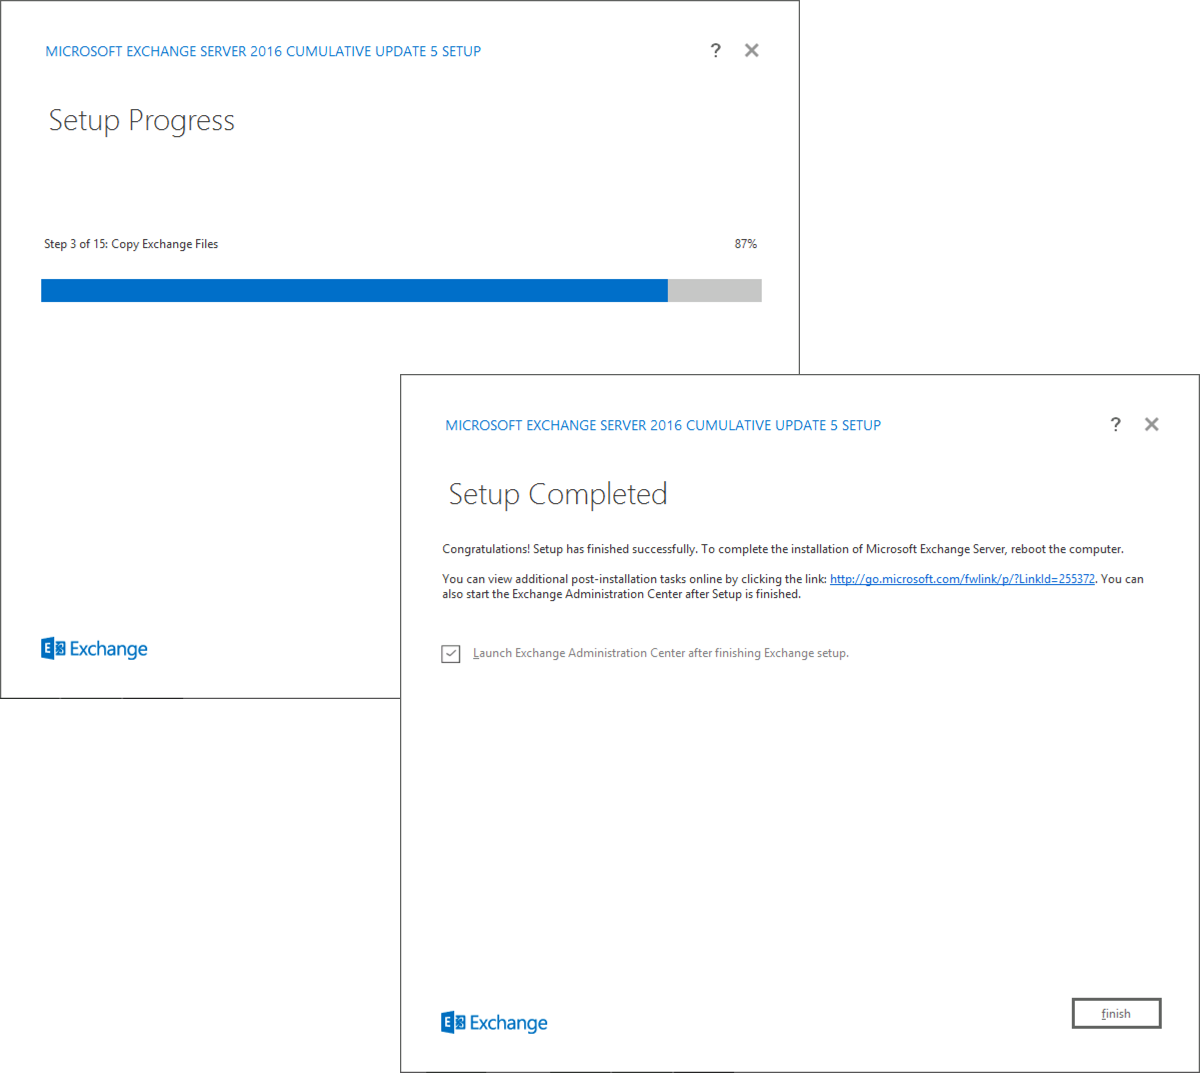
Setup progress takes ages! Seriously go to lunch at this point > Next > Once completed Ive ticked the box to open the Exchange Admin Center, but nearly every time I’ve done this it fails. Your best bet is to reboot the server, go and have a coffee then come back and open a browser window and navigate to https://{server-FQDN}/ecp
In Part 3, we will look at post install tasks.
Related Articles, References, Credits, or External Links
How To Install Exchange 2016 (Greenfield Site) – Part 1
18/09/2020
Hi sir,
waiting for “Installing exchange server 2016 part 3”
21/09/2020
Theres a link a the bottom of the page?