
Part Three – Deploying Exchange 2013 On a ‘Greenfield Site’
KB ID 0000730
Problem
In part one and part two we looked at what to consider, and what you need to be doing before you reach for the install DVD. Now we will run through a complete Exchange deployment on a fresh site with no existing mail system.
Items covered below
Exchange 2013 Post Install Configuration Tasks
– Enter the Exchange 2013 Server Product Key
– Exchange 2013 Create a Default Send Connector
– Exchange 2013 Adding a Domain Name as an Accepted Domain
– Adding New Email Addresses to the Default Email Address Policy
Exchange 2013 Additional Post Installation Tasks
– Moving Exchange 2013 Database(s)
– Exchange 2013 Apply for, and Install a Third Party Certificate
– Exchange 2013 Setting up ‘Split DNS’ for your Exchange Certificate
– Exchange 2013 Test Mail Flow
Solution
Exchange Prerequisites
å
I’ve already written extensively about the hardware, software and environment requirements for Exchange 2013. Please run through the following article before you start.
Deploying Exchange 2013 – Part One – Prerequisites for Windows Server 2012
With a fully updated Windows Server 2012, that is a domain member your main three pre deployment tasks are to install the following pieces of software.
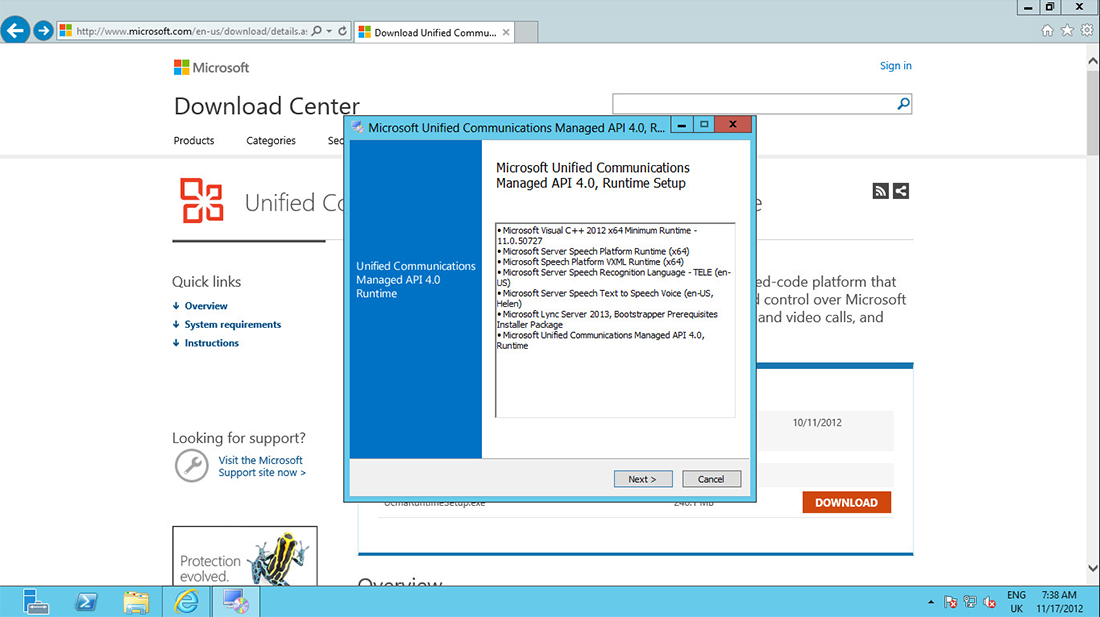
1. Microsoft Unified Communications Managed API 4.0, Core Runtime 64-bit.
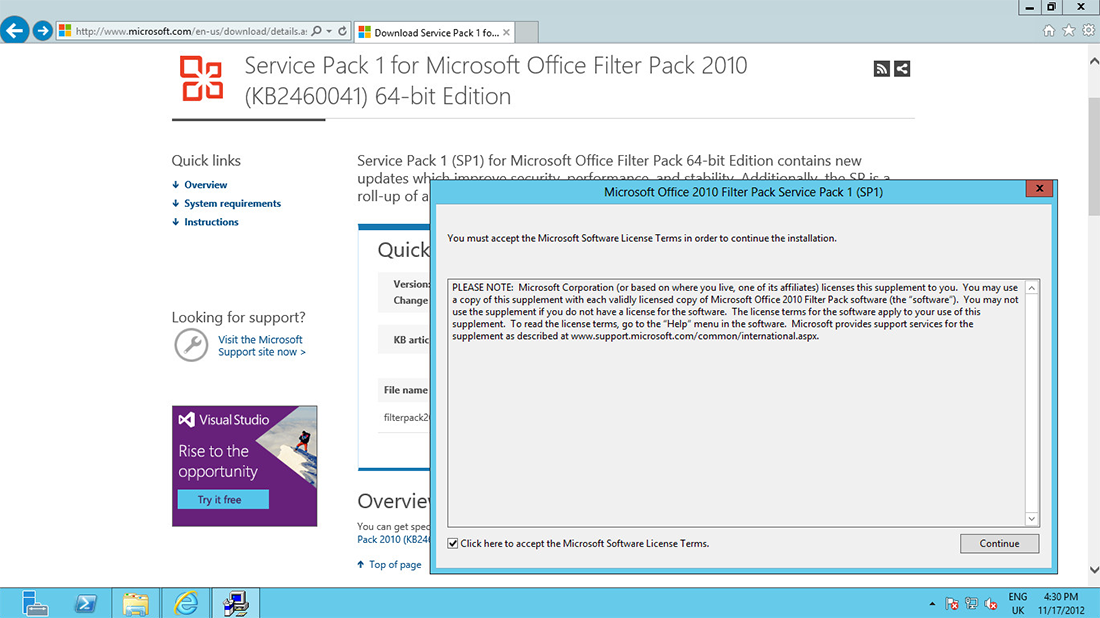
2. Microsoft Office 2010 Filter Pack 64 bit

3. Microsoft Office 2010 Filter Pack 64 bit
Install Exchange Server 2013
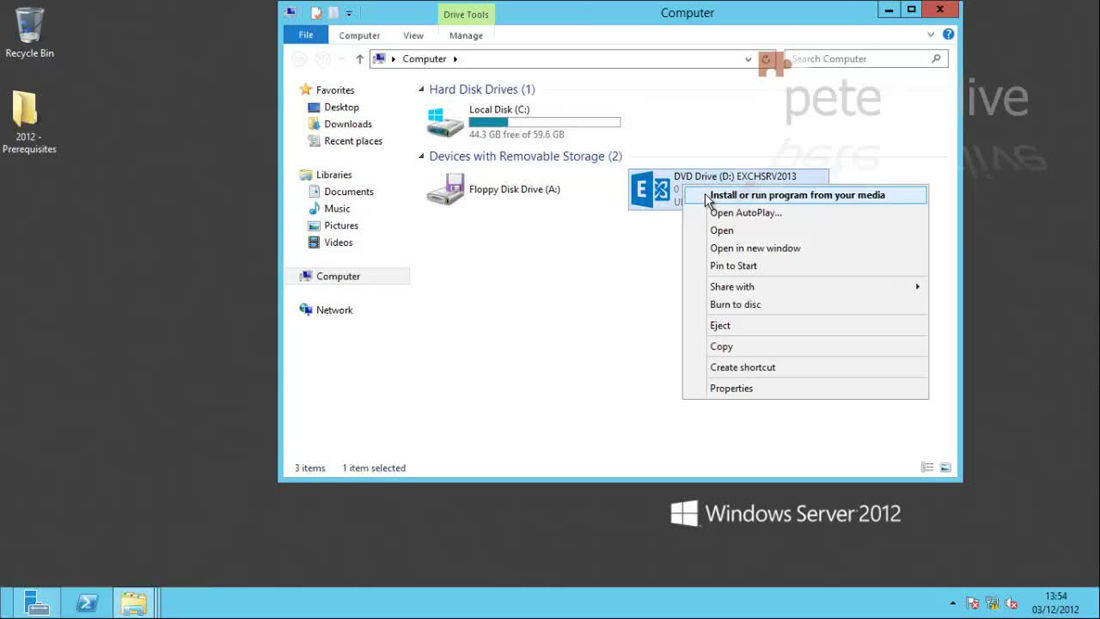
1. Insert the install DVD and auto-run the setup.
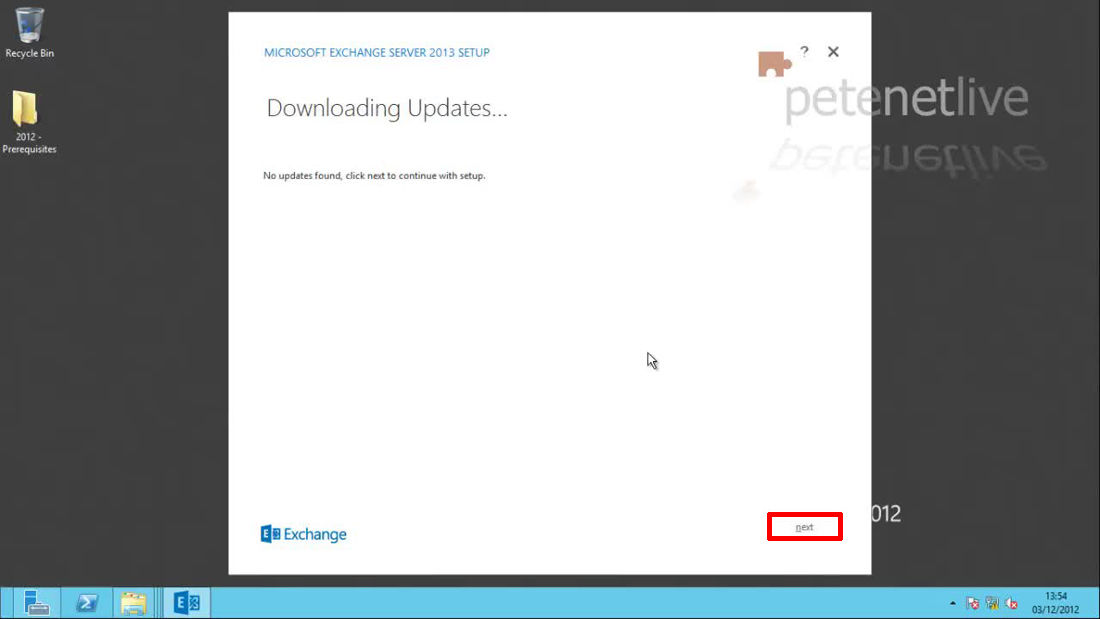
2. Next > Let it check for updates.
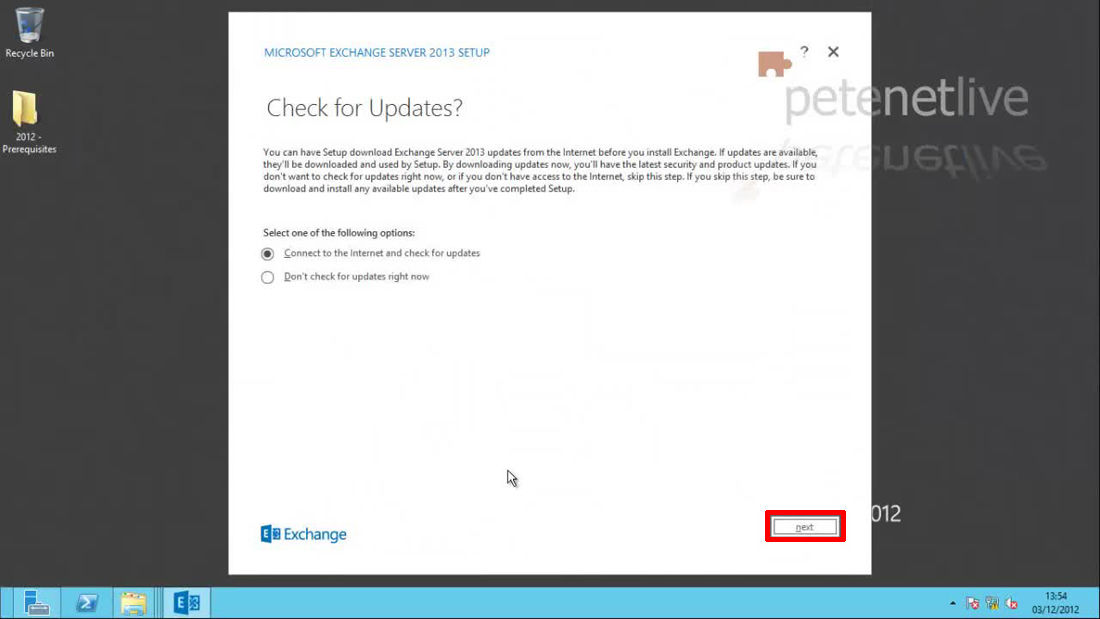
3. Next.
4. It will copy the setup files to the server.
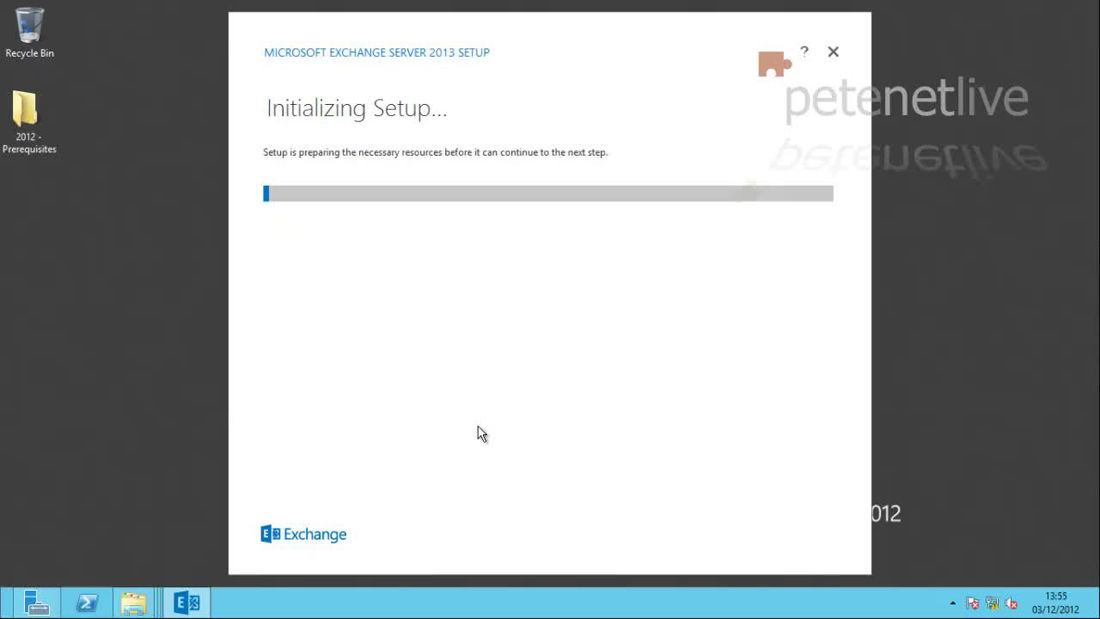
5. Next.
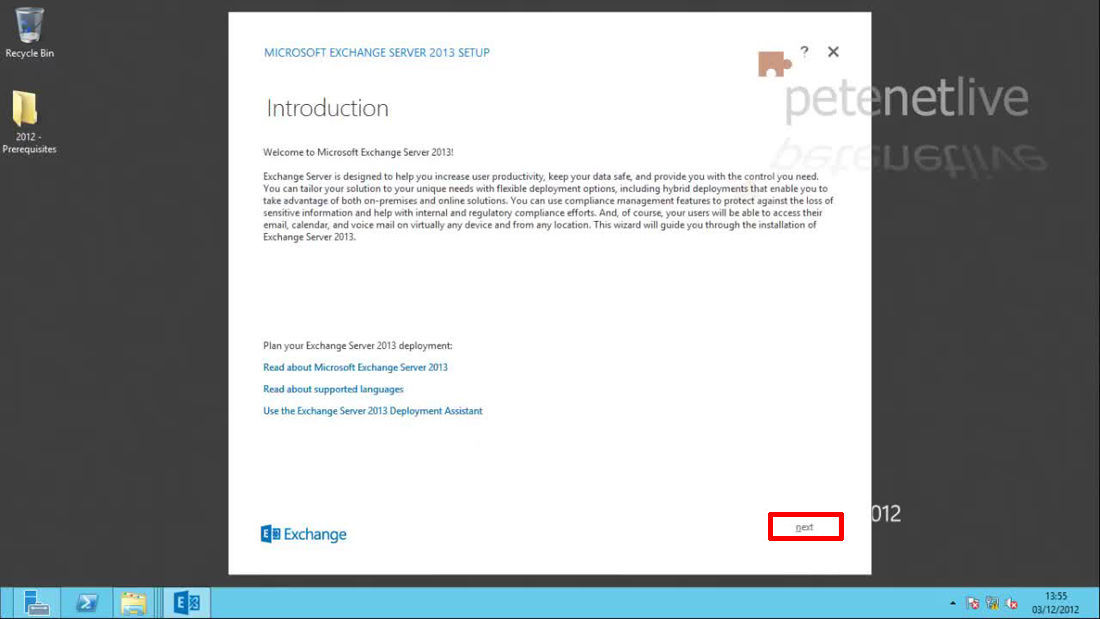
6. Accept the EULA > Next.
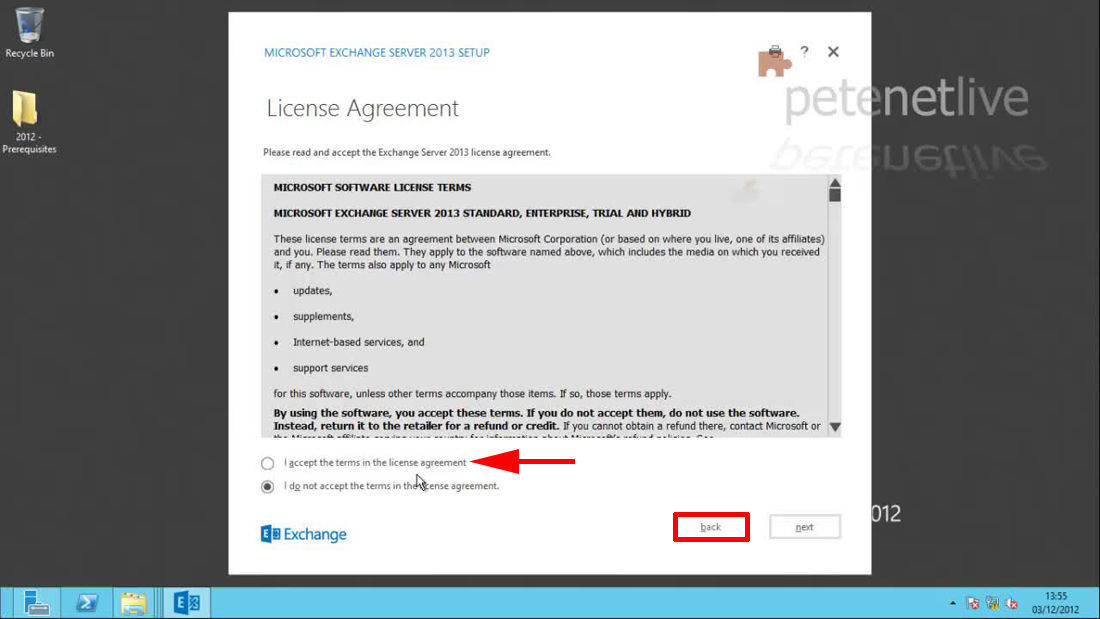
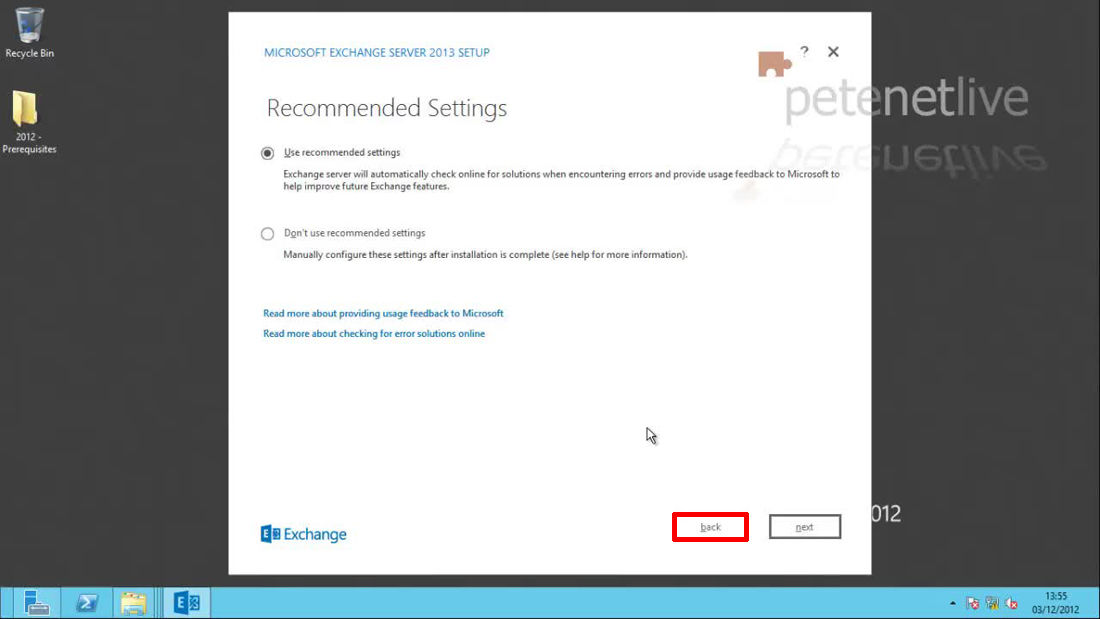
8. Next.
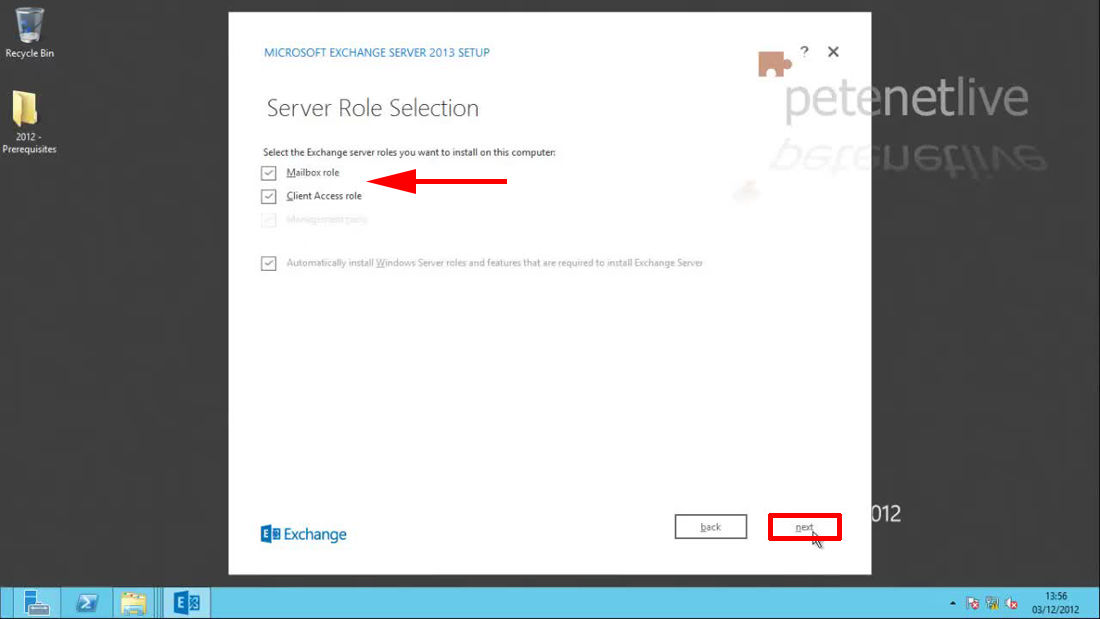
9. Select the roles required, I’m just having one server so I’m selecting both > Next.
Note: Current Microsoft thinking is to NOT separate out roles like you did with Exchange 2007 and 2010, if you deploy multiple servers deploy multiple roles.
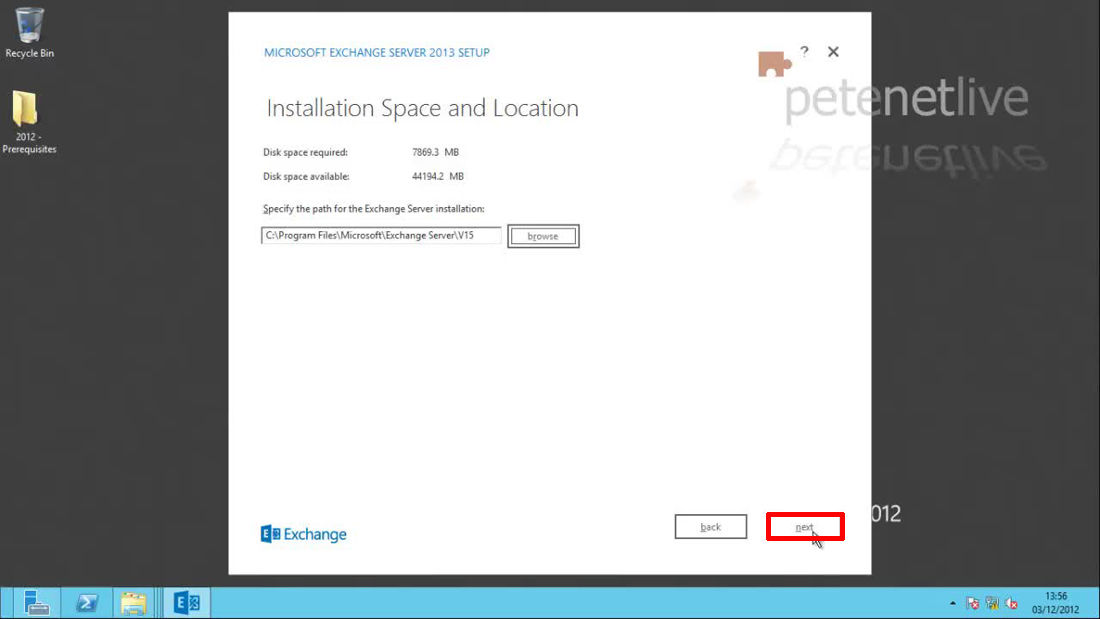
10. Set the install path for the Exchange program files. If you change form the default, and you are deploying multiple Exchange servers, try to keep the path the same for all > Next.
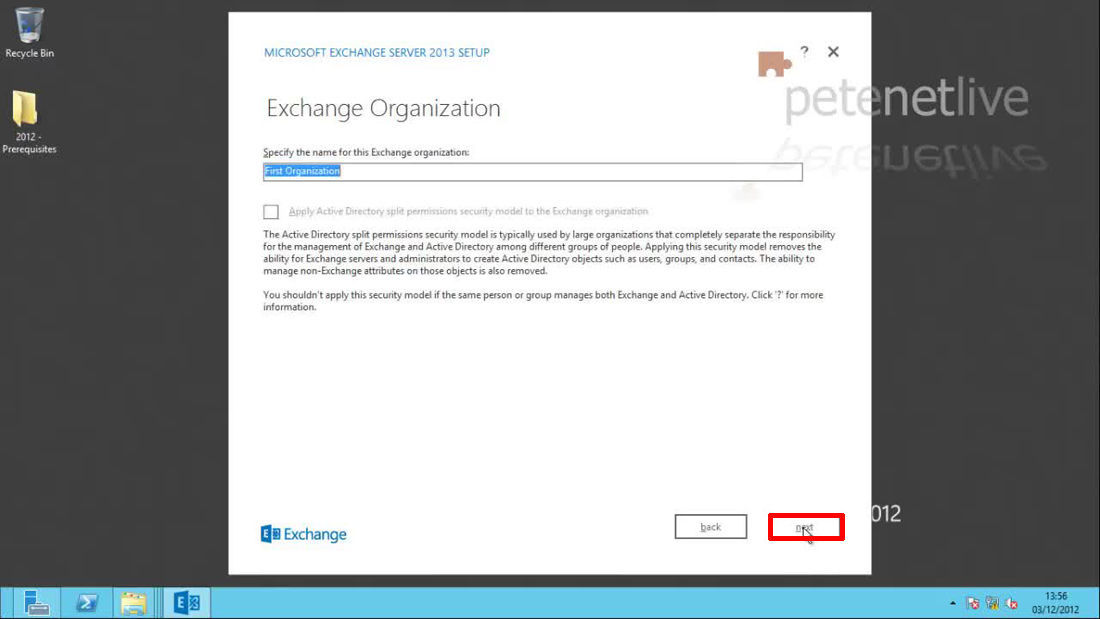
11. Select an Organization name > Next.
12. Select if you want to disable the built in malware protection or not.
Note: Malware protection is now based on Forefront. Only consider disabling this if you plan to deploy some third party malware/AV scanning software.

13. You should get a warning telling you that once complete you will not be able to install Exchange 2010 > Next.

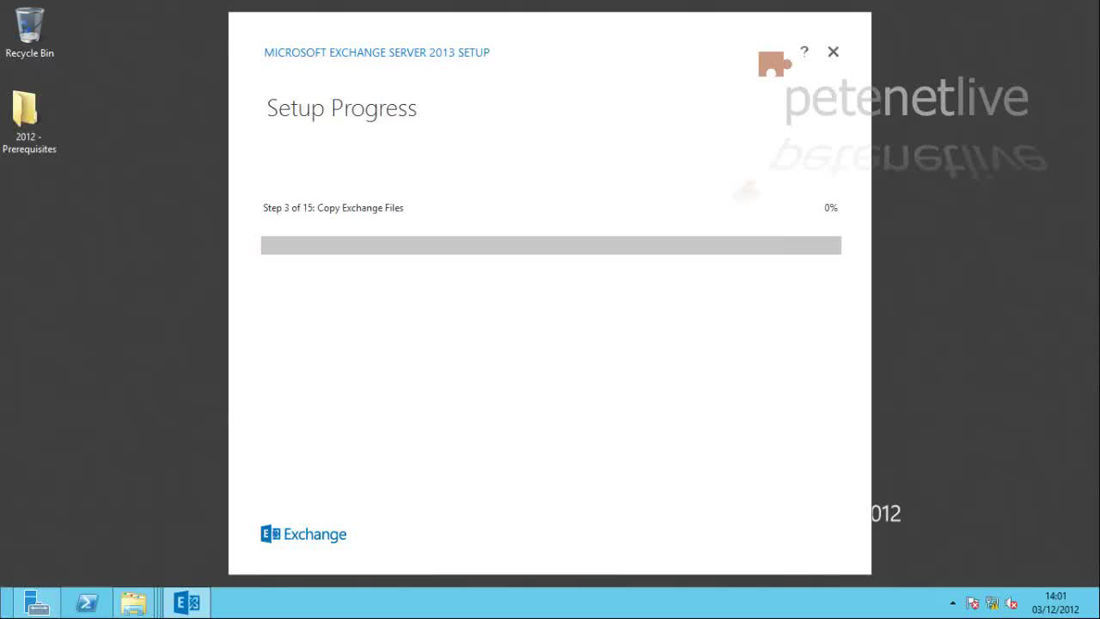
14. Setup will progress (Approx 45 minutes).
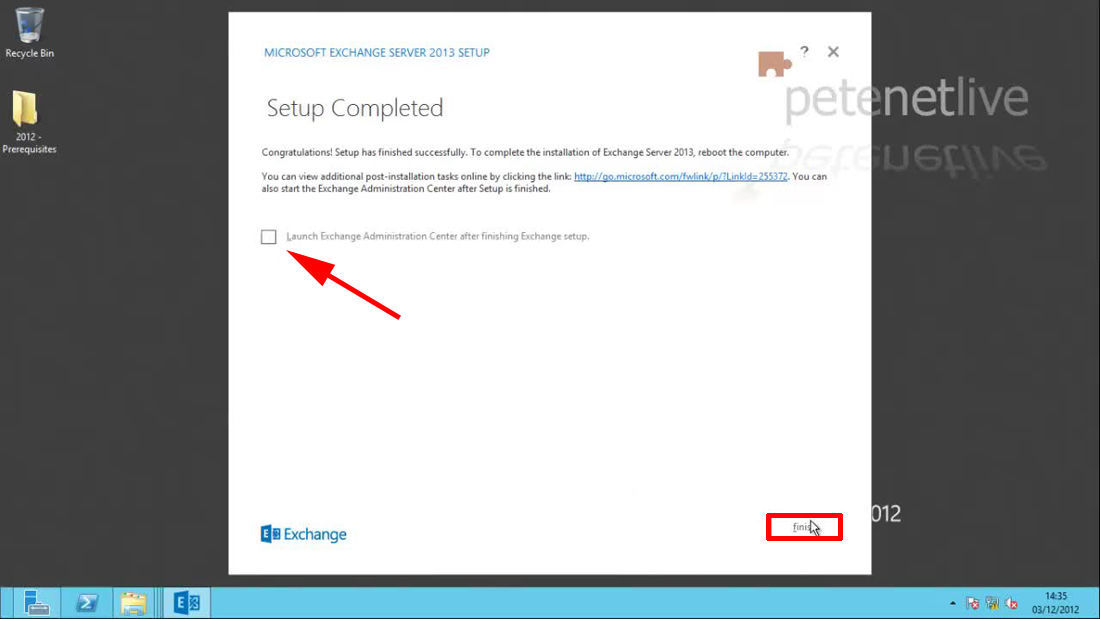
15. When done > you can tick the box and launch the ‘Exchange Admin Center’. BUT At this point I would run a full Windows update and reboot the server.
Exchange 2013 Post Install Configuration Tasks
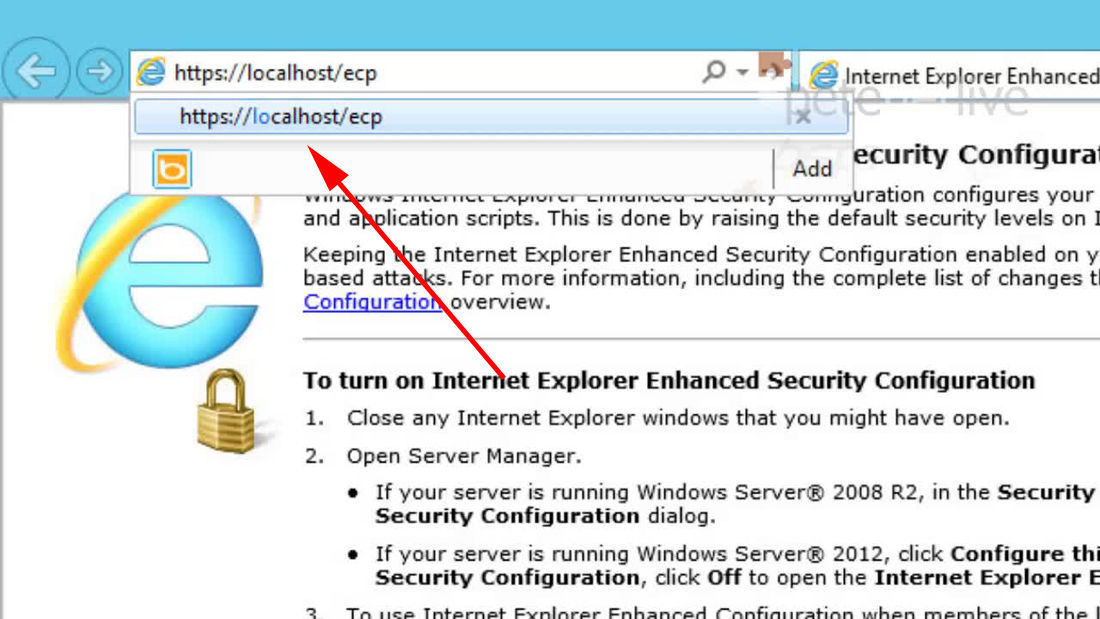
1. To launch the new ‘Exchange Admin Center’, navigate to https://localhost/ecp.
2. Sign in.

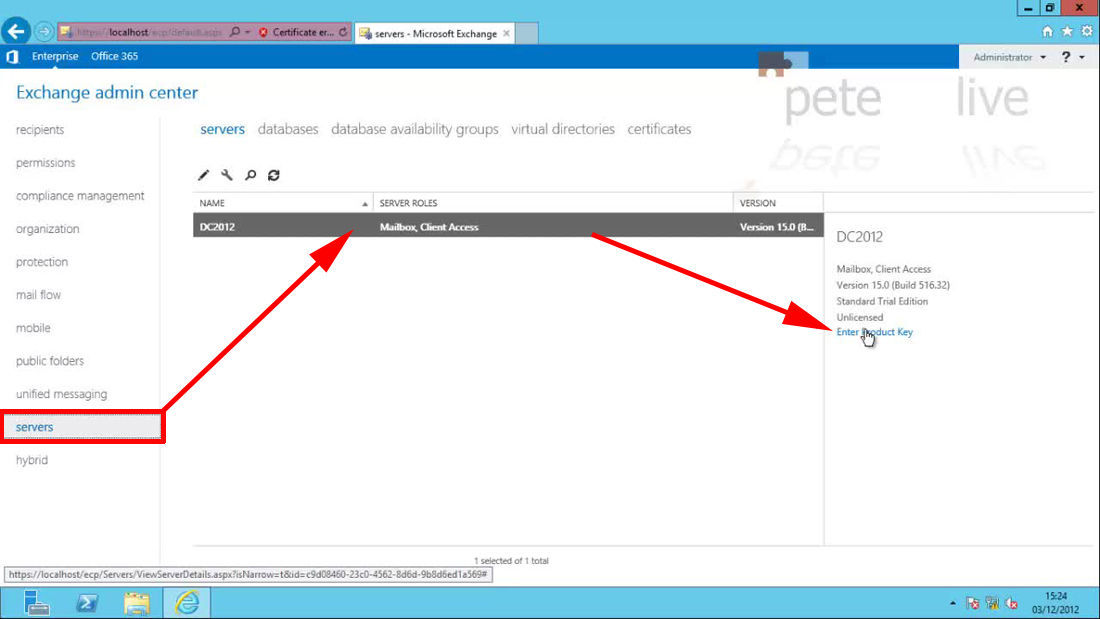
Enter the Exchange 2013 Server Product Key
3. Navigate to Server > {Server-Name} > Enter Product Key.
4. Type in your 25 character product key > Save.
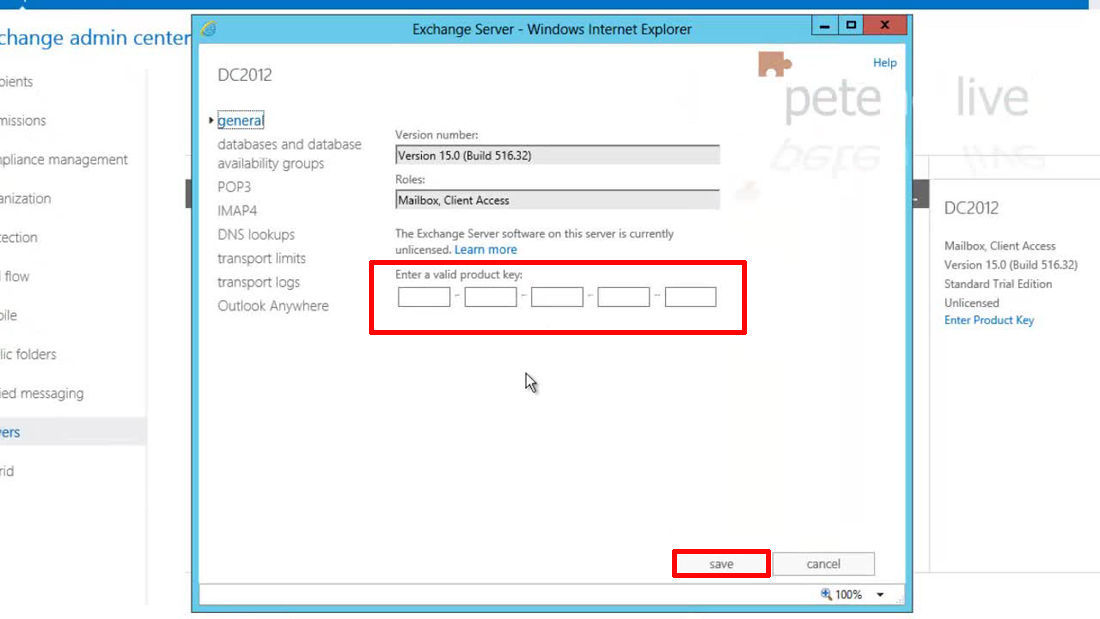
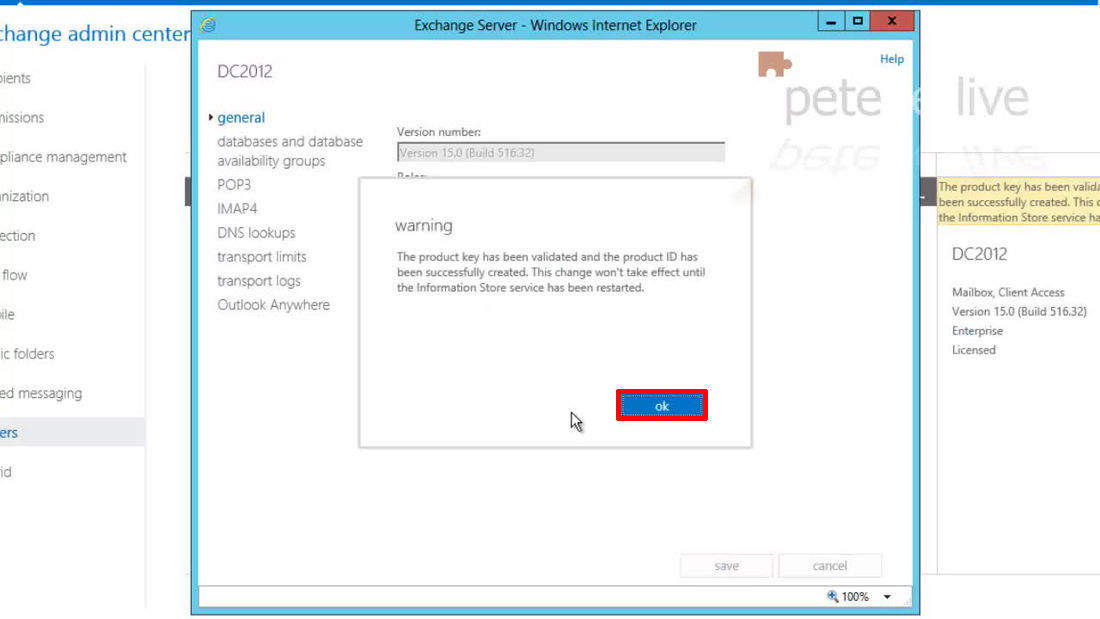
5. Read the warning > OK.
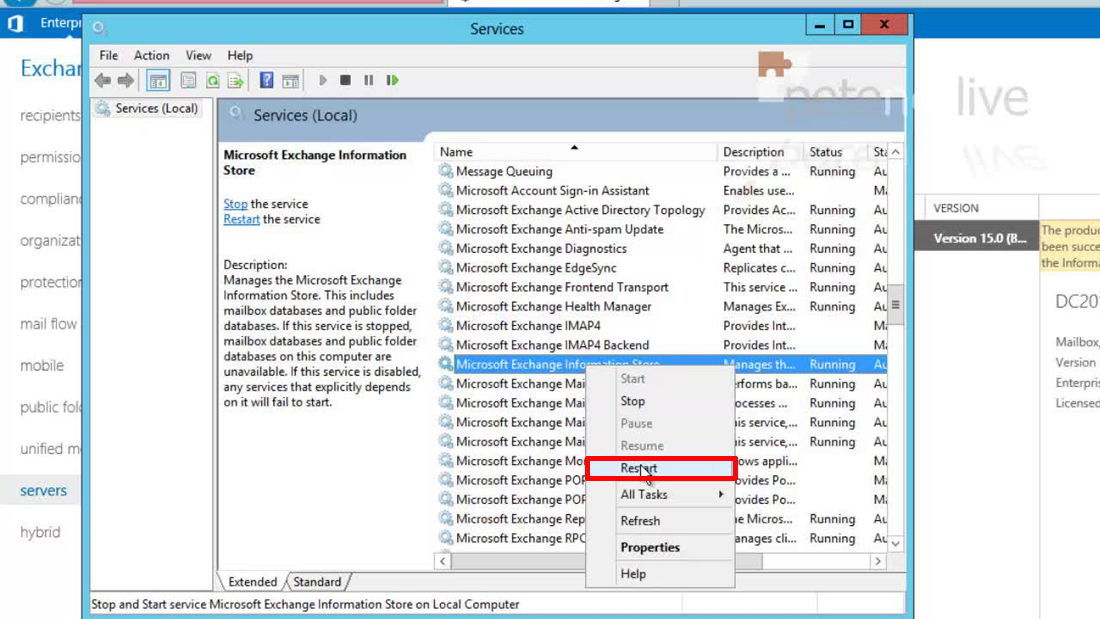
6. Windows Key+R > services.msc {Enter} > Locate and restart the ‘Microsoft Exchange Information Store’ service.
Exchange 2013 Create a Default Send Connector
Without configuring a send connector, your outbound/internet destined mail will sit on the outbound queue with the following error.
‘A matching connector cannot be found to route the external recipient’
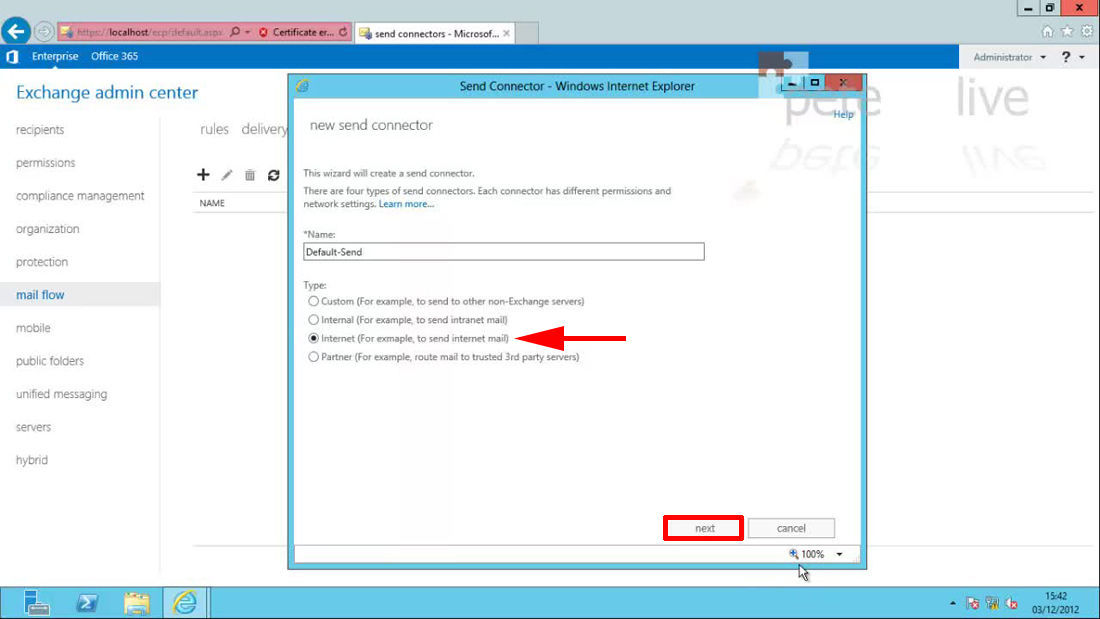
7. Navigate to > Mail flow > Send Connector > Add.
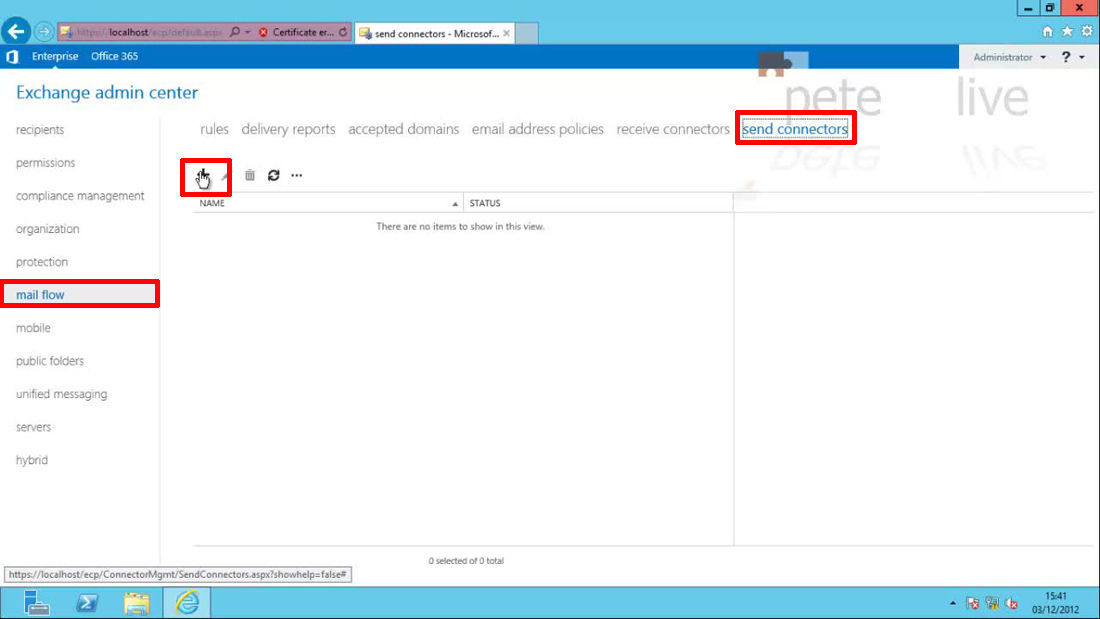
8. Give the connector a name and select ‘Internet’ as it’s use > Next.
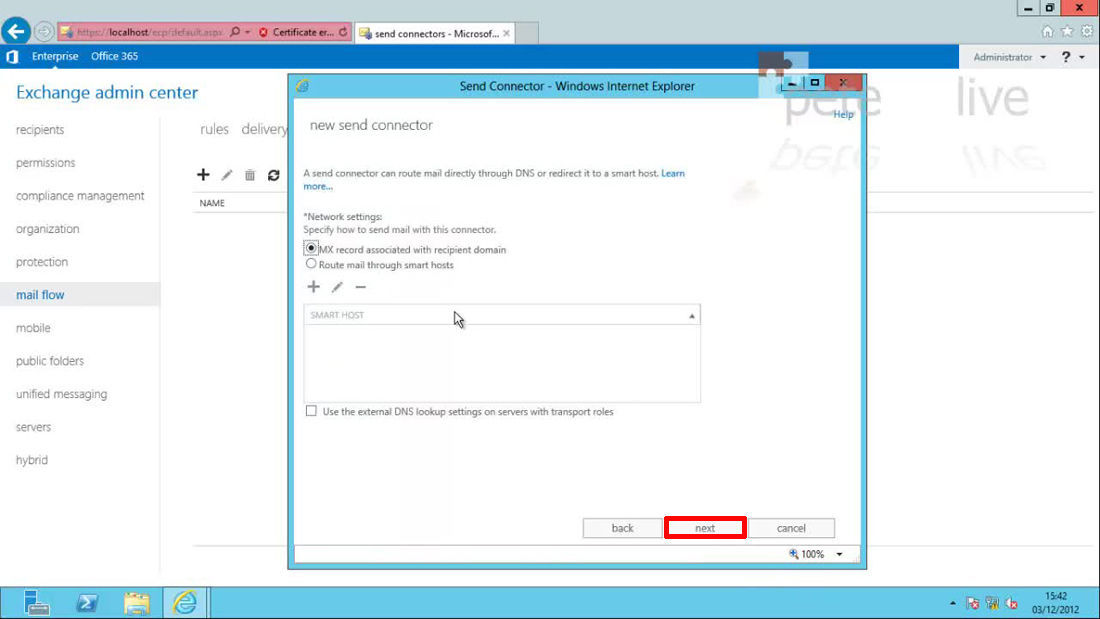
9. By default it will select where to send the email based on the DNS name of the recipient, however some people route all their mail via a smart host, (this can be a server or IP address at your ISP or a mail filtering provider). If you use a smart host you will probably already know, in most cases you will want the default option of ‘MX record associated with recipient domain’ > Next.
10. Add.
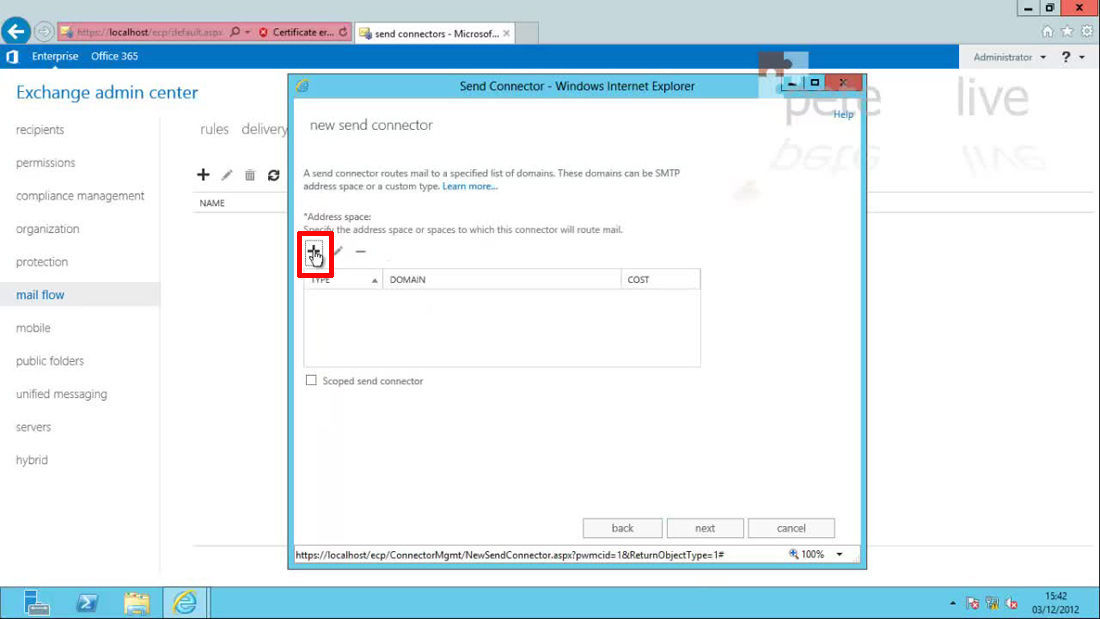
11. Set the FQDN to asterisk > Save.
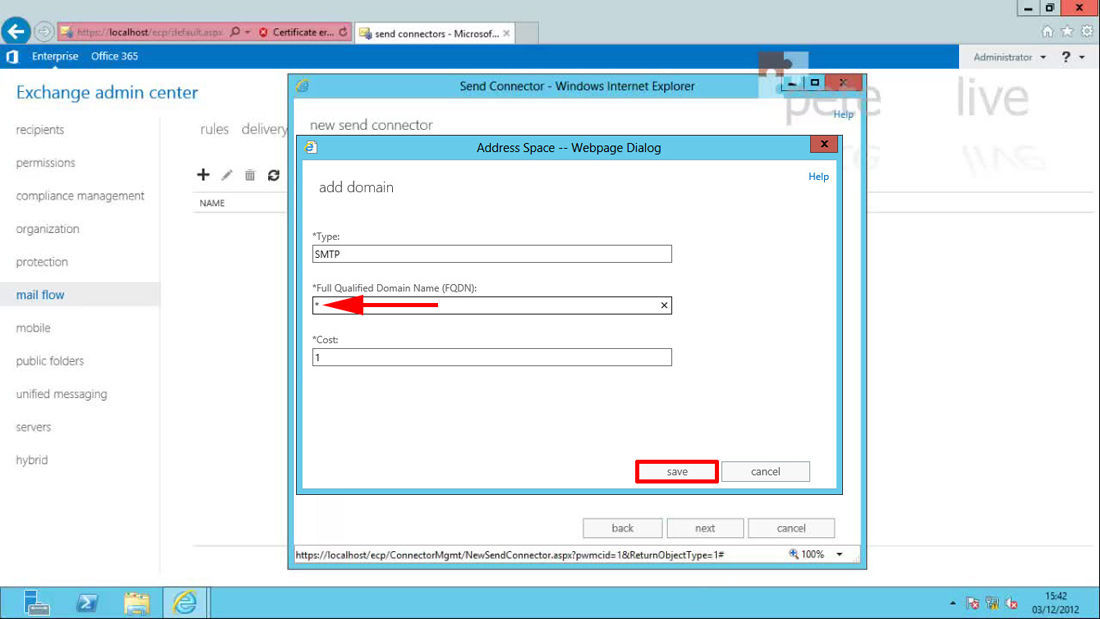
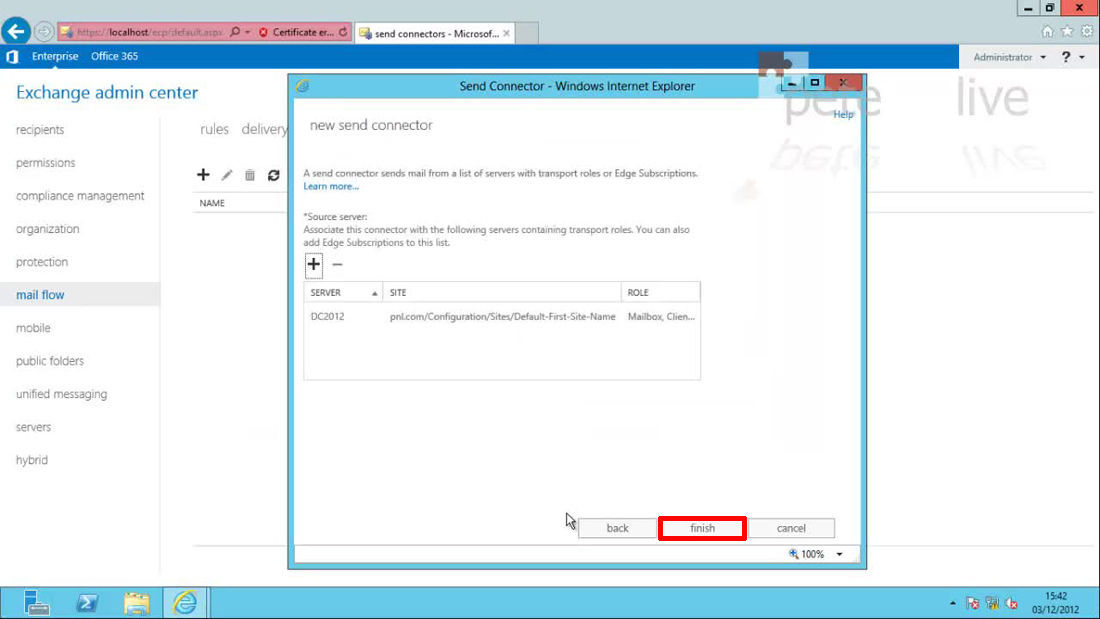
12. Add > Then select the Exchange Server.

13. Finish.
Exchange 2013 Adding a Domain Name as an Accepted Domain
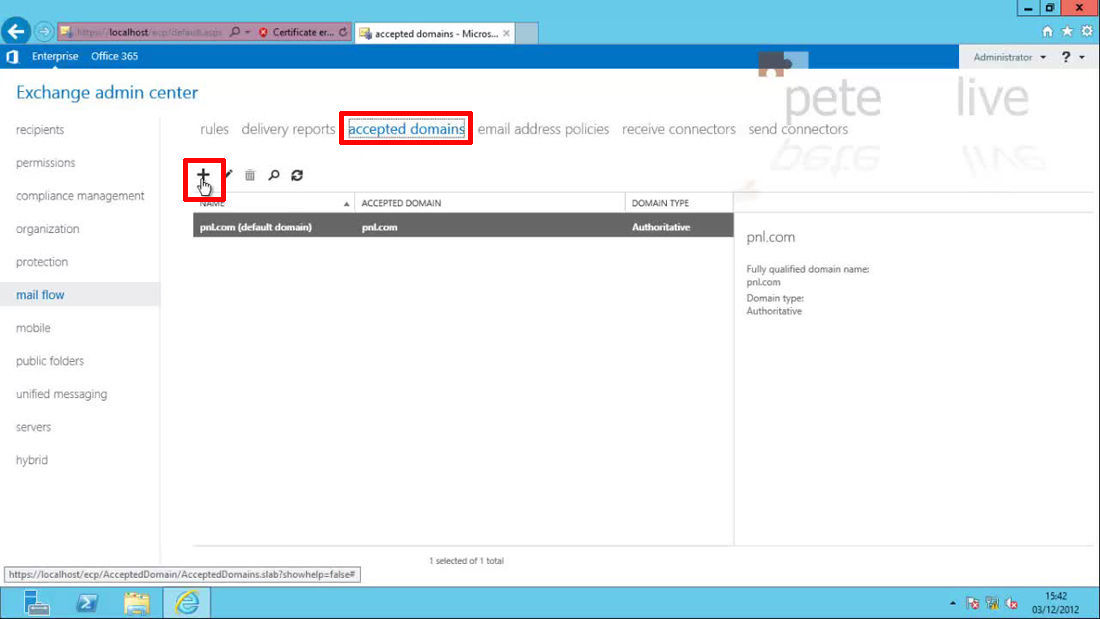
14. Whilst in the Mail Flow section > Accepted Domains > Add.
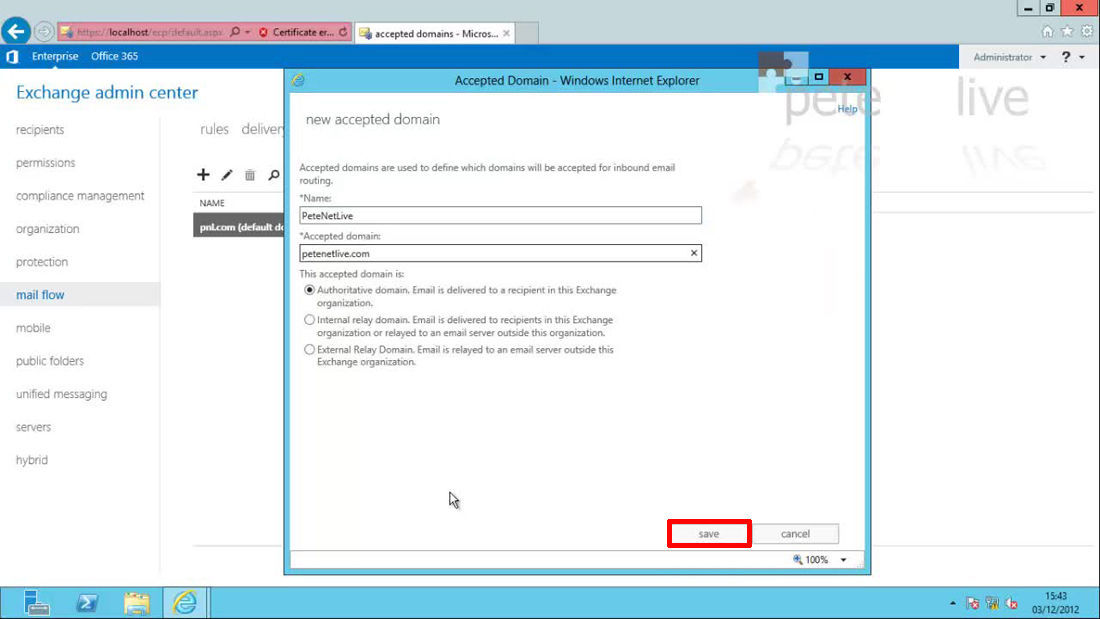
15. Give the entry a name > Type in your domain name > Save > Repeat for any additional domain names.
Adding New Email Addresses to the Default Email Address Policy.
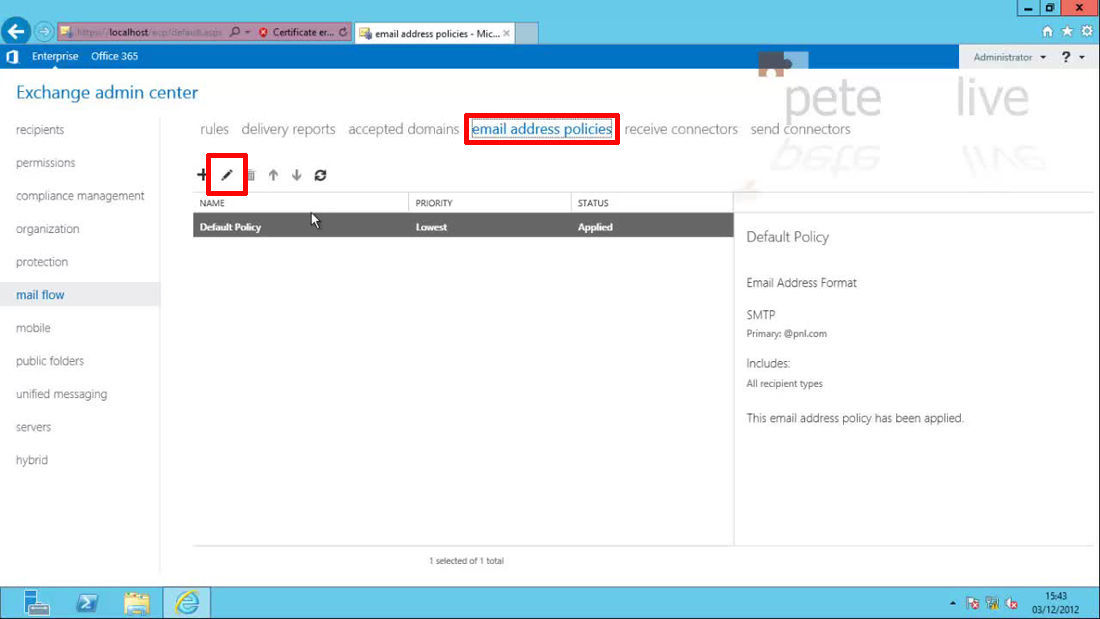
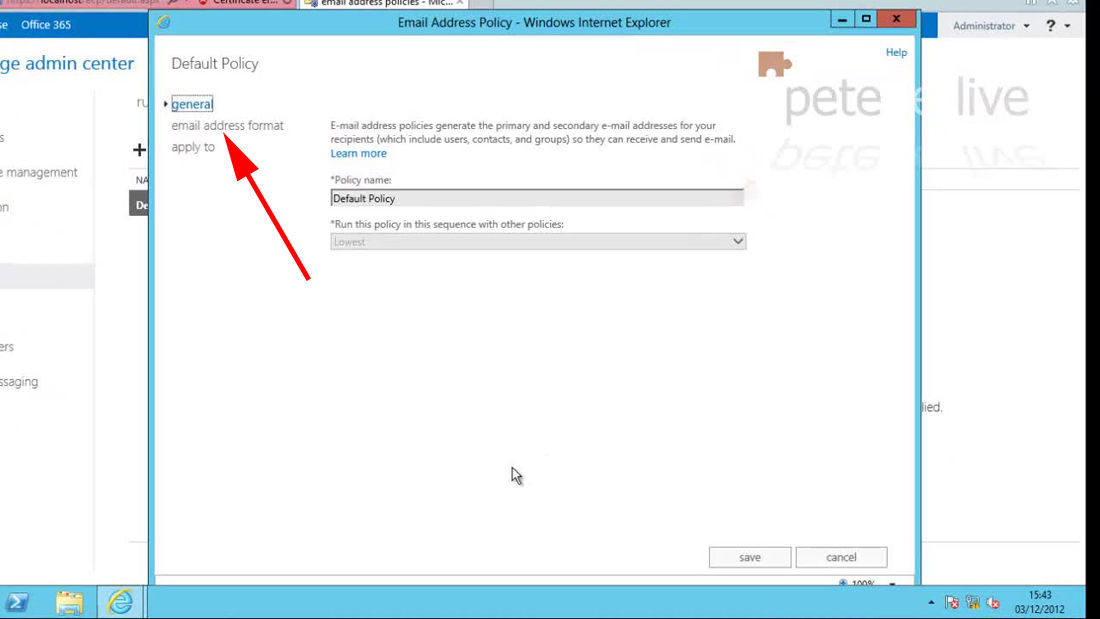
16. Whilst in the Mail Flow section > email address policies > With the default policy selected > Edit (pencil icon).
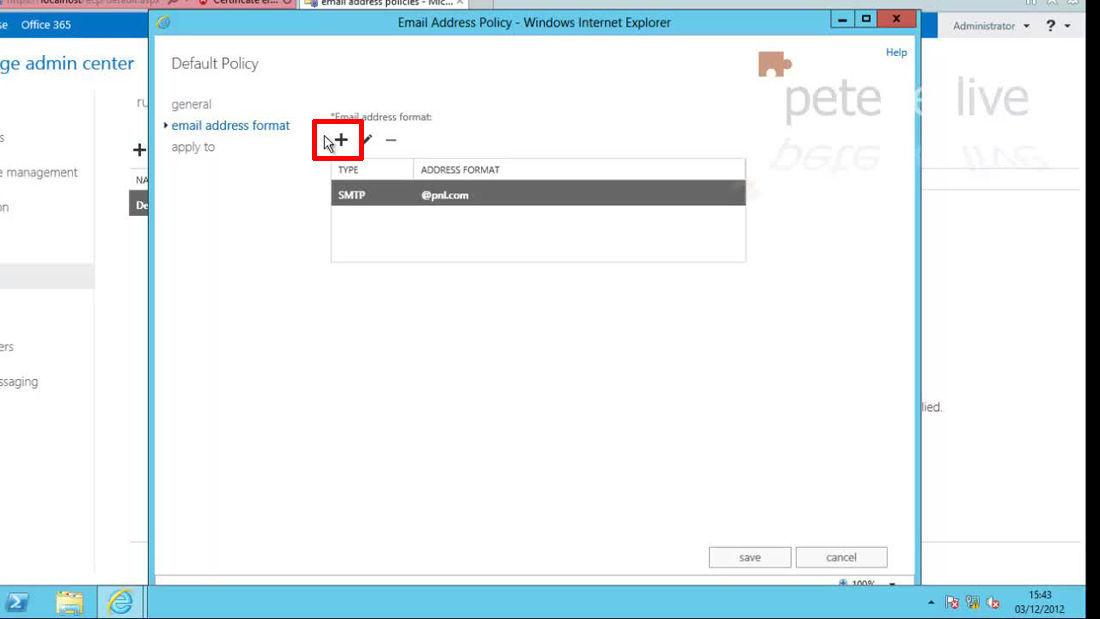
17. Email address format.
18. Add.
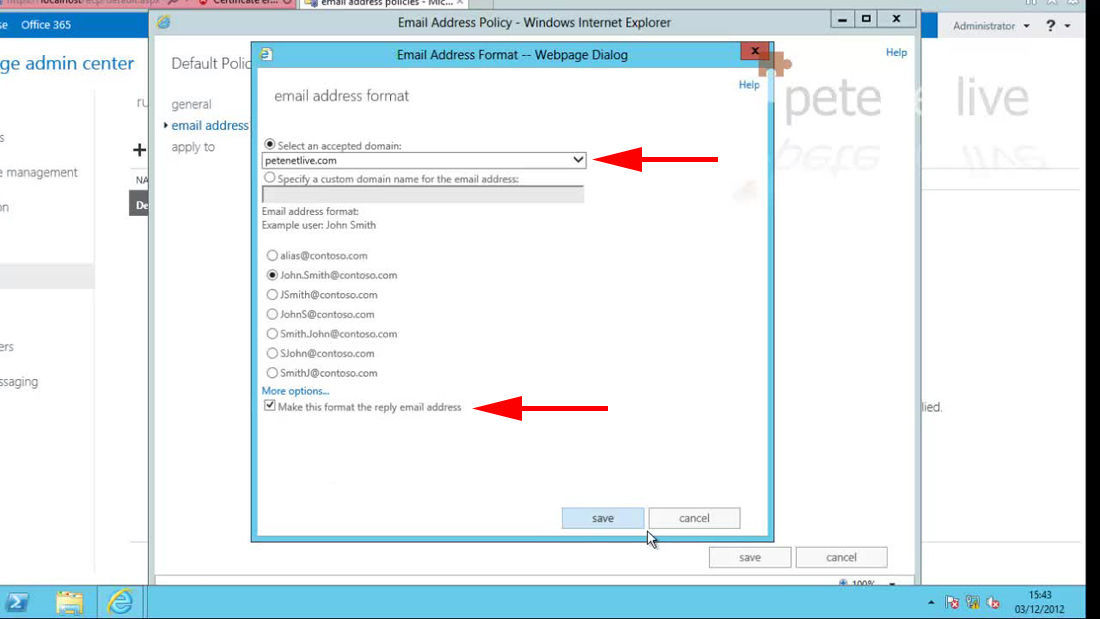
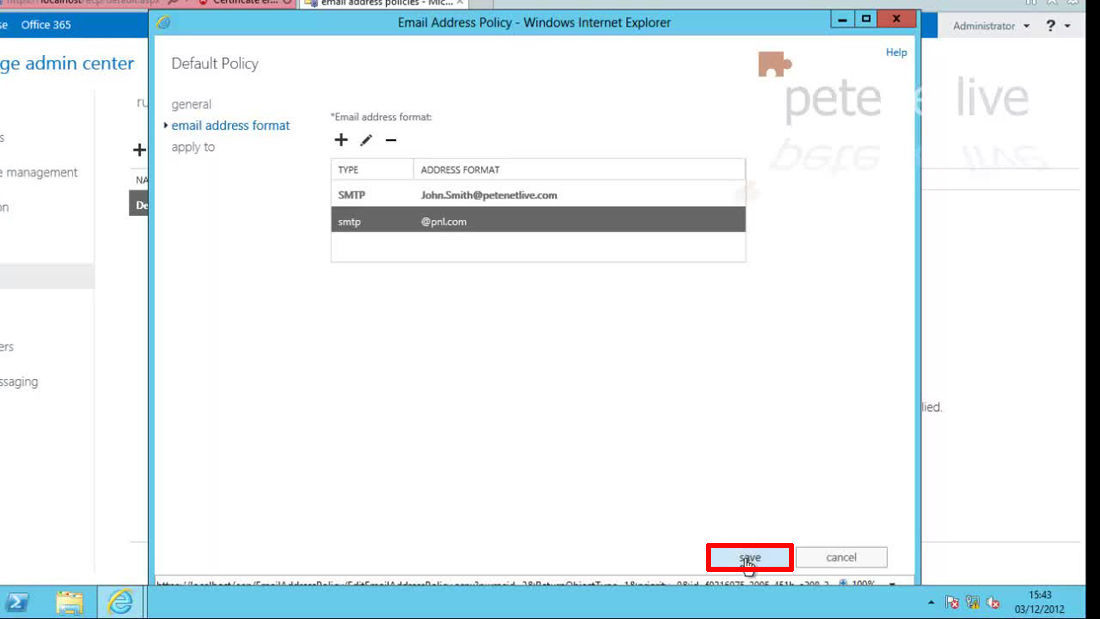
19. Select the domain > Select the name format > If this email address will be the default/reply address then select the bottom tick box > Save > Repeat for each additional email address you want to apply to your users, but only one can be the reply address.
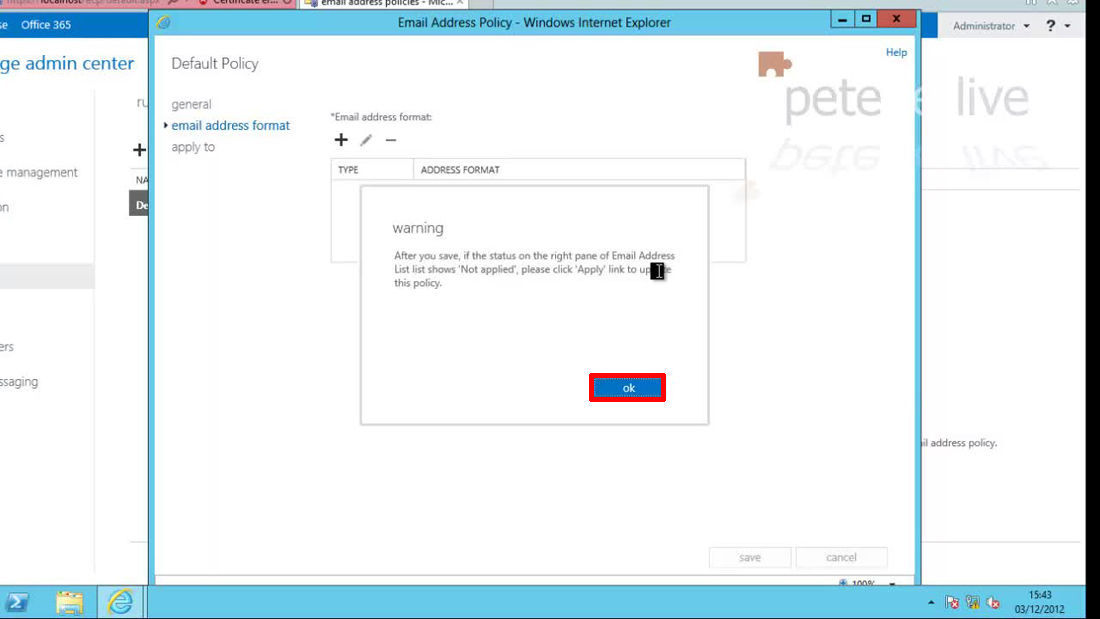
20. When finished > Save.
21. Read the warning > OK.
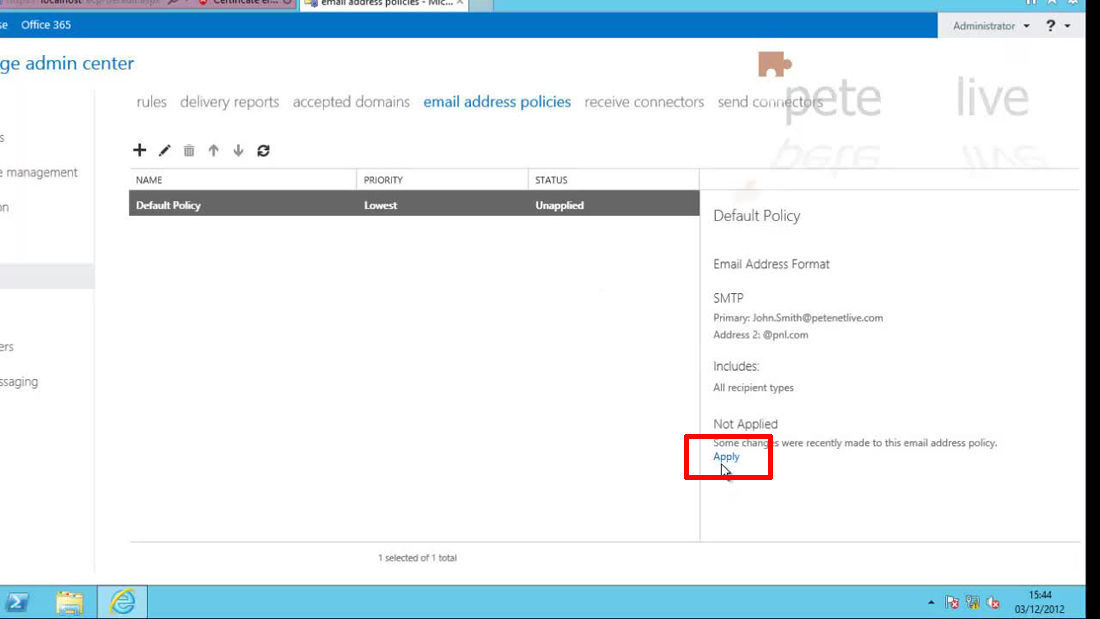
22. Apply.
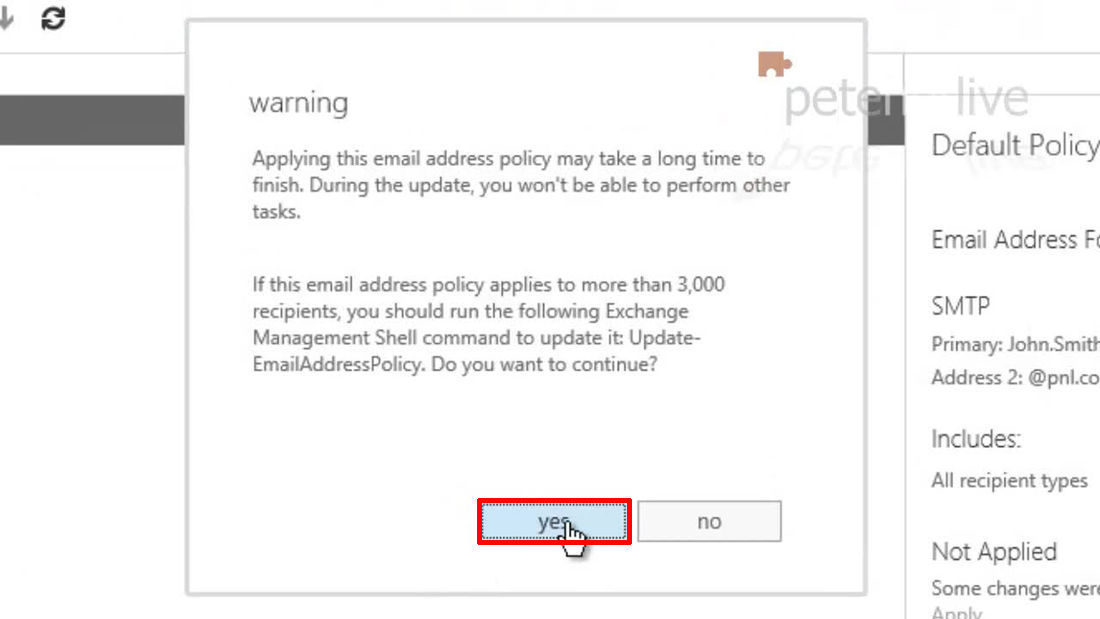
23. Yes.
Exchange 2013 Additional Post Installation Tasks.
Moving Exchange 2013 Database(s)
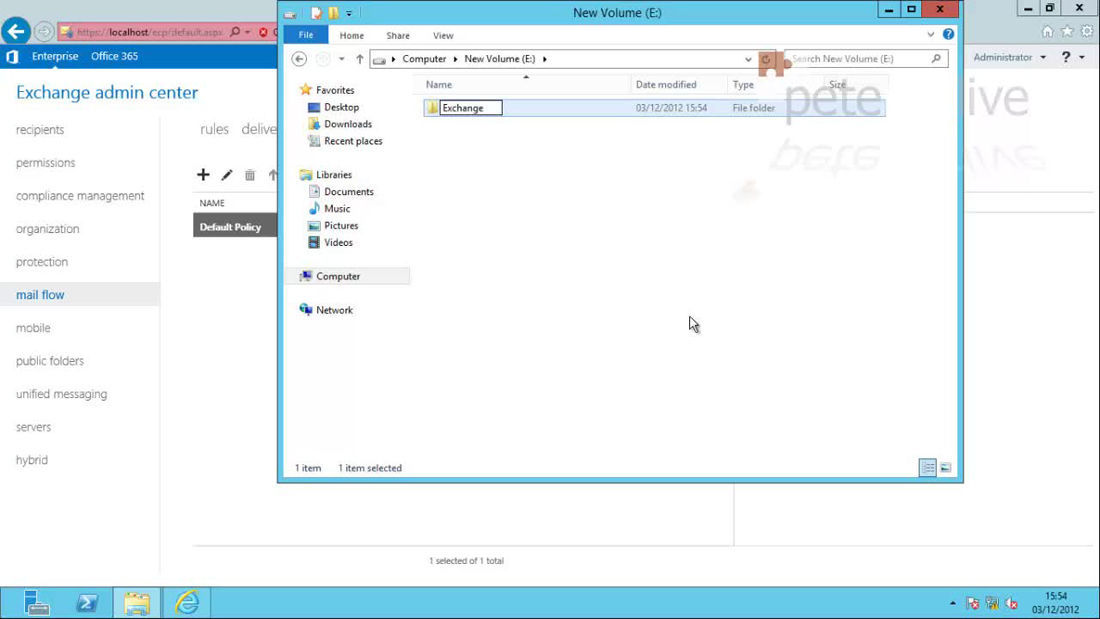
1. Create a folder on the destination drive/volume.
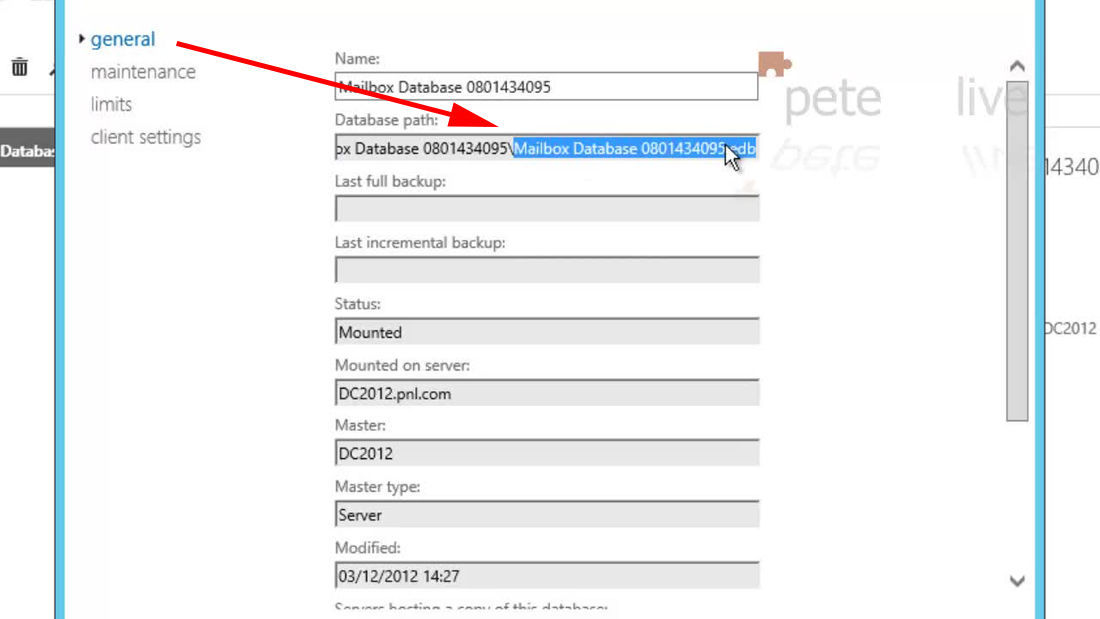
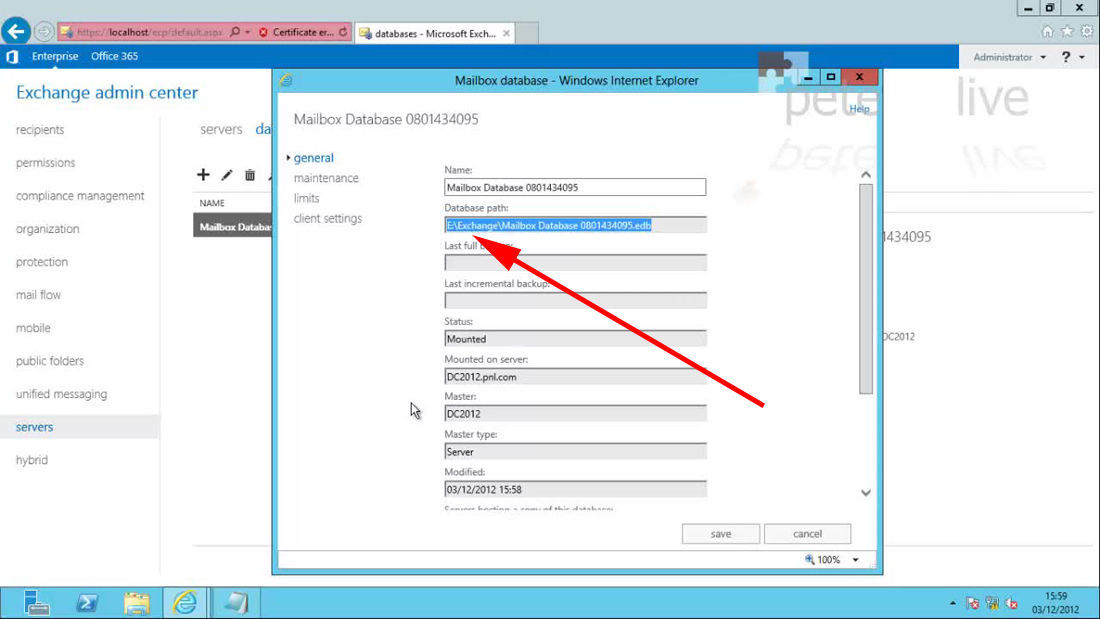
2. First see where the database is now. From within the Exchange admin center (https://localhost/ecp) > Servers > Databases > Select the database to be moved > Edit (pencil icon).
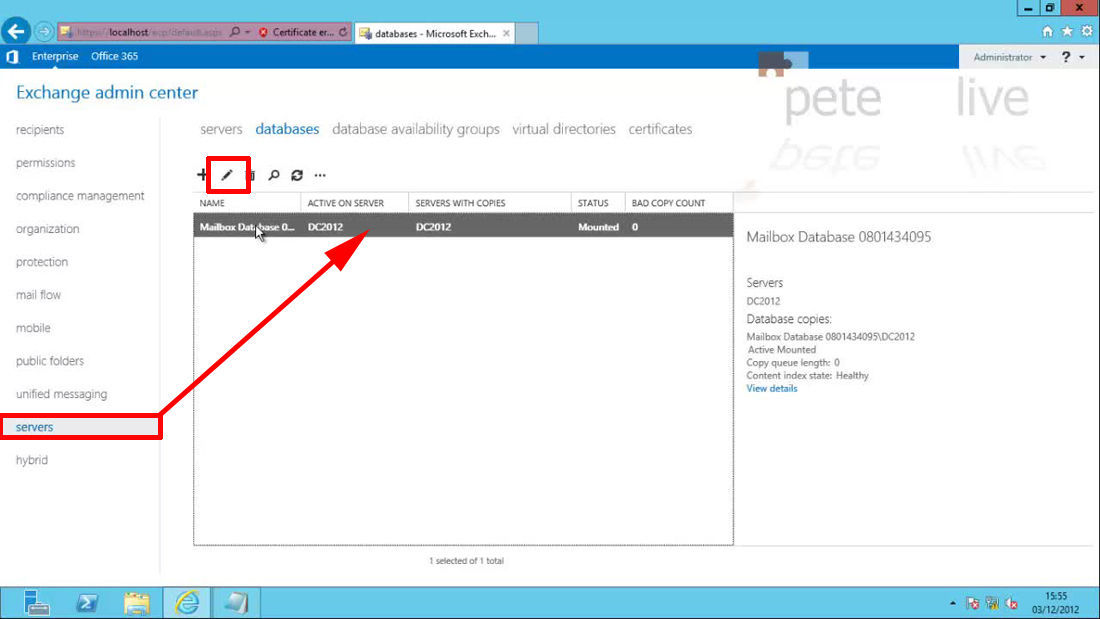
3. Take a note of the database path, and the database filename (filename.edb).
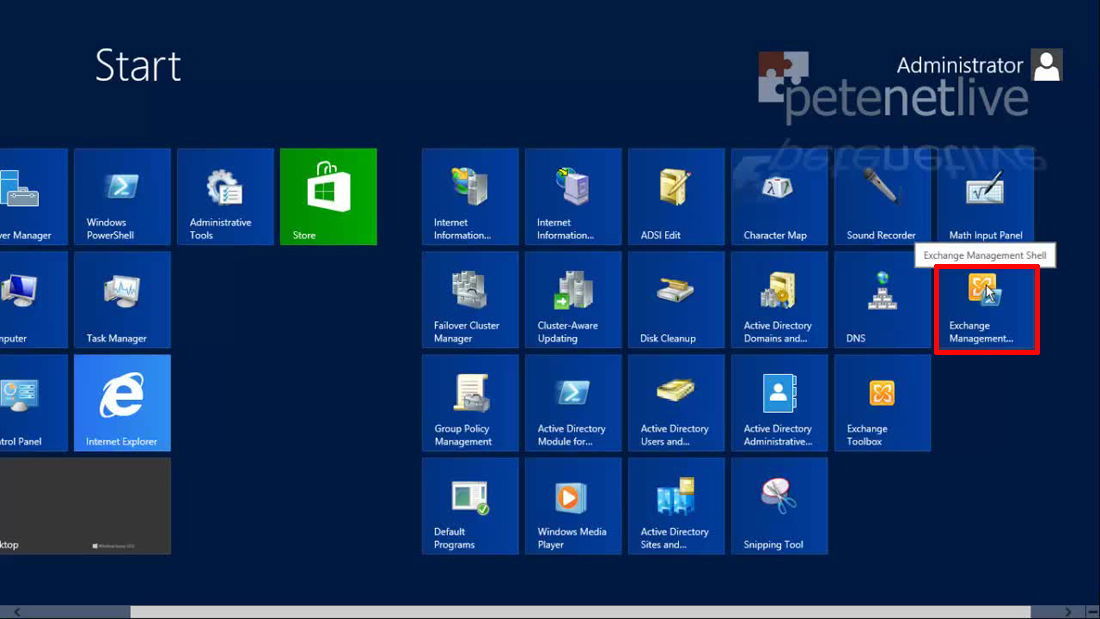
4. Launch the Exchange Management Shell.
5. Execute the the following PowerShell command;
Answer Y to the questions (or A for all).
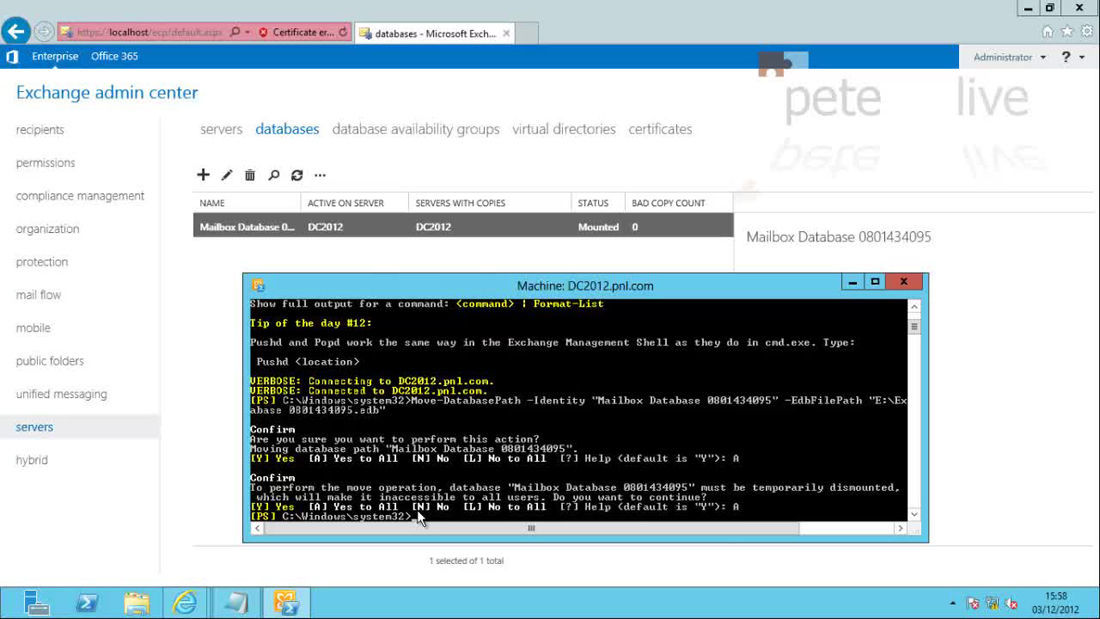
6. Now you can check that the database has mounted, and is in its new location.
Exchange 2013 Apply for, and Install a Third Party Certificate
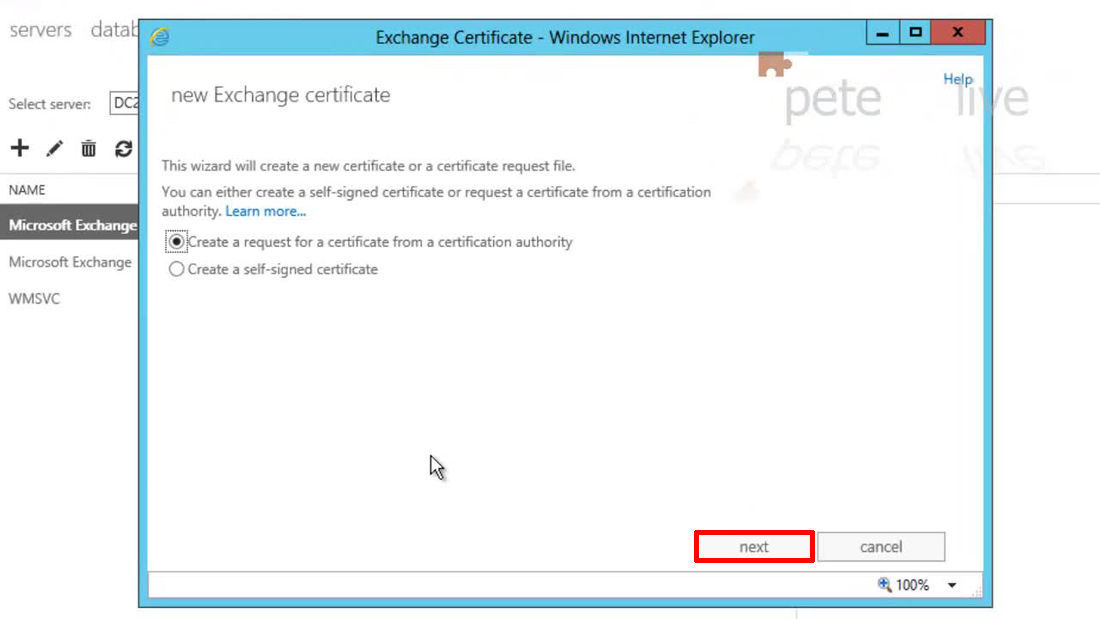
1. From within the Exchange admin center (https://localhost/ecp) > Certificates > Add.

2. Self signed certificates are literally more trouble than they are worth, you need to BUY A CERTIFICATE! > Next.
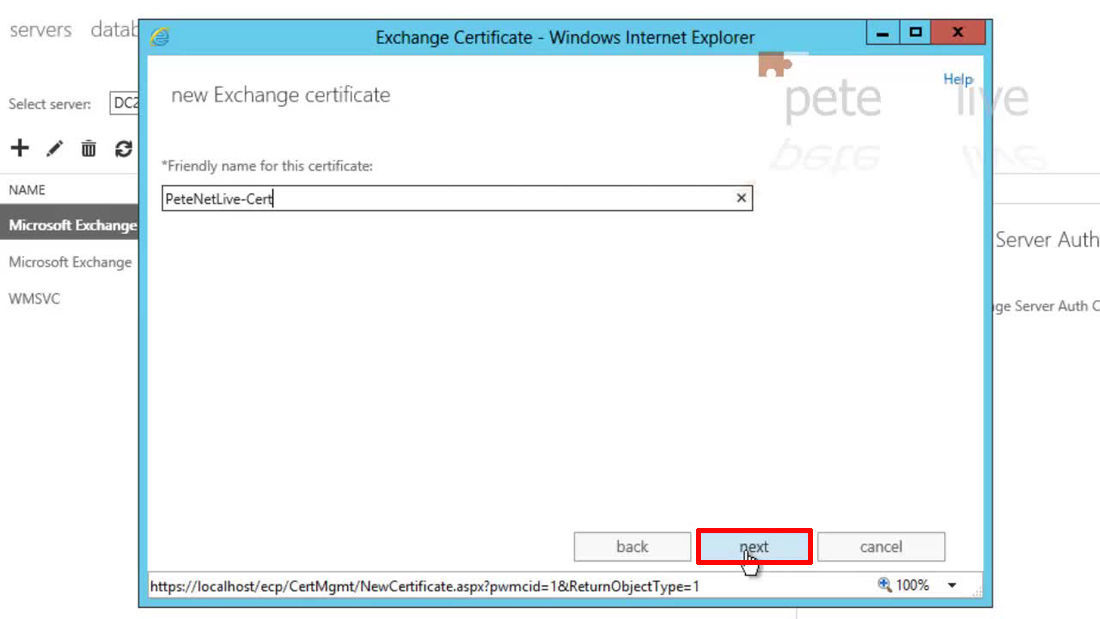
3. Give the request a name > Next.
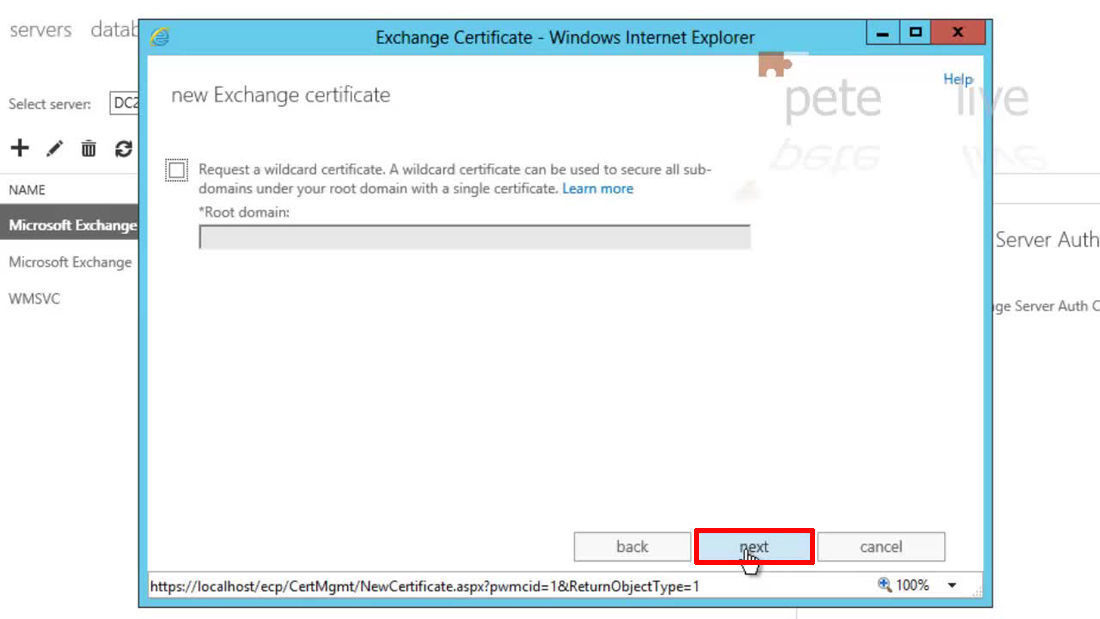
4. We don’t want a wildcard certificate > Next.
Note: A wildcard certificate is a certificate that has a name like ‘*.domain.com’.
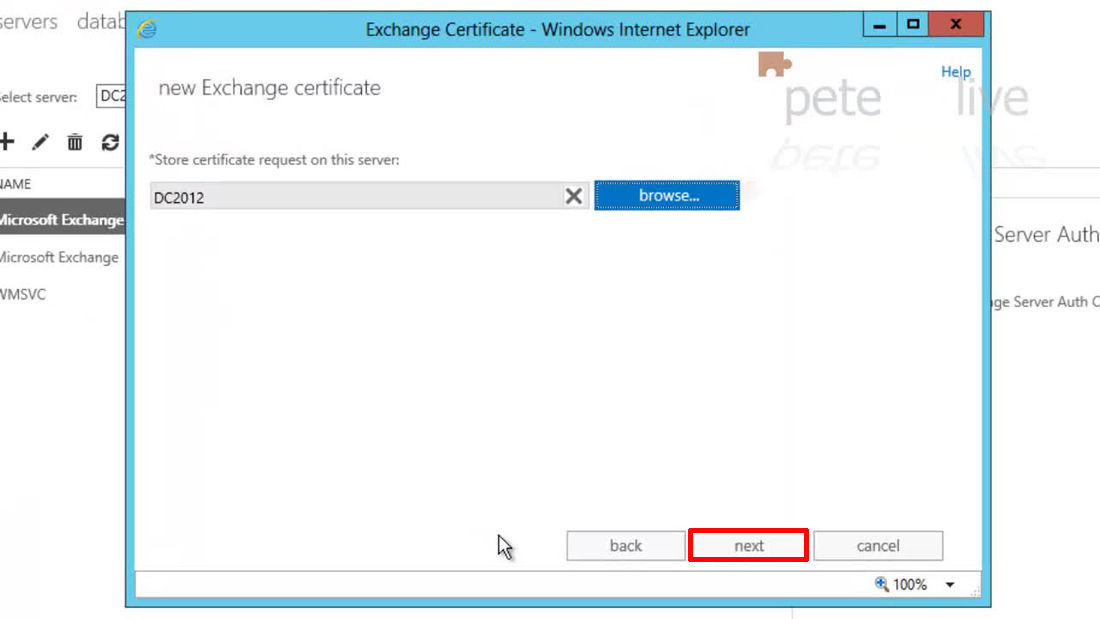
5. Select the Exchange Server > Next.
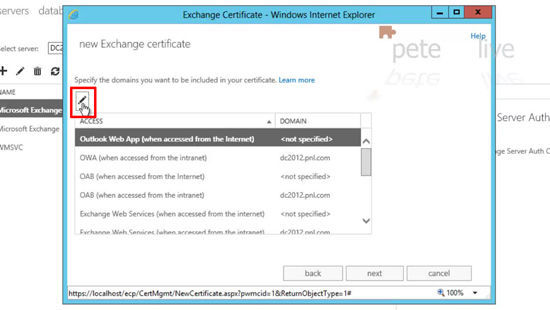
6. Select the internet Outlook Web App and Edit (pencil icon).
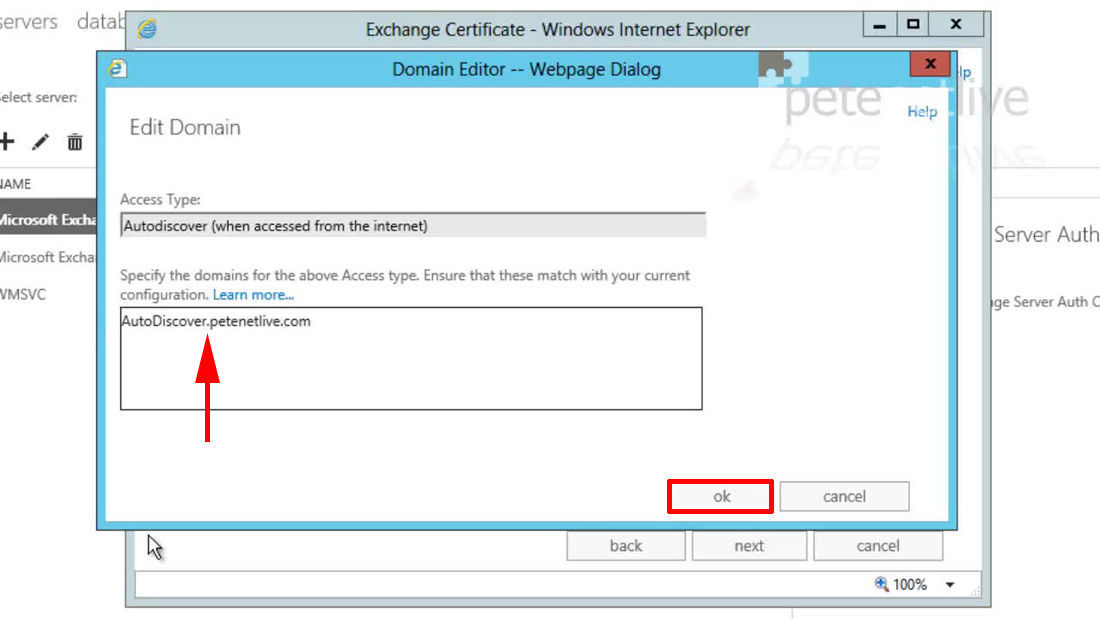
7. Type in the publicly addressable domain name of the Exchange Server > OK.

8. Set the public name of the Autodiscover service > OK > Next.
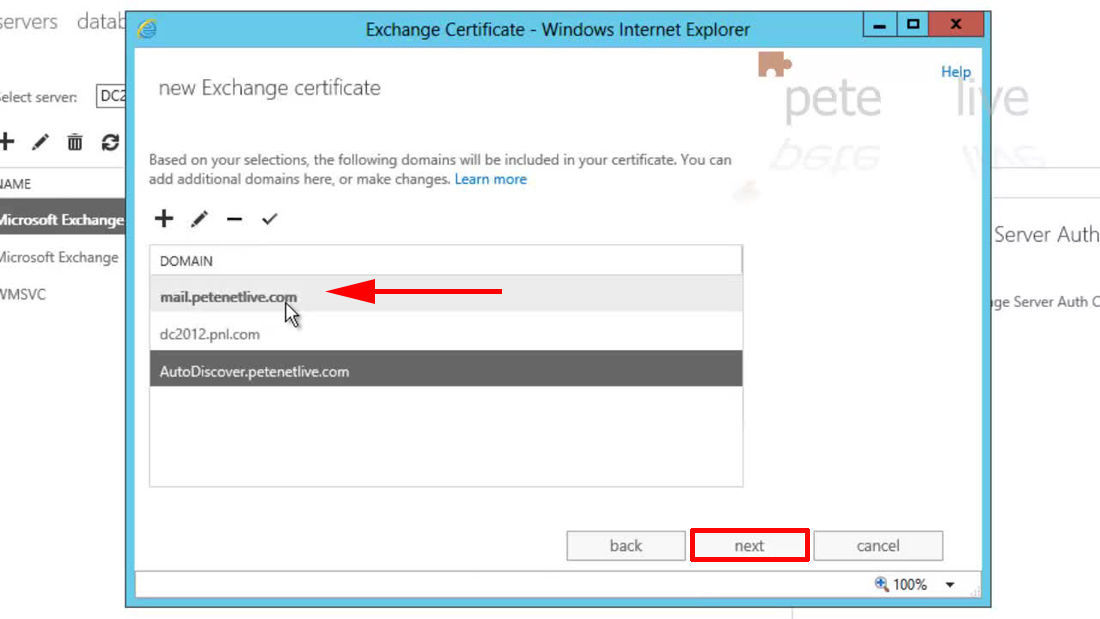
9. MAKE SURE that the OWA public name is IN BOLD as this will be set as the ‘common name’ on the certificate > Next.
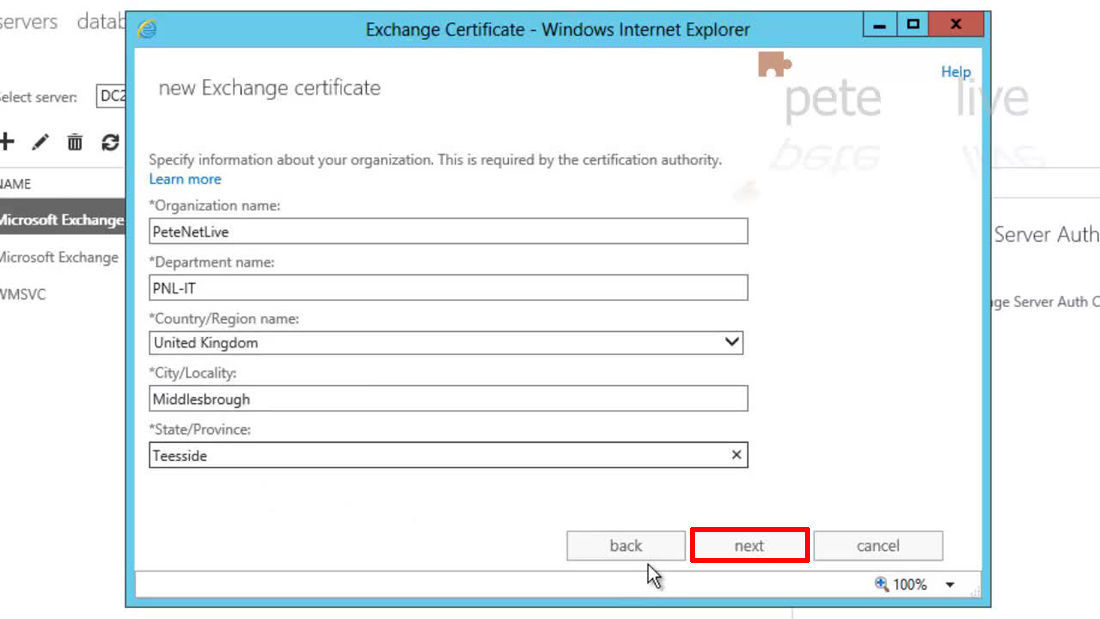
10. Type in your details > Next.
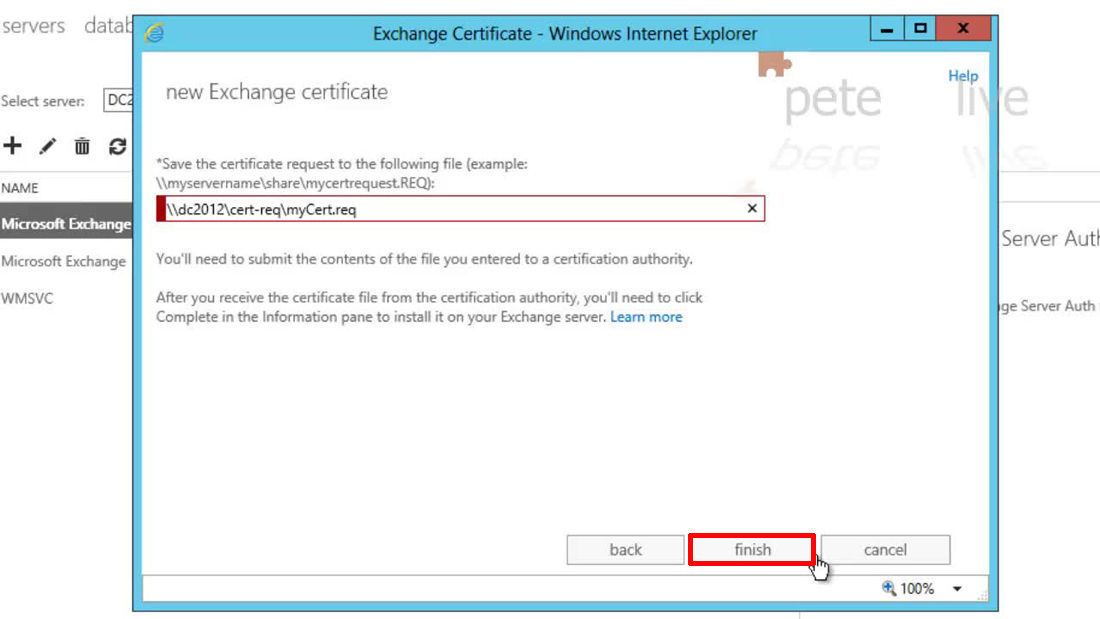
11. Select a share to save the certificate request in > Finish.
Note: This share must already exist, with the correct permissions, if in doubt watch the video above.
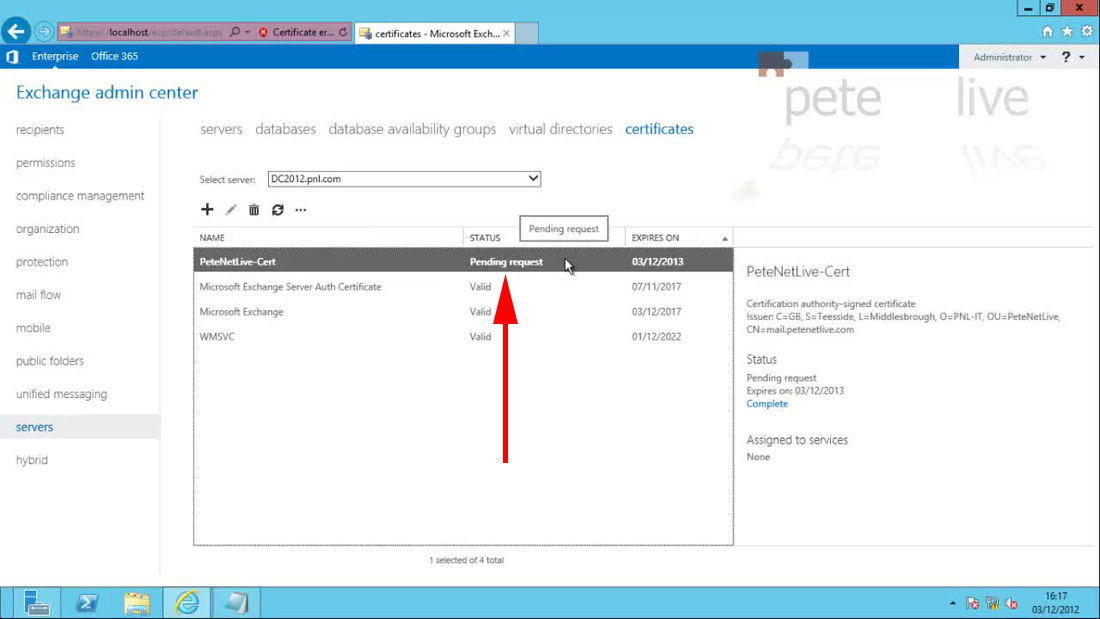
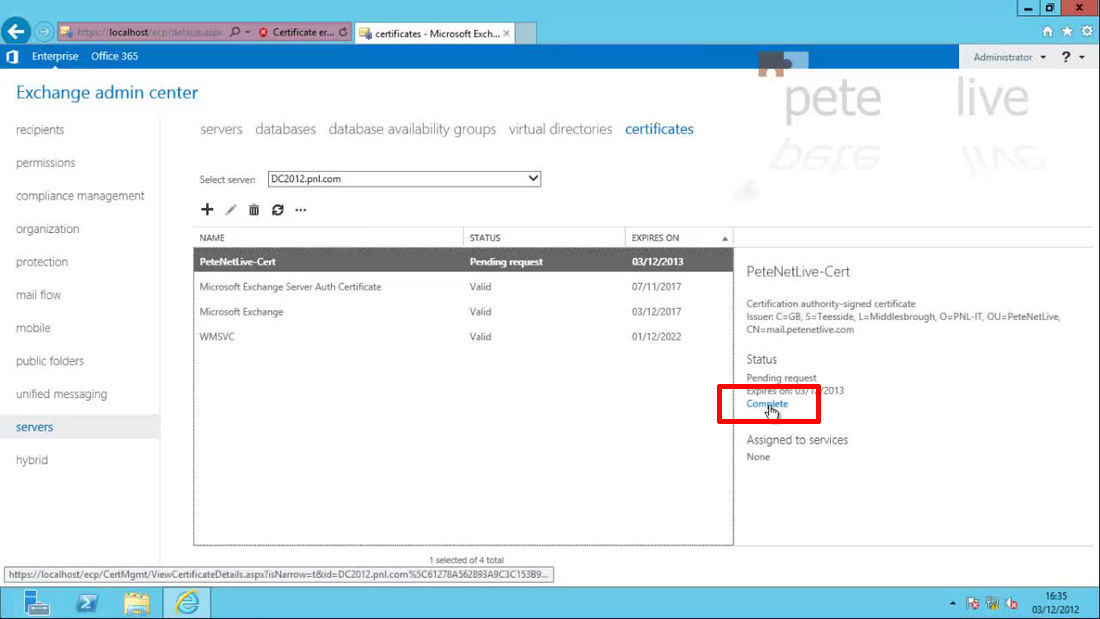
12. Now you should have a pending request.
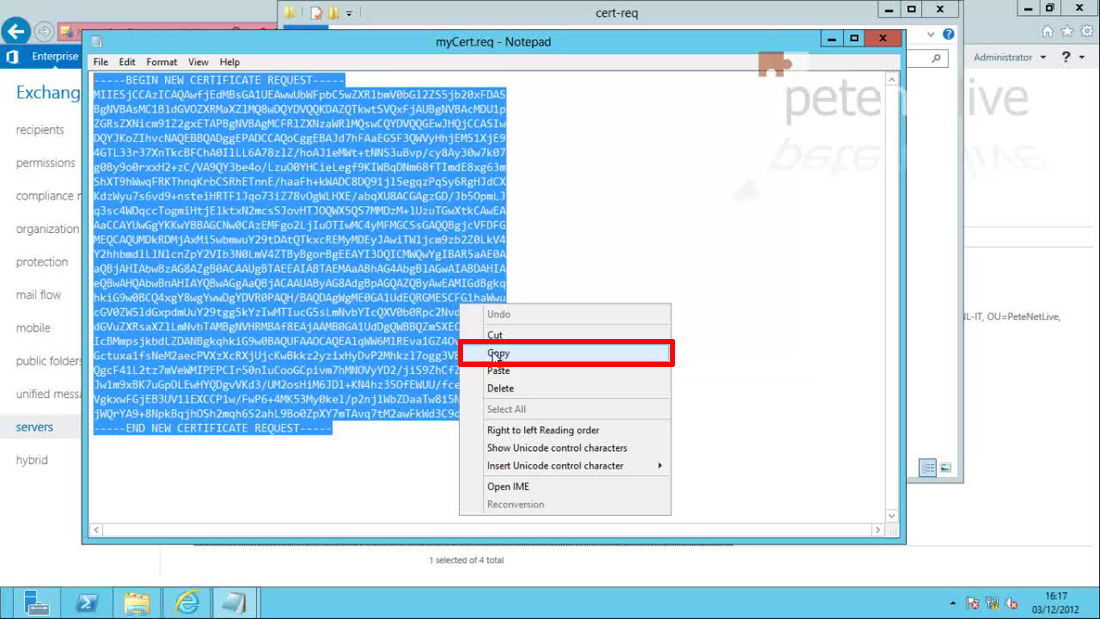
13. Take the certificate request that it has generated (in PIM format), and send that to your certification authority, the link below will take you straight to the correct certificate you need;
Exchange 2013 Server Certificates.
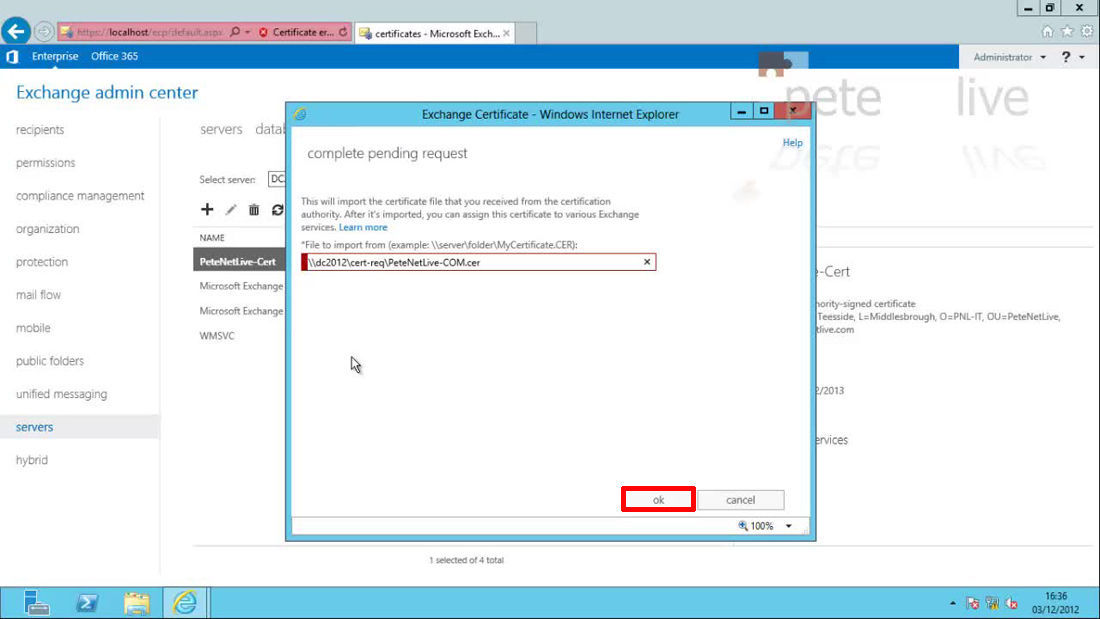
14. Once complete and you have received your new certificate back again > Select the pending request > Complete.
15. Supply the path to the certificate > OK.
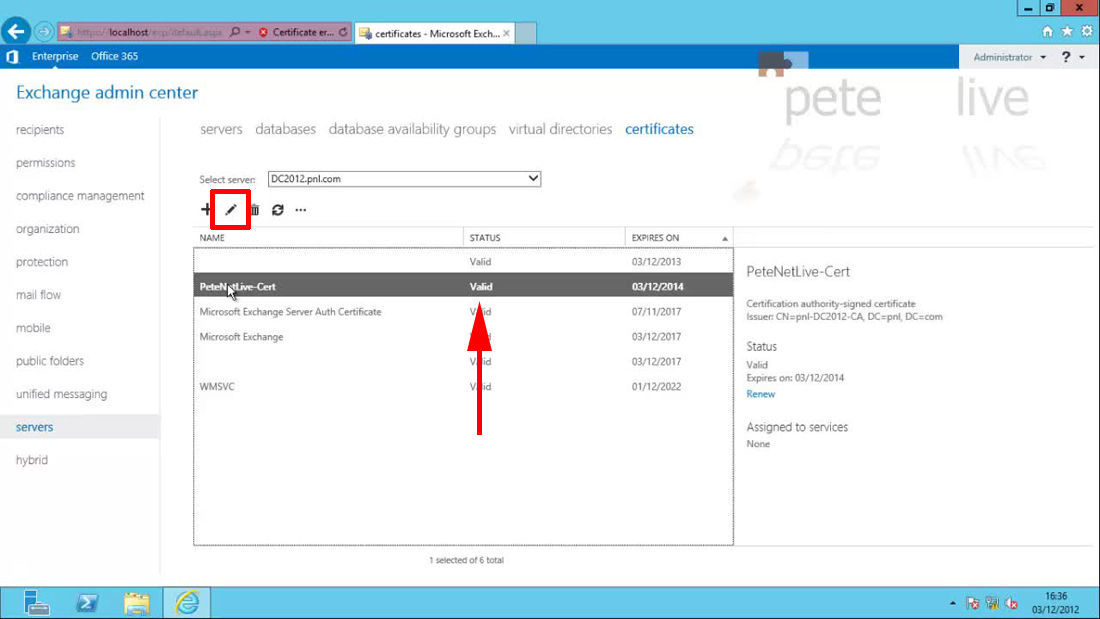
16. Now you need to assign Exchange services to the certificate> with it selected > Edit (pencil icon).
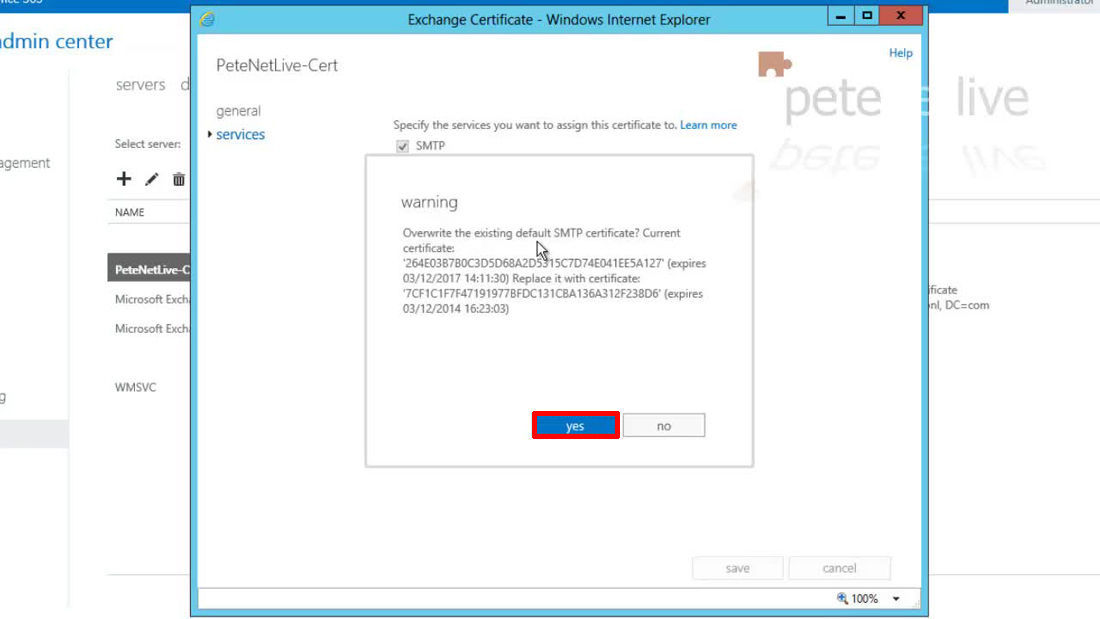
17. I’m not using unified messaging or POP, so I’ve just selected SMTP, IMAP and IIS > Save.
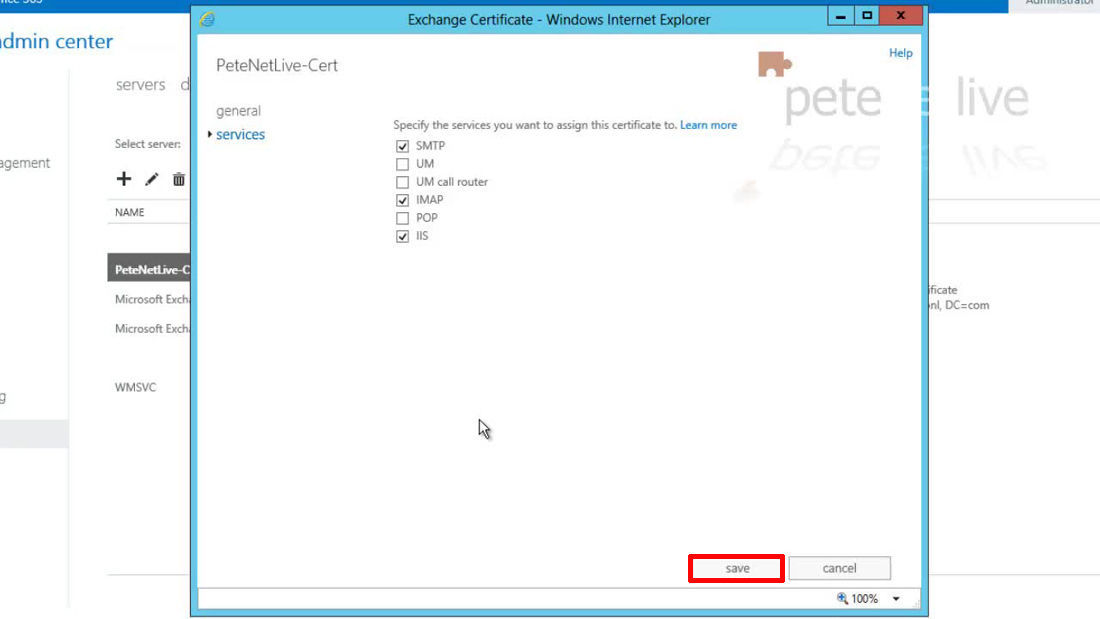
18. Yes to overwrite the existing certificate.
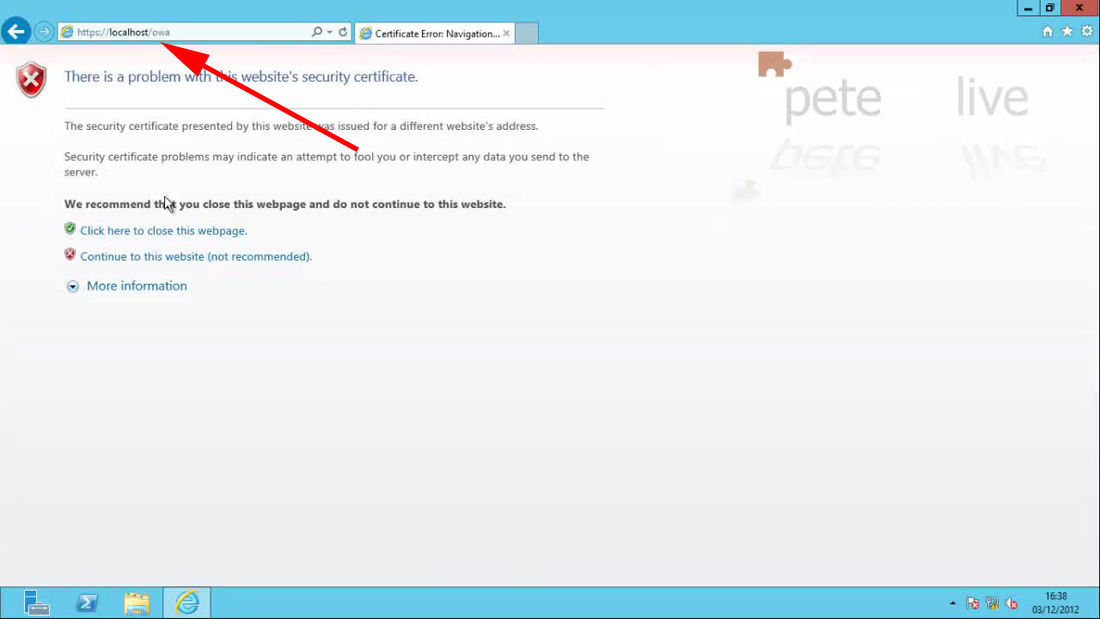
19. Now lets make sure its worked, open https://localhost/owa > it will error because the URL is wrong > continue to this website.
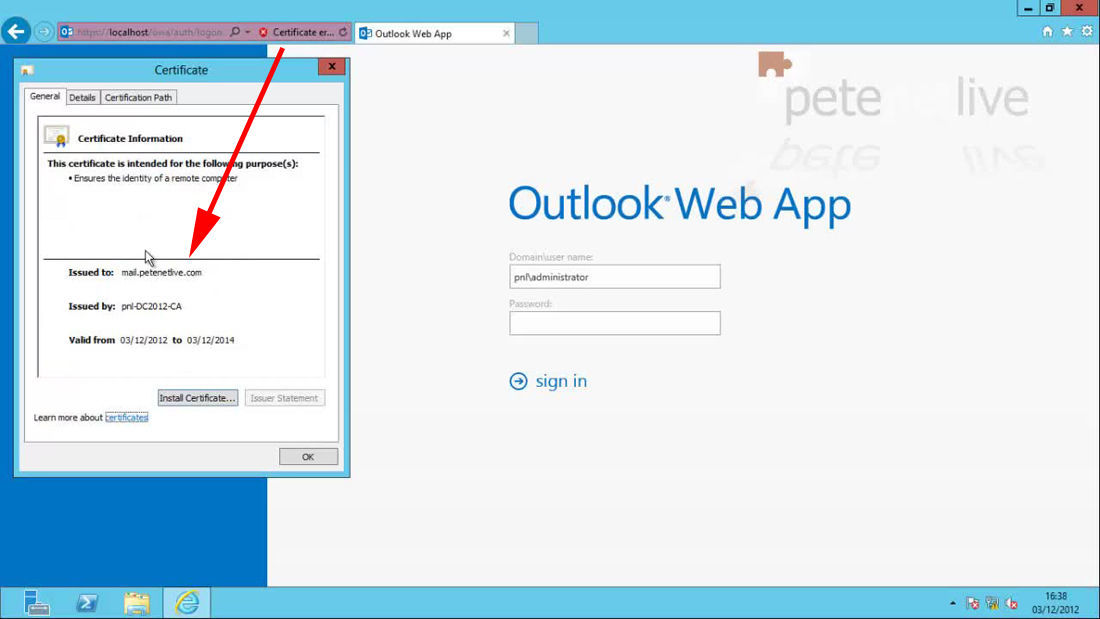
20. Open the certificate and check it is correct. (here mine has a common name of mail.petenetlive.com).
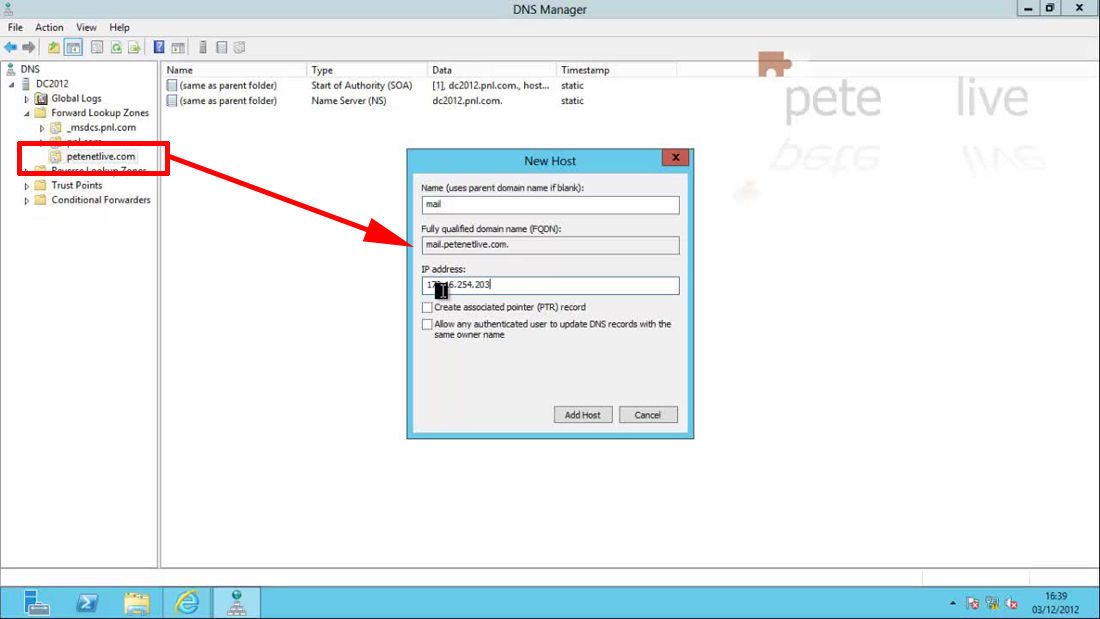
Exchange 2013 Setting up ‘Split DNS’ for your Exchange Certificate
Note: You only need to set this up if your private/internal, and public/external domain names are different.
21. To avoid annoying DNS and certificate errors on your internal network, your best bet is to setup ‘Split DNS’. Create a forward lookup zone that matches your PUBLIC domain name. Then inside this zone create an A/Host record for mail that points to the internal IP of your Exchange Server. And another for Autodiscover that points to the same IP address.
WARNING: If you do this, and have a www.yourdomainname.com website hosted externally, you will find that your internal users can no longer get to it! If that happens create an additional A/Host record for a host called www and point its IP address to the public IP address of your website (you may also need an FTP entry if you use that externally as well).
22. Now open a web browser and navigate to the public name of your mail sever, this time it SHOULD NOT ERROR.
Exchange 2013 Test Mail Flow
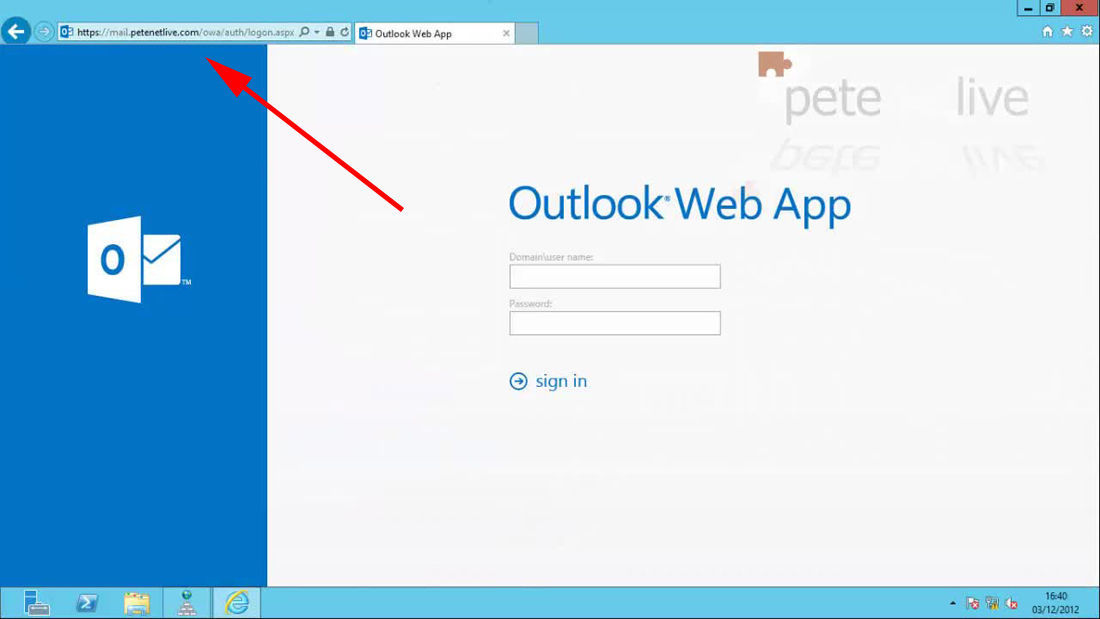
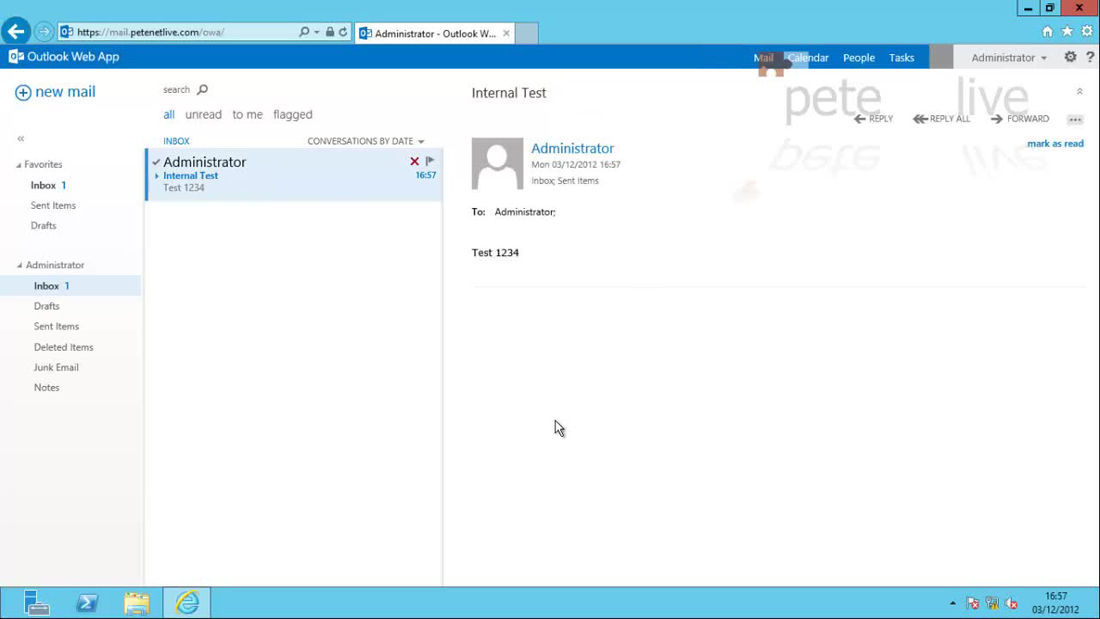
1. Log into OWA, and send a test email to an internal email address (on a new deployment you probably only have Administrator as a mailbox, so send yourself an email).
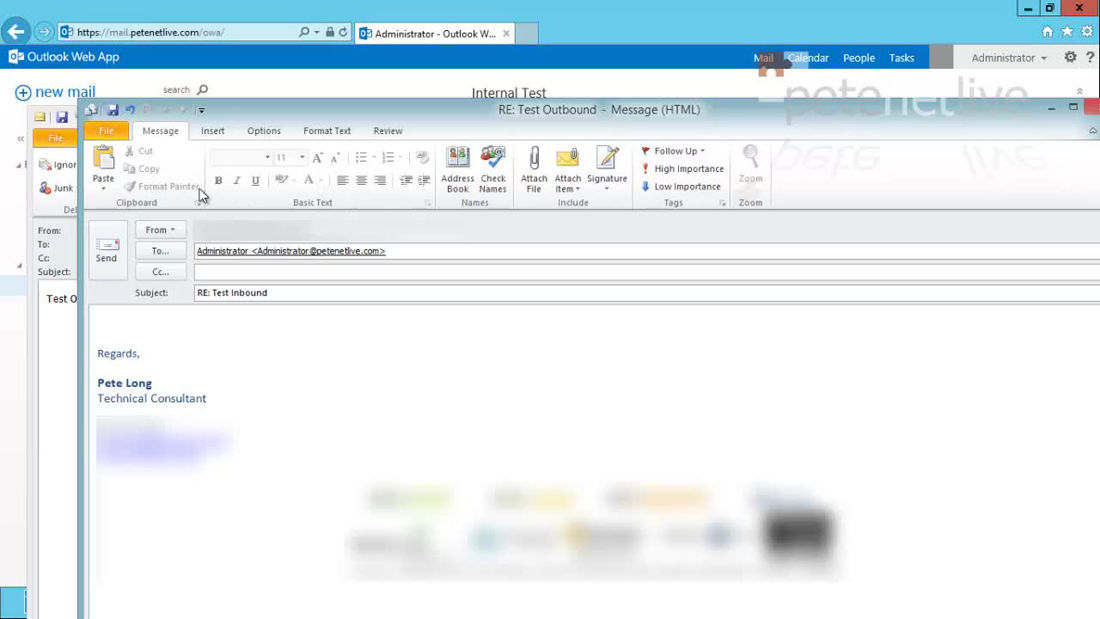
2. Then send a test email out to a public email address.
Note: If this fails, check it has left the Exchange Organization by looking at the Queue Viewer.
Exchange 2013 – Where is the Queue Viewer?
 .
.
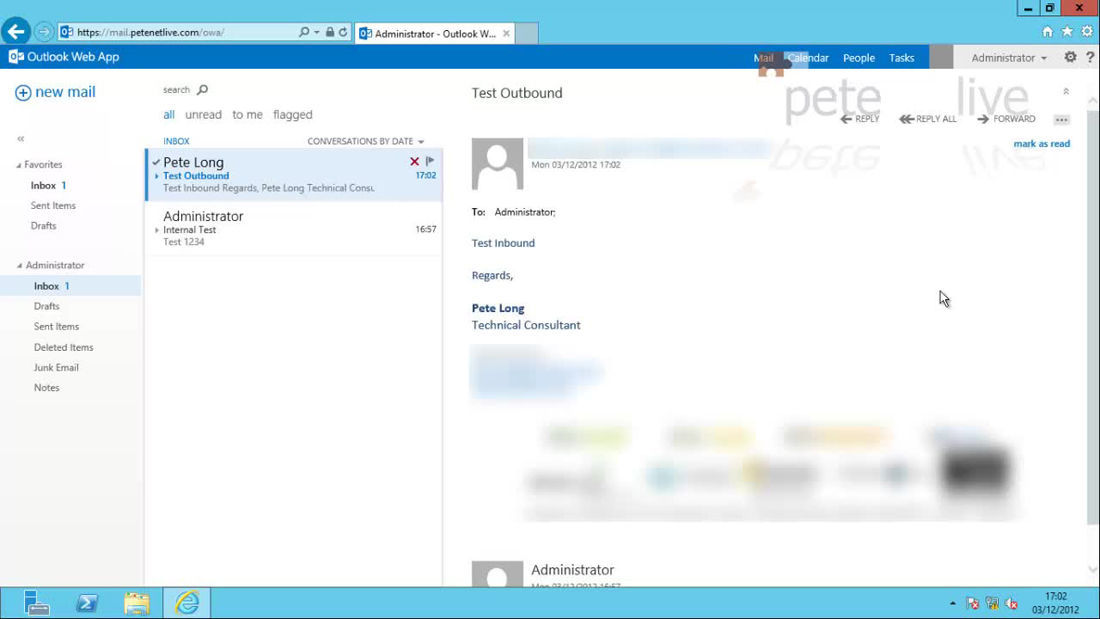
3. Once you know mail is flowing out test mail in, if this fails make sure you have an MX Record and an A/host record pointing to your Exchange 2013 Server.
Setting up the Correct DNS Records for your Web or Mail Server
Also ensure that TCP port 25 (SMTP) is open to the Exchange Server, (or ‘port forwarded’ to it). And if not add TCP 443 That’s HTTPS, so it is also open/forwarded for OWA, Outlook Anywhere and ActiveSync to work.
Related Articles, References, Credits, or External Links
NA