
KB ID 0000611
Problem
Note: This is for firewalls running an operating system BEFORE version 7, if you have an PIX running version 7 or above go here instead. I’ll run though he commands first and then the configuration from PDM at the end.
Solution
PIX 500: Configure a site to site VPN from command line
1. Connect to the PIX, go to “enable mode”, then to “Configure terminal mode”
User Access Verification

Password:
Type help or '?' for a list of available commands.
PetesPIX> enable
Password: ********
PetesPIX# configure Terminal
PetesPIX(config)#
2. I’m assuming the network BEHIND the PIX 500 is 192.168.124.0/24 and the network at the far end of the tunnel is 192.168.123.0/24. So I’m going to create two ACL’s one to tell the PIX that this traffic should be encrypted, and the second to tell the PIX NOT to perform NAT on the VPN traffic.
Note: Yes I can use one ACL, but having two makes it easier to troubleshoot any VPN problems.
PetesPIX(config)# access-list VPN_CRYPTO_ACL permit ip 192.168.124.0 255.255.255.0 192.168.123.0 255.255.255.0
PetesPIX(config)# access-list VPN_NO_NAT line 1 permit ip 192.168.124.0 255.255.255.0 192.168.123.0 255.255.255.0
3. Now I’ve got an ACL that will stop performing NAT I need to add it as a “Nat 0” (this means don’t perform NAT).
Note: Check to make sure you do not already have a nat(inside) 0 xxx command, if you do, use the SAME ACL that is already in use.
PetesPIX(config)# nat (inside) 0 access-list VPN_NO_NAT4. To set up all the VPN parameters you need to create a crypto map. In the example below I set the peer IP (the firewall at the other end of the tunnel), to 81.81.81.81. Then I tie it to the ACL I created earlier (VPN_CRYPTO_ACL). I’ve set the encryption and hashing used for the tunnel to 3DES and SHA (These will be used for IPSec (Phase 2)). Set the timeouts for the tunnel, and finally apply the cryptomap I’ve just created, to the outside interface.
PetesPIX(config)# crypto map VPN_CRYPTO_MAP 20 set peer 81.81.81.81
PetesPIX(config)# crypto map VPN_CRYPTO_MAP 20 match address VPN_CRYPTO_ACL
PetesPIX(config)# crypto ipsec transform-set ESP-3DES-SHA esp-3des esp-sha-hmac
PetesPIX(config)# crypto map VPN_CRYPTO_MAP 20 set transform-set ESP-3DES-SHA
PetesPIX(config)# crypto map VPN_CRYPTO_MAP 20 set security-association lifetime seconds 28800 kilobytes 4608000
PetesPIX(config)# crypto map VPN_CRYPTO_MAP interface outside
5. The next command lets VPN traffic bypass any other ACLs configured on the firewall.
PetesPIX(config)# sysopt connection permit-ipsec6. I’m using a “shared secret” that also needs to be setup on the other end of the tunnel. As I said earlier the peer IP is 81.81.81.81.
PetesPIX(config)# isakmp key 123456 address 81.81.81.81 netmask 255.255.255.255 no-xauth no-config-mode7. To establish the VPN phase 1 (ISAKMP) the devices at both ends of the tunnel need a matching ISAKMP policy. I’ve already set up my shared secret, the first line lets the other end know that’s how we will be communicating. Then once again I’m using 3DES and SHA. I’m telling the system to use Diffie Hellman group 2 for the secure key exchange, and then binding this policy to the outside interface.
Note: If you are interested on how all this stuff works see here
PetesPIX(config)# isakmp policy 20 authen pre-share
PetesPIX(config)# isakmp policy 20 encrypt 3des
PetesPIX(config)# isakmp policy 20 hash sha
PetesPIX(config)# isakmp policy 20 group 2
PetesPIX(config)# isakmp enable outside
8. Then save the changes with a write mem command.
PetesPIX# write mem
Building configuration...
Cryptochecksum: 79745c0a 509726e5 b2c66028 021fdc7d

7424 bytes copied in 1.710 secs (7424 bytes/sec)
[OK]
PetesPIX#
PIX 500: Configure a site to site VPN from the PDM
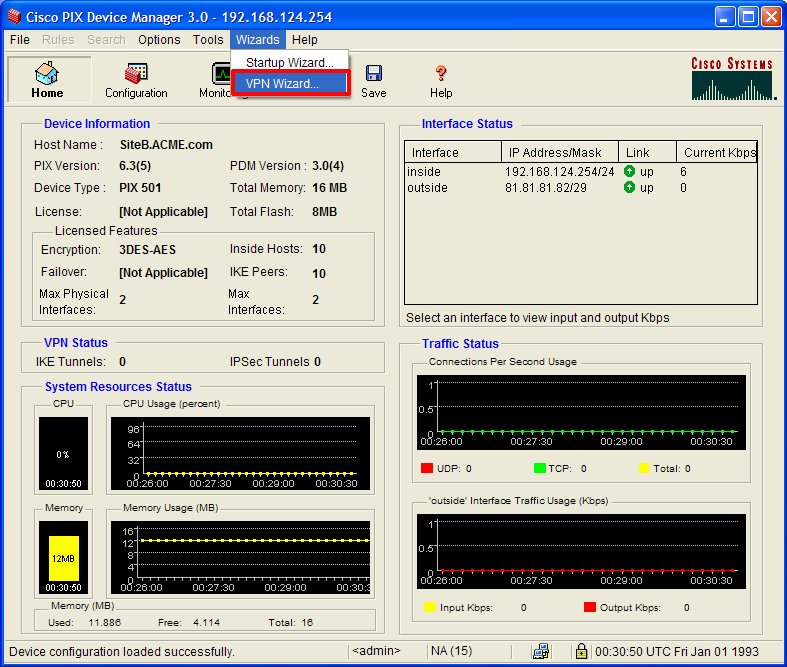
1. To connect to the PDM you are going to need two things, an OLD browser (IE6) and an OLD version of Java. Select Wizards > VPN Wizard.
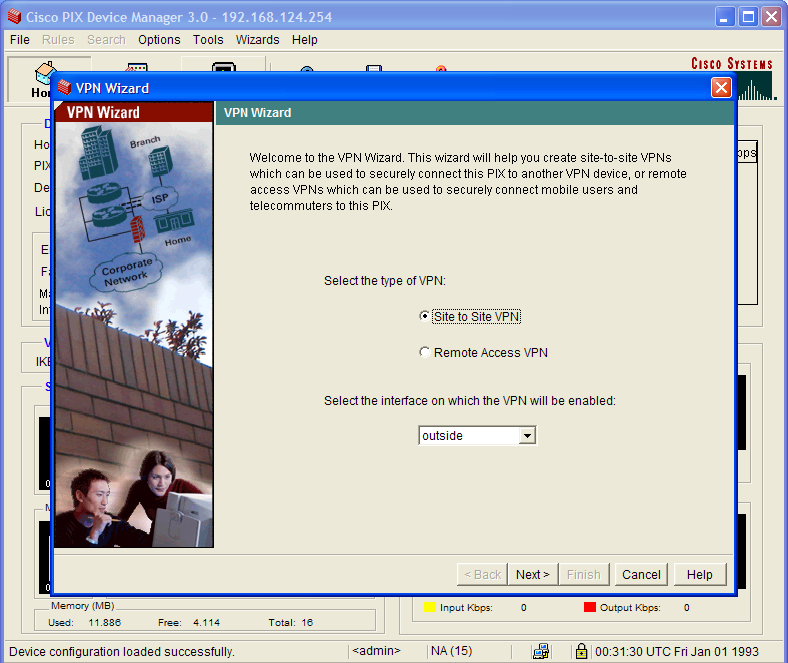
2. Site to Site > Next.
3. Set the Peer (Device at the other end of the tunnel) and a shared secret that you will also use at the other end > Next.

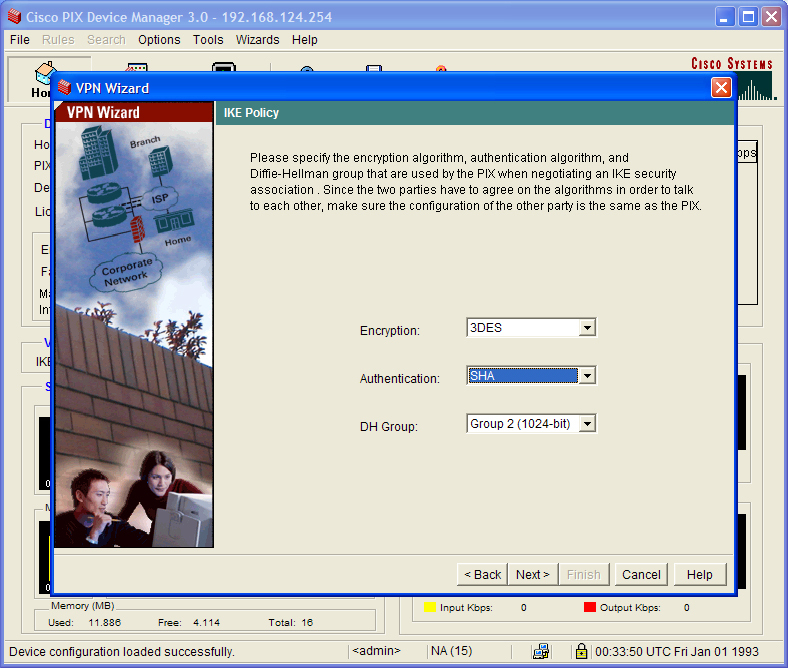
4. Set the policy that will be used for phase 1 > Next.
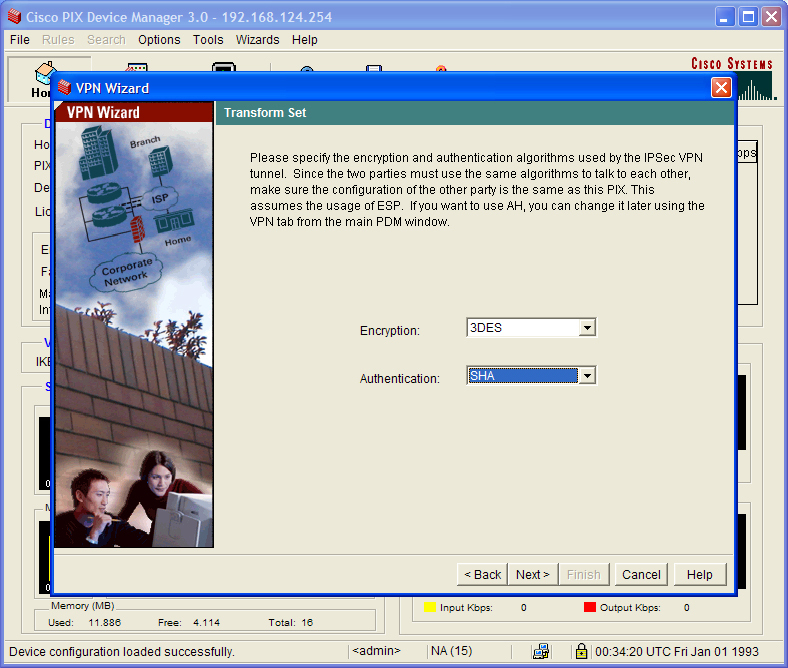
5. Now the phase 2 policy > Next
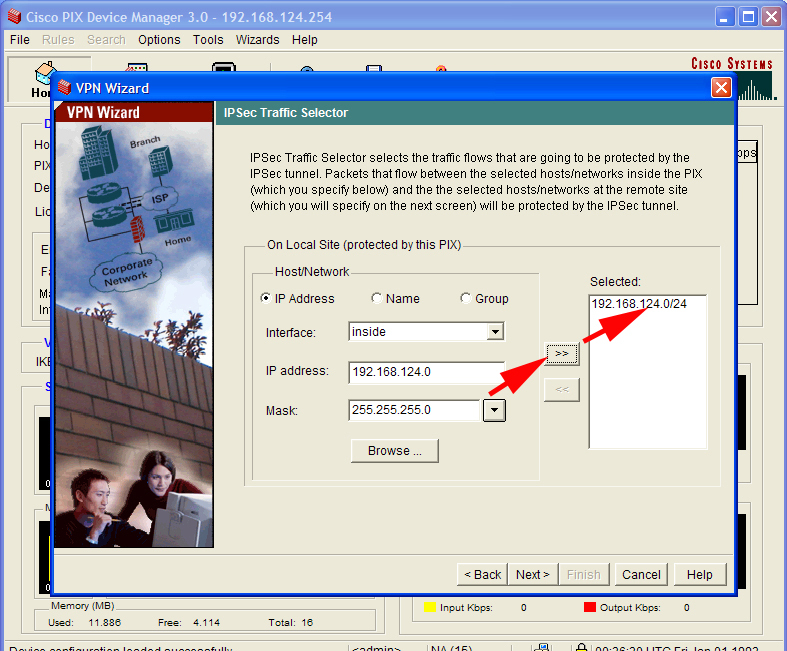
6. Enter the network behind the PIX > Next.
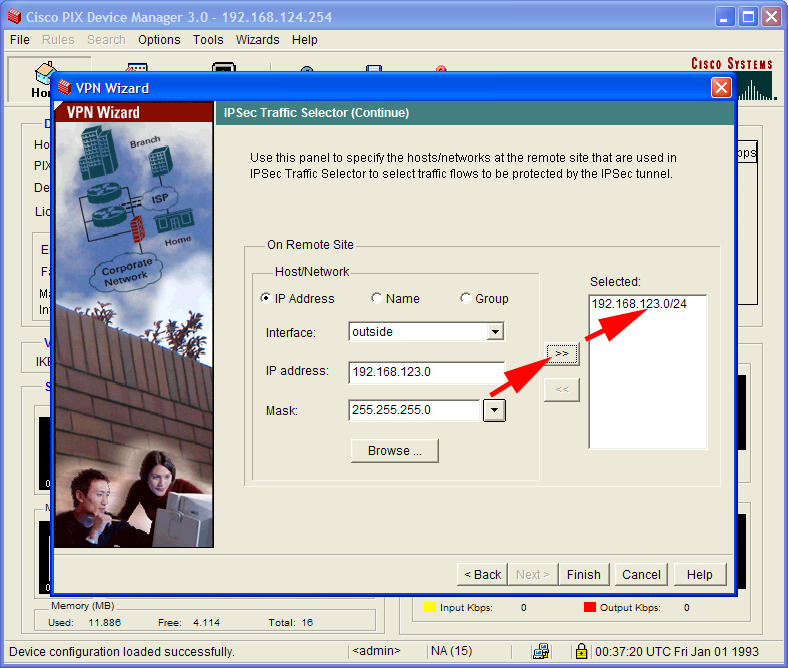
7. Enter the network at the far end of the tunnel > Finish.
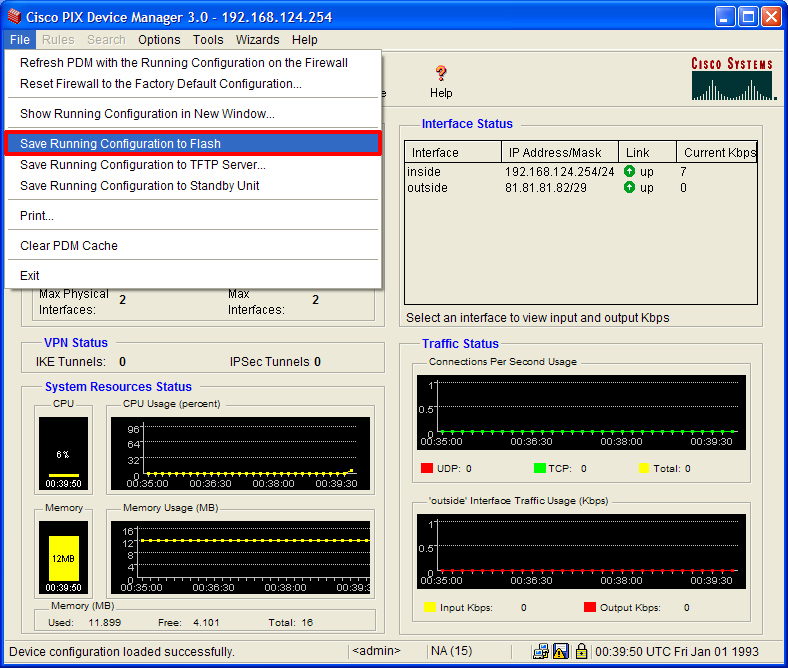
8. Finish by saving the changes > File > Save running configuration to flash.
Related Articles, References, Credits, or External Links
Set up a PIX Firewall with the PDM
PIX 506E and 501 Firewall Image and PDM Upgrade