
KB ID 0001306
Problem
Back in Part One we setup our migration admin account, and installed ADMT. Now, as I’m going to migrate the users passwords I need a ‘Password Export Server‘, but first I need to tackle the subject of user SIDs
Solution
Domain Migrations and SID Filtering
Every user has a SID (Security Identifier) it’s the thing AD uses to refer to and apply security to users, (and other objects). This is why you can rename a user and it’s security does not change, (because the SID always remains the same). Why is this important for domain migrations? Well if you’re a doing a migration that’s taking place over a period of time, users in the NEW domain may still need access to things IN the OLD domain, (like file shares, printers, applications etc).
This is a problem because when you setup a domain trust it Enables SID filtering, back in part one it told you this, here. So if a user in newdomain.com tries to access a folder, (they could access before the migration,) in olddomian.com they wont be able to do so, (because their SID has changed, to a new SID in the new domain. Even if you migrated their old SID if get’s filtered out as the user comes back over the trust).
How do we fix that? We need to do two things,
- Migrate the users old SID to newdomain.com (This then become their, sIDHistory attribute)
- Disable SID filtering in olddomain.com (To allow the sIDHistory attributes to come back over the trust)
This lets users in the new domain have their NEW SID, and their OLD SID.
Migrating the users SID is simple, (it’s just a box you tick when running a migration, you will see that later). Disabling SID filtering can be a little confusing. Where do you do it, and which way round do you execute the command? Above I’ve solved the first one for you you Disable SID Filtering on the OLD domain. The following diagram will explain why;

Usually users DON’T have a sIDHistory. attribute, (unless they’ve been migrated before!) They only have a SID (objectSID attribute.) To demonstrate let’s jump forward in time, and look at a migrated user (ABarksdale)

Click to enlarge the above image, and inspect the users SID (objectSID) and old SID (sIDhisttory) attributes.
In the olddomain.com;
objectSID: S-1-5-21-227018303-3265311450-382577
sIDHistory: {None}
In the newdomain.com;
objectSID: S-1-5-21-3846632479-19853633304-4016520
sIDHistory: S-1-5-21-227018303-3265311450-382577 (Note: objectSID migrated from olddomain.com)
Disabling SID Filtering
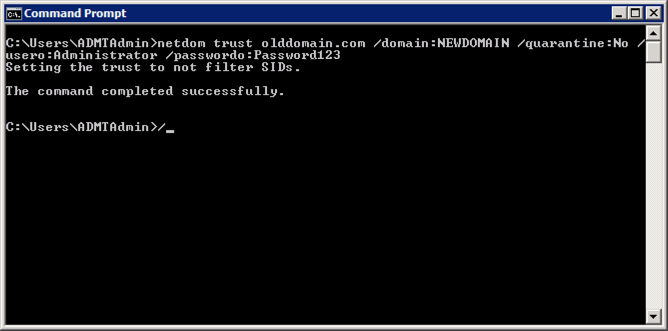
Now we know where to do it, we just need to construct the command to disable it. Run the following command;
Or for a Forest Trust
So in my example;
- source-domain: olddomain.com
- target-domain: newdomain.com
- username: (Domain administrator in olddomain.com)
- password: Password for user above.
ADMT: Setting up a Password Export Server
As the name implies, this is a piece of software that runs on the source domain, (on a domain controller,) that ADMT uses to migrate user passwords. Before you can do this, you need to create a ‘key’ in the NEW domain, (where ADMT is running). Then, you use that key to setup the password export server in the OLD domain.
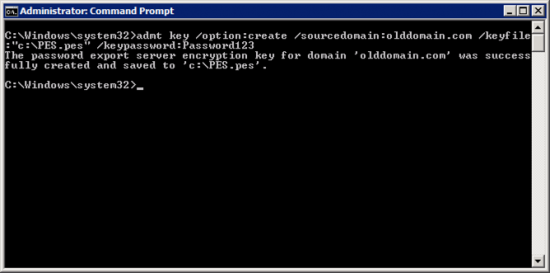
On the ADMT Server open an administrative command window and issue the following command;
So in my example;
- source-domain: olddomain.com
- keyfile: Where you want to save the keyfile.
- password: can be anything you want, but you will need it to setup the password export server, so don’t forget it.
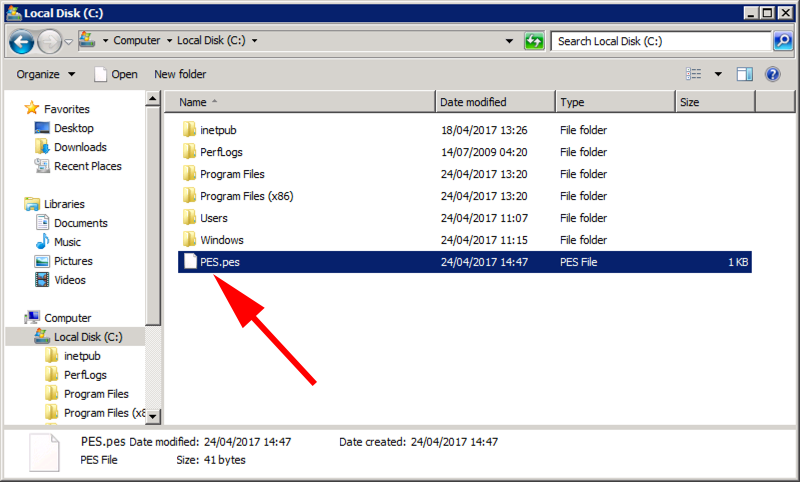
If it runs OK, find your keyfile, then copy this to the domain controller in the old domain you are going to install the password export server service on.
Theres two versions of the password export server software, (a 32 bit and a 64 bit version.) Download and install the version applicable to your source domain controller.
Passport Export Server 64 bit version
Passport Export Server 32 bit version
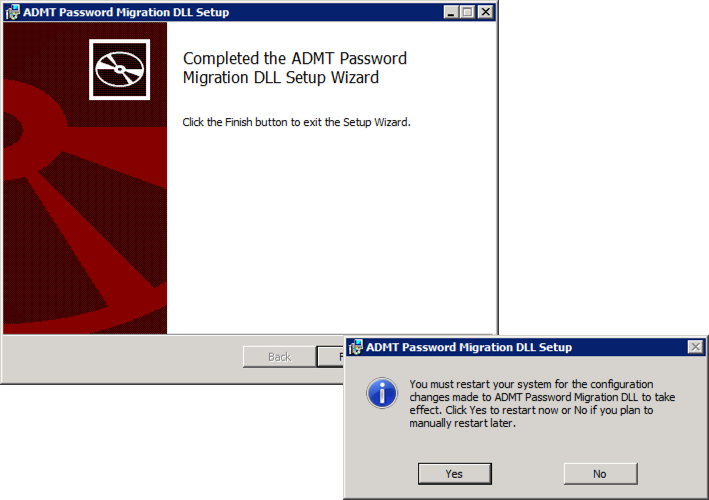
Note: The install requires a reboot of the server, you might want to do this at the end of the day.
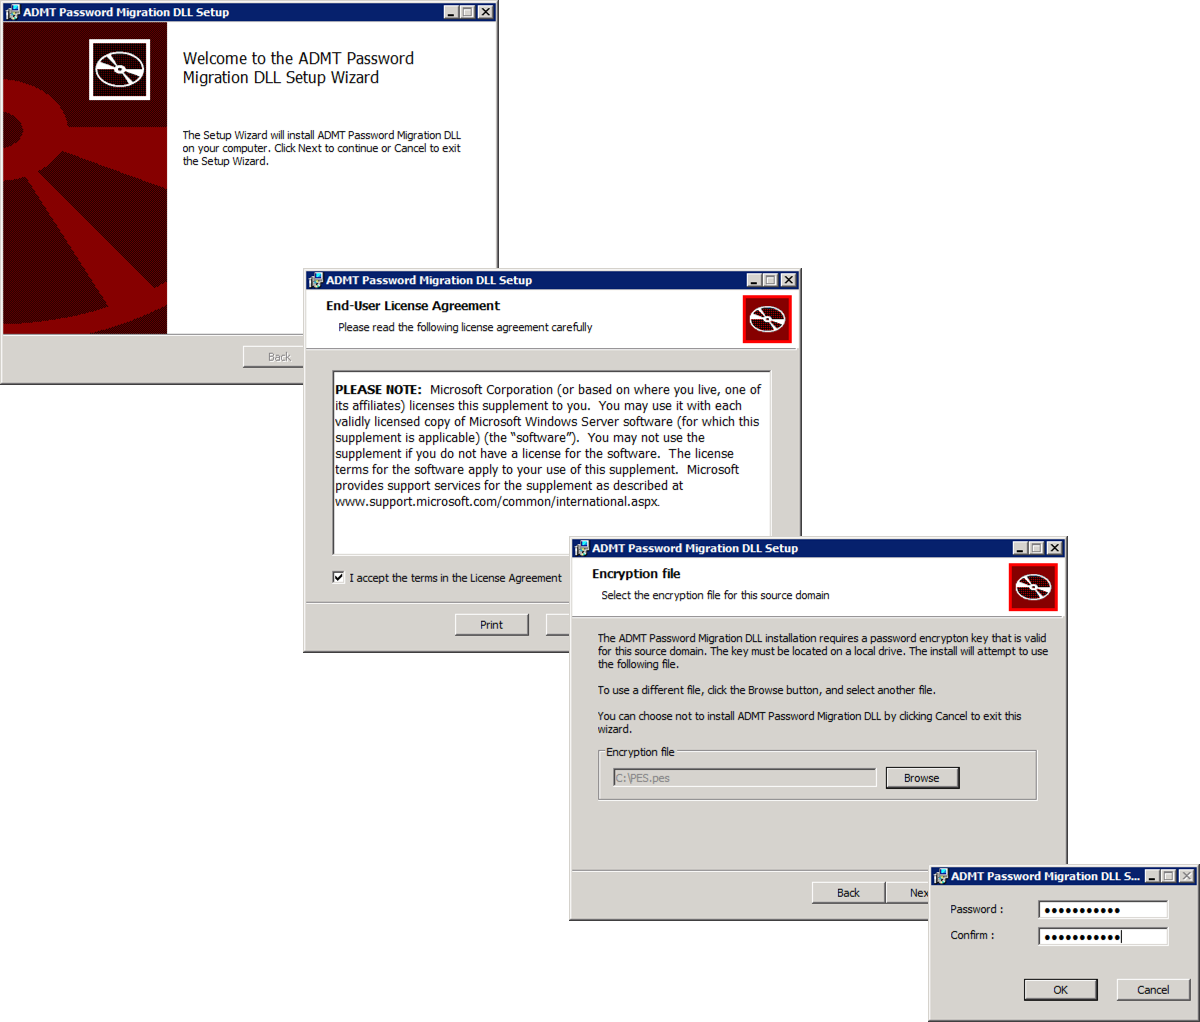
The install is pretty simple, Accept the EULA, browse to the keyfile, and enter the password you used above.
Specify a user account to run the service as, (I just use the ADMTAdmin account we’ve already created).

Finish the install, and let it reboot.
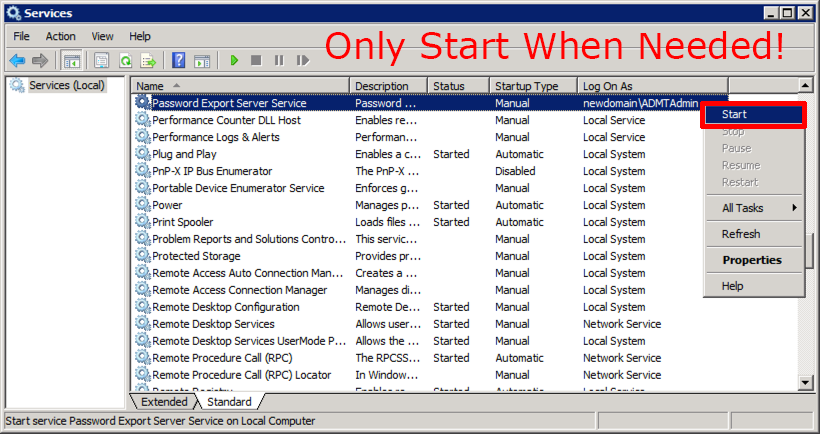
After a reboot, if you look in the services (Start > Run > services.msc). You will see the ‘Password Export Server Service’.
Note: You will also notice the startup type for the service is ‘Manual’. ONLY start this service, when you are actually migrating passwords.
ADMT: Granting Local Rights to ADMT user in the Source Domain.
To migrate machines, the ADMTAdmin user needs “Local” administrative access on all the source machines. The easiest way to do this is via group policy, using ‘Restricted Groups’. This allows you to take a group (or user) and put put them on the local groups (including administrators) of the targeted machines.
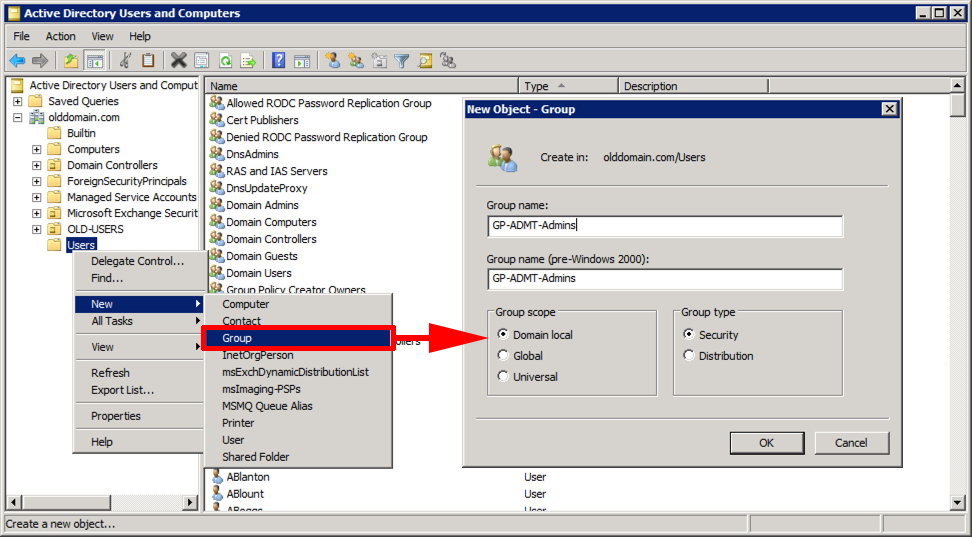
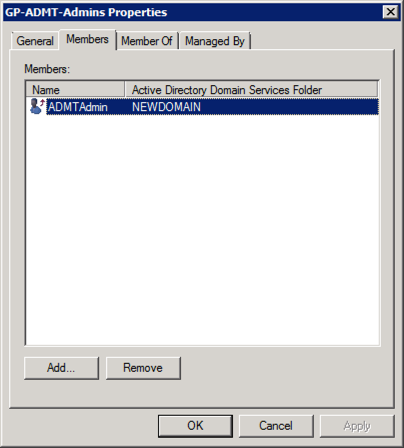
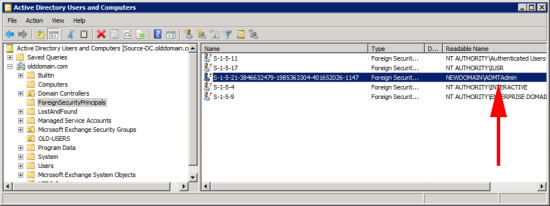
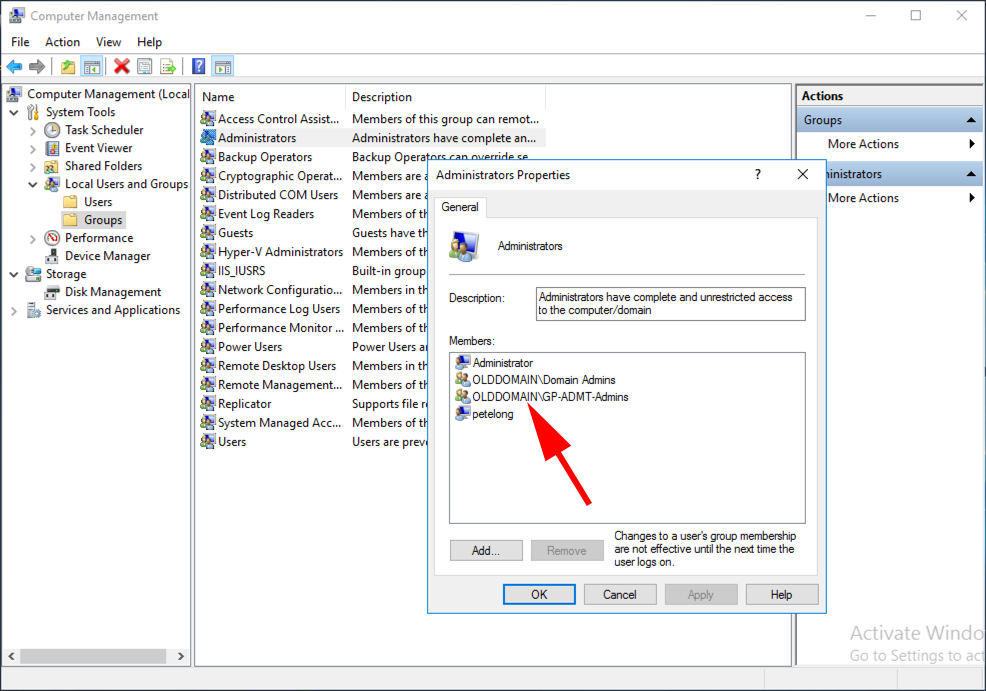
In the OLD domain, create a group and put the ADMTAdmin from the target domain in it. (I put the domain admin from the target domain in it as well, to be on the safe side, but that’s up to you).
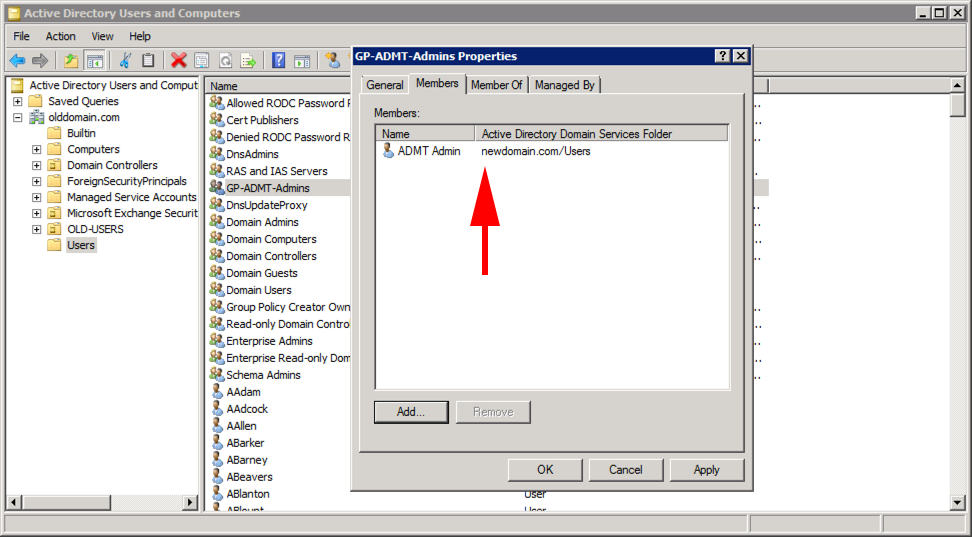
Note: You may see this a few times while doing migrations, notice above the user icon there’s a small red curved arrow (below), that logo denotes ‘Foreign Security Principle’, it’s not really our user at all, it’s a special object that AD creates in a hidden OU, (turn on advanced mode in AD users and computers you can see them.)
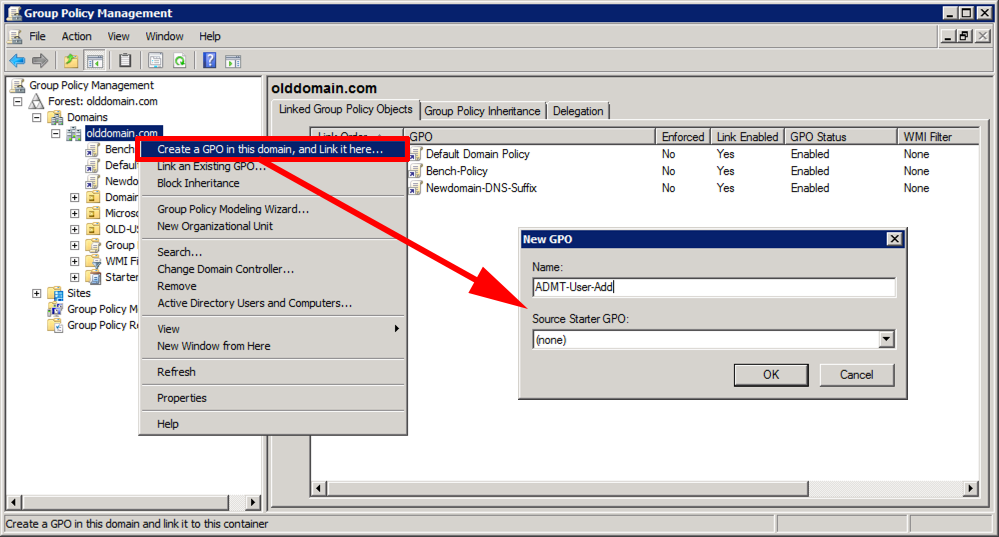
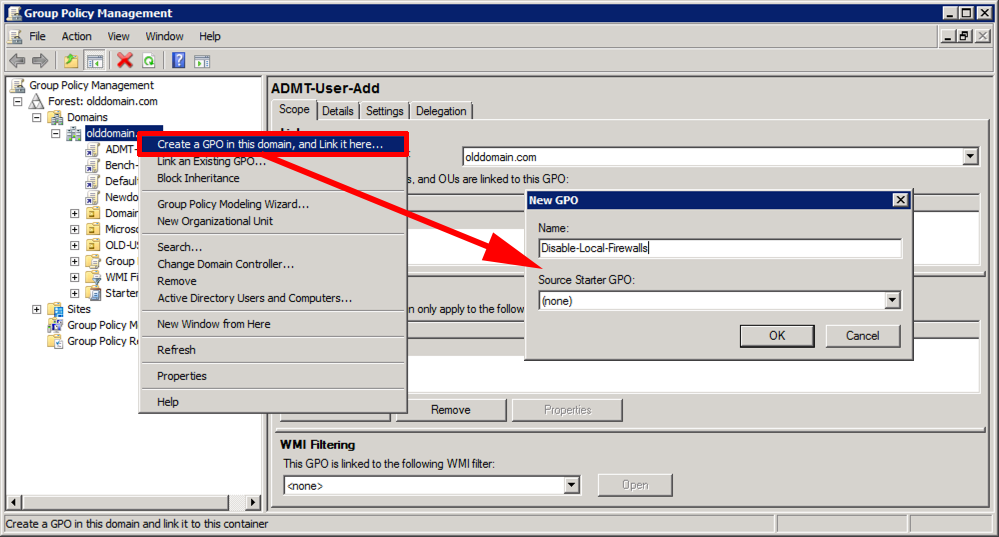
Create a new GPO that will apply to the computers/servers you are going to migrate.
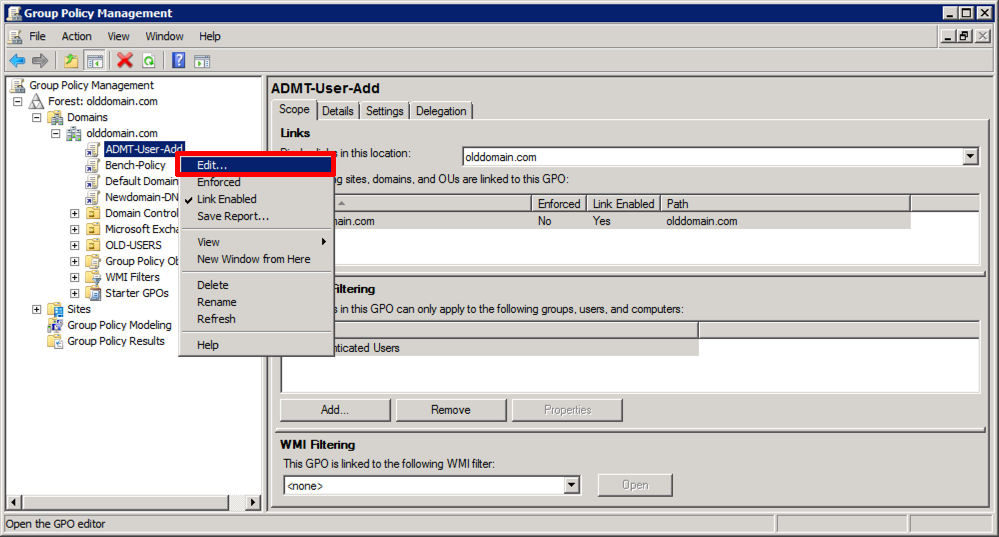
Edit it.
Navigate to;
Add a new one, select the group you have just created > and add it to ‘Administrators’.

It should look like this when you are finished.

Windows – Forcing Domain Group Policy
To test it has applied, on a client run ‘gpresult -R’ at an administrative command prompt.
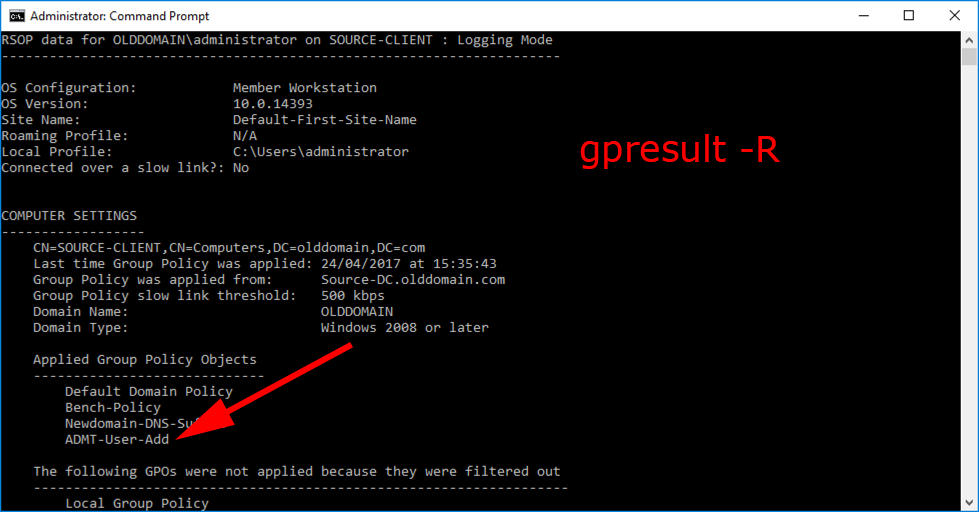
You can of course, simply check the local administrators group to make sure the new group is in there.
ADMT: Additional GPO Note
To perform computer migrations, (and security translations), ADMT needs to deploy an ‘agent’ to the machines in the OLD domain. The local firewall (if enabled) can stop this, I simply disable the local firewall. (If someone wants to send me a list of ports to add, to make it work I’ll publish the). But even the Microsoft Documentation on Technet says disable the firewall.
Create a new GPO linked to where your source computers are, (here I’m just linking to the root of the domain).
Edit the GPO.

Navigate to;
Locate “Windows Firewall protect all network connections‘ and set it to disabled.

Windows Group Policy – Disable The Local Windows Firewall
In addition I have also seen the agent fail to deploy if the ‘Remote Registry Service’ is not running on the target machines, (it’s disabled by default). So I use this policy to turn that on as well.
In the same GPO navigate to;
Locate the ‘Remote Registry’ service, and set it’s startup to automatic.

This may take a while to permeate down to all the machines, Windows – Forcing Domain Group Policy
In Part Three we will start migrating objects.
Related Articles, References, Credits, or External Links
NA
02/10/2024
Hi Pete. This is a very useful guide. It’s going to be so useful for the 6 migrations I’m having to do.
I’ve just got one niggle. Can you correct the command you’ve issued to this:
netdom trust {source-domain} /domain:{target-domain} /quarantine:No /userro:{username} /passwordo:{password}
You missed a couple of / and the ‘o’ from password.
07/10/2024
ThanQ – updated