
KB ID 0000735
Problem
You want to deploy the Windows 8 Client Operating System, to a number of clients using WDS. In this part we will configure the WDS Server, then we will move onto taking an image of your reference Windows 8 machine. Finally we will cover taking that image, and deploying it out to many target systems.
Solution
Add the WDS Role
1. From Server Manager (ServerManager.exe) > Local Server.
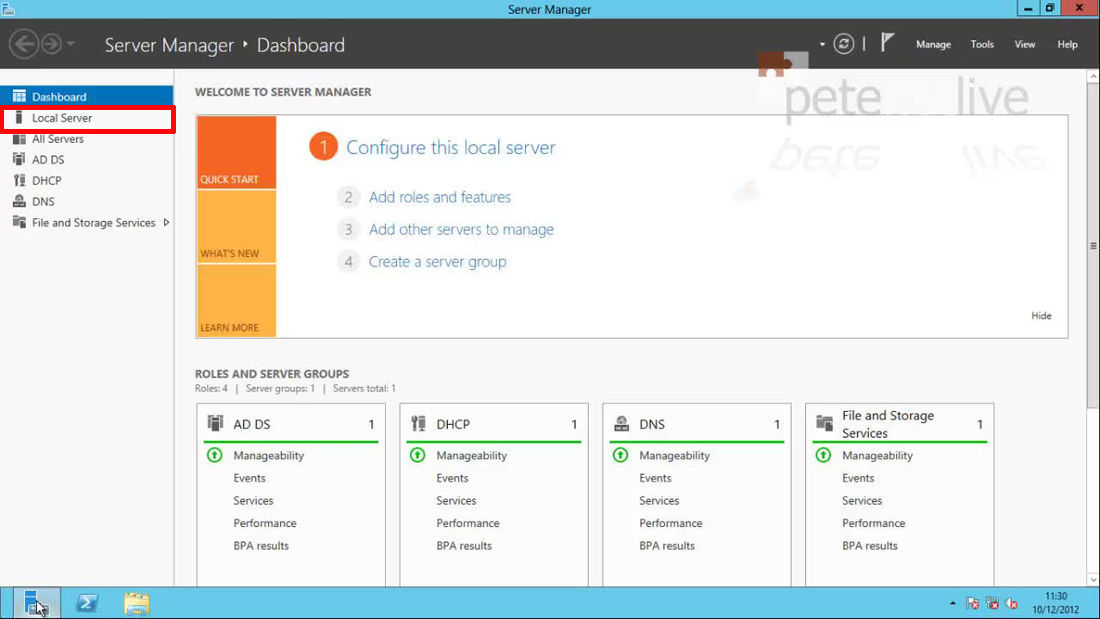
2. Manage > Add Roles and Features.

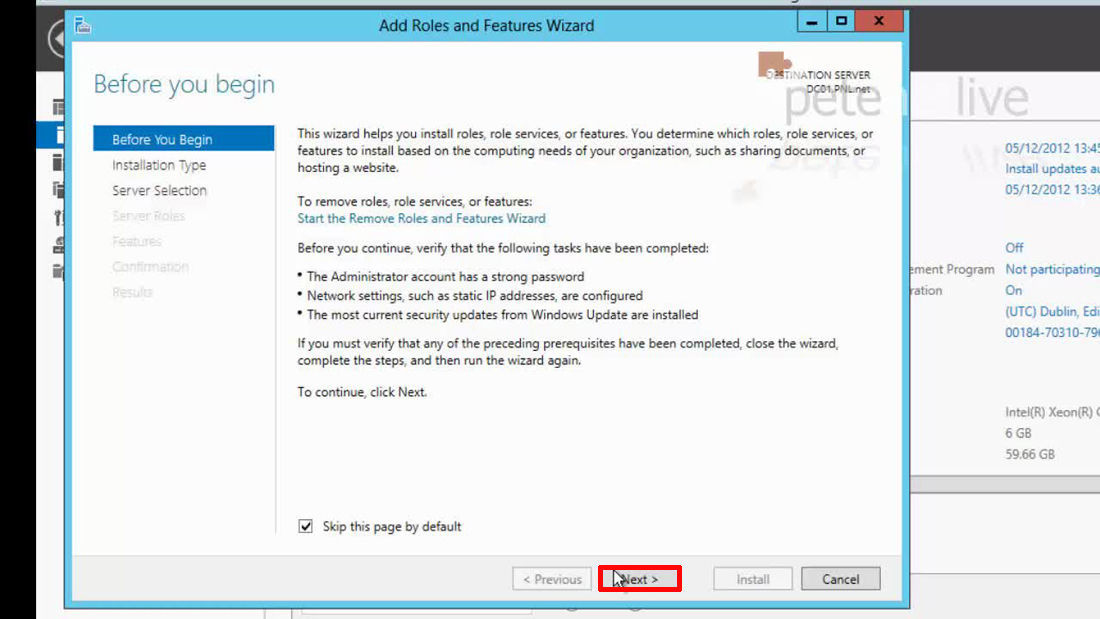
3. Next.
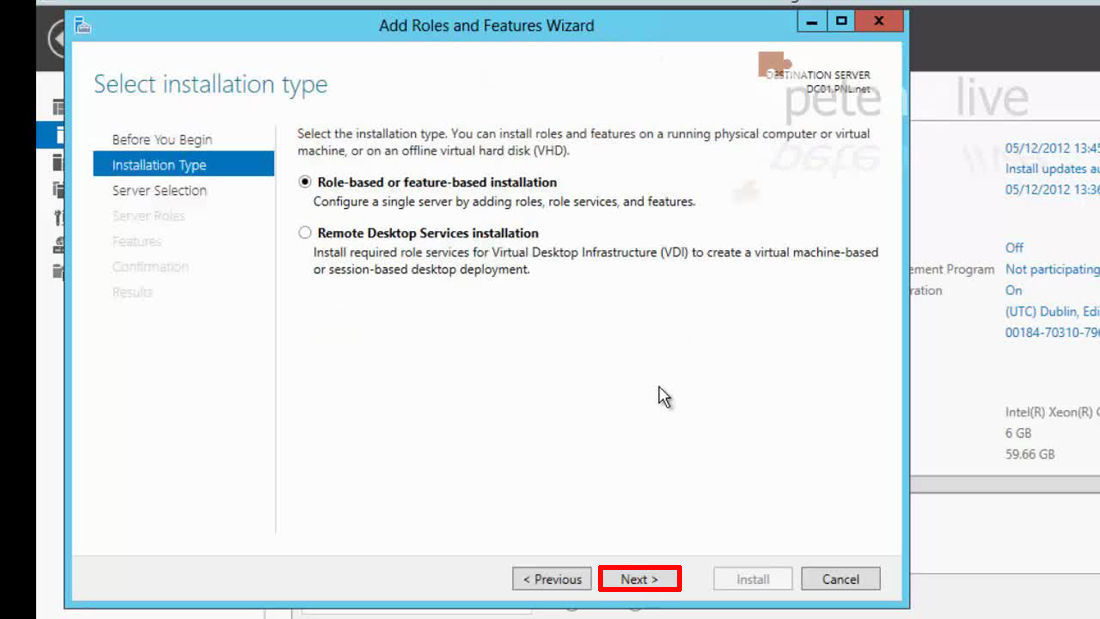
4. Next.
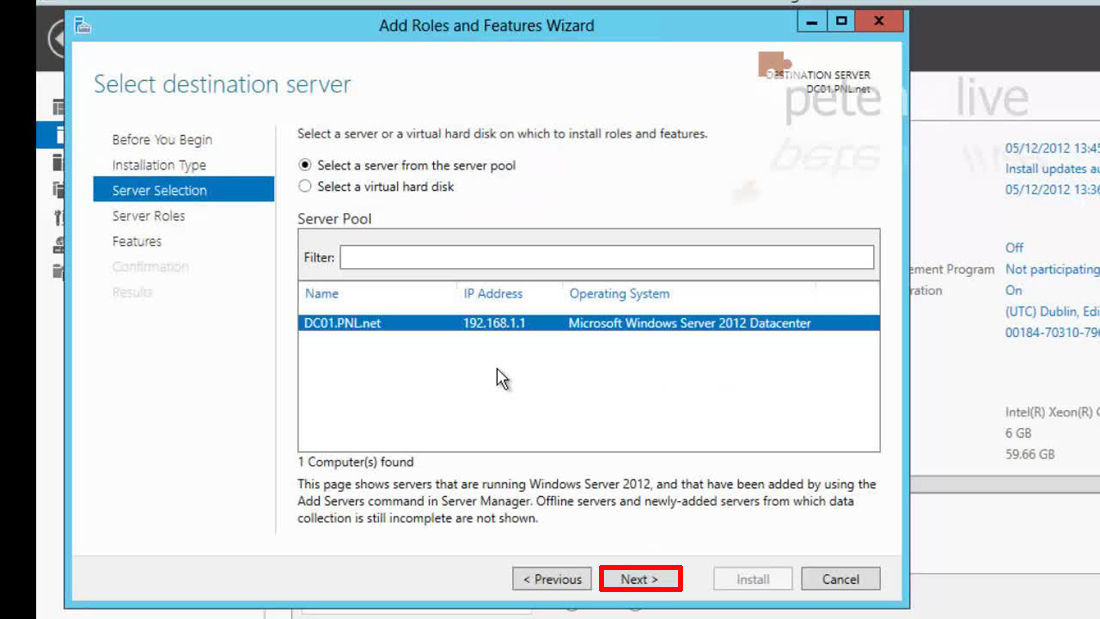
5. Next.
6. Select ‘Windows Deployment services’ > Next > It will ask to install some other features let it do so.
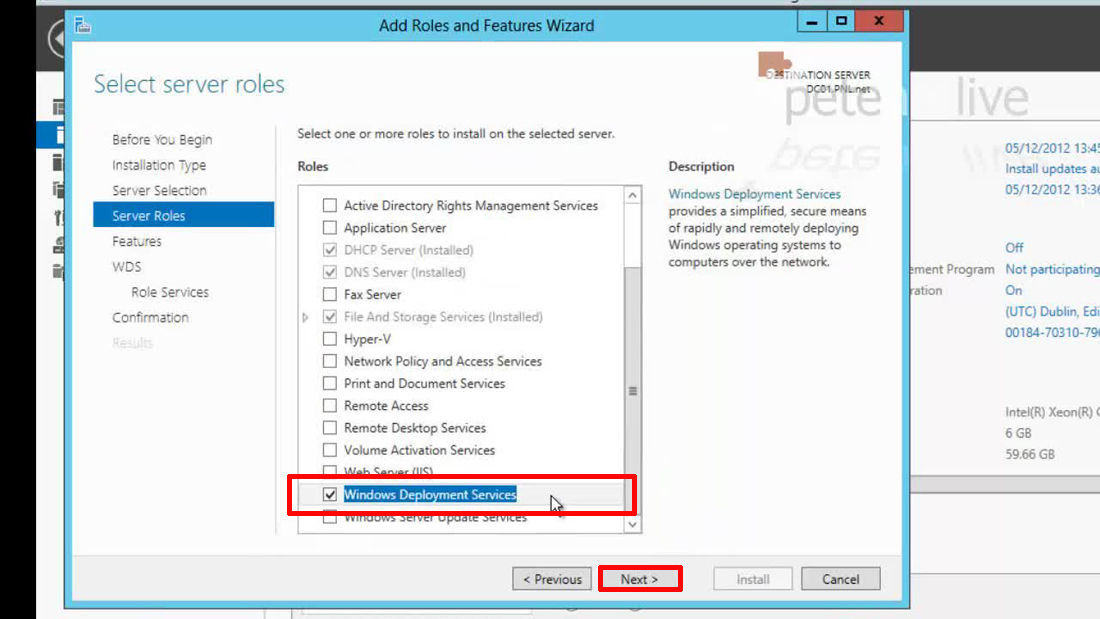
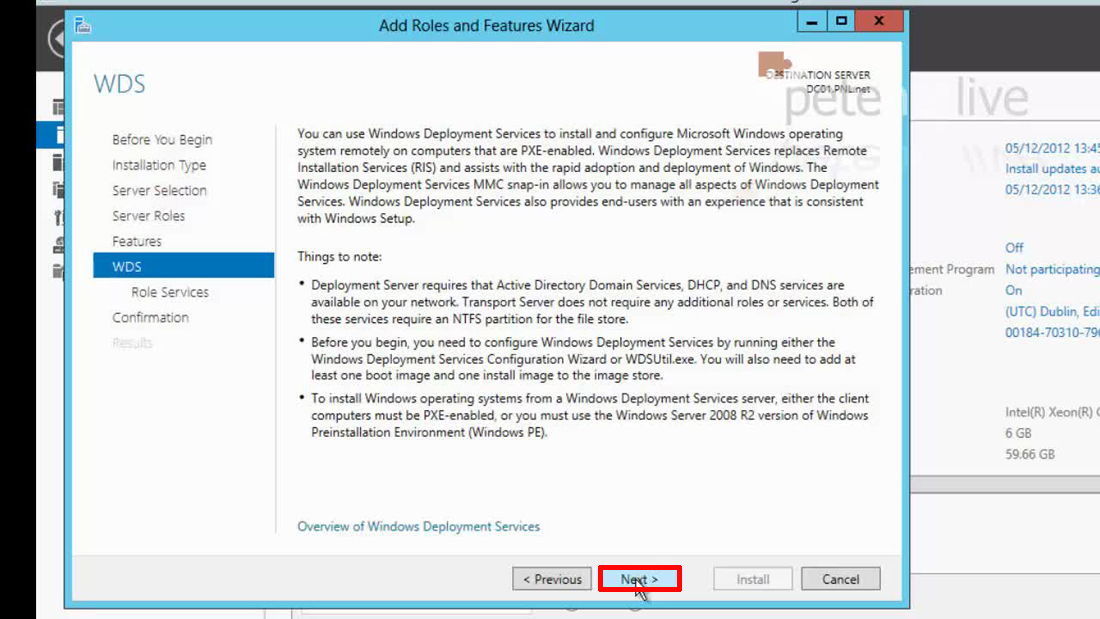
7. Next.

8. Next.
9. Accept the default (both roles) > Next.

10. Install.

Configure the WDS Server
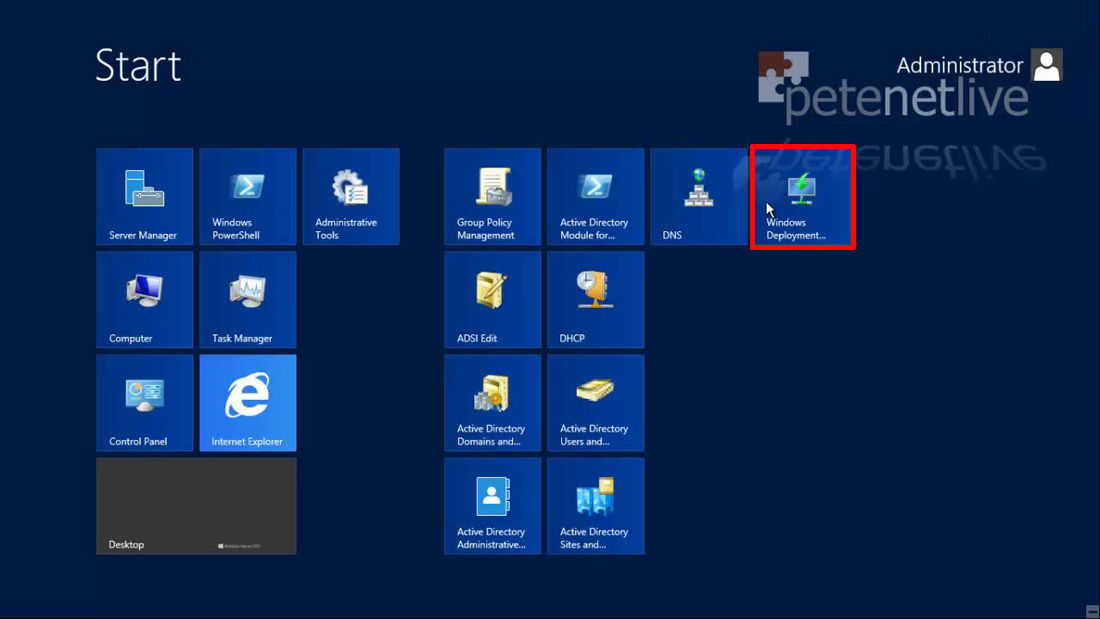
11. From the Start menu > Launch the Windows Deployment Services management console.
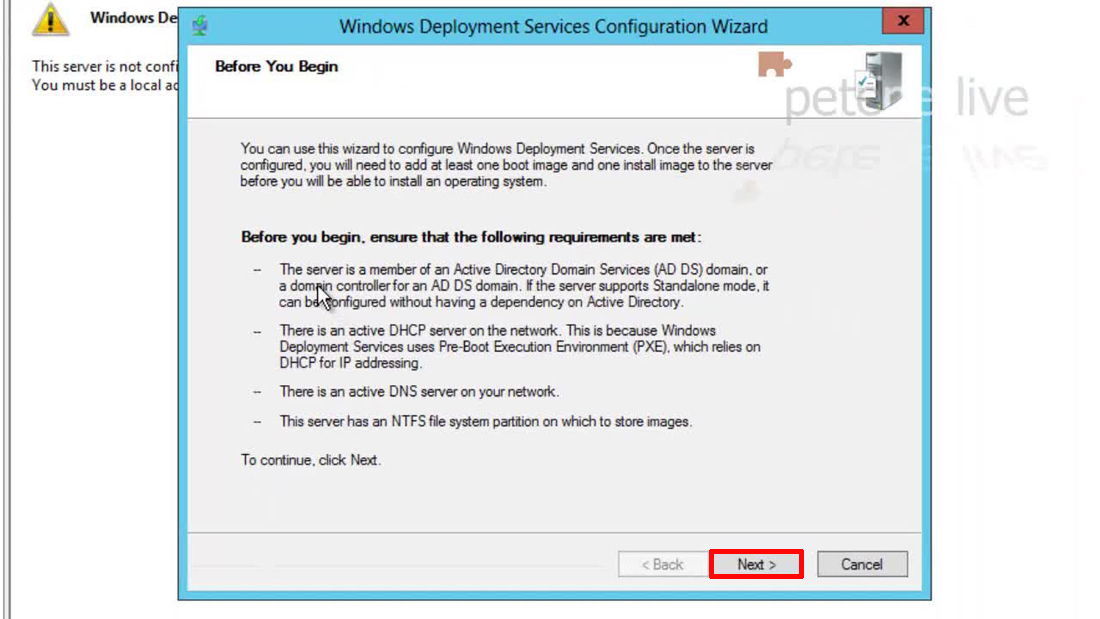
12. Expand servers > Right click the server name > Configure Server.

13. Read the prerequisites > Next.
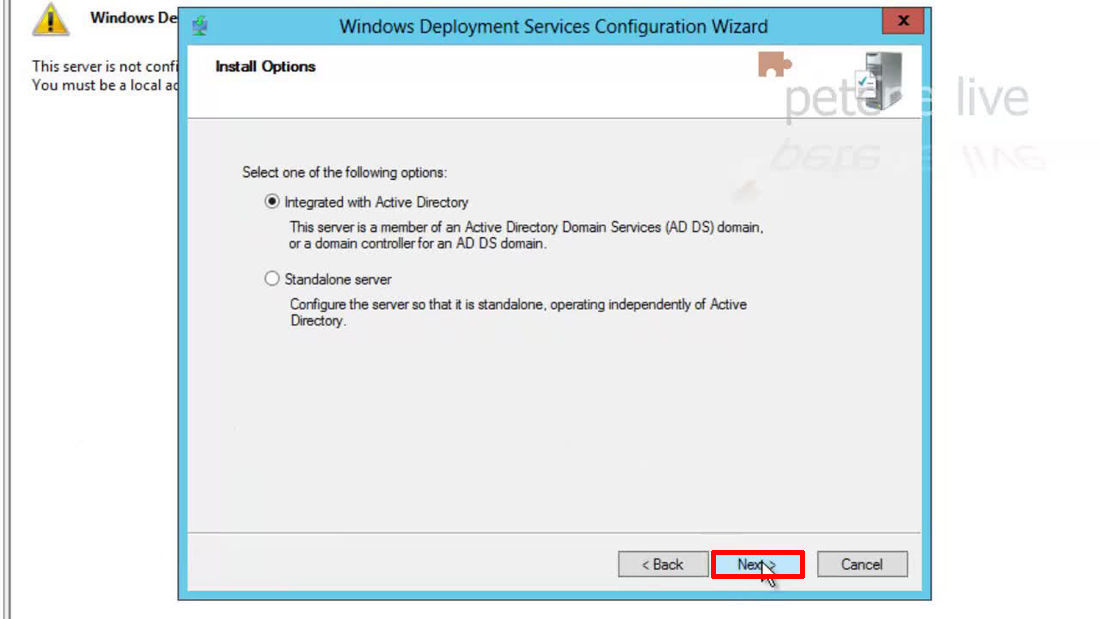
14. Next.
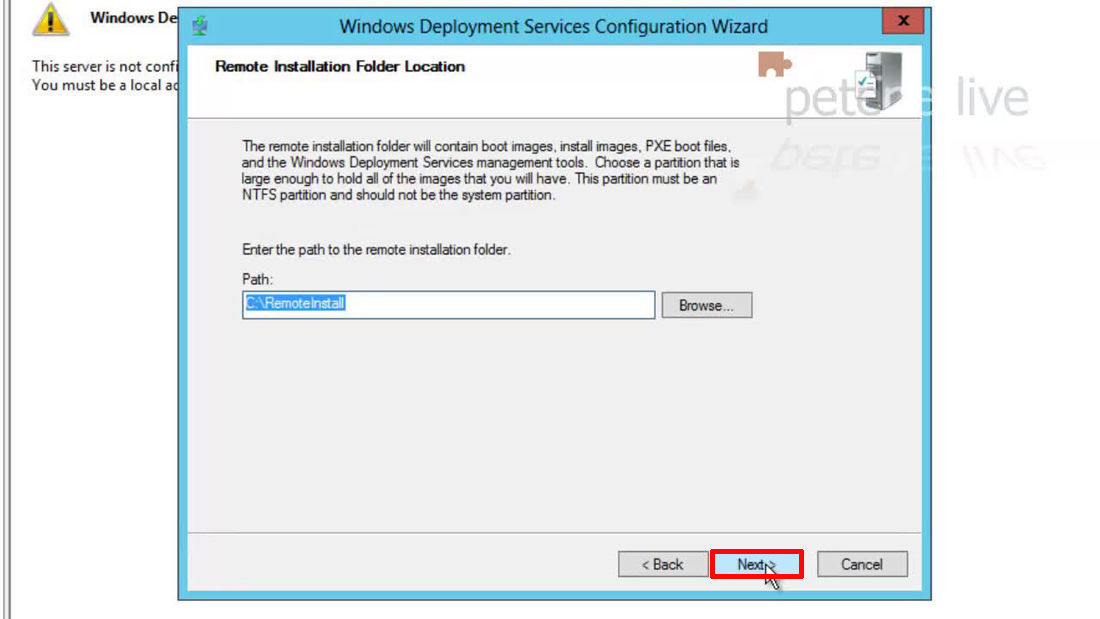
15. Select the location where you want to store your images and keep the WDS files.
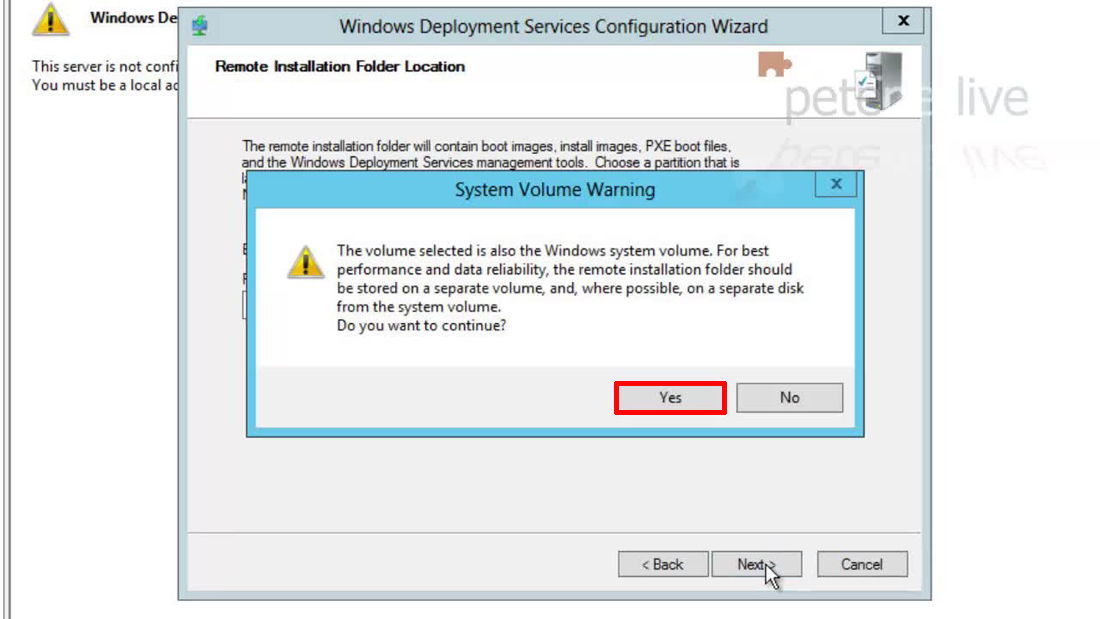
16. Note: In this case it’s warning me NOT to use the C: drive, as this is just a test server I will accept the warning and leave it as it is. In production environments make sure you are using a different drive/volume.
17. This particular server IS a DHCP server, but we will address the DHCP requirements when we are finished > Next.

18. I’m going to choose ‘Respond to all (known and unknown)’ > Next.

19. WDS should configure and the service SHOULD start.

20. Here we can see the service has not started (the server will have a small stop symbol on it).

21. So I need to manually start the service.

Adding Image Groups and Images
22. Firstly I’m going to create an group that will hold all my Windows 8 Client machine images. Right click Install Images > Add Image Group.


Adding a boot image (To send an image to a remote machine)
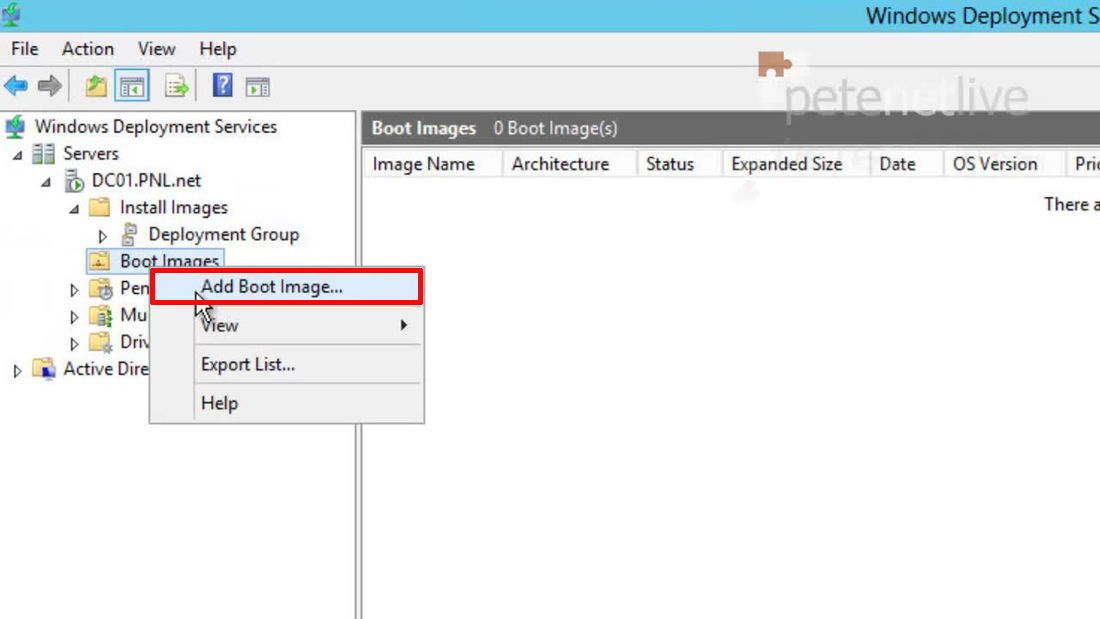
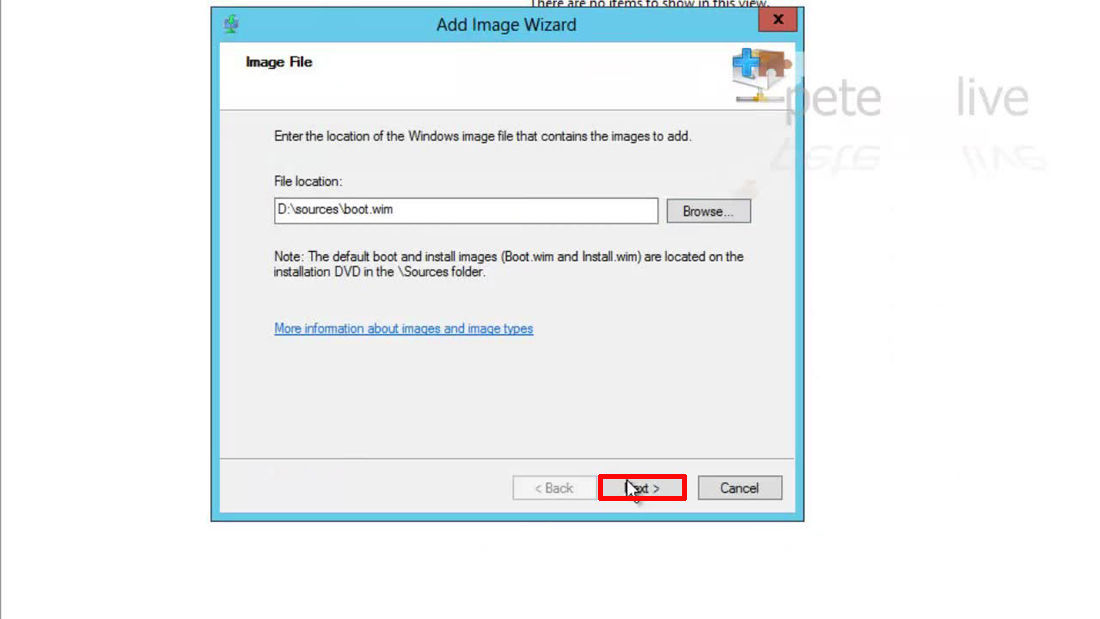
24. Now I need to add a boot image, so I can boot my remote clients from the WDS server and use this image to load WindowsPE on them, so they can be imaged. Right click Boot Images > Add Boot Image.
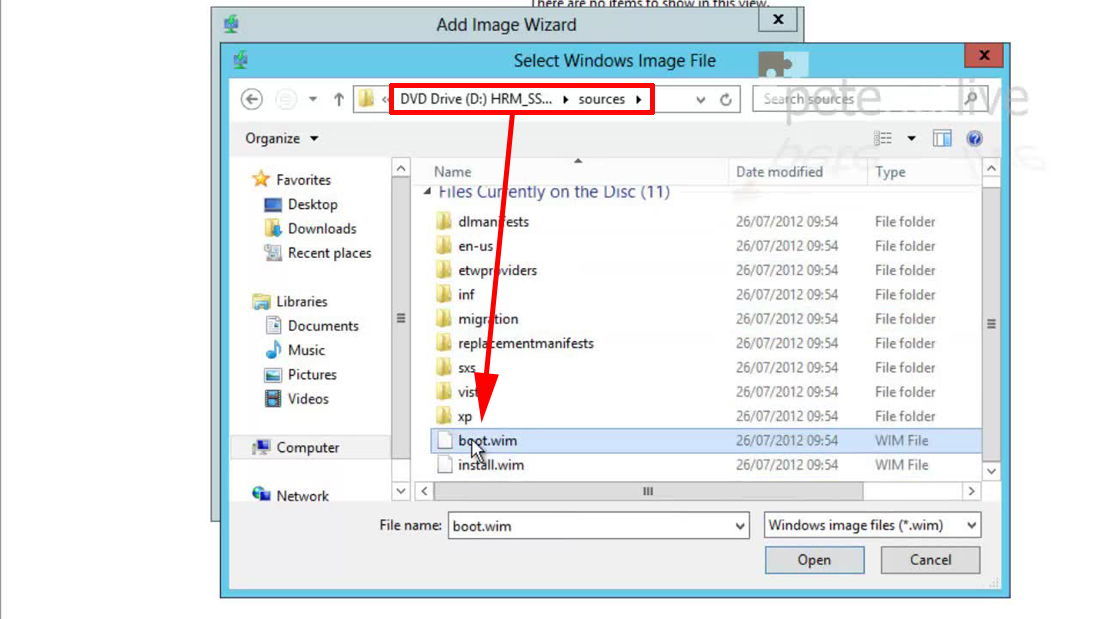
25. You can use either a Windows 8 DVD or a Windows Server 2012 DVD, you will need to navigate to the sources directory, and locate Boot.wim > Open.
26. Next.
27. Rename the image ‘Install an Image’ > Enter a description > Next.

28. Next.

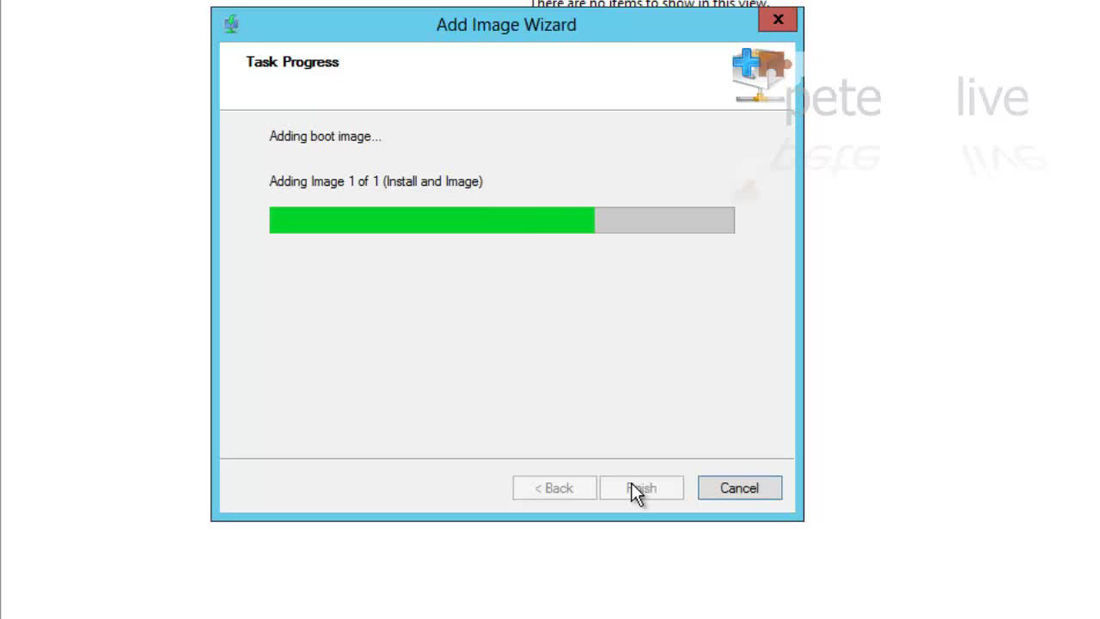
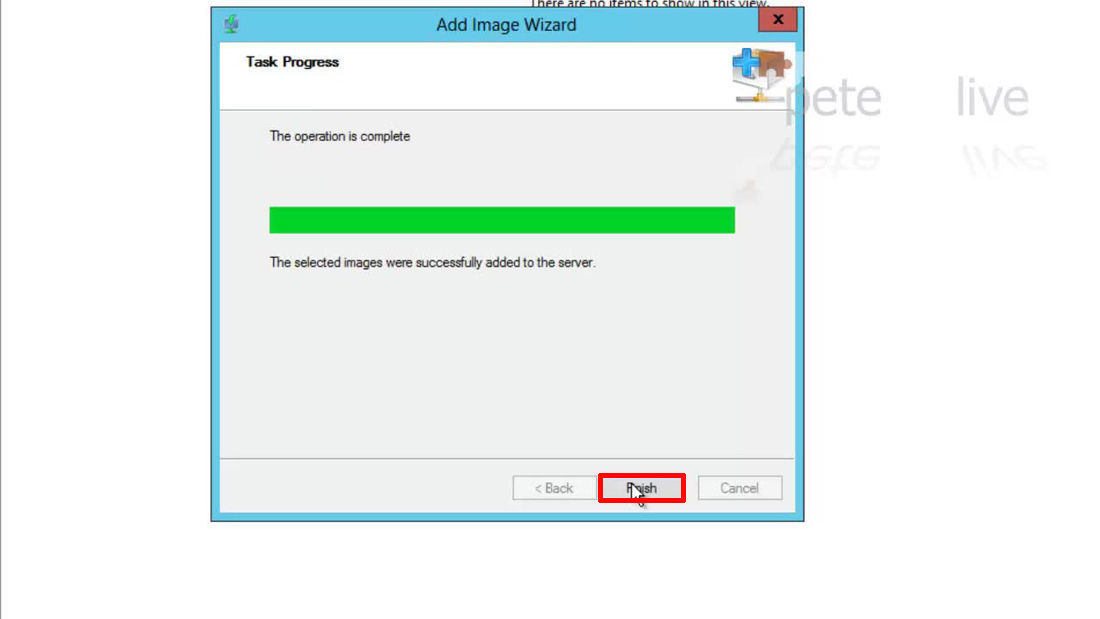
29. The Image will be imported.
30. Finish.
Adding a Capture Image (To take an image from a remote machine)
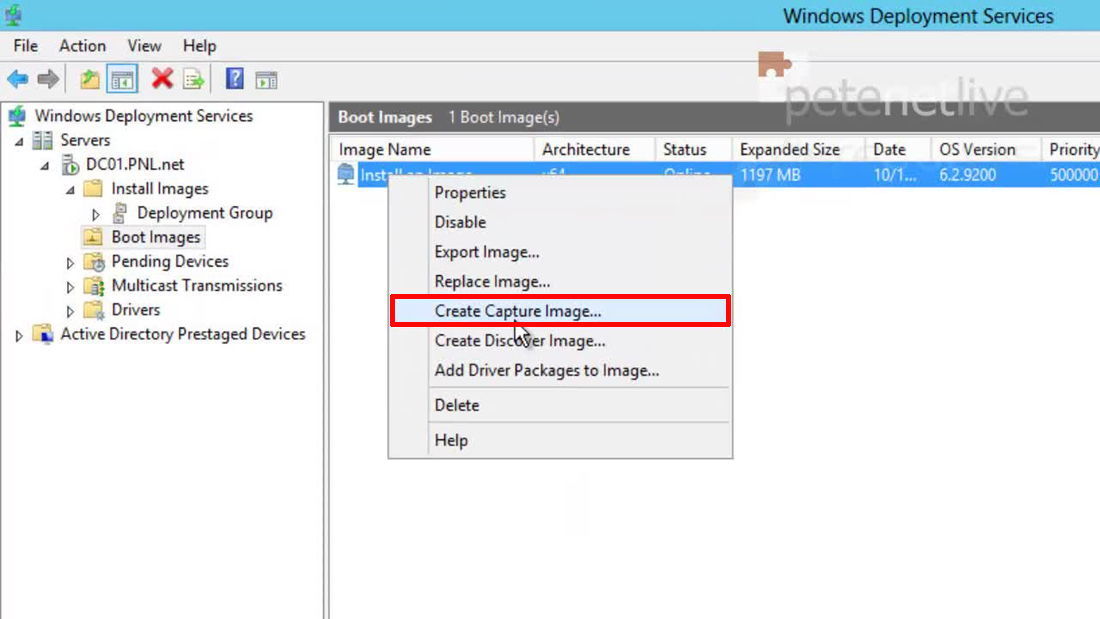
31. Right click the image we have just added > Create Capture Image.
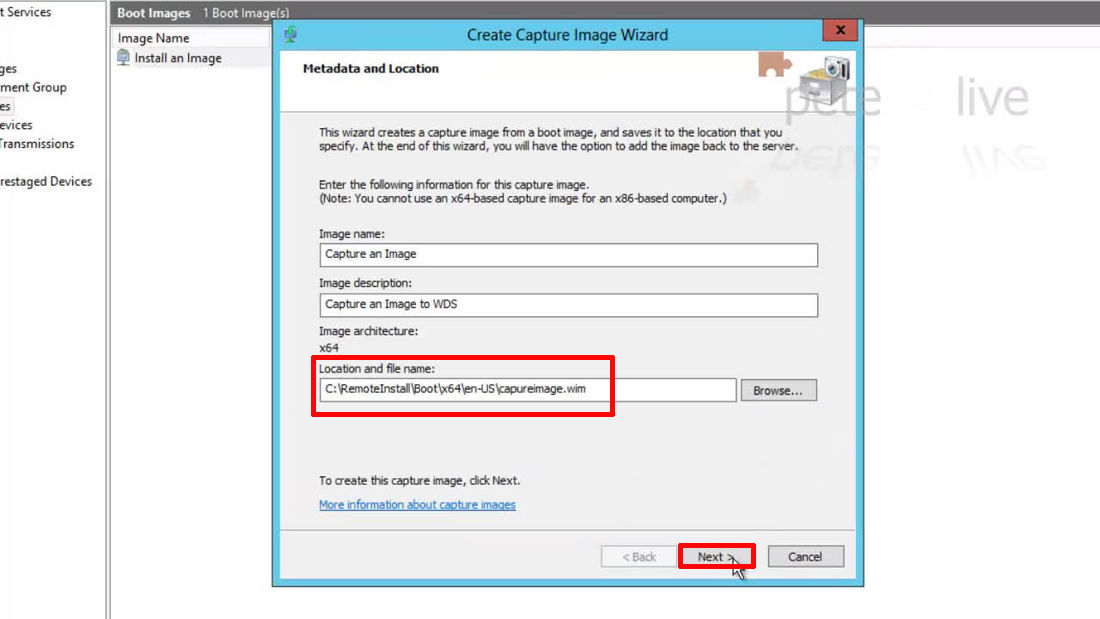
32. Call this one ‘Capture an Image’ > Give it a description > Save the image (with a .wim extension). Note: It does not matter where you save the image, but I would suggest somewhere in the ‘Remote Install’ folder > Next.
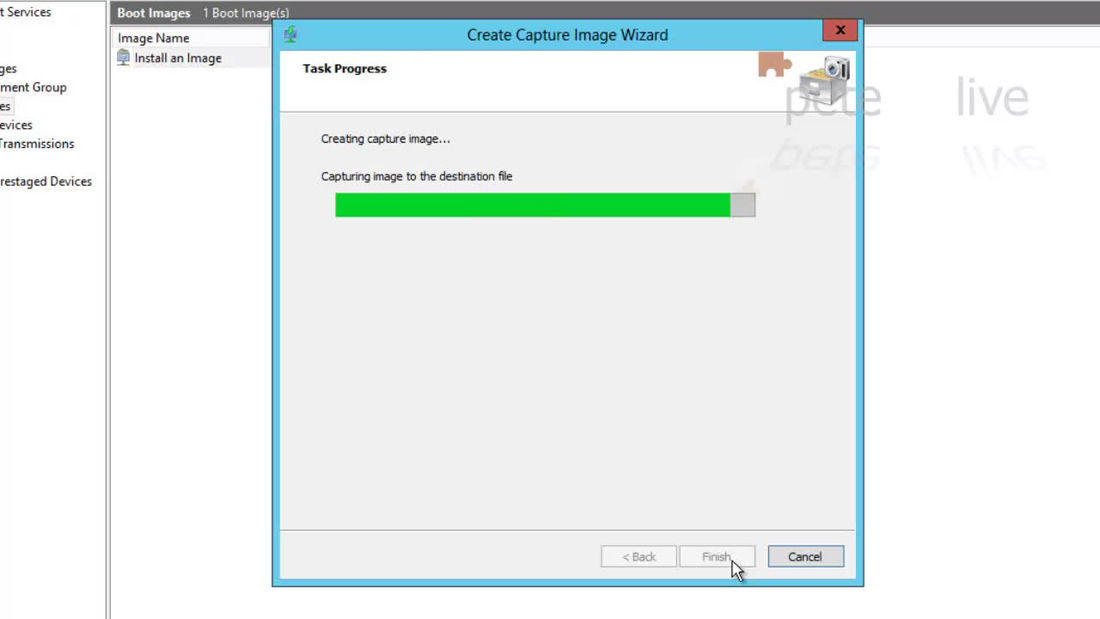
33. The image will be created.
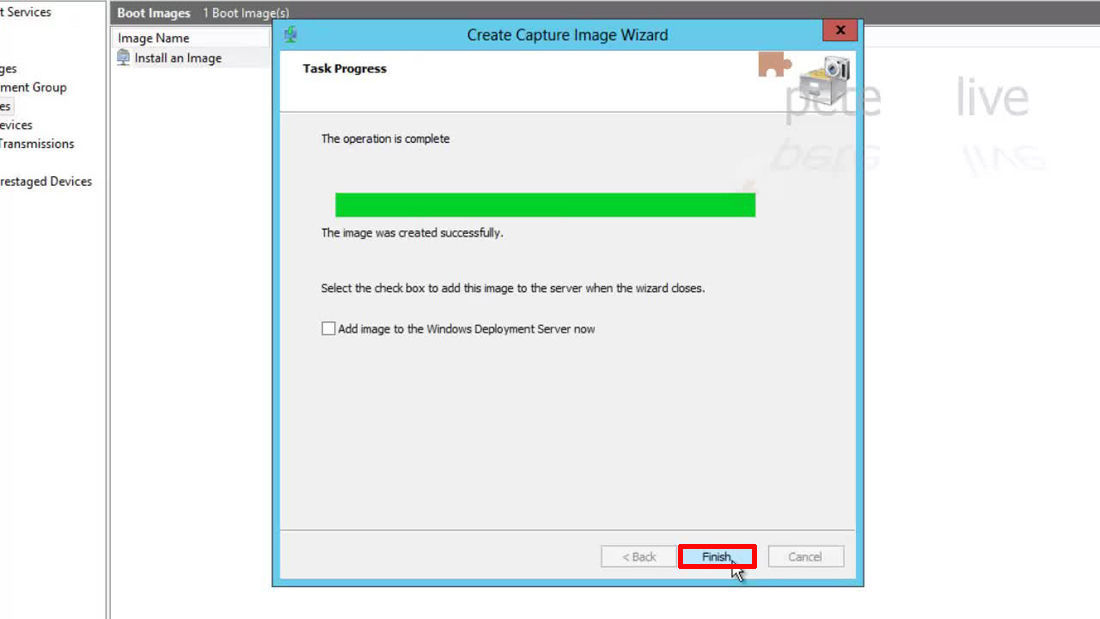
34. Finish
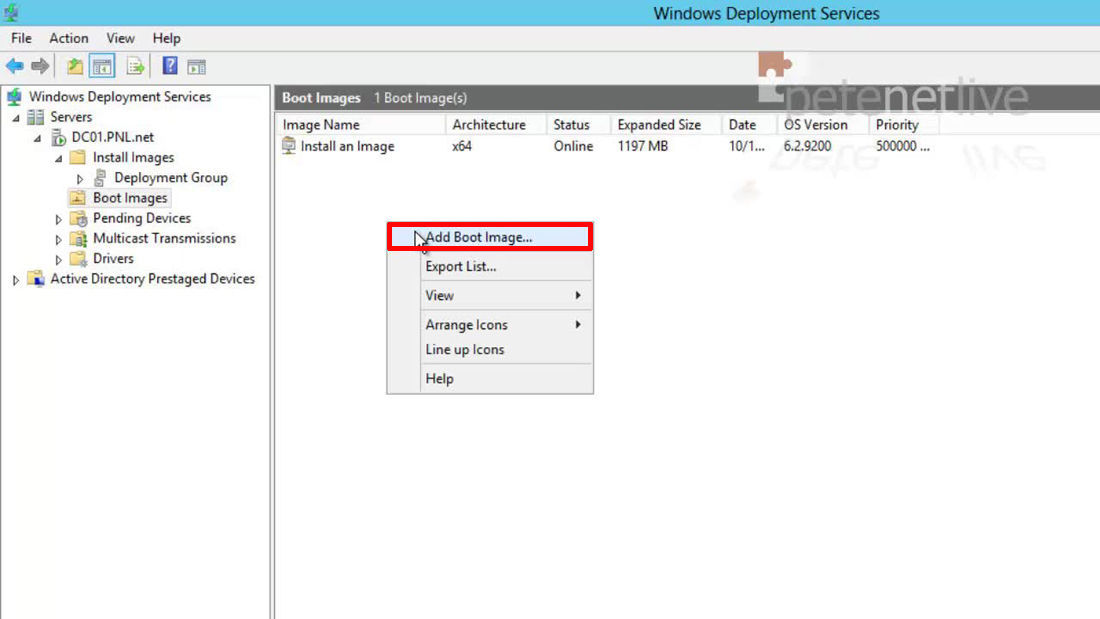
35. Now even through we have created the capture image, we still need to import it. Right click > Add Boot Image.
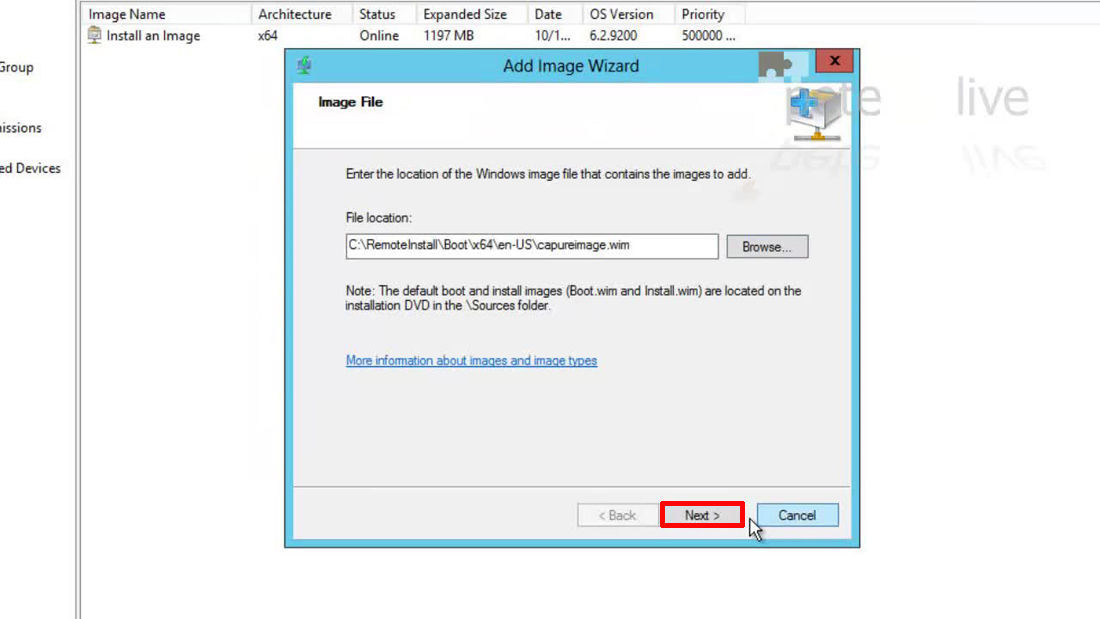
36. Select the capture image you created earlier > Next.
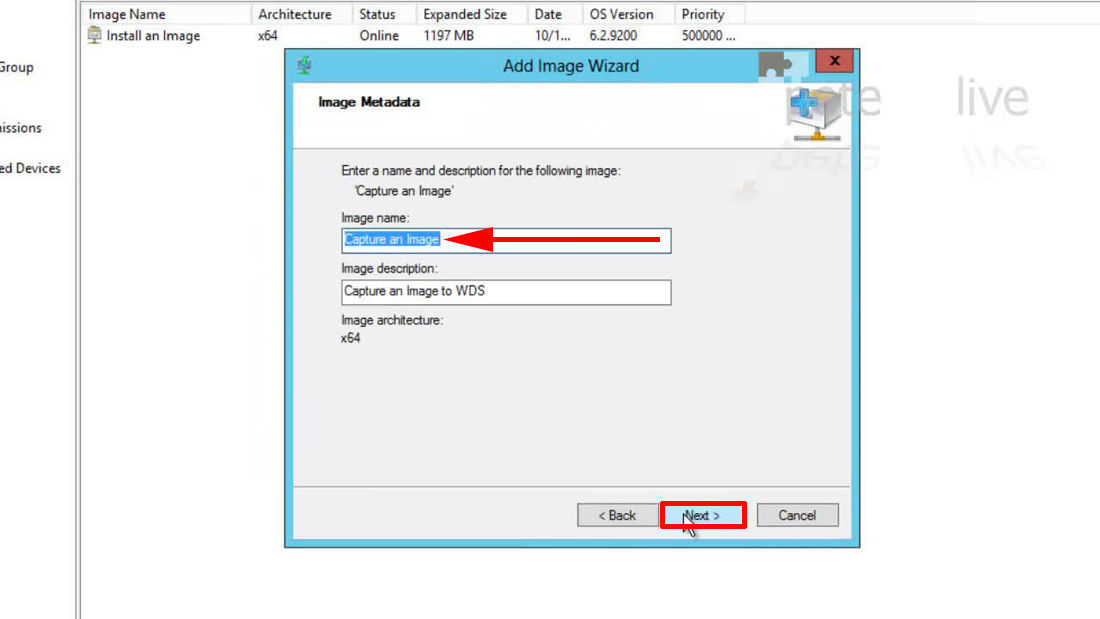
37. Make sure it’s called ‘Capture and Image’ > Next.
38. Next.
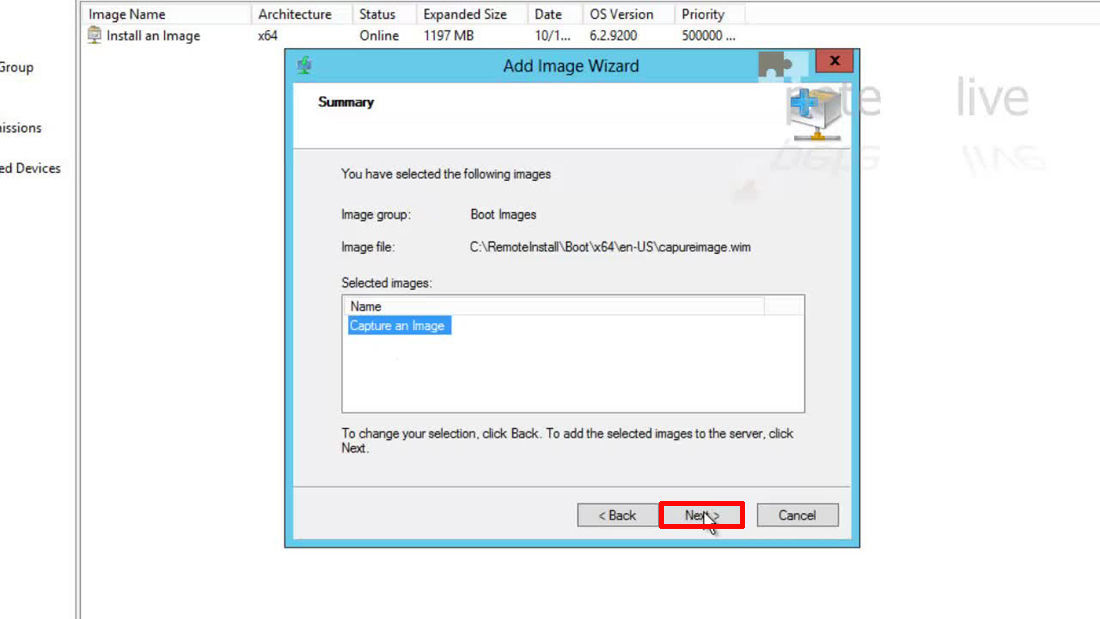
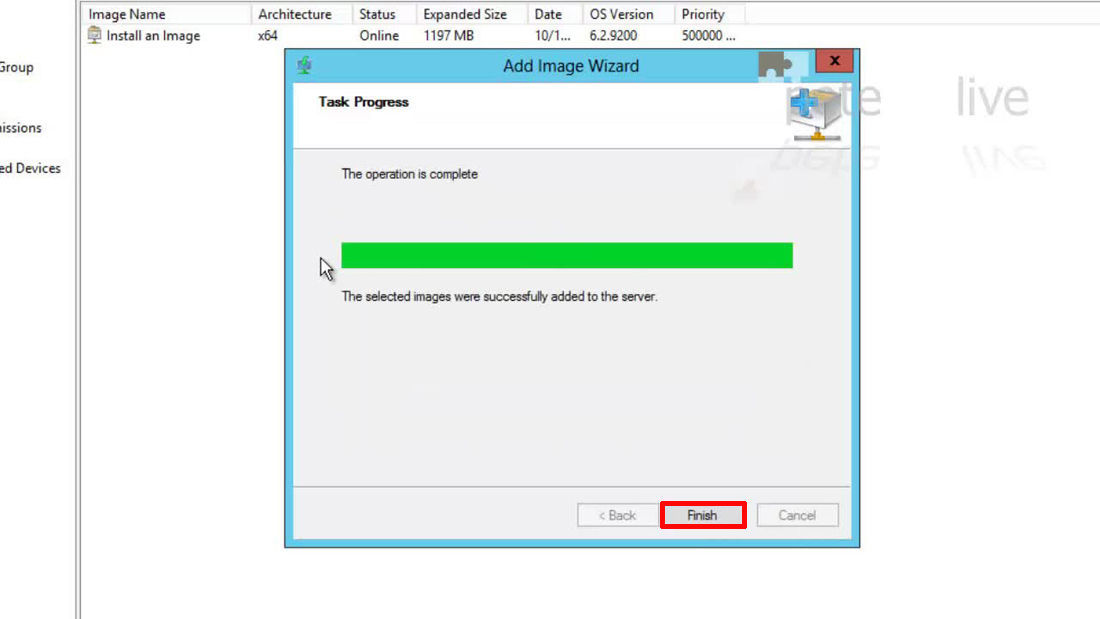
39. Now the capture image will be imported into WDS.

40. Finish.
Configure DHCP with WDS Options
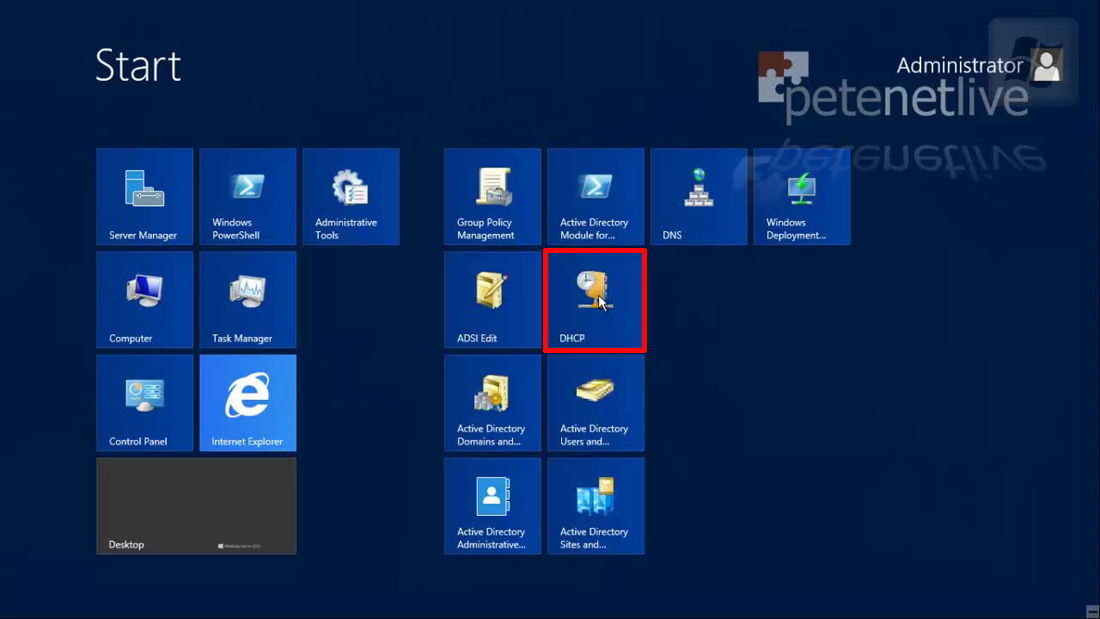
41. Launch the DHCP management console.
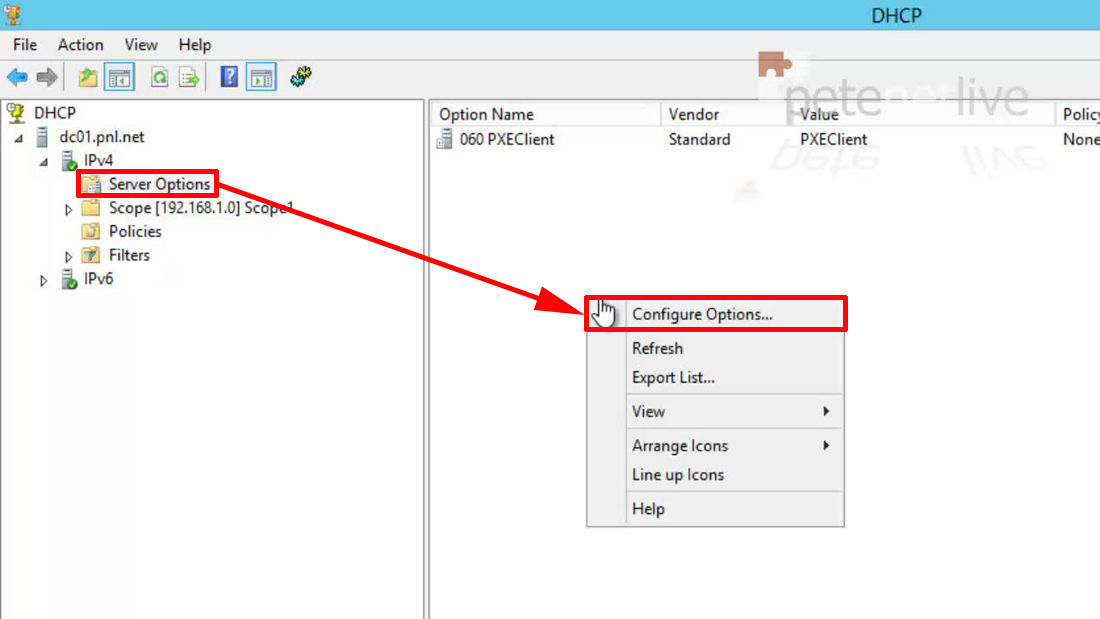
42. Open the active scope > IPv4 > Server Options > Configure Options.
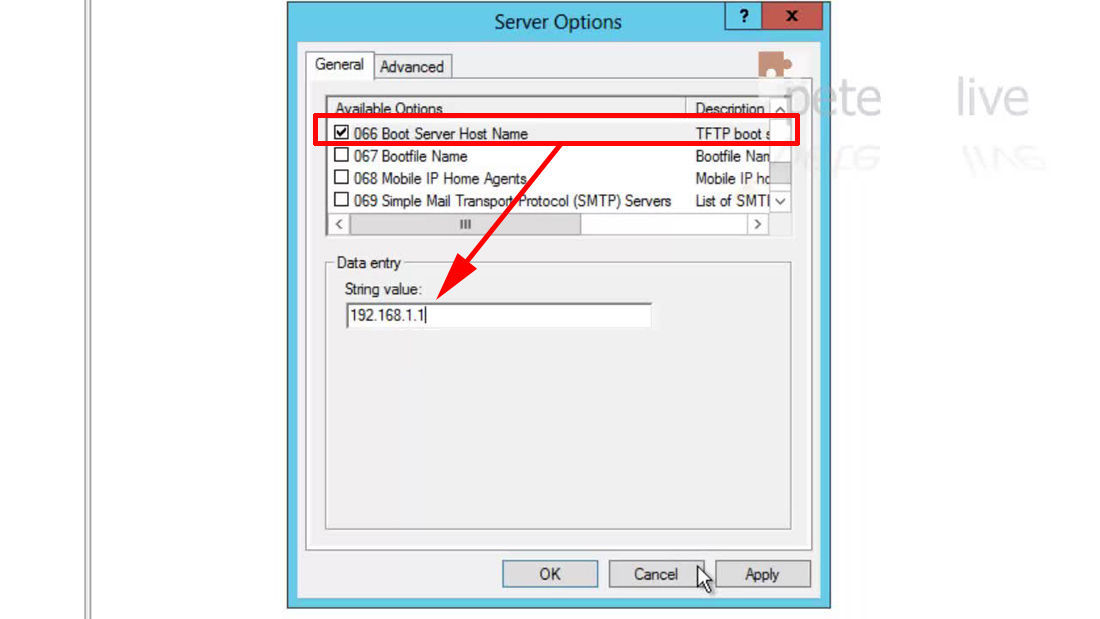
43. Tick Option 66 > Set its value to the IP address of the WDS server > Apply > OK.
44. Tick Option 67 > Set its value to;
Apply OK

45. Now you are ready to capture an image of your reference Windows 8 machine.
Related Articles, References, Credits, or External Links
2012 – WDS Deploying Windows 8 Part 2: Prepare Windows 8, and Capture to WDS
WDS 2008 R2 Deploying Windows 7
Using Windows Deployment Services with Symantec Ghost