
For WDS on 2008 with Windows 7 Click Here
KB ID 0000107
Problem
This is aimed at people who want to capture a pre built machine and roll that image out to many PC’s. The client machine can either be vista or XP, at the time of writing most corporate’s are still using XP so I’ll use XP for this example.
The whole procedure was done on the workbench in Virtual Server, which is how I recommend you try doing this before trying it live. I wrote this because I struggled to find a good walk through on the internet, that was shorter than a squillion pages, I’d rather spend two weeks working out how to do it myself rather than RTFM, so I’ll save you good folks the trouble.
Here’s a two page Aide Memoir to print off
To do the whole thing you need to do three things, 1) Set up and configure WDS. 2) Image a reference PC and 3) Deploy that image to other PC’s.
Pre Requisites
1. The Server needs an installed and working DHCP Scope, WDS adds a PXE option to it.
2. You need a reference PC set up and “Sysprepped” with enough room on its drive to store the image.
3. You need the install DVD for either Windows Vista or Server 2008.
Note If you still want to use Ghost with WDS CLICK HERE
Solution
Phase 1 Setup up And Configure WDS
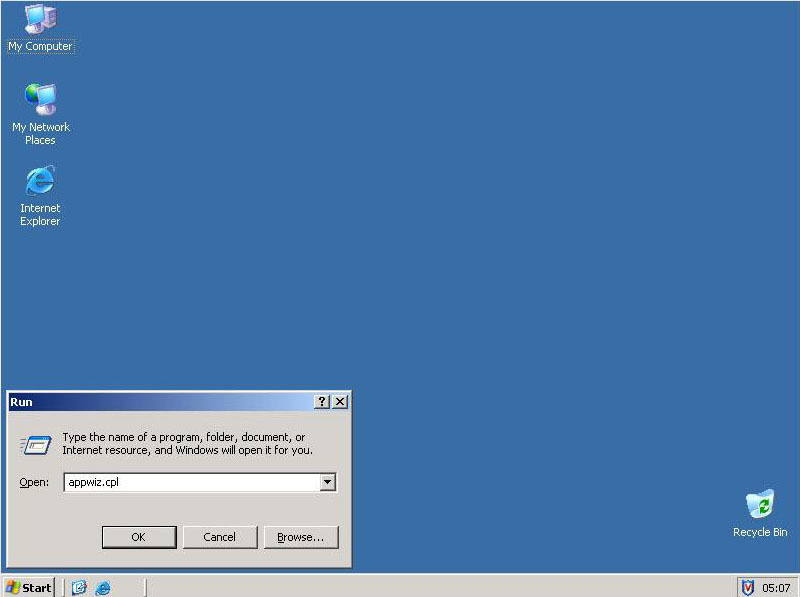
1. To start with, you need to add in WDS as a Windows component, Start > Run > appwiz.cpl {enter}
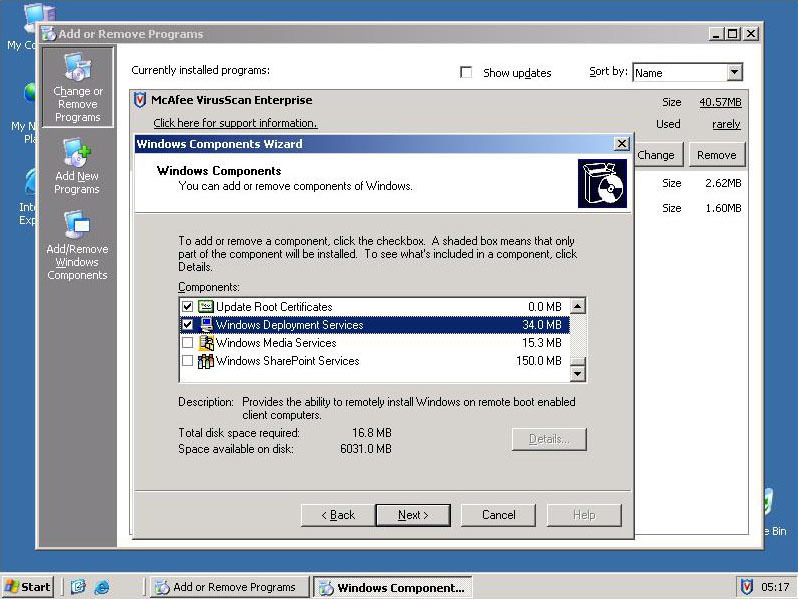
2. Scroll down to Windows Deployment Services. and tick the box > Next.
Note: This in an R2 SP2 Version od Windows Server 2003, if you cannot see WDS then install RIS and install WDS from the WAIK available to download from Microsoft.
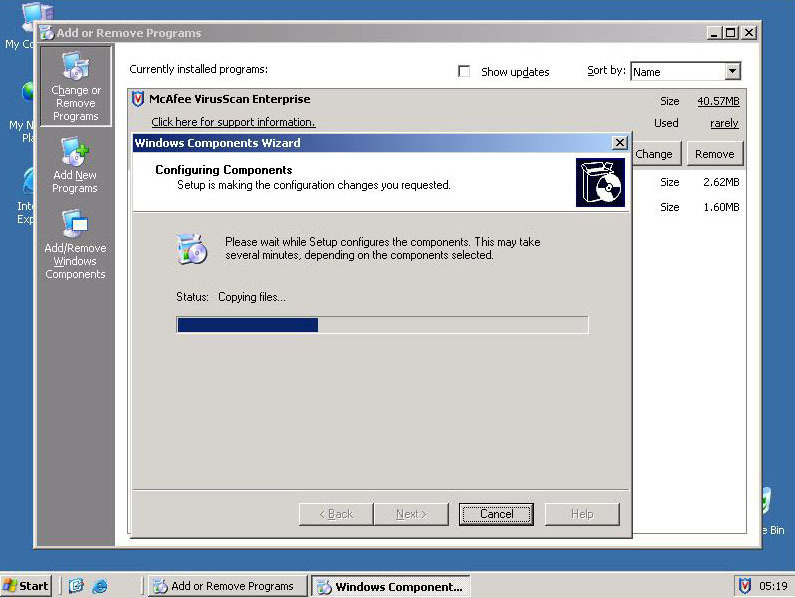
3. WDS is added (The server may ask for the install CD)
4. Click Finish
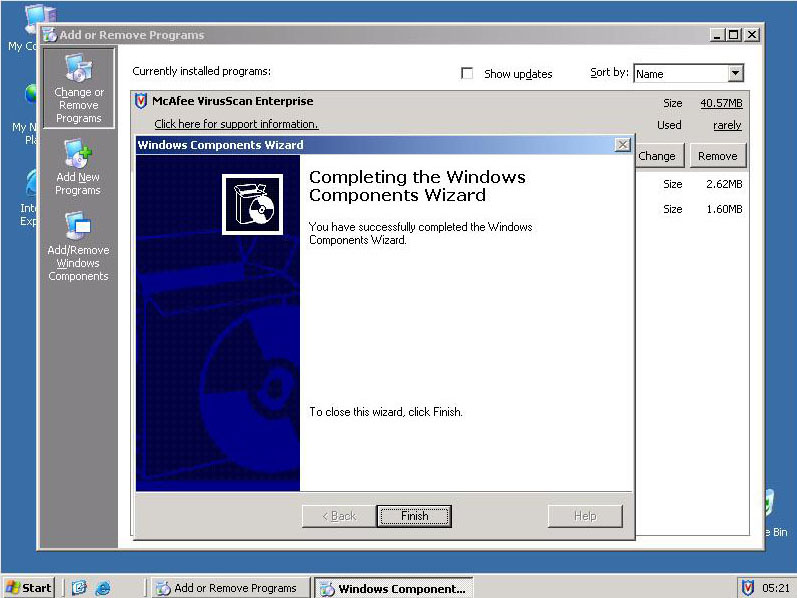
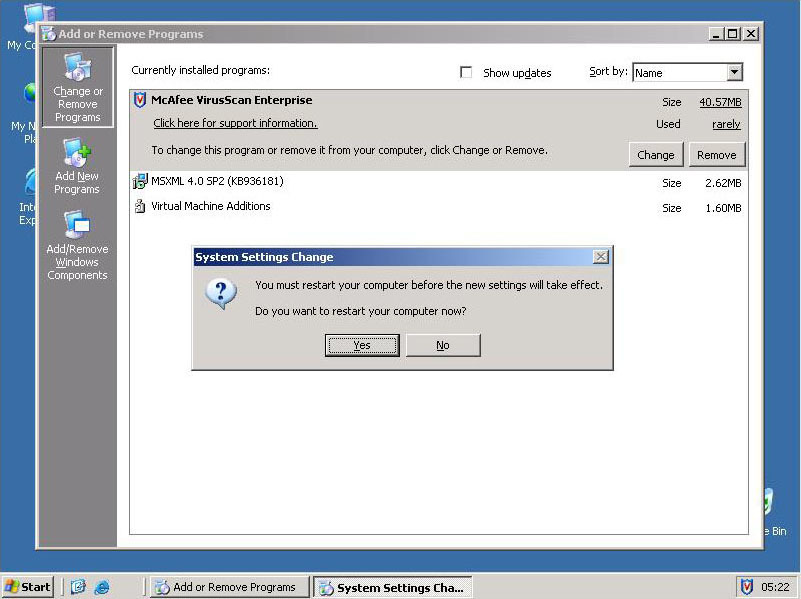
5. Click Yes to Reboot.
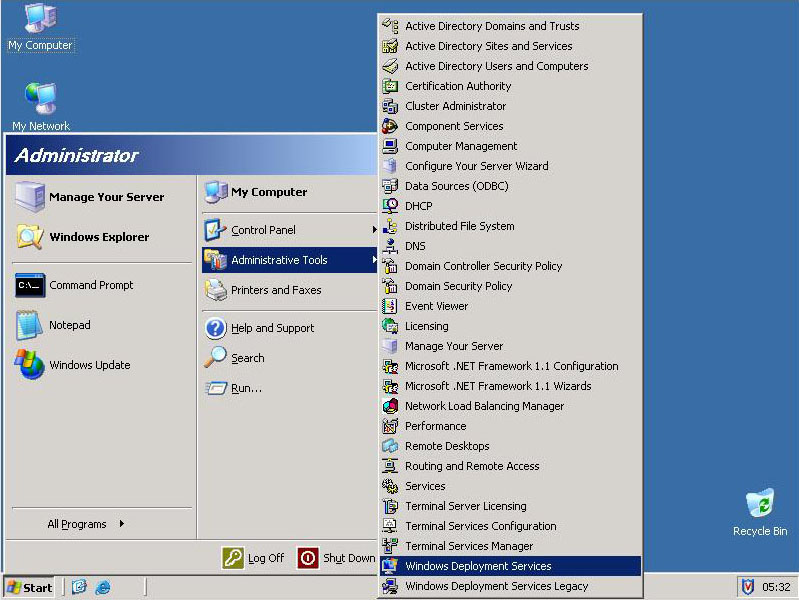
6. Start > Administrative Tools > Windows Deployment Services.
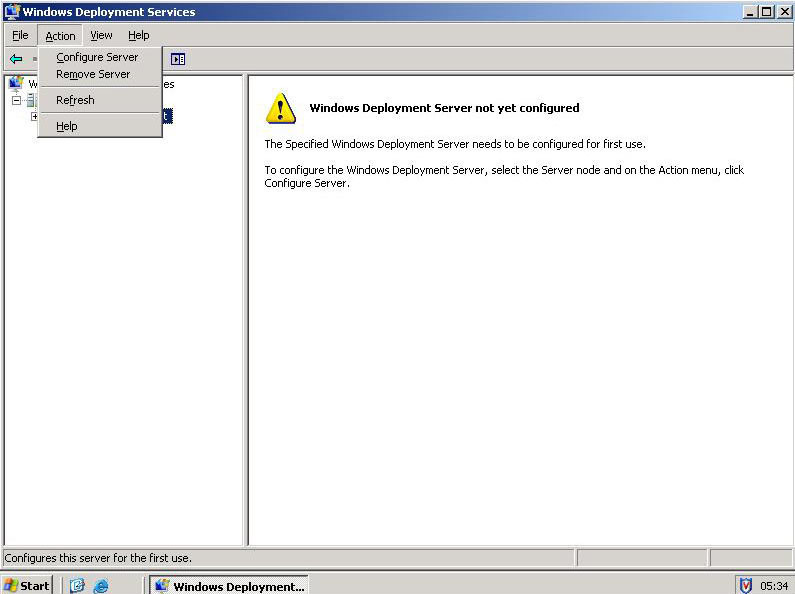
7. Expand Servers.

8. Select your server > Actions > Configure Server.
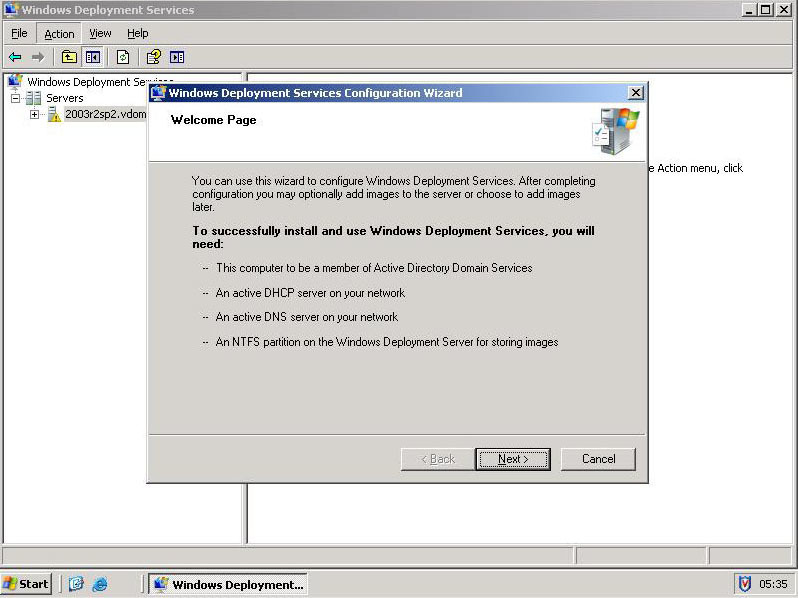
9. Next.
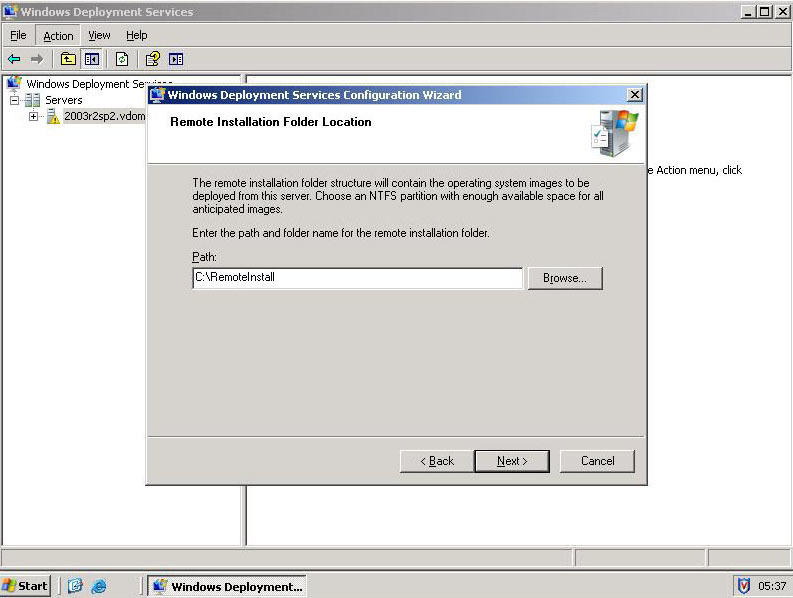
10. Provide a path to the location you want to store your images in.
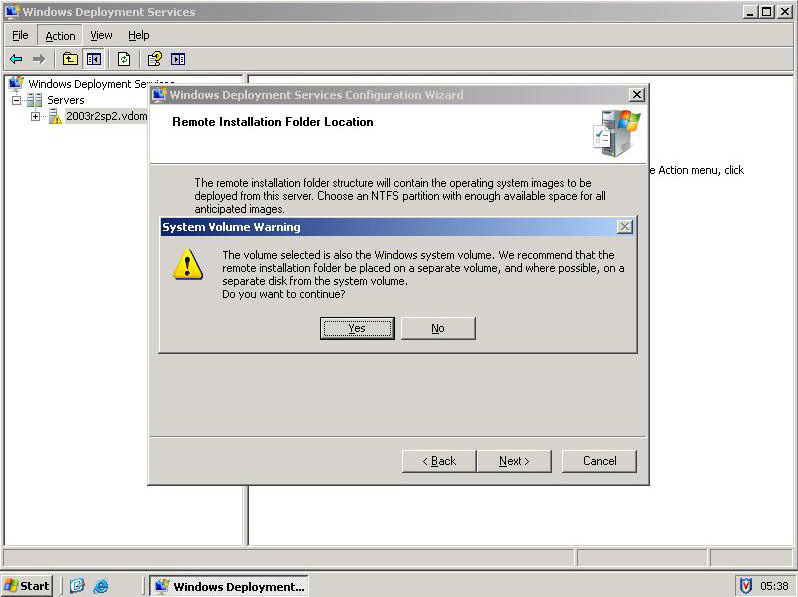
11. If the location is on the system drive you will see this warning > Click Yes.
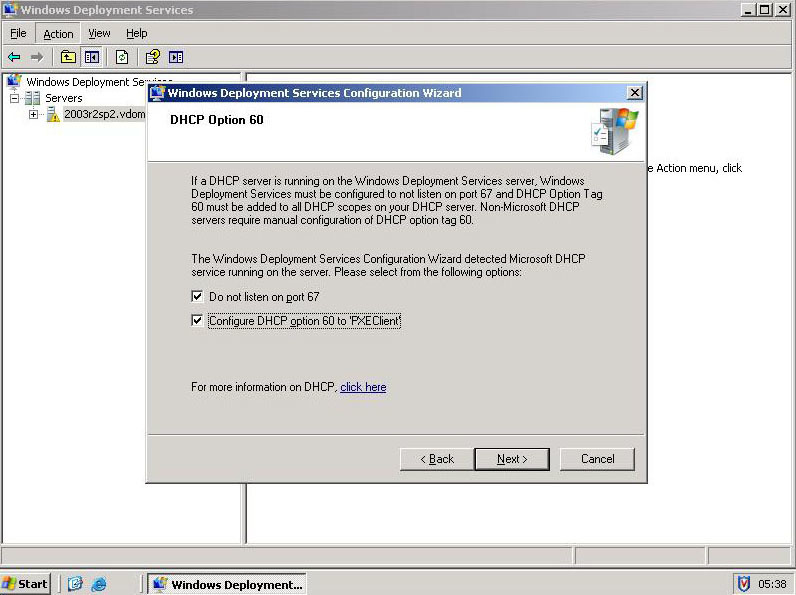
12. Tick Both > Next.
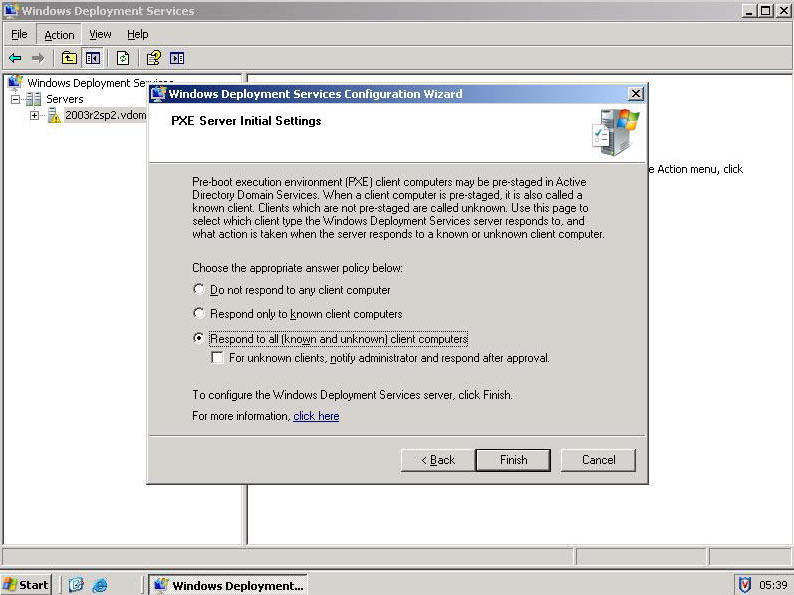
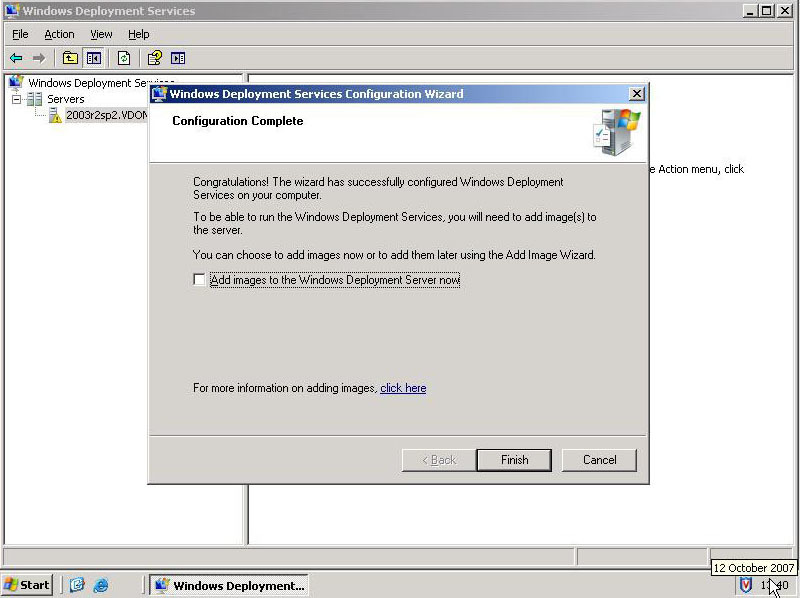
13. Bottom Option > DONT tick the box > Finish.
14. WDS Copies over some files and configures itself.

15. Untick the box, we are going to do this manually and just add what we want. > Finish.
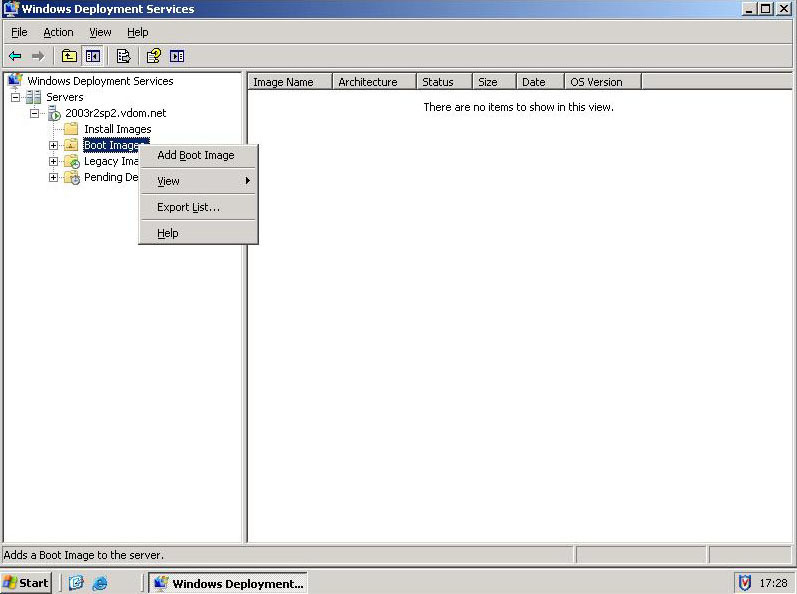
16. Right Click Boot Images > Add Boot Image.
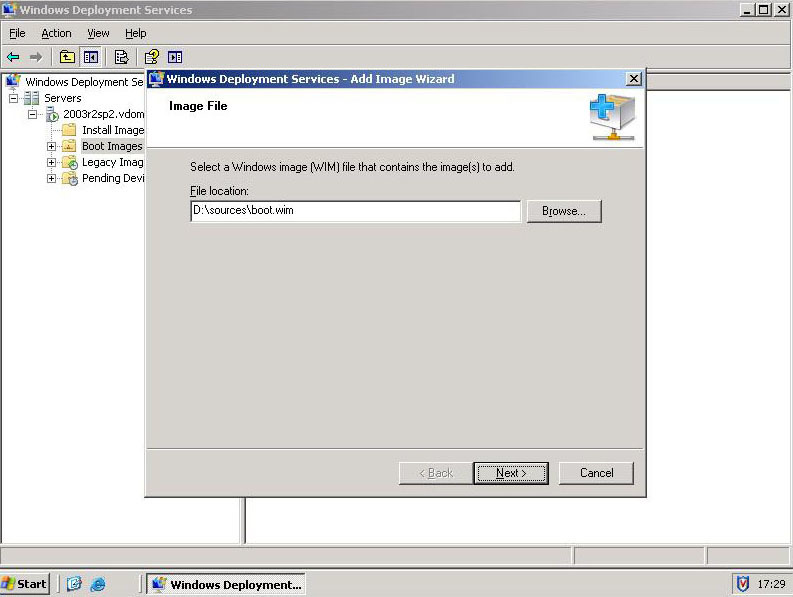
17. Browse your Vista/2008 DVD to the sources directory and we are looking for “boot.wim” > Next.
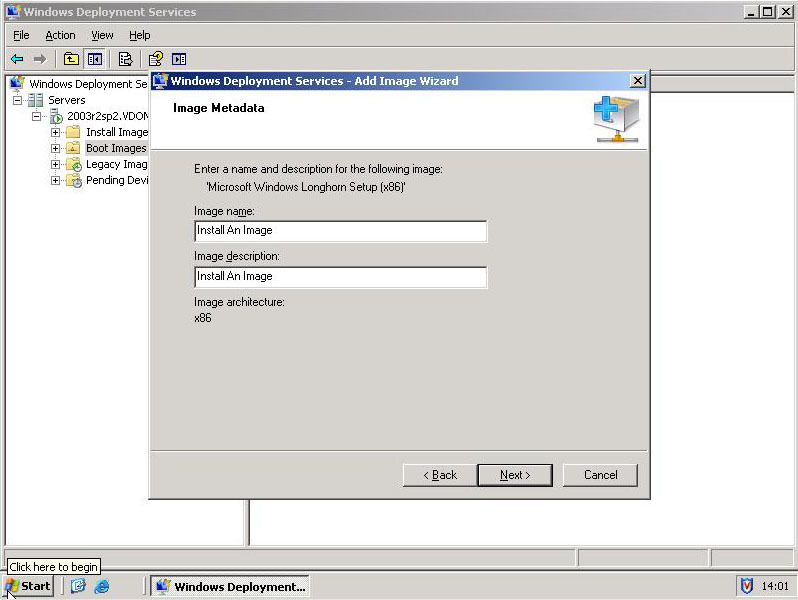
18. Now change the name to something sensible like “Install an Image” > Next.
19. Next.
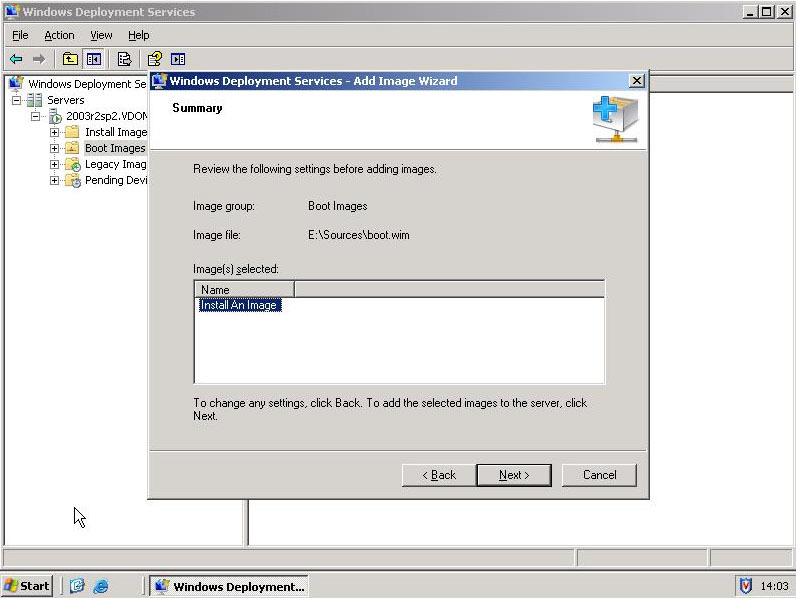
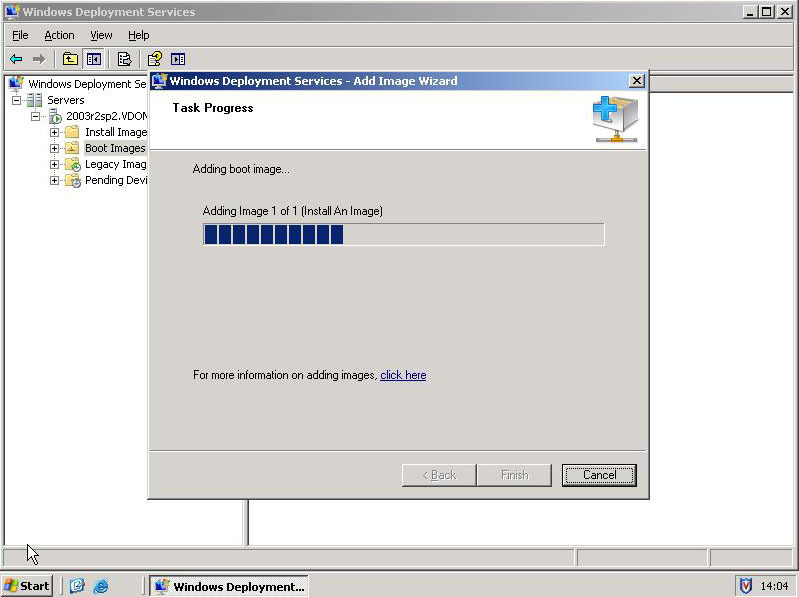
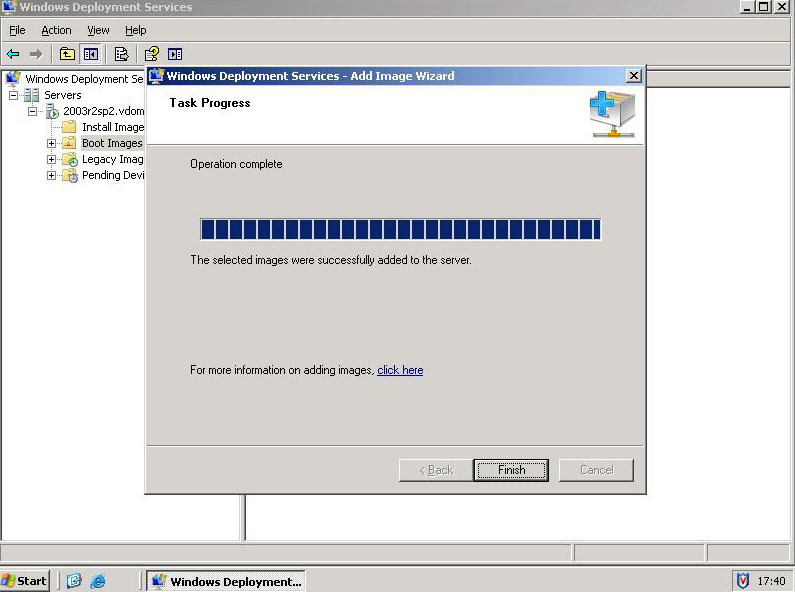
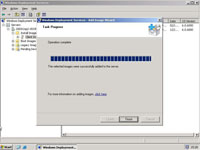
20. The Image is installed.
21. Finish.
22. Select the image you have just installed > right click it > Select “Create Capture Boot Image. “
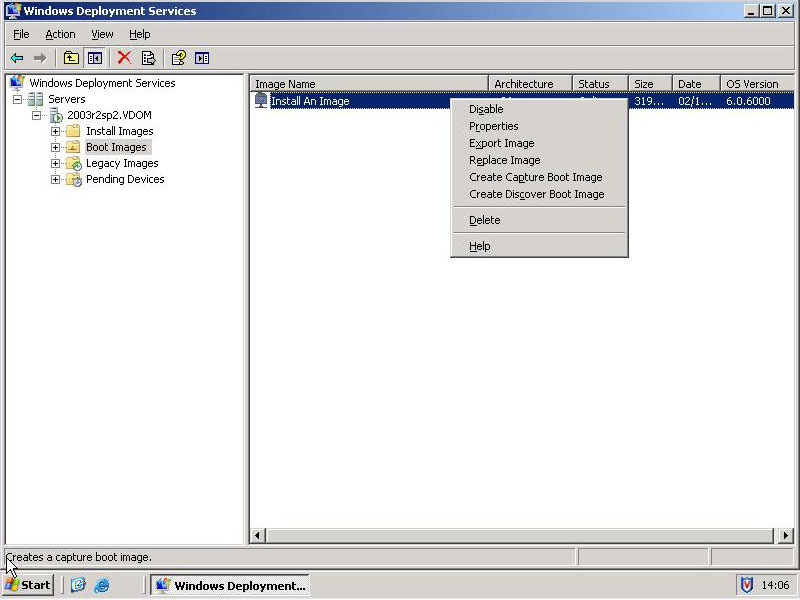
23. Call it something sensible like “Capture an Image” > choose a location to save it (you need to save it with a .wim extension) > I call it capture.wim so I know what it is > Next.
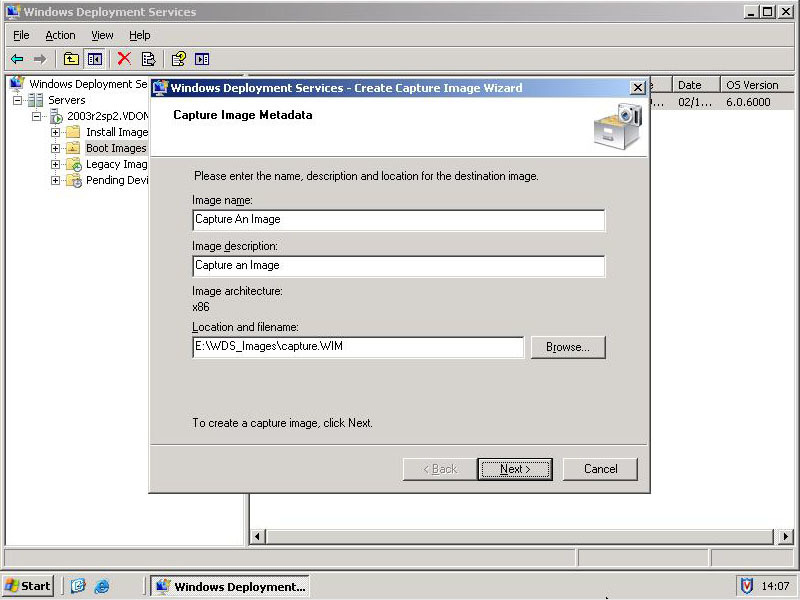
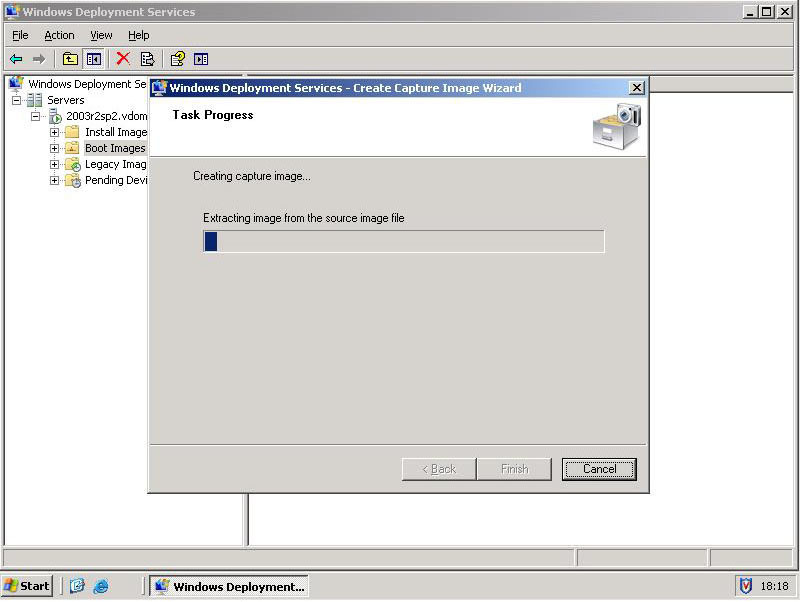
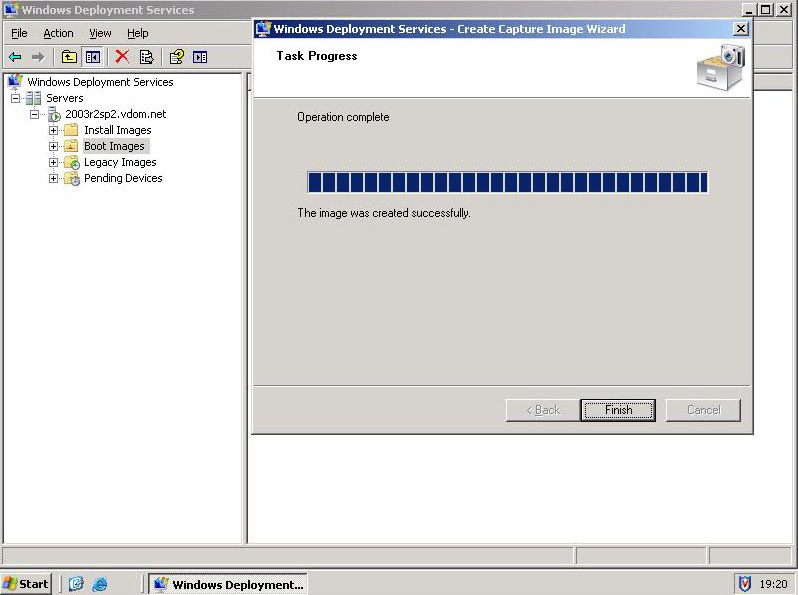
24. The Image is created.
25. Finish.
26. Now we need to create a group to put out machine images in > Right click Install Images > Add Image Group.
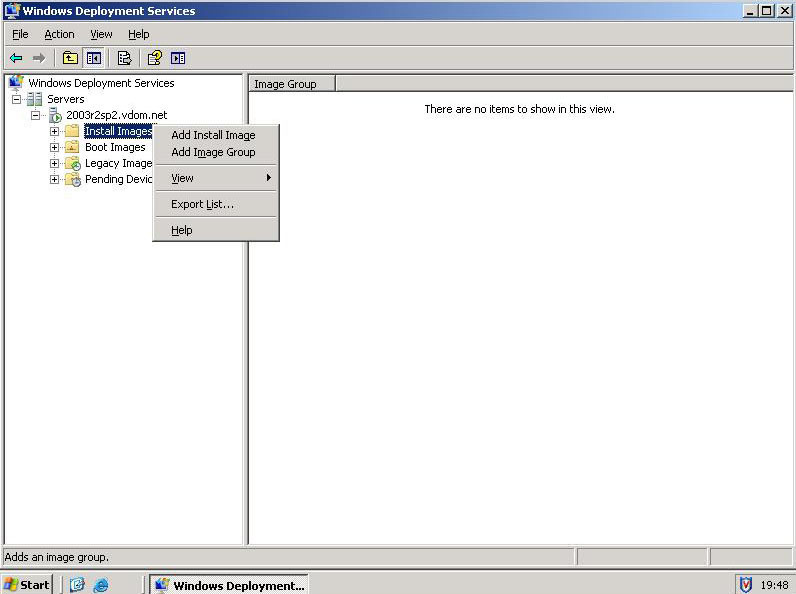
27. Give it a name > OK.

28. Make sure it’s there.

29. Now we need to add the “Capture Image” we created in step 23 > Right click Boot Images > Add Boot Image.

30. Point it to the capture.wim file you created earlier.

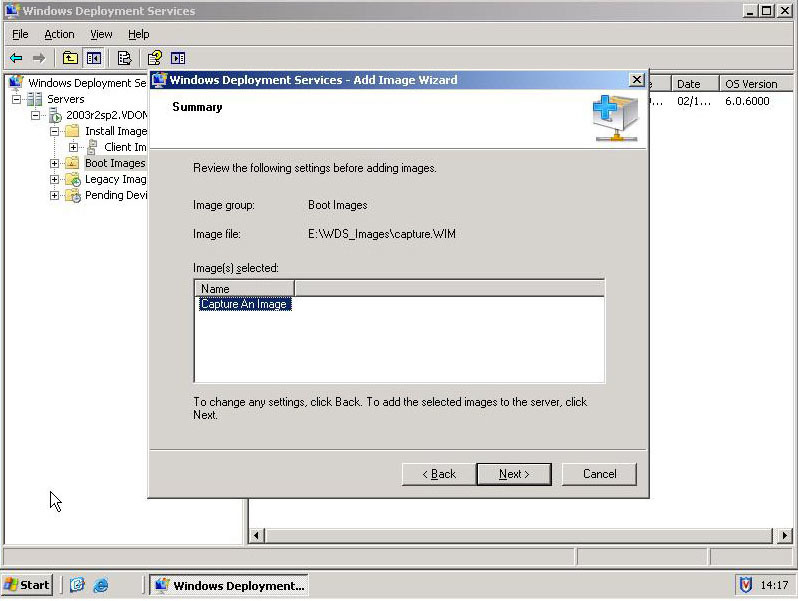
31. Make sure its “Capture an Image” > Next.

32. Next.
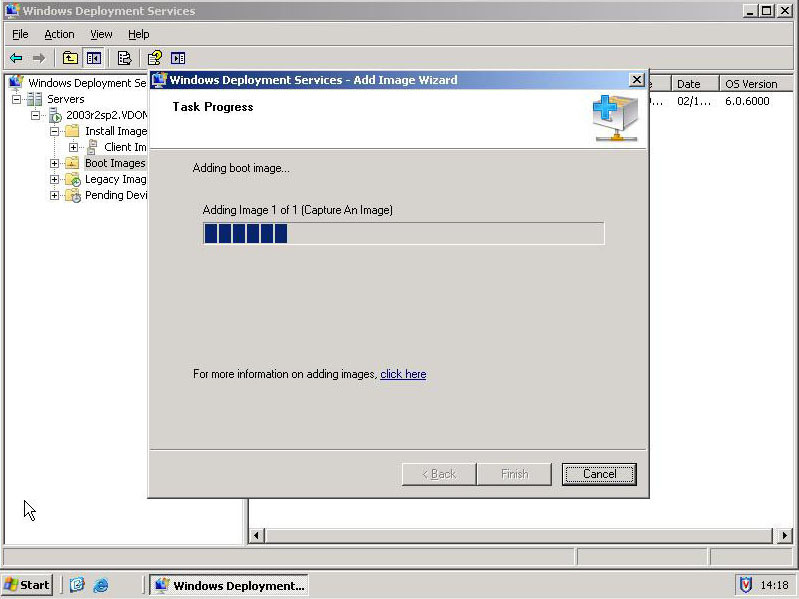
33. The image will be imported.
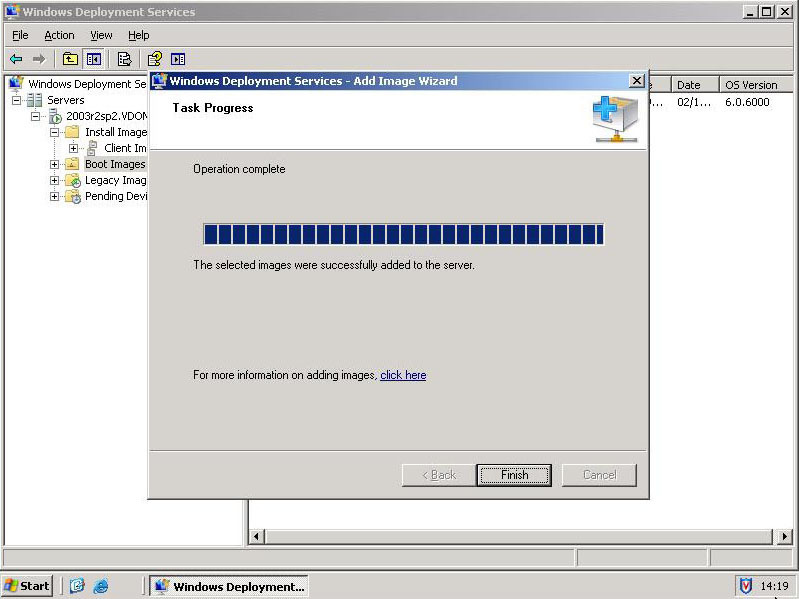
34. Finish.
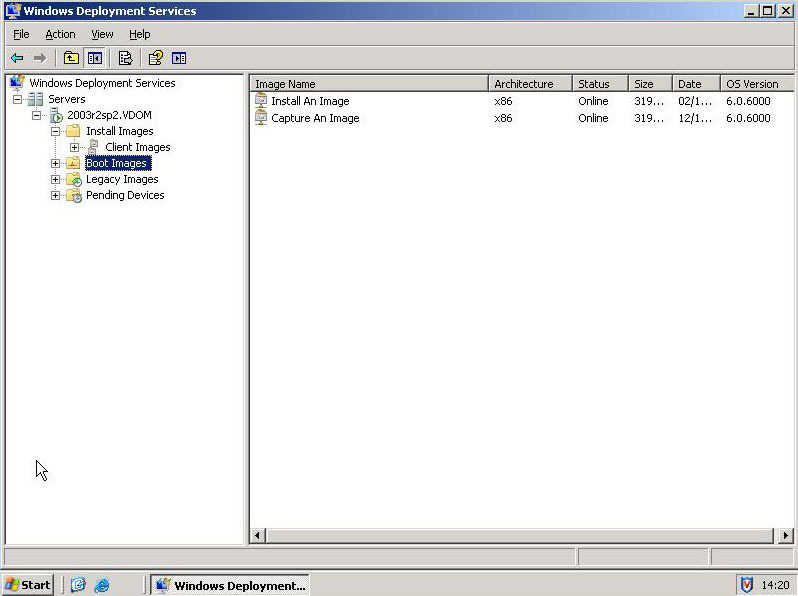
35. If you’ve done everything correctly you should see two entries under Install Images called “Capture an Image” and “Install an Image” When you see the boot menu later you will see why I named them this way.
Phase 2 Capture the Image from a Reference PC
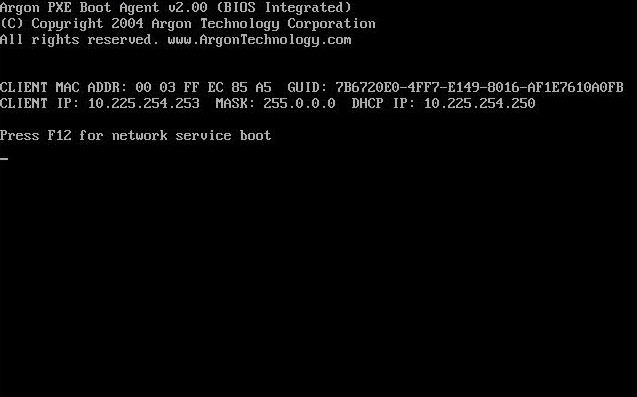
36. Once you have build the reference PC, configured all the applications and settings, and ran sysprep. Boot it from the network (note you may need to alter the BIOS boot order to do this). Though most machines have a key sequence to press (F12 usually) to do a network boot (Note: in virtual server DEL enters the BIOS).

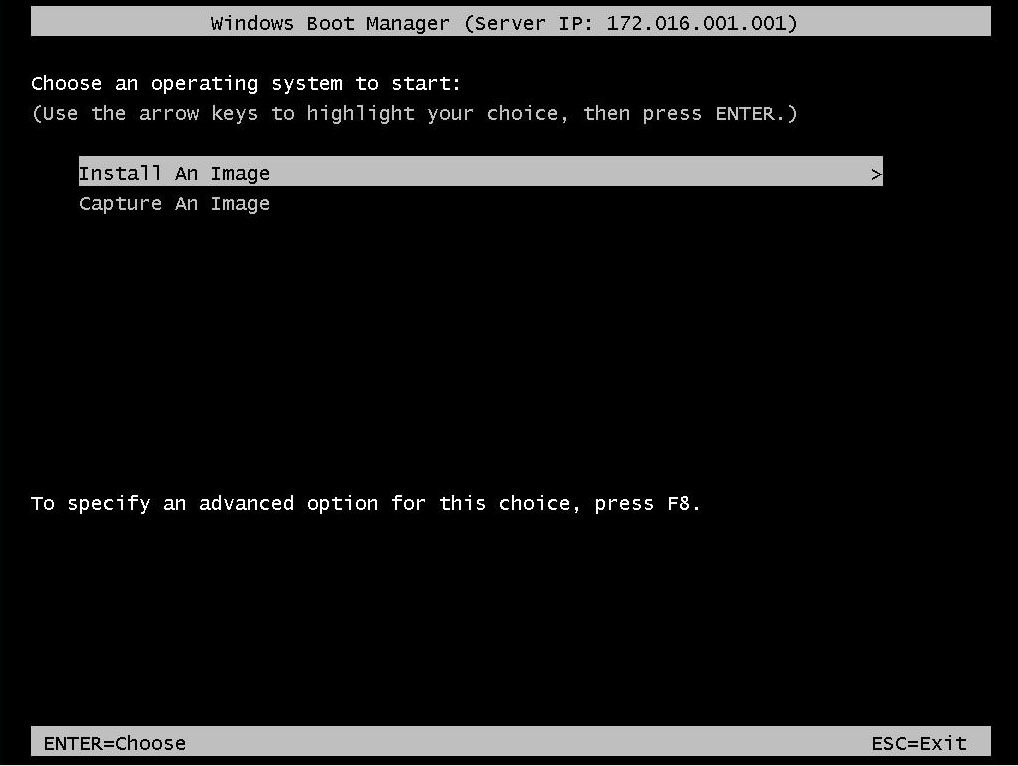
37. Now you can see why we named the images accordingly > Select Capture an image > Enter.

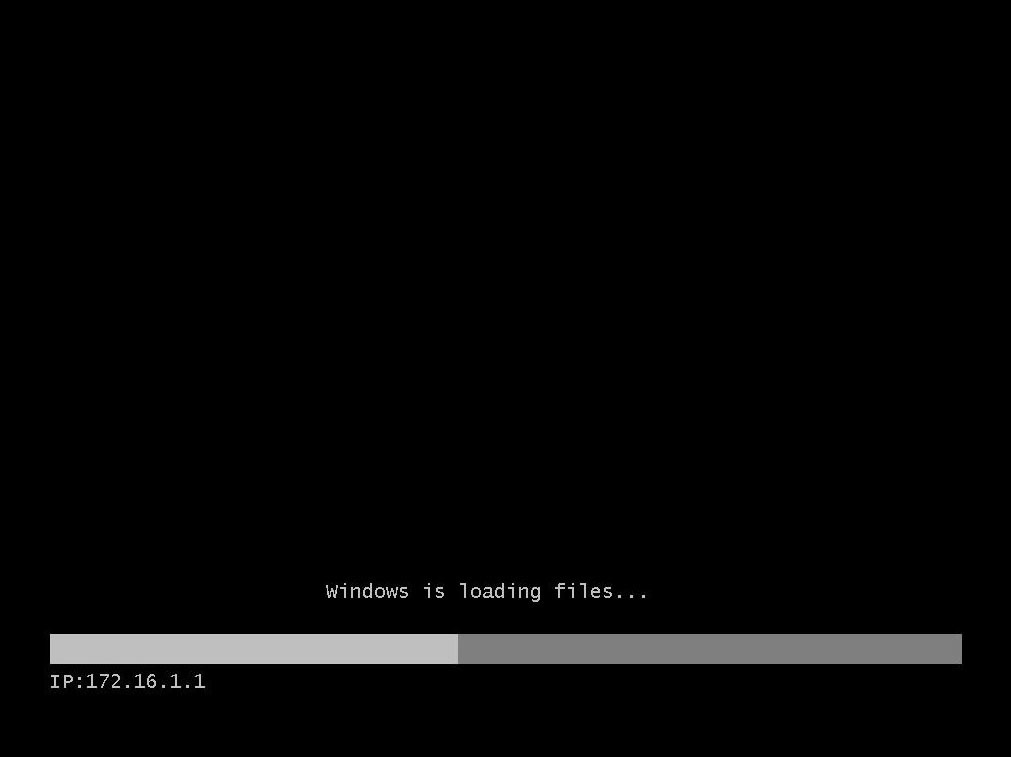
38. The files are loaded into memory.
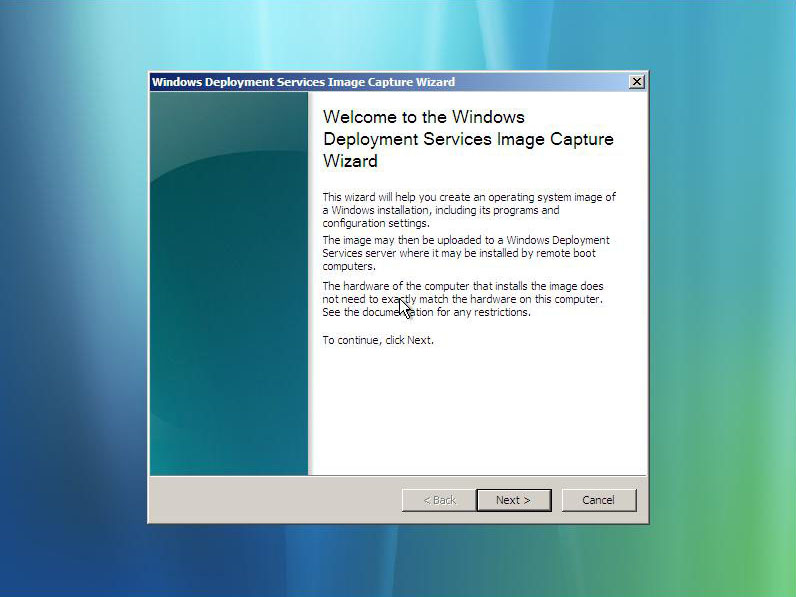
39. Next.
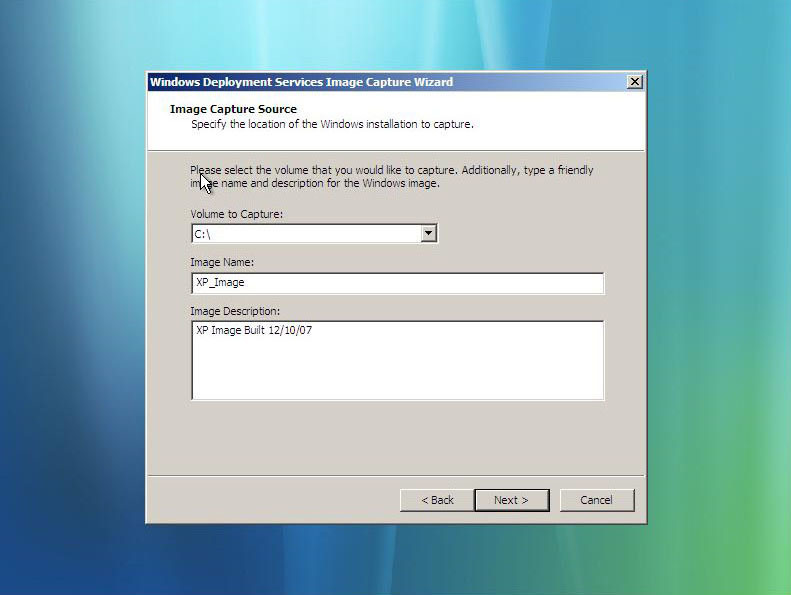
40. Select the volume to image (if there’s nothing there then you either did not sysprep properly of the PE environment you are in has no drivers for the volume you want to image – Press shift and F10 if you can change to the C: drive then the drivers are there and sysprep is the problem. Give the image a name and description. > Next.
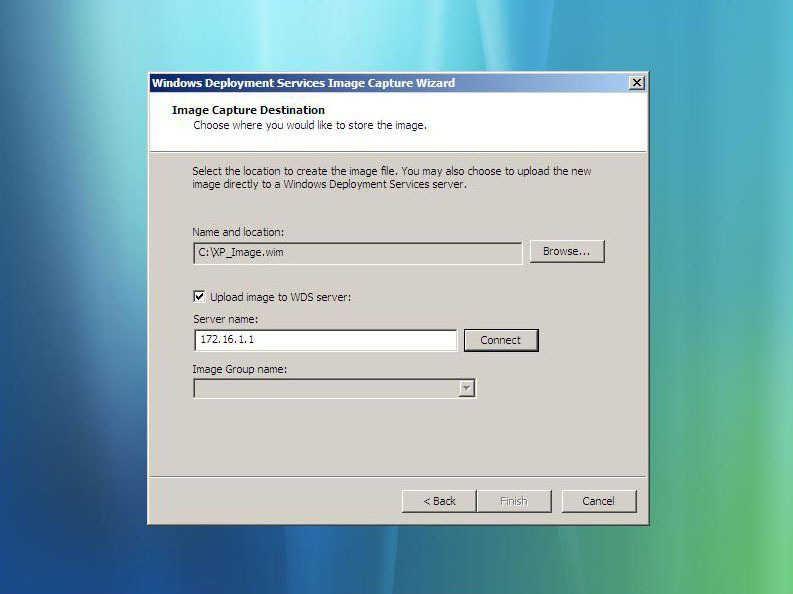
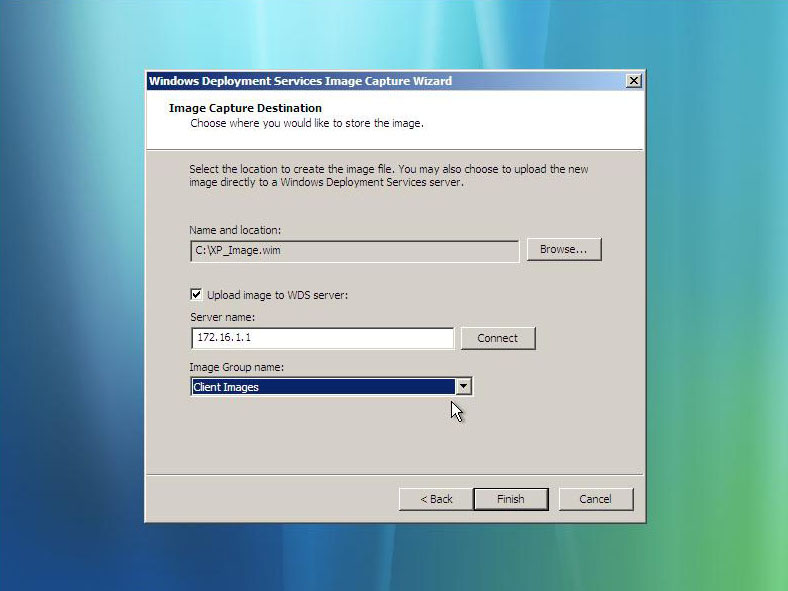
41. Enter a location on the PC to store the image > Put in the IP address or name of the WDS server > Connect.
42. Give it a username and password in the DOMIANusername format > OK.

43. Select the image group you created in step 27 > Finish.
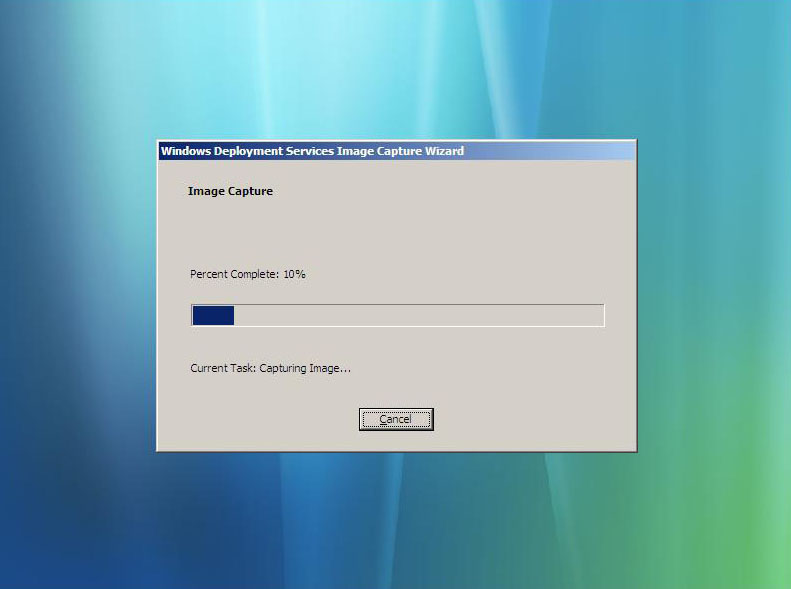
44. First the image is copied locally.
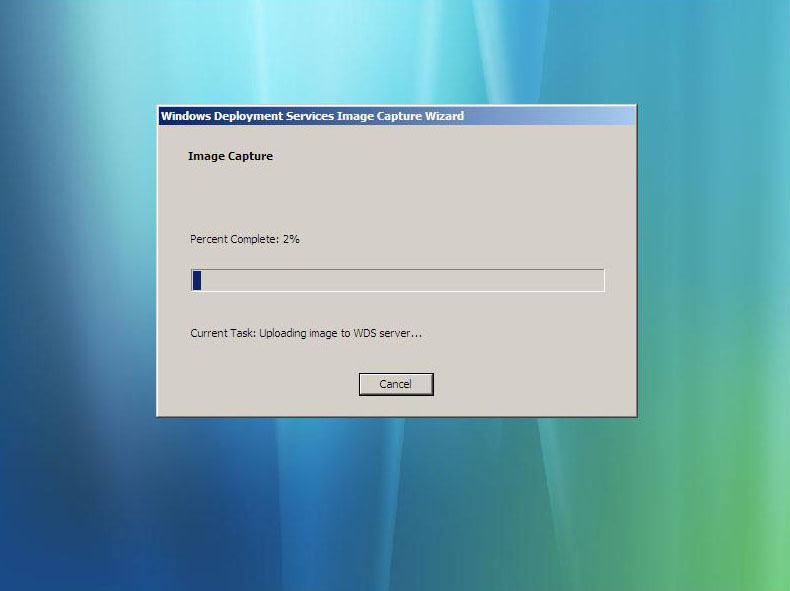
45. Then its uploaded to the WDS Server.
46. When it hits 100% the button changes to Close > Click it > the Reference PC will reboot.
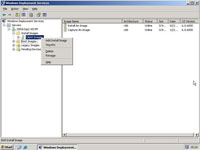
47. Back a the WDS Server right click Client Images > Select “Add Install Image”.
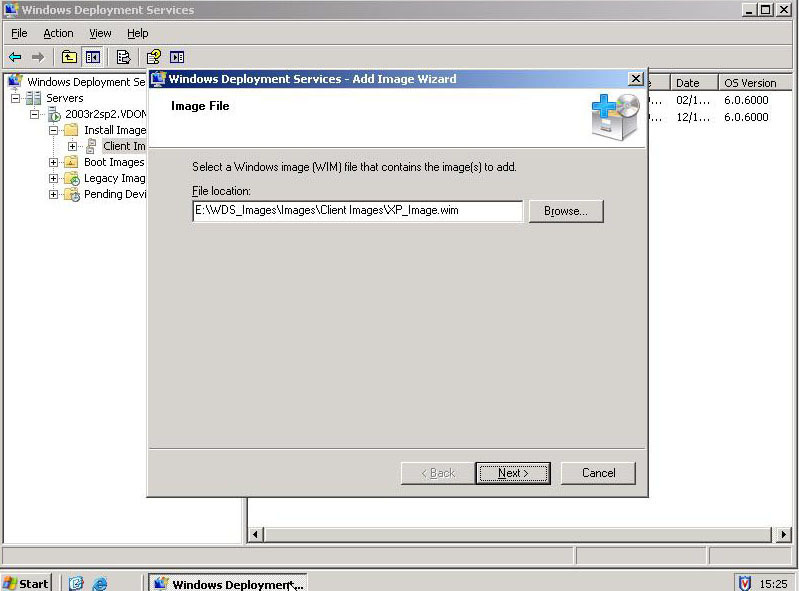
48. Navigate to the image that’s just been uploaded, it will be in the folder you set up in step 10 in a sub folder with the same name as your image group (if you can’t find it remember there’s still a copy on the Reference PC) > Next.
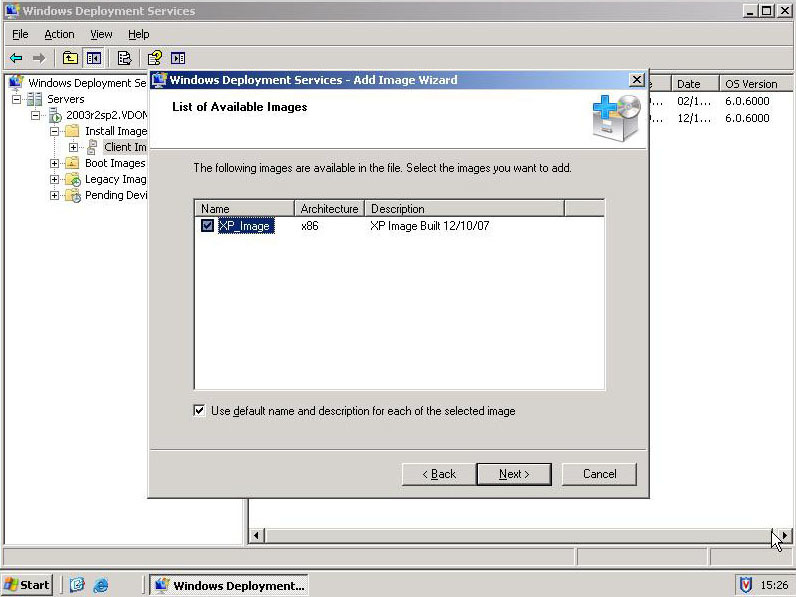
49. Next.
50. Next.
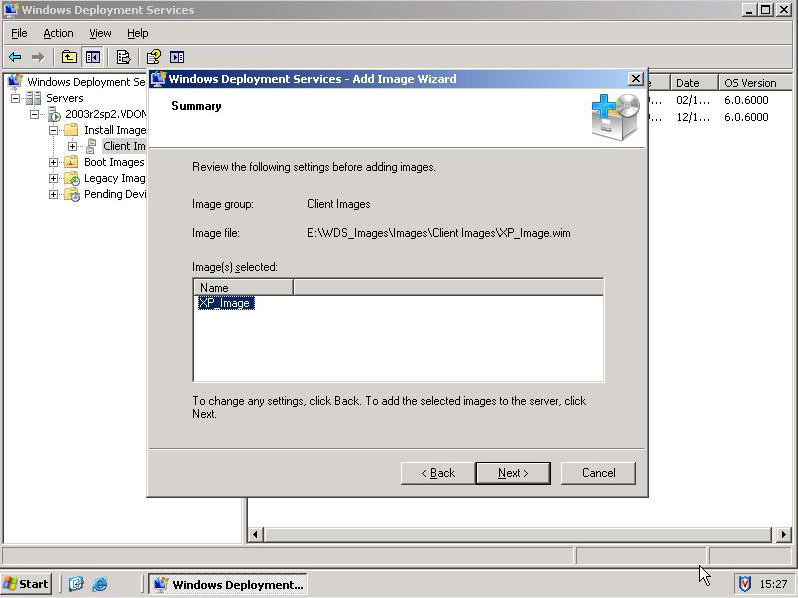
51. Finish.
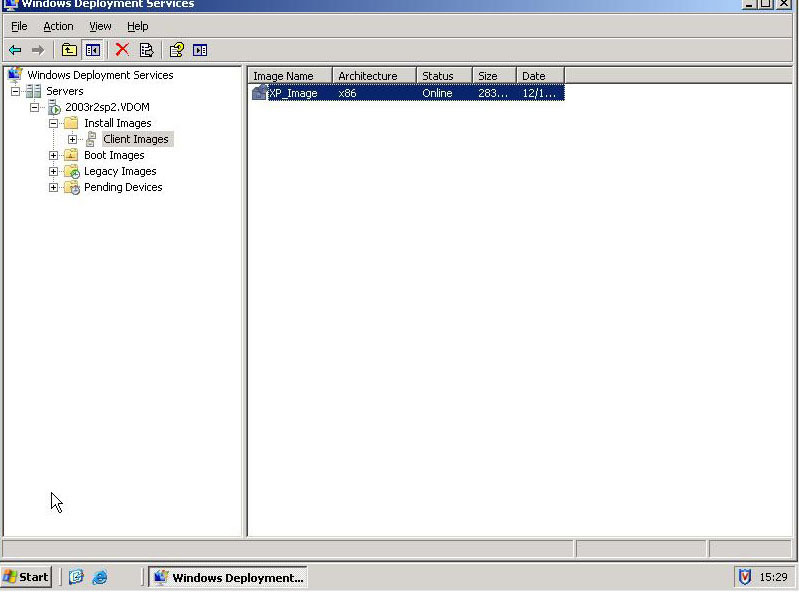
52. There’s your image ready to go.
Phase 3 Image the Target PC’s
53. As above boot your target PC from the Network.
54. This time select “Install and Image” > Enter.
55. The files are loaded into memory.

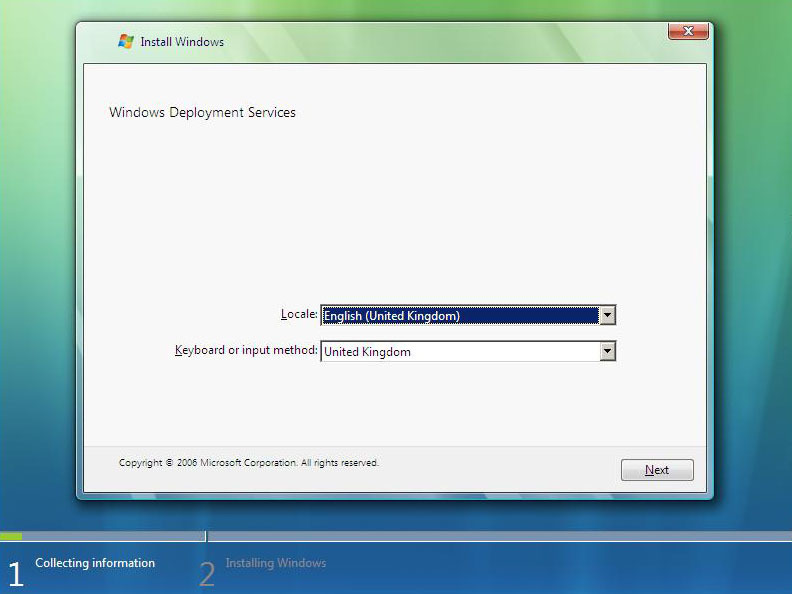
56. It looks very Vista-ish but trust me it will install XP > Select the correct locale > Next.
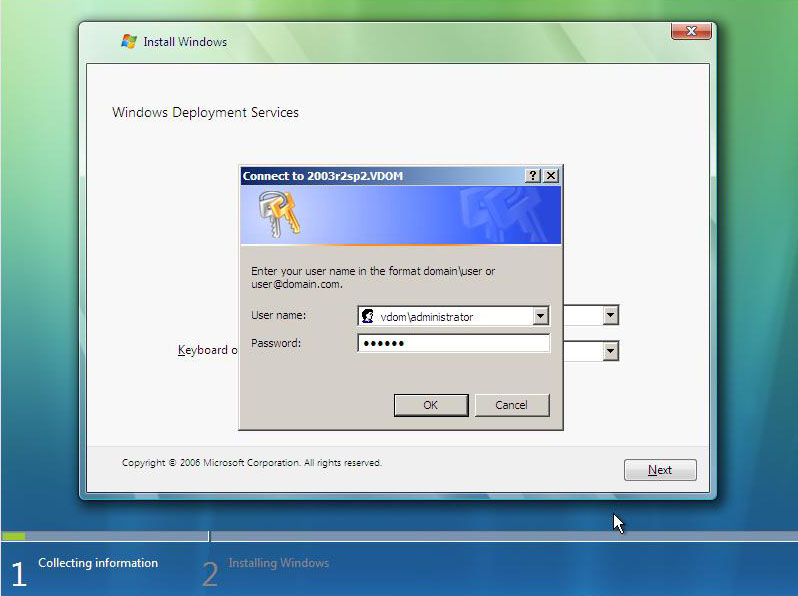
57. Enter a username and password using the DOMAINusername format > OK.
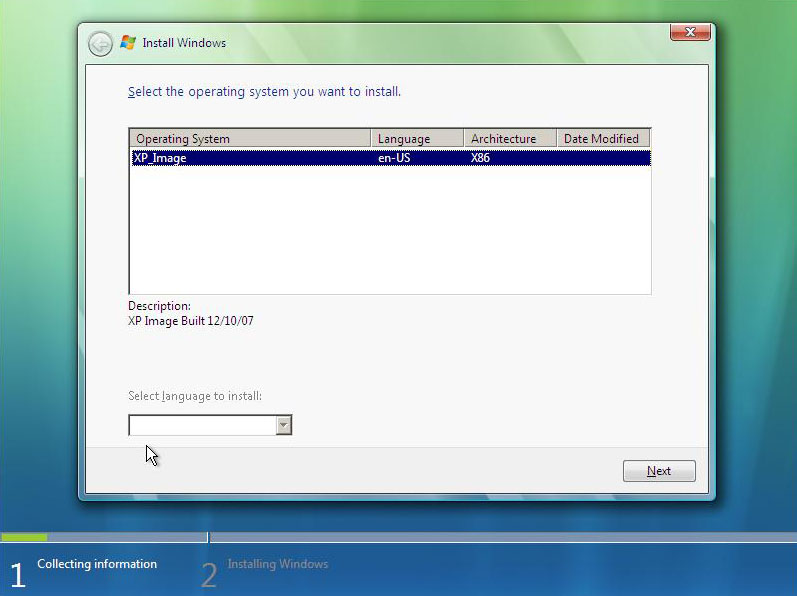
58. Select the image you created earlier. > Next.
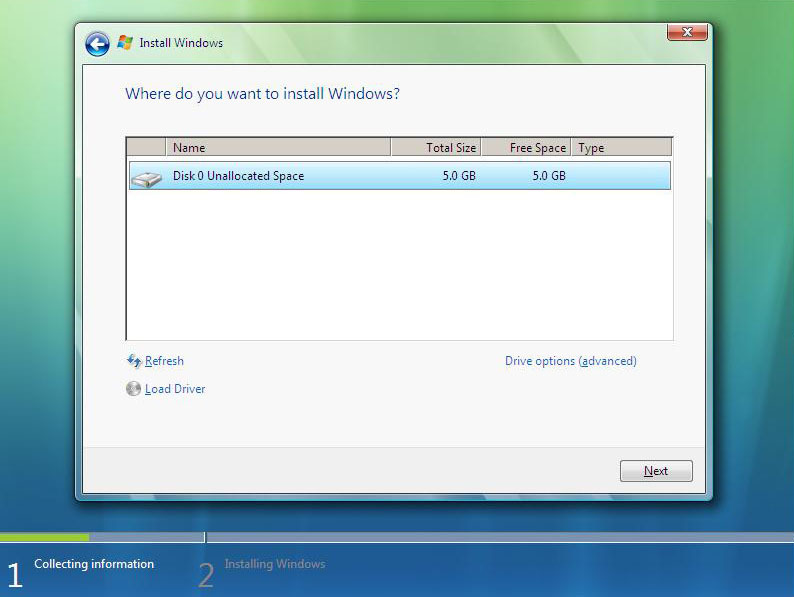
59. Select the drive to install in on > Next.
60. The image will install.
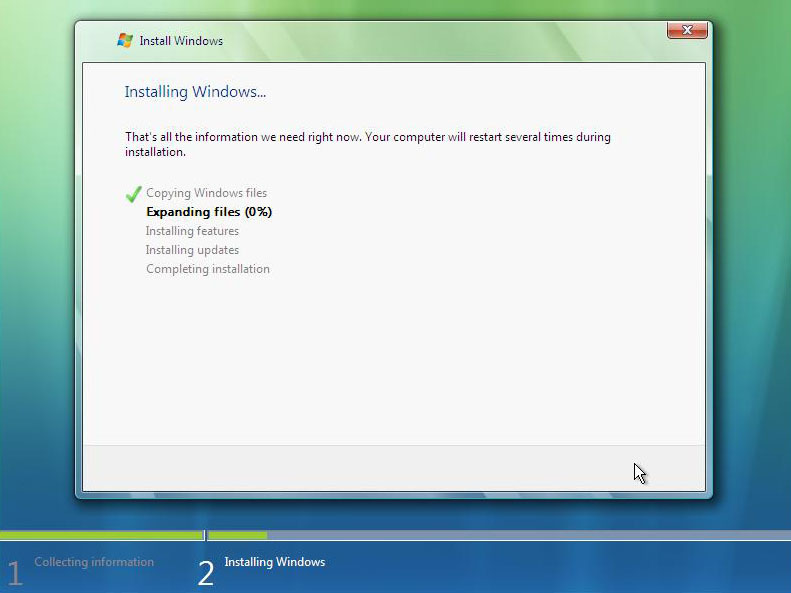
61. As soon as its finished it will reboot.
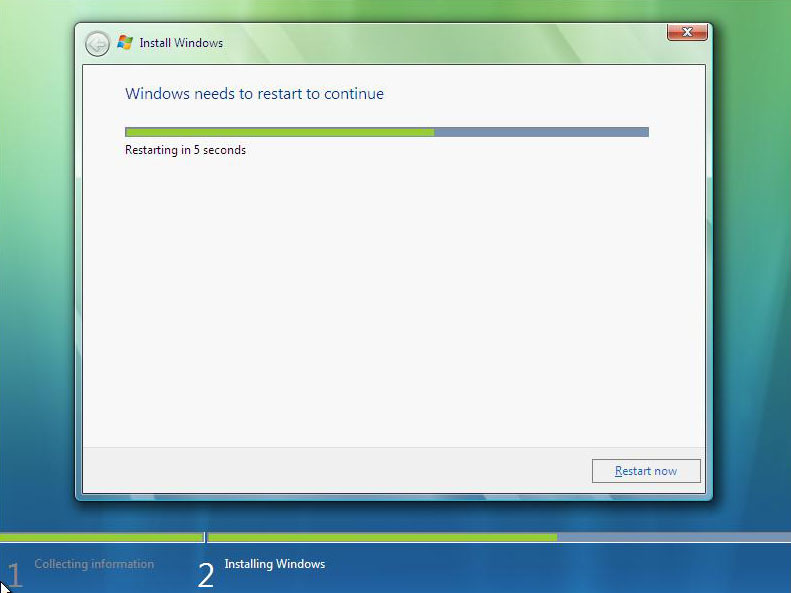
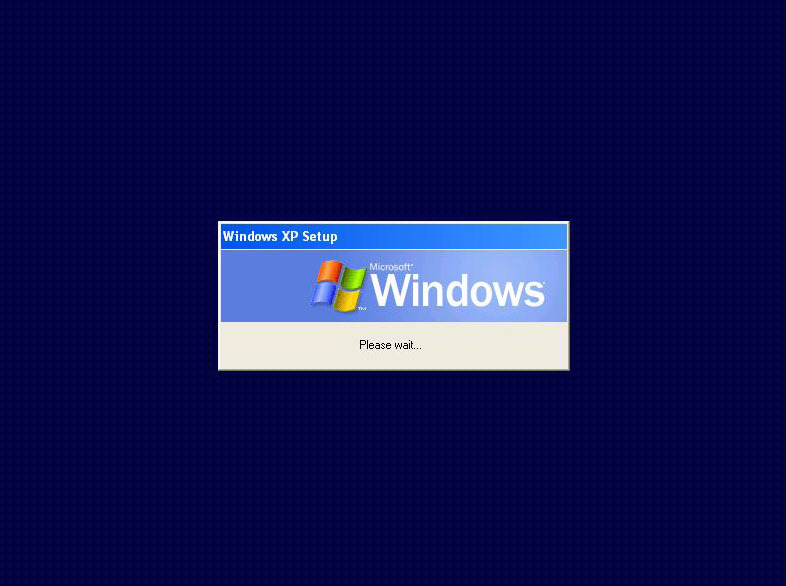
62. Depending on how you sysprepped XP you will either see this……………

63 ……….. or this. Job done.
Related Articles, References, Credits, or External Links
NA