
Kodi Screen Resolution (Changing)
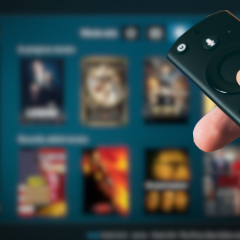
Kodi Screen Resolution KB ID 0001919 Problem I’ve used Kodi for years as my media library of choice, usually installed on a Firestick. Every so often, I have to reinstall it or set up a new Firestick, and each time the screen is slightly too small for the image that’s presented by default (i.e. the menus and edges of the screen cannot be seen). Every time I Google this, I find forum posts going back years, with people...
Fitting Additional Drive Cage to an HP ML350 G6
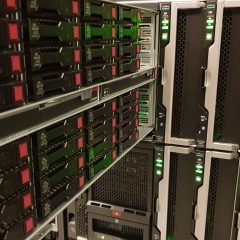
KB ID 0000854 Problem The last job I had to do on a Friday afternoon was fit one of these. ML350/370 G6 8 SMALL FORM FACTOR (SFF) 2ND DRIVE CAGE KIT SKU 507803-B21 The client needed some more disks in their ESX Server, and its internal 8 bay drive cage was fully populated. Solution Problem 1 After powering down the server and removing the blanking plates from the front I carried the cage over to the server and IT WAS TOO BIG....
Apple IOS 7 – Wallpaper Does Not ‘Size’ Correctly
KB ID 0000858 Problem I upgraded my iPhone 4S to IOS 7 last week. Since then the lock screen wallpaper has displayed as the wrong size. Solution This is caused by the IOS new feature called Parallax. If you didn’t already know, this moves the wallpaper slightly as you tilt your phone. You will notice the icons stay where they are, but the background wallpaper moves as you tilt the phone to give you a 3D effect. To Disable Apple...