
KB ID 0001066
Problem
The Cisco ISE NFR appliance is for demos and test bench use, I’m currently building a test lab for ISE so I spun a copy up. I looked at the associated ReadMe.pdf for instructions on the basic setup, and found a hyper-link to the instructions, that didn’t work! bah.
Solution
The appliance comes as an OVA file for importation into vSphere/ESX, I’m assuming you have already imported the appliance.
VMware vSphere – How to Import and Export OVF and OVA Files
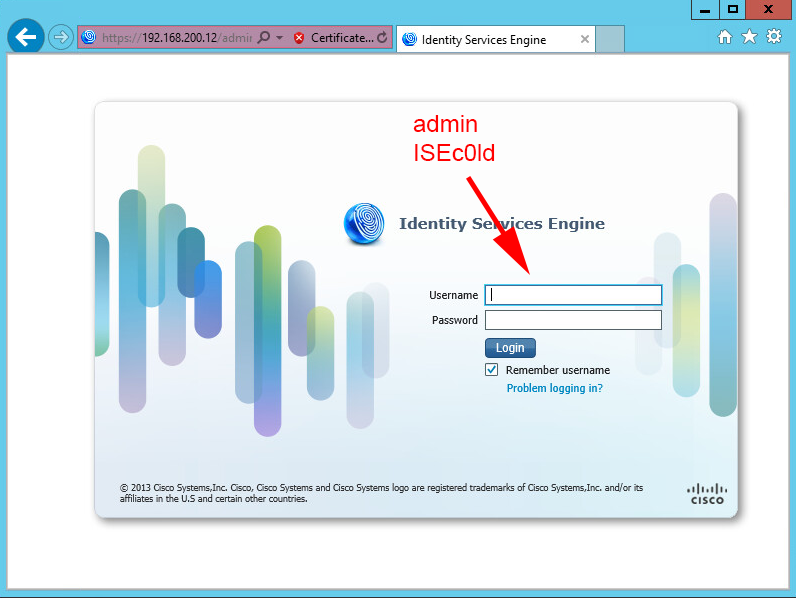
1. Default username and Password: Username admin Password ISEc0ld

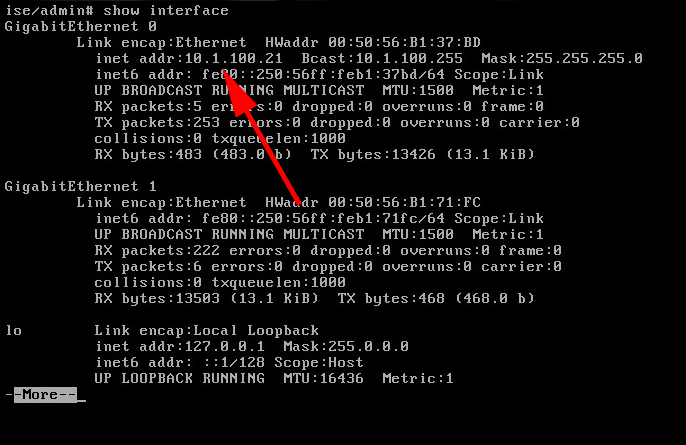
Cisco ISE NFR Setup Basic IP Addressing.
2. By default the appliance has an IP address of 10.1.100.21, you can see that at CLI.
3. Or here you can see the IP address in the vSphere console.

4. To change the IP (Note: The ISE appliance has two virtual NIC’s I’m just changing the default ones IP address).
Enter ‘Y’ to restart the services.

![]()
Cisco ISE NFR Set Hostname and DNS Information
6. To change the appliances default domain;
Enter ‘Y’ to restart the services.

7. To set the DNS server to use for local lookups;
Enter ‘yes’ to restart the services.

8. To set the Hostname, simply use the following syntax;
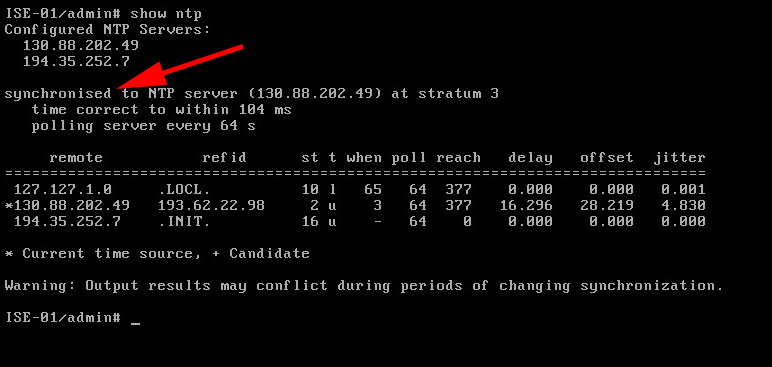
Cisco ISE NFR Set NTP Information
9. To set the timezone;

10. To set the NTP servers it’s a little more convoluted, you can have up to three, two are already configured. If you try and delete the pre-configured ones it will error. So you need to add one, then delete the two factory ones, then you can add up to another two.
To Add an NTP Server

ise/admin(config)# ntp server 123.123.123.123
To Remove an NTP Server

ise/admin(config)# no ntp server 123.123.123.123

11. As usual NTP can take a while to synchronise, I’d go and have a coffee at this point, to test;
12. Save your changes.

13. At this point you should be able to get to the web console.
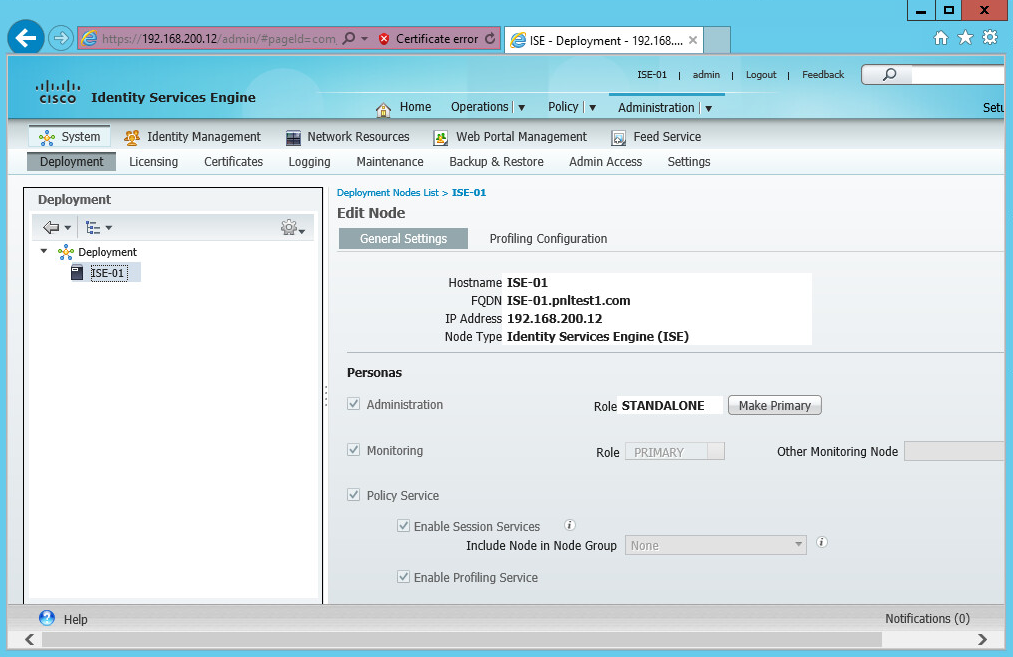
14. Logged in successfully.
Related Articles, References, Credits, or External Links
NA