
Deploying GFI MailArchiver with Exchange 2010, Using the Outlook Connector, Importing and Exporting Data.
KB ID 0000666
Problem
I’ve been involved with Exchange for a long time, either being directly responsible for it, or supporting others that do. And like all systems it would run a lot smoother if you kept users away from it! But unfortunately you can’t, so your system is probably full of users “Deleted Items” and “Sent Items” and a copy of every email that some users have ever received “Because I might need them”. And for years I’ve been saying “It’s a messaging system not a file storage system” and lecturing users about tidying up their inbox. Yes you can setup retention policies but most people don’t.
Even if you do have conscientious users, some of them click “Yes” when Outlook asks them “Would you like to Auto-Archive your old messages now?” Then you have PST files all over the place getting corrupted and not getting backed up.
In addition, just as techs like me are shouting at users to delete things, businesses are now finding that they need to keep ALL their digital messaging for things like Sarbanes-Oxley and Freedom of Information enquiries. Yes I’m sure you back up your Exchange server but what if you needed to produce a message thread about a particular project that was two years ago in the middle of a month?
Archiving
Is the process of taking a copy of mail messages as they pass through Exchange and copying them off to an external location, in this case a database. The advantage of doing this is that database can be on cheaper midline storage and (potentially) keeps the Exchange database sizes down. With Exchange this is done by setting up Journaling (that’s the process of sending a copy of all [or specified] mail to a journal users mailbox). MailArchiver then takes this mail and put it into its database.
Advantages
1. Performance: Getting all the ‘Old’ Data out of the exchange databases makes them smaller, and more efficient.
2. Elimination of PST files: There’s a big list of reasons why I don’t like PST files. If you’ve ever had a user lose email because of them, then as far as they’re concerned its YOUR fault. There are tools to import PST file into the database, (and to export as well).
3. Disaster Recovery: How nice would it be, the next time users email message ‘disappears’ (Users never delete emails they just disappear), they could restore it themselves, from within Outlook. the Outlook Mail Connector software will do this. Also your backup window for Exchange will be a lot smaller.
4. Compliance: Saving a copy of all messages in a database has the advantage, that it’s searchable, and you can export the data you find in a format that you can import straight back into Exchange or send to someone.
5. Investigation: MailArchiver provides some powerful search and reporting tools. If your HR department needed to see who said what to who about projectXYZ then using conventional methods would be a nightmare.
Solution
GFI MailArchiver 2012 Installation and Configuration
Enabling Journaling in Exchange 2010
Note: GFI Mail Archive setup can do this for you but I prefer to do things manually.
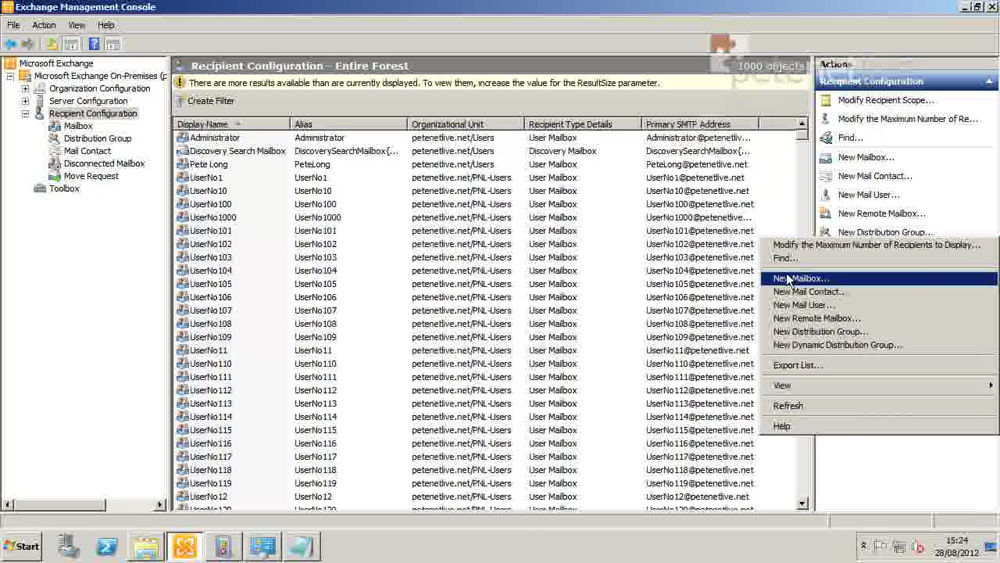
1. Launch the Exchange System Management Console > Recipient Configuration > Mailbox > New Mailbox.
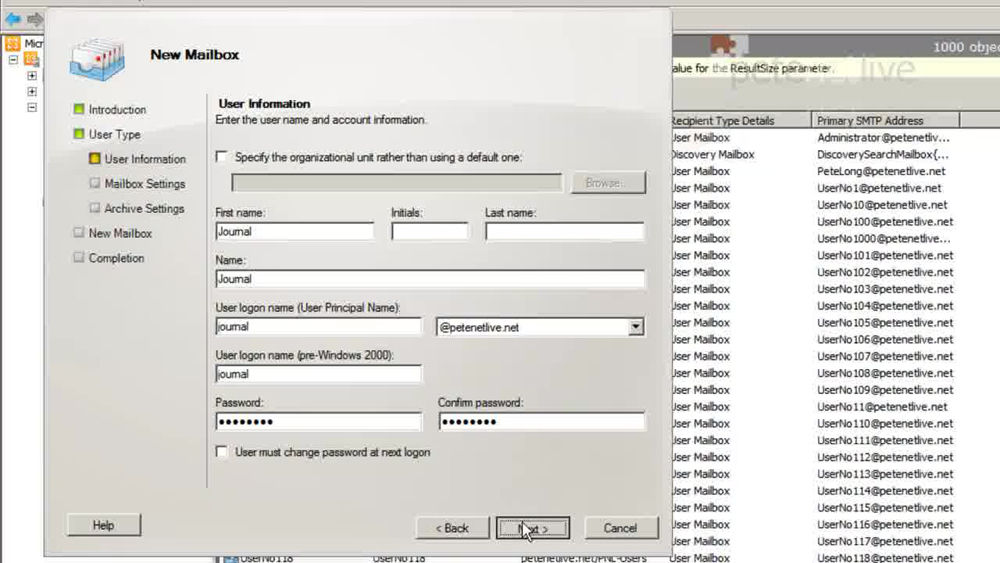
2. User Mailbox > Give it a name and set the password > Don’t create an archive > New > Finish.
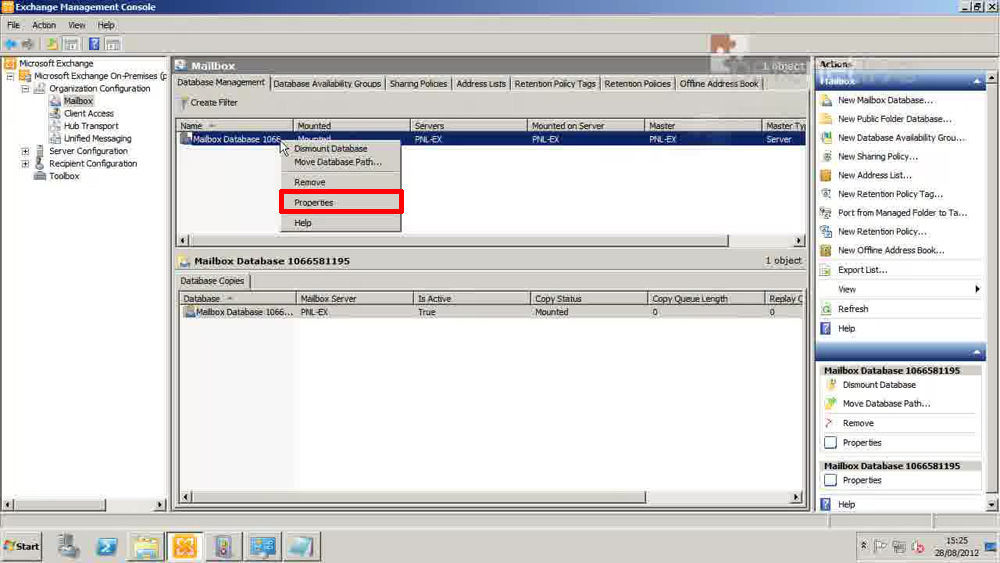
3. Option 1: Standard Journaling can be enabled on a mailbox store > Organisational Configuration > Mailbox > Locate the store> Properties.
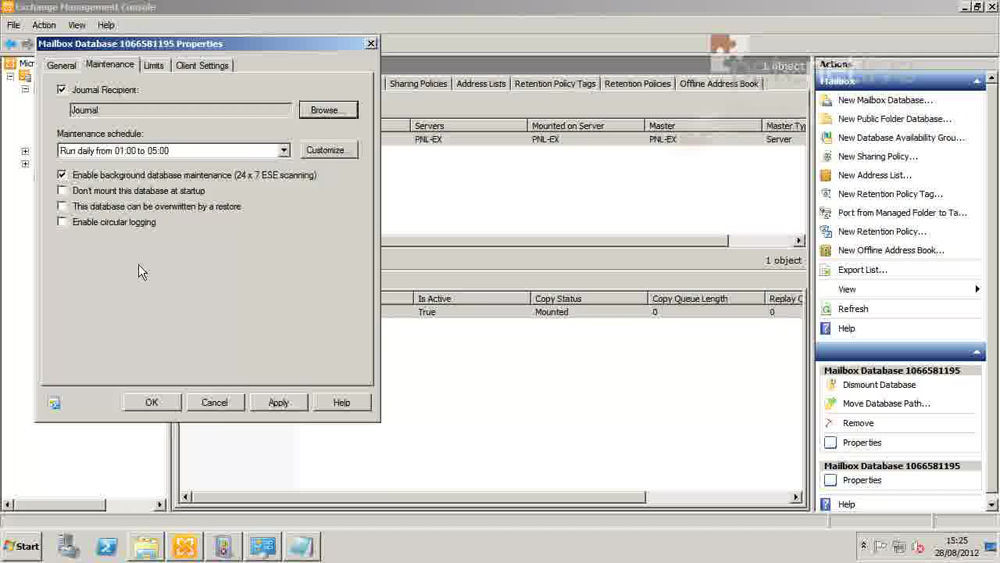
4. Maintenance tab > Tick Journal recipient then browse for the user you created > Apply OK.
5. Option 2: (Note: Requires an Exchange Enterprise CAL) This is set up using a Journaling rule > Organizational Configuration > Hub Transport > Journal Rules > New Journal Rule.
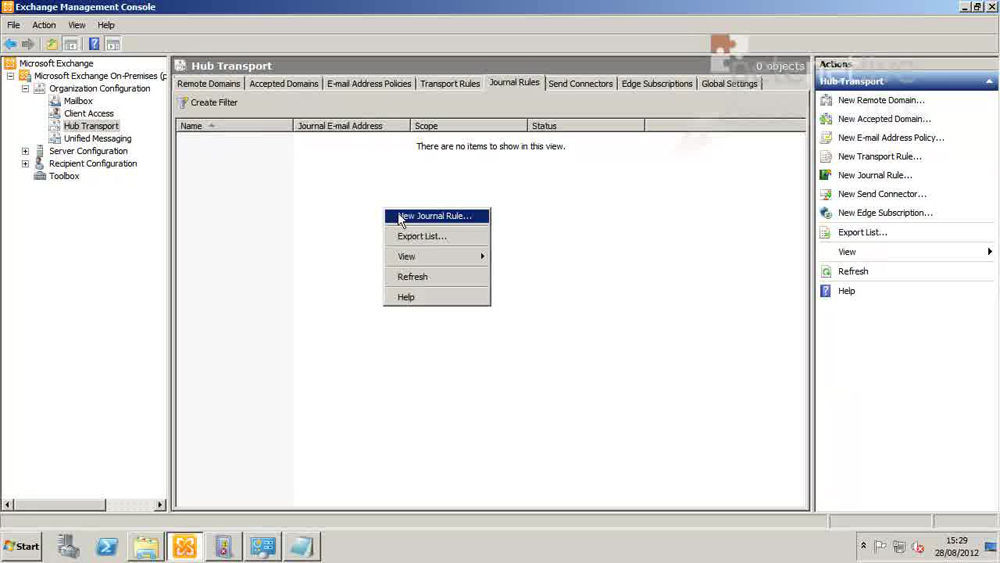
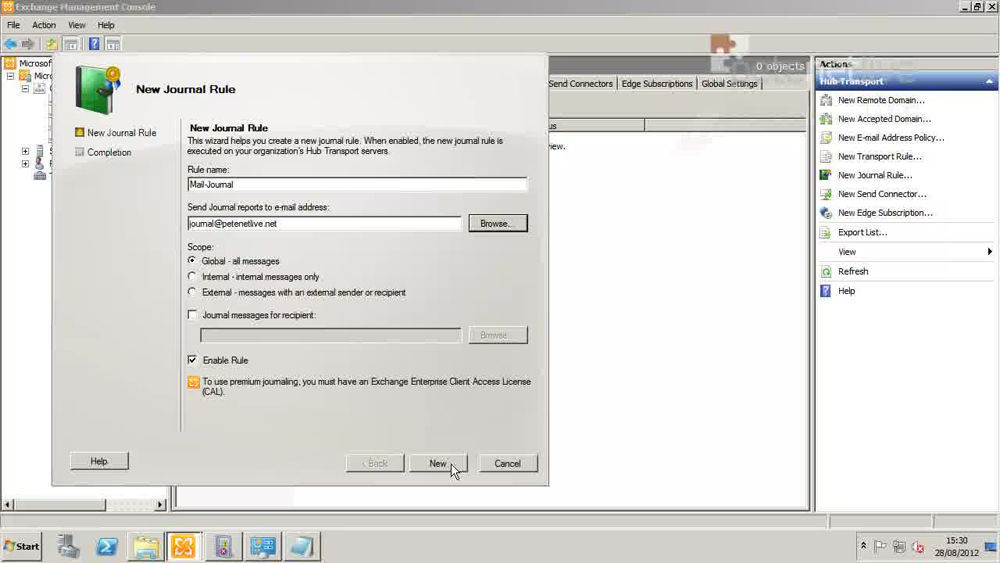
6. Give the rule a name > Browse for the user you created earlier > Set the scope (in most cases you will want global) > New > Finish.
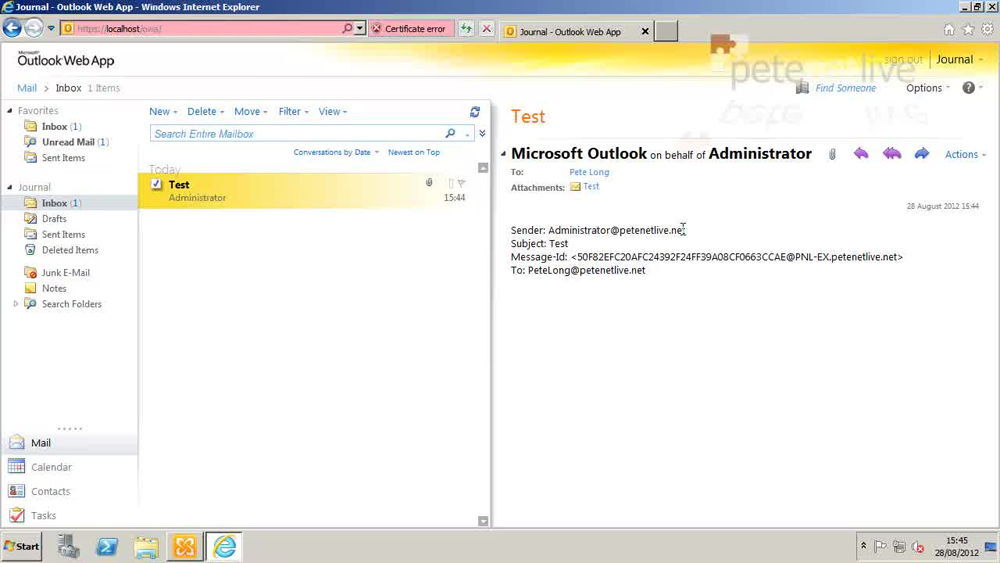
7. To test it’s working send and email then log on as your ‘Journal’ user and make sure you have a copy in the inbox.
Installing GFI MailArchiver 2012
8. Before installing the GFI MailArchiver server needs the Exchange MAPI Client and Collaboration Data Objects 1.2.1 (Unless you are installing it on the Exchanges server).

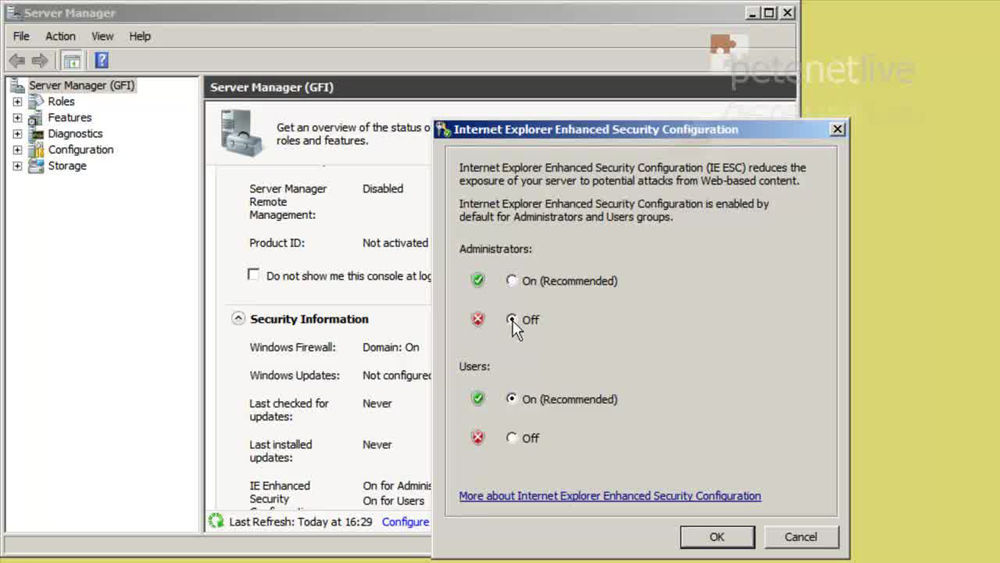
9. Also (though not essential) I prefer to disable IE Enhanced Security Configuration, so IE wont get upset with the management console.
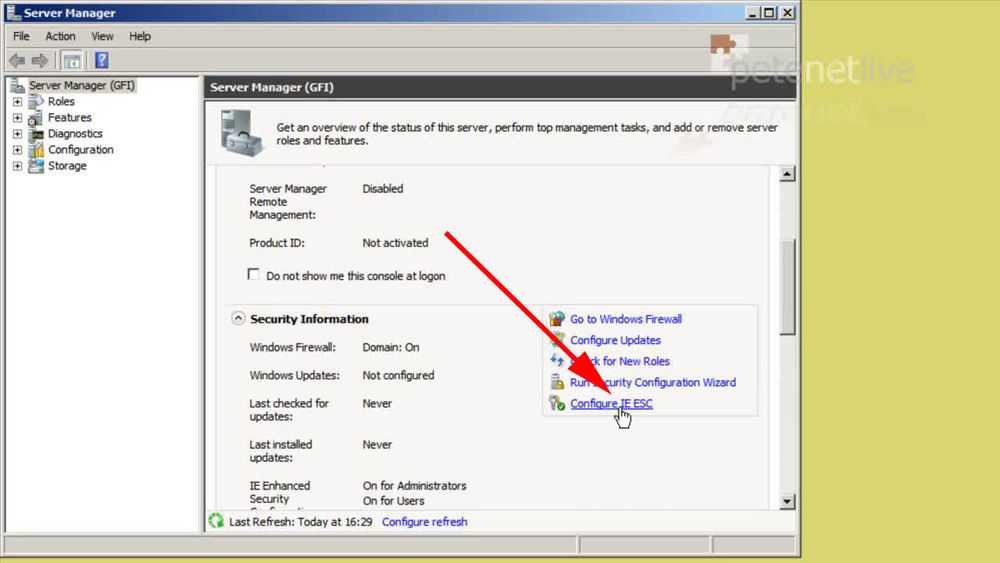
10. You can add the URL to trusted sites if you want, but I’m not a fan of IE ESC anyway so I simply disable it.
11. Now run the GFI MailArchiver installer.
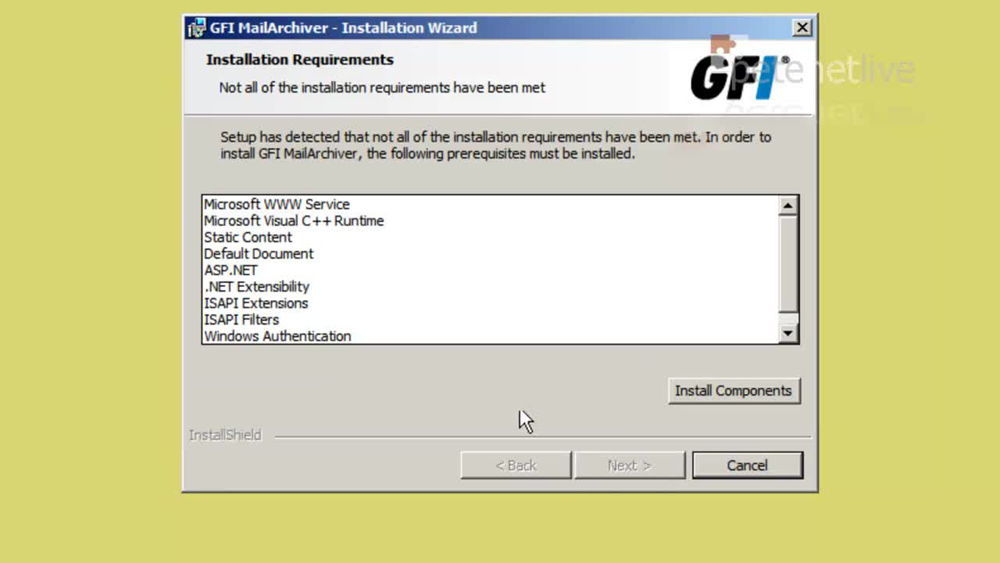
12. Now this I DO LIKE, why can’t Exchange do this! These are the server pre-requisites, rather than just falling over and giving you an error (I’m looking at you Windows Exchange Developers!) It offers to do the hard work for you. It takes a while though, best go for a coffee at this point > Next > Select whether you want to check for a newer version > Accept the EULA > Set the destination folder > Next.
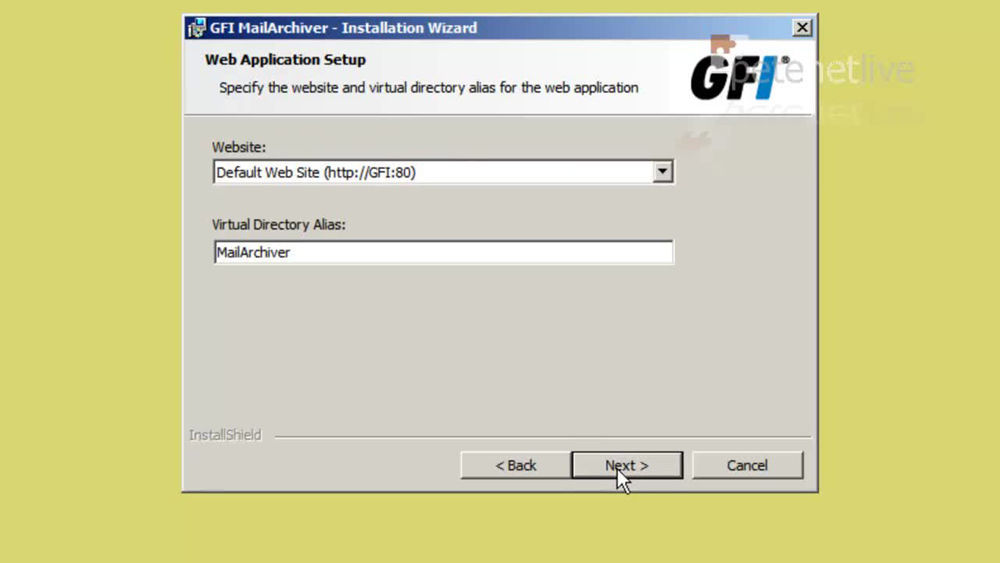
13. Here the default setting, WARNING if you already have web services on this server (or even UPS software using port 80), have a common sense check.
Note: If you are not sure, the following command will tell you if port 80 (http) is in use;
14. Select Install > Finish.
Configuring MailArchiver 2012
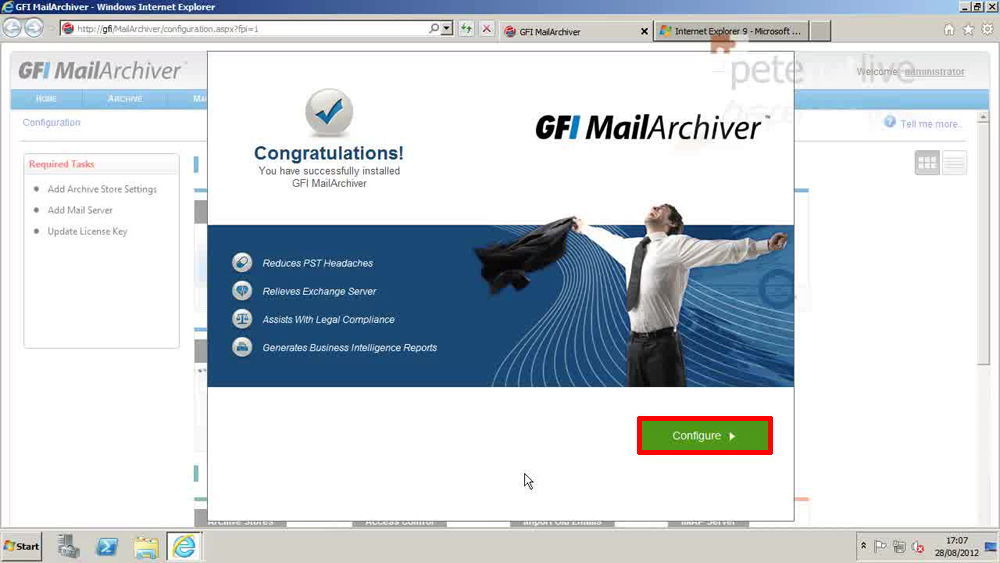
15. The GFI MailArchiver management console will launch > Configure.
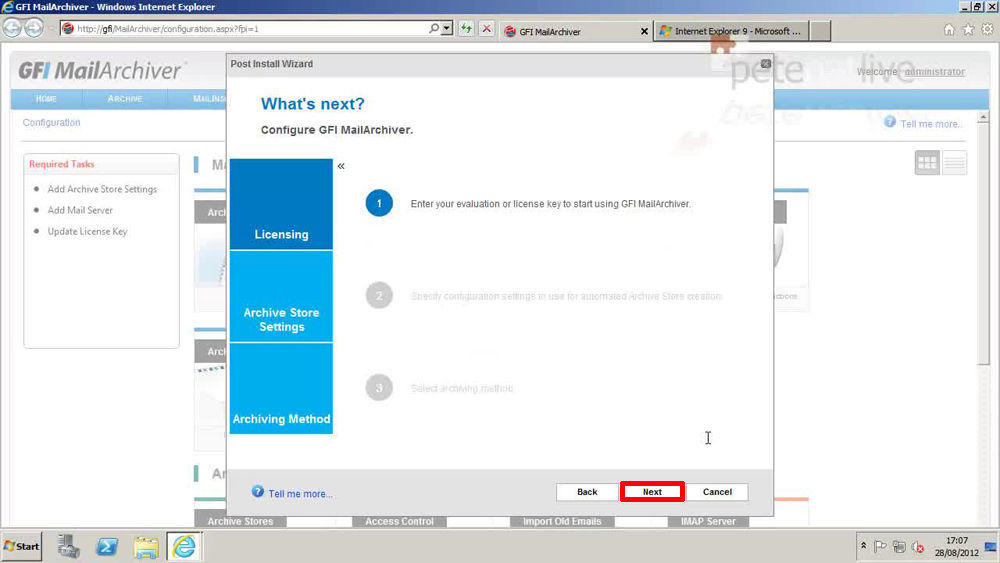
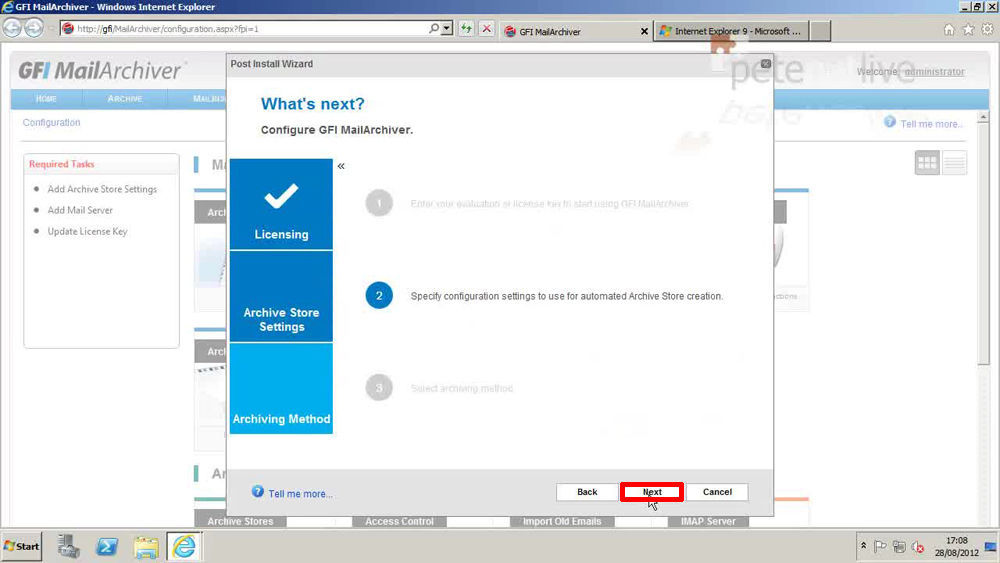
16. Next.
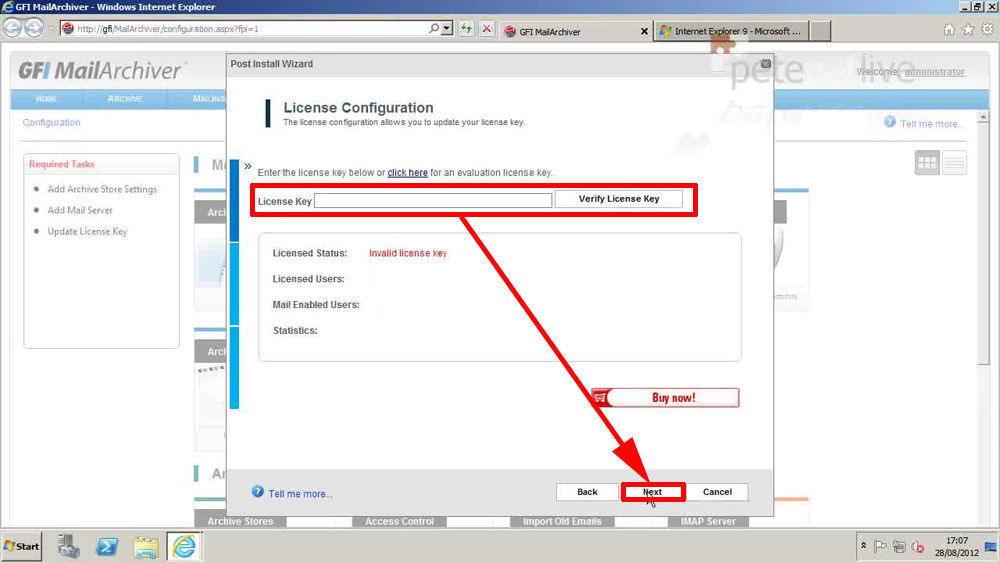
17. Enter your licence key and select verify licence key > Next.
18. Next.
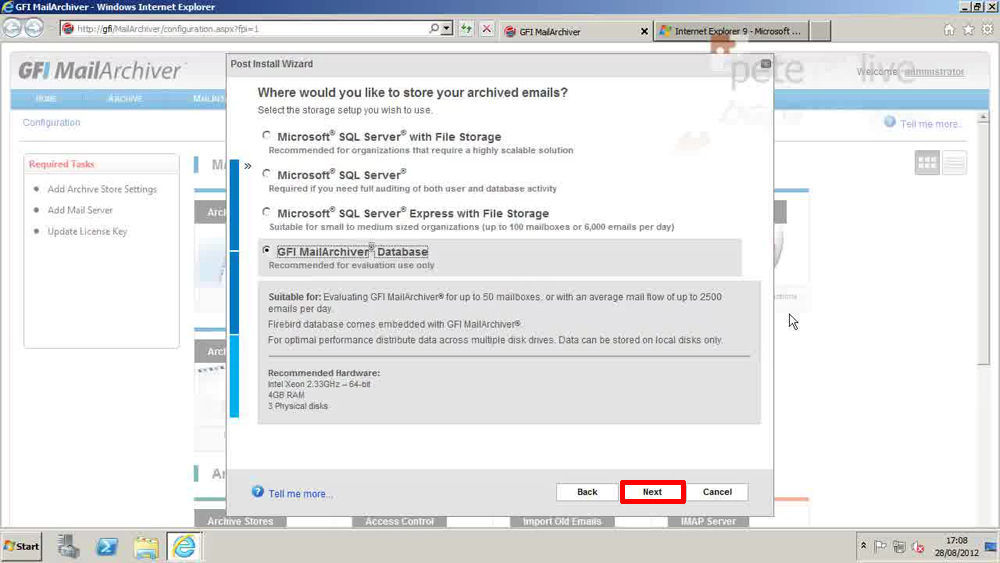
19. In this example I’m using the Firebird database, in a production environment you should be using SQL server > Next.
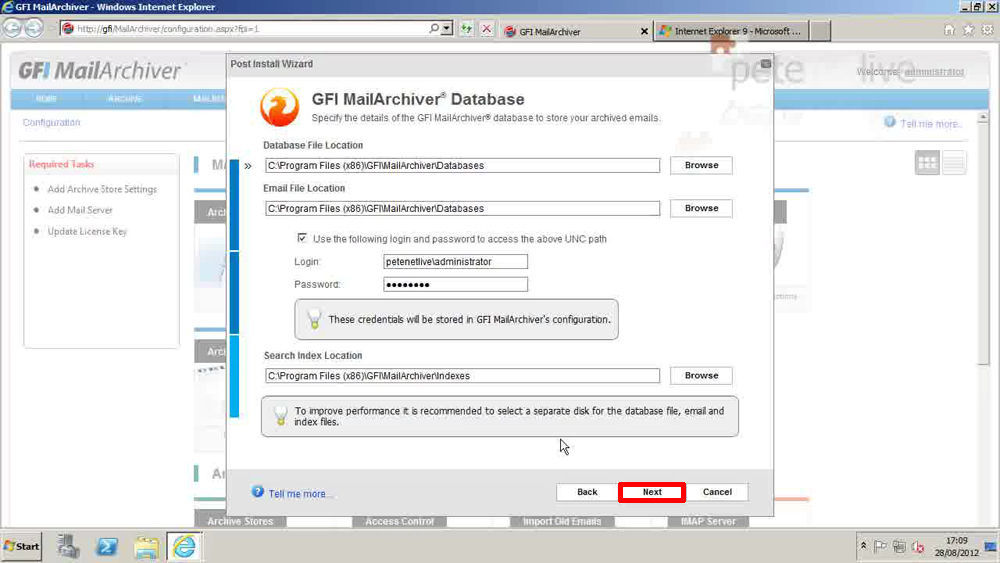
20. Change the paths if required > Enter some domain credentials> Next.
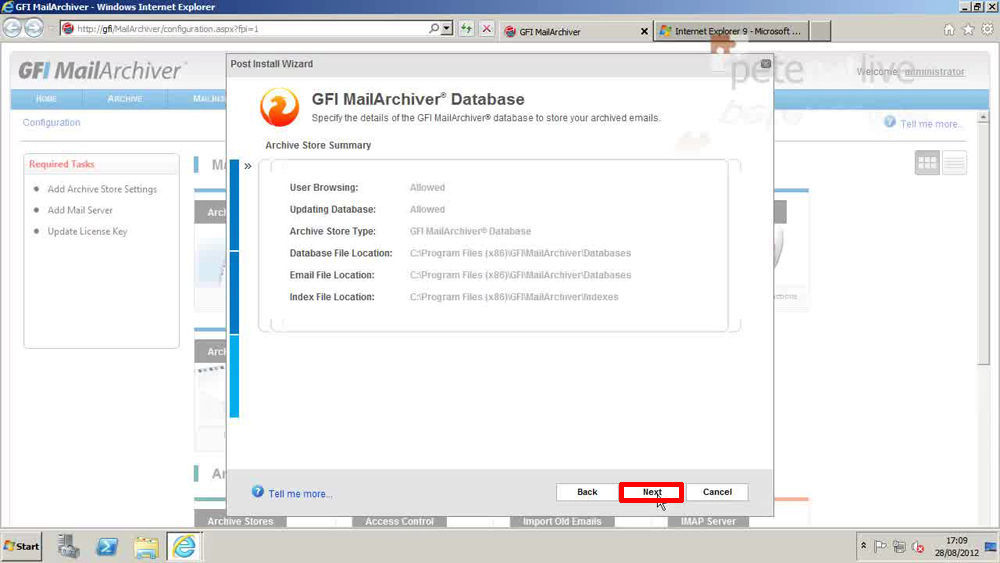
21. Next
22. Next
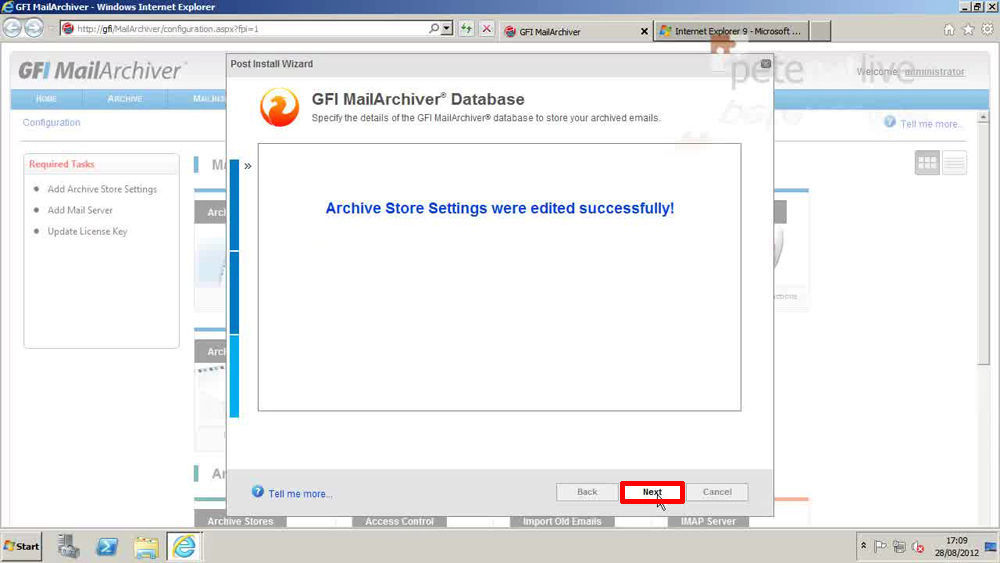
23. Next
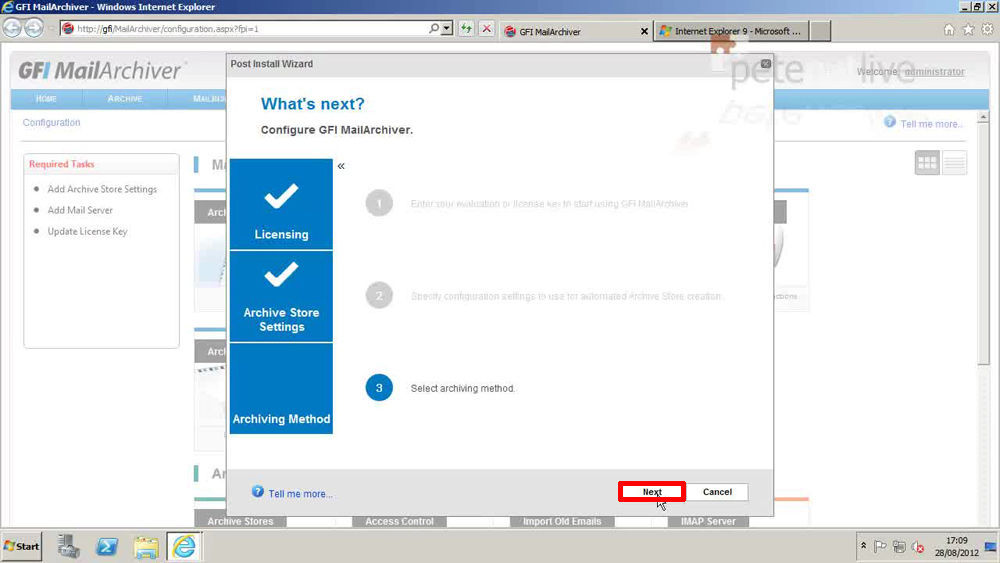
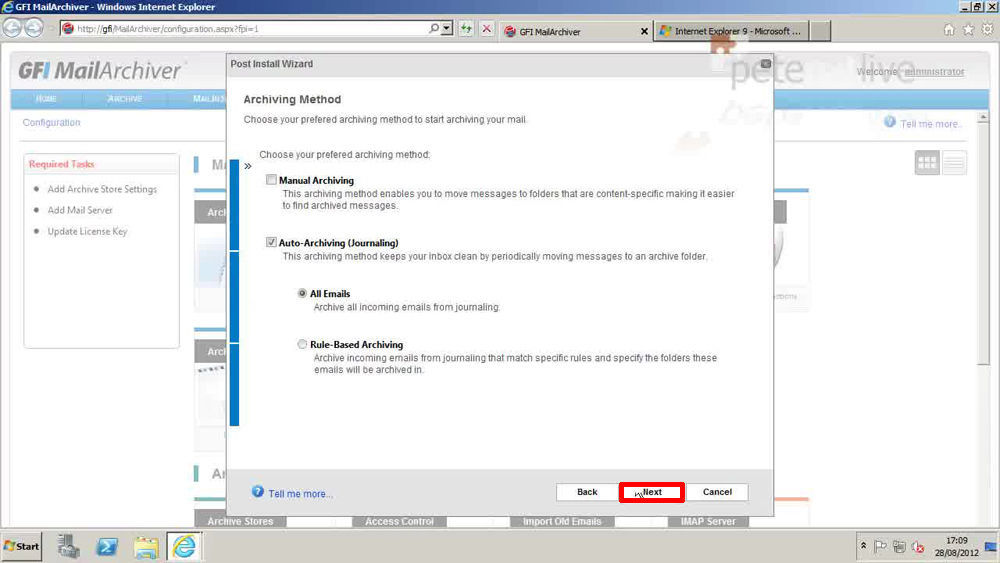
24. I’m selecting Auto > Next
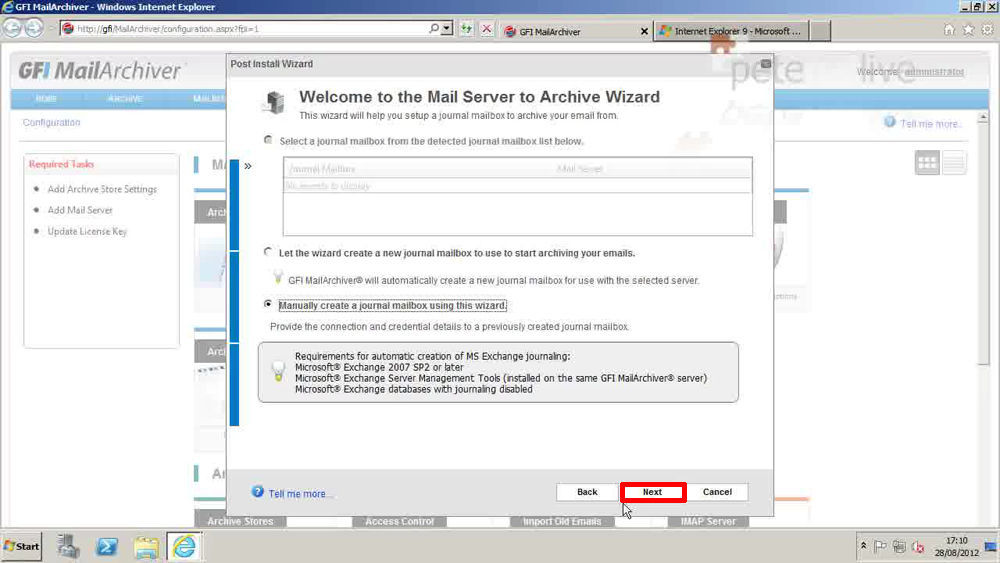
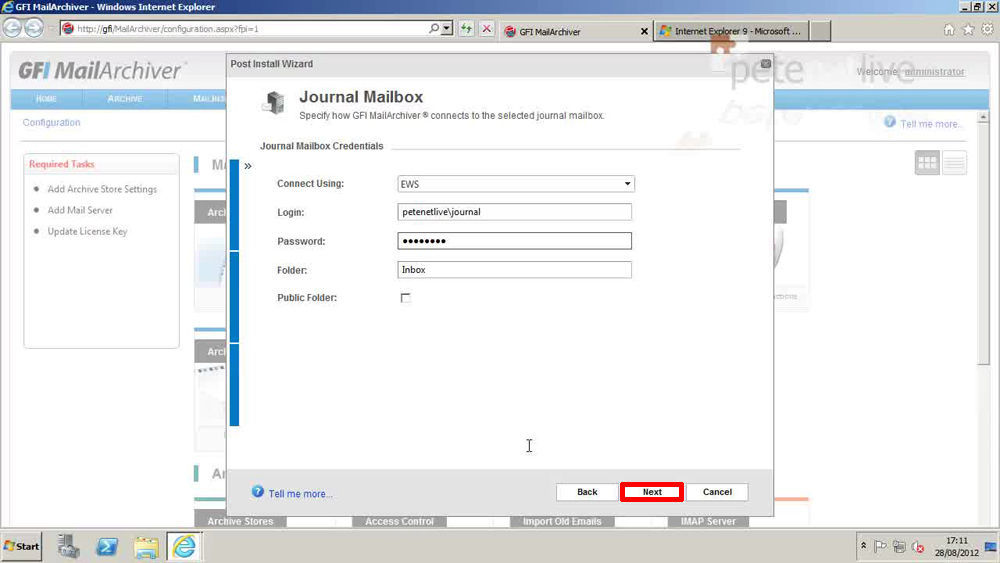
25. As I set the user up myself I’m choosing Manual > Next.
26. Exchange Web Services seems to be less problematic > Enter your Journal user account > Next.
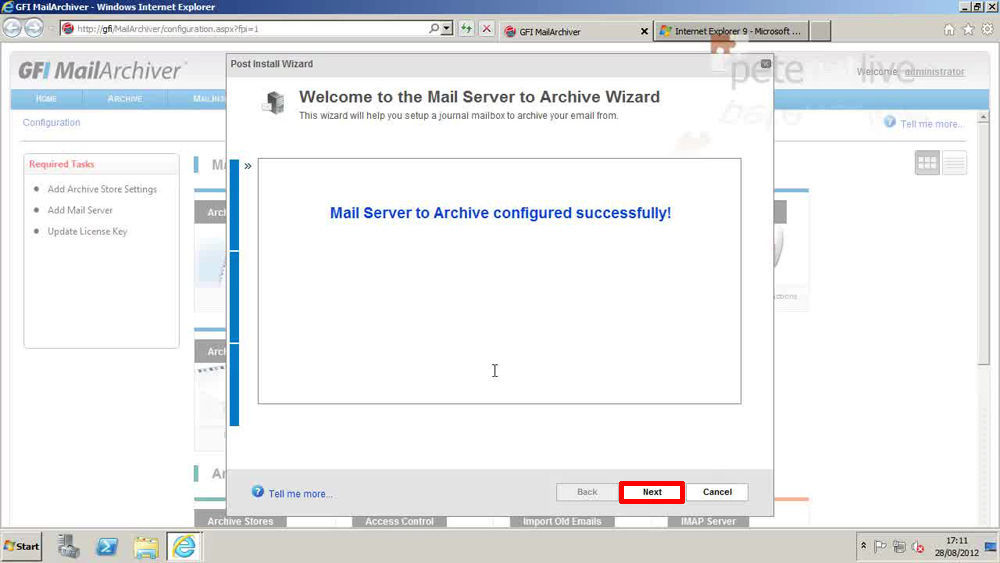
27. Next.
28. Finish.
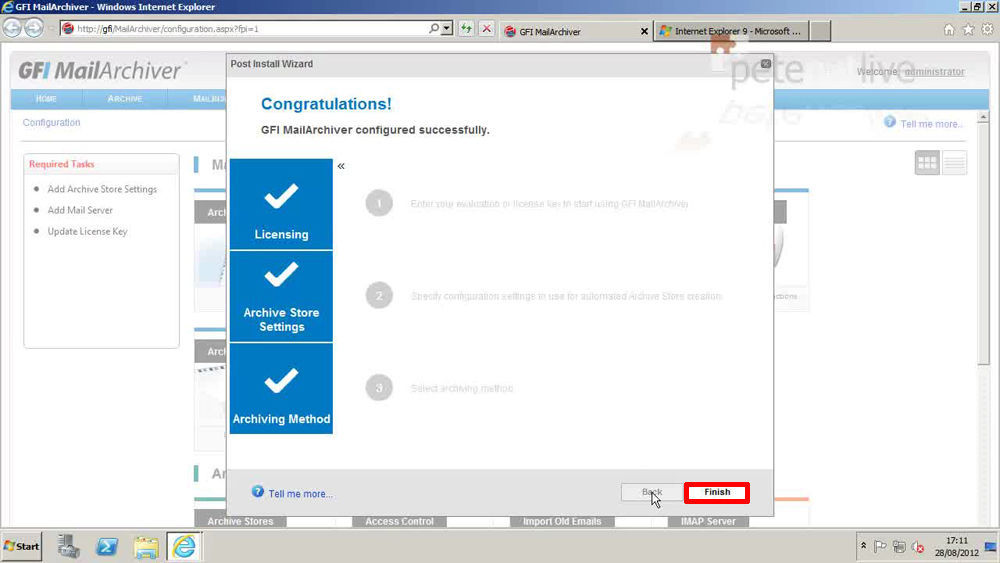
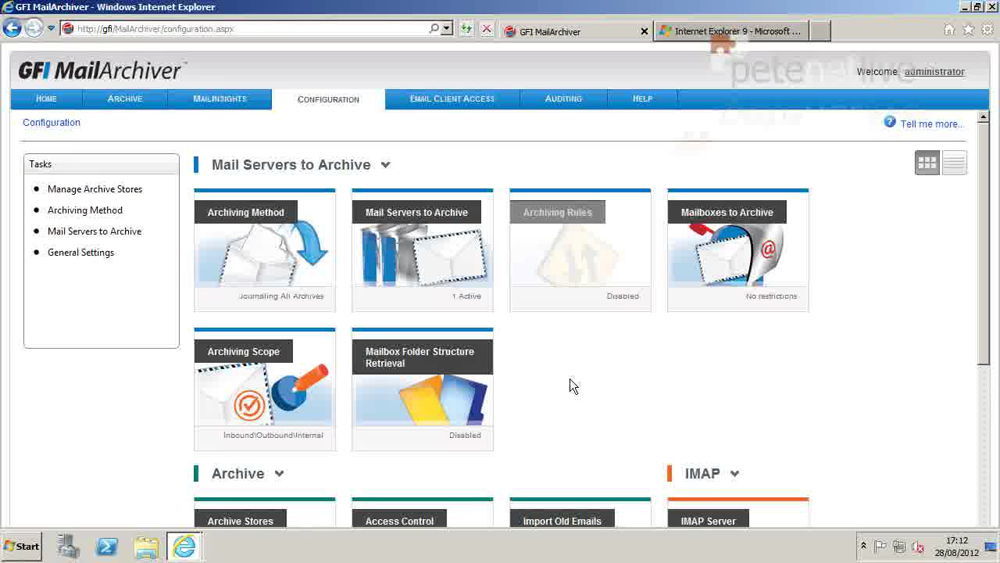
29. We are now up and configured.
GFI MailArchiver – Outlook Connector, Import and Export
GFI MailArchiver – Using the Outlook Connector
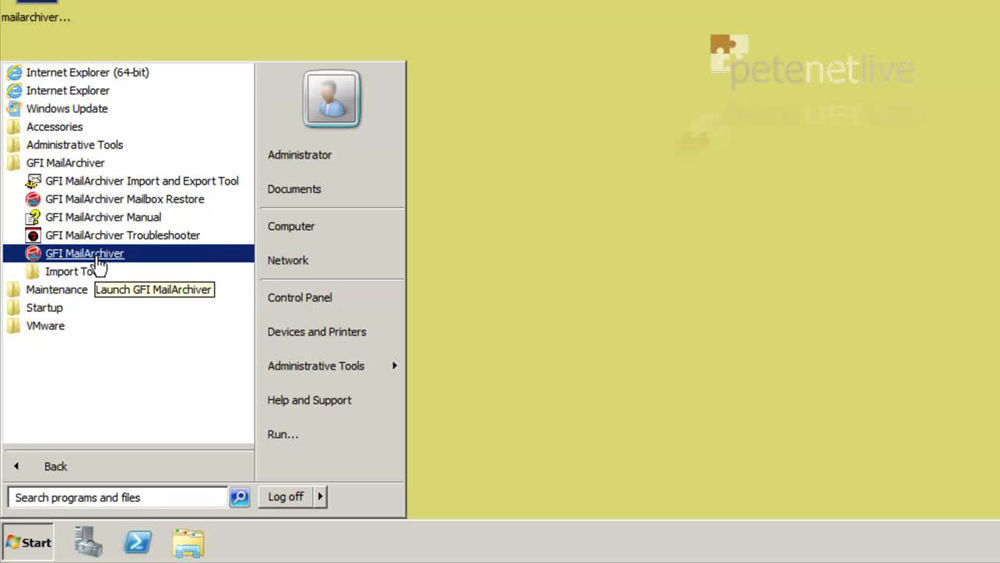
30. Firstly you need to enable ‘Mailbox Folder Structure Retrieval’ on the GFI server > Launch the MailArchiver Management console.
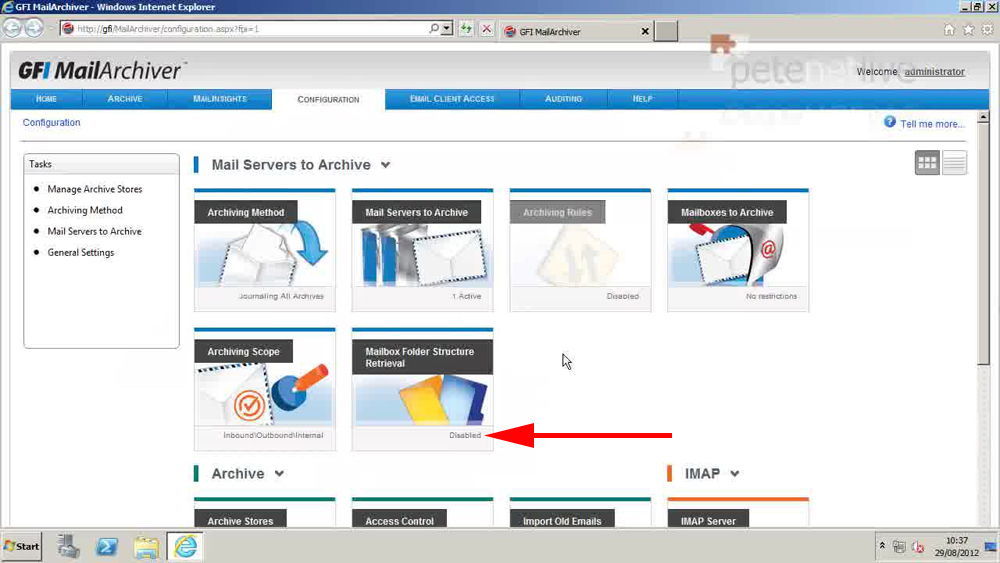
31. Mailbox Folder Structure Retrieval.
32. Change Settings.
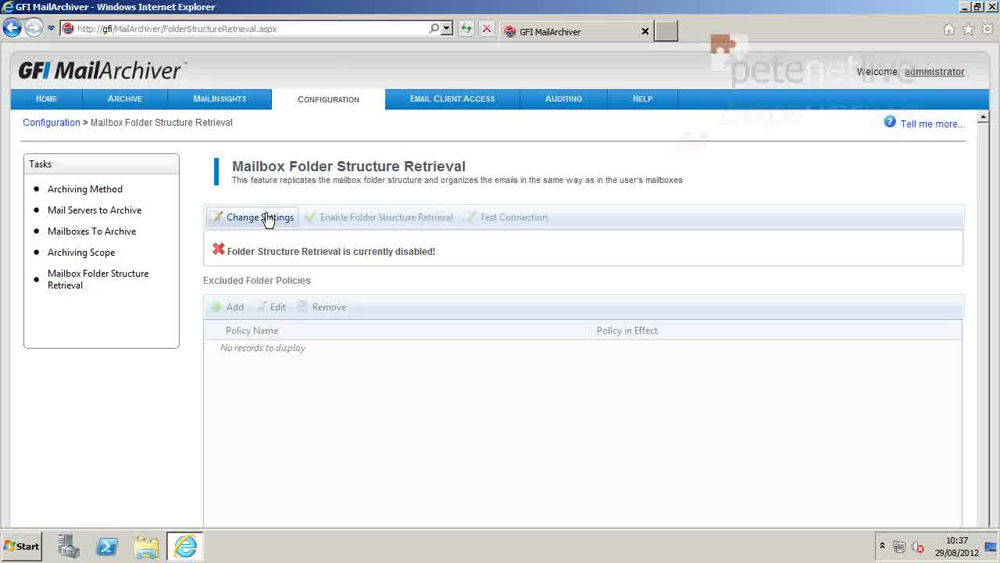
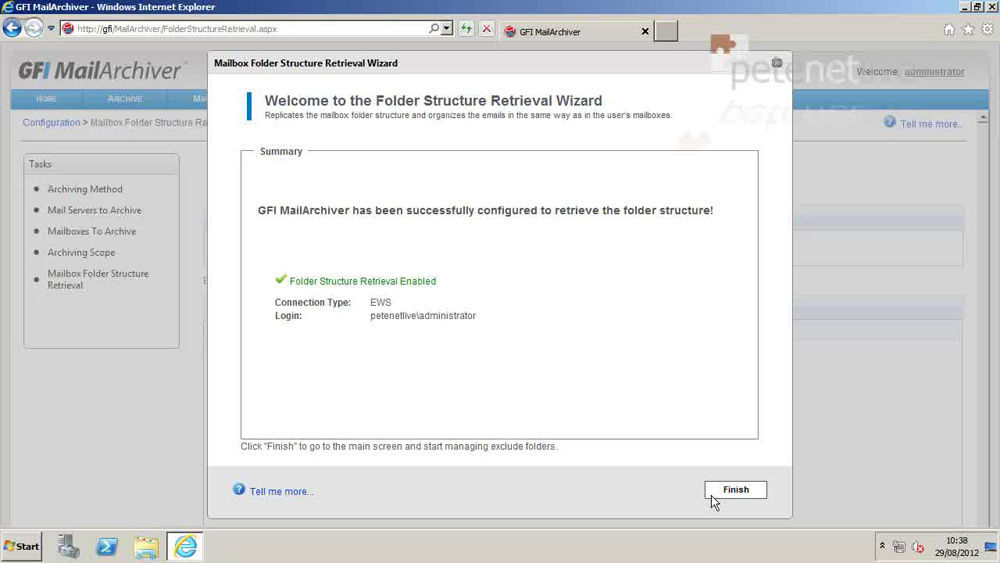
33. Enter a user account to connect to Exchange Web Services with, here I’m using my domain admin, whichever account you use needs to have administrative access on the Exchange and the GFI server. It also (domain admin included) needs the following Powershell commands running on the Exchange server before it will work, (change the user name to match your own);
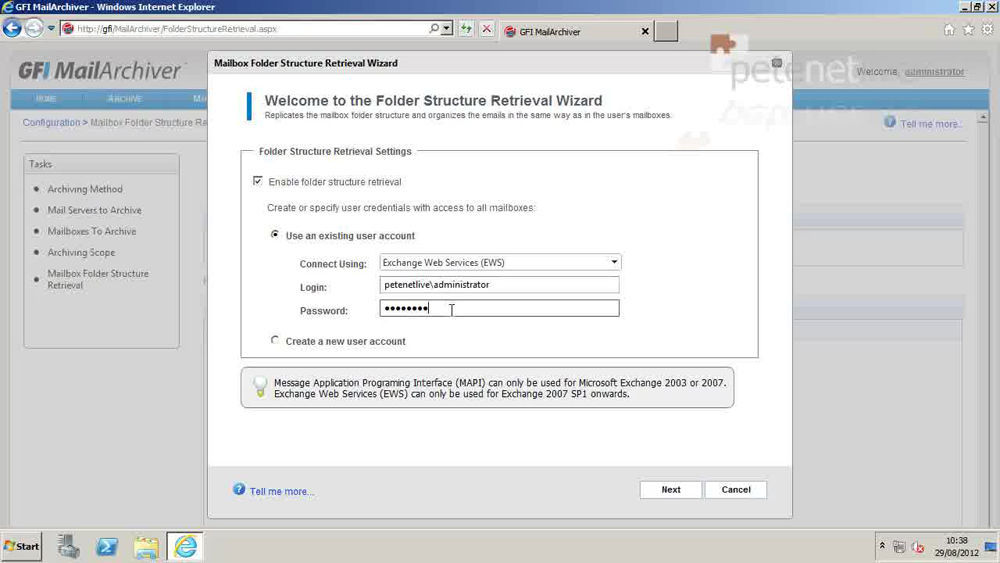
34. Next.
35. Finish.
Installing the Outlook Connector on a Client
36. I’ve already got a client PC setup with Outlook 2010.
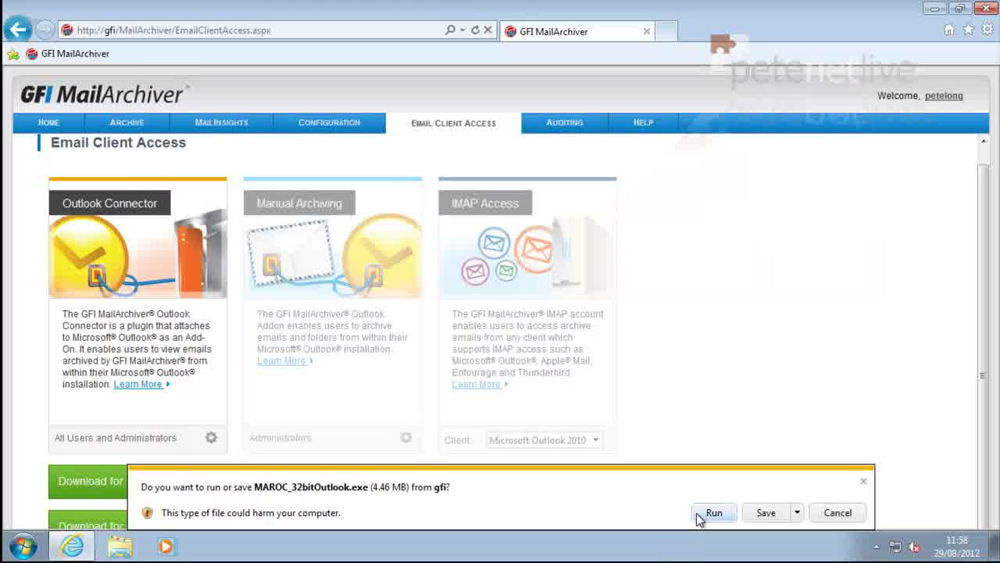
37. I’m just connecting to the GFI servers management URL from the client and downloading the Outlook Connector.
Note: The versions are for Outlook 32 bit and Outlook 64 bit, even if your Windows client is 64 bit you may still be running 32 bit Outlook/Office. If you get it wrong it will tell you your version of Office is not supported.
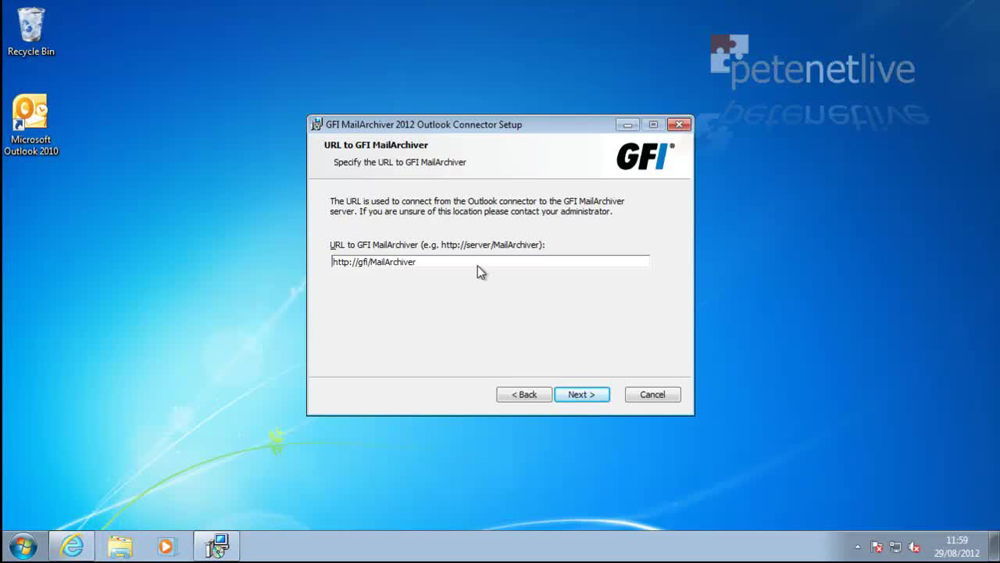
38. Install the client software, accept the defaults, all you need to specify is the URL of the GFI MailArchiver server.
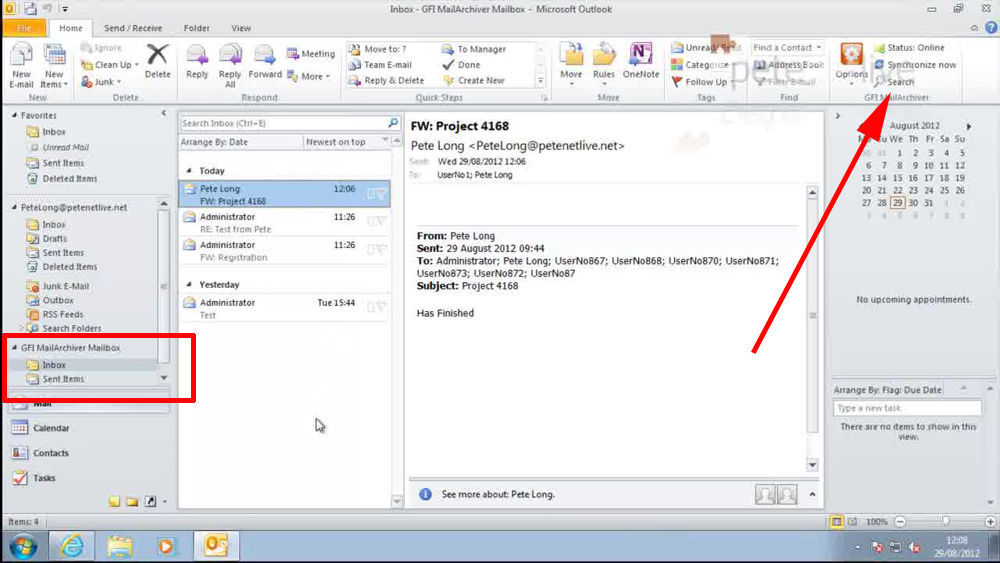
39. Now when your user opens Outlook, they get an additional mailbox called “GFI MailArchiver Mailbox” that carries a copy of ALL the users mail (Note: Not the mail from before the product was installed, to import that see the import section below, and choose ‘Import for Exchange mailbox’. In addition each user now has a MailArchiver tool bar from which they can search for their mails.
Note: If a user ‘loses’ a mail they can simply drag a copy from their GFI mailbox to their live inbox.
GFI MailArchiver – Importing Data from PST Files
Note: To do this the machine needs to have Outlook installed on it (and NOT Outlook 64 bit!)
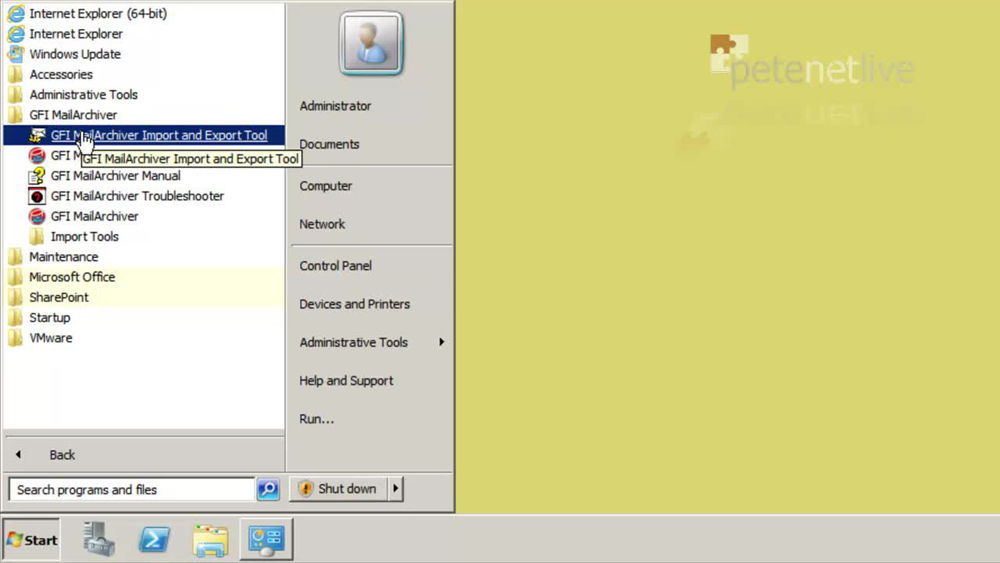
40. Launch the GFI MailArchiver Import and Export Tool.
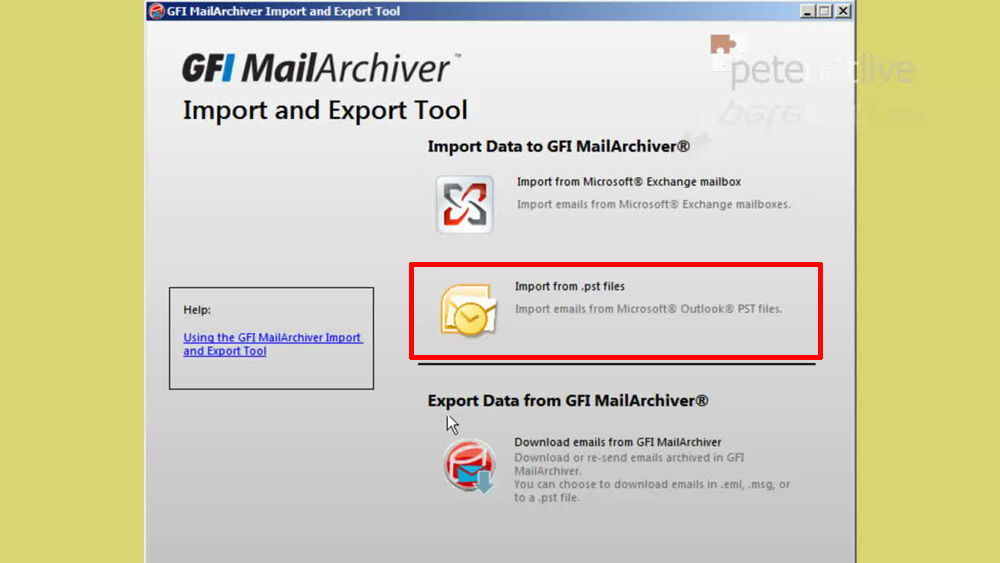
41. Import from .pst files.
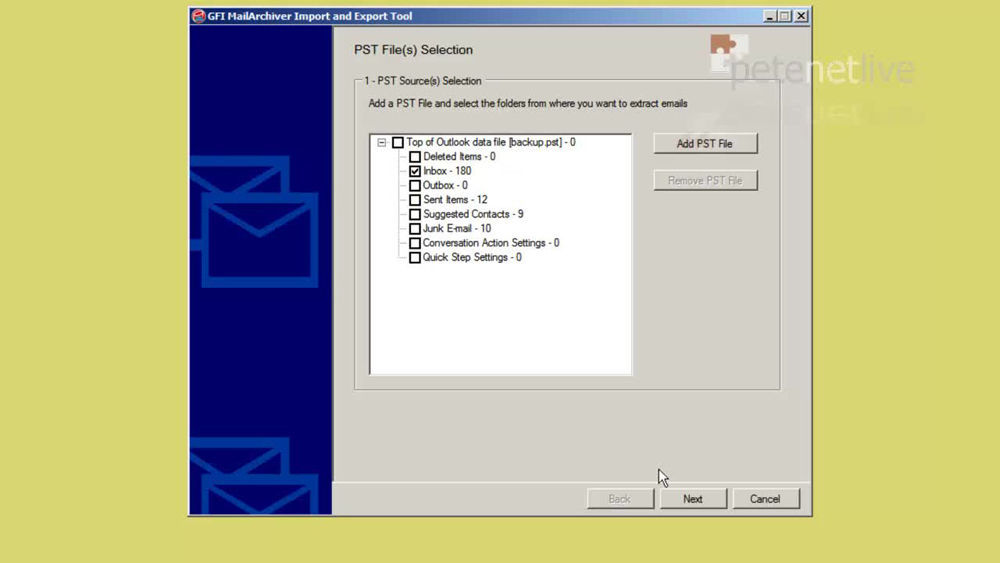
42. Add PST file > Browse to your PST file > Open.

43. Select the folder(s) required > Next
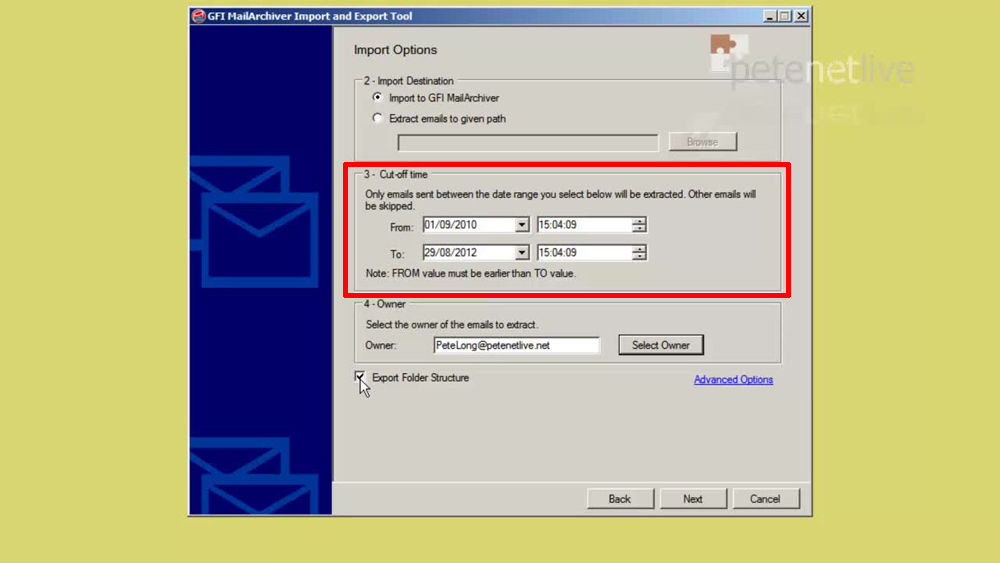
44. Select a date range > Select the user that will own the imported data > Next.
Note: I’d rather have an “Import Everything” option!
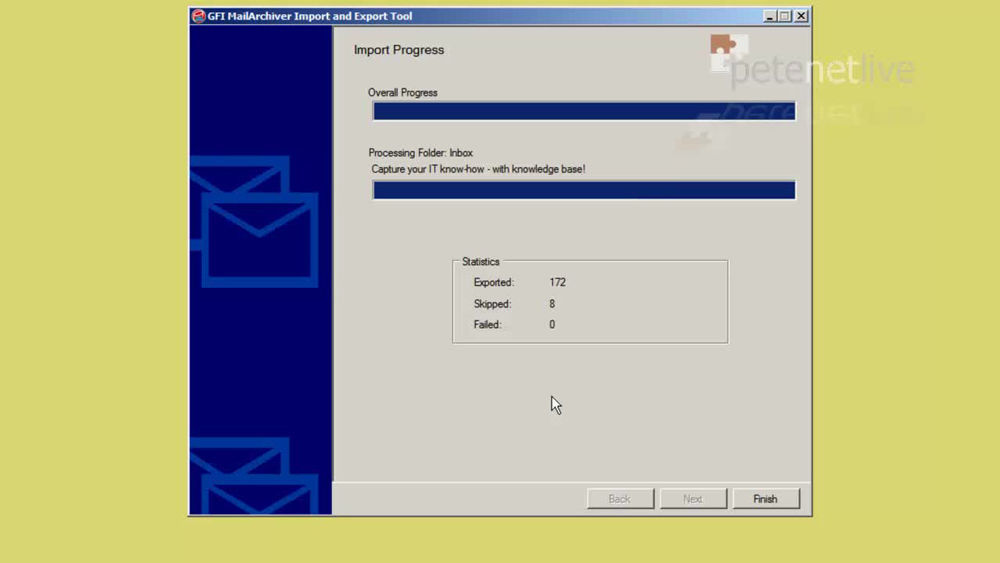
45. When complete > Finish.
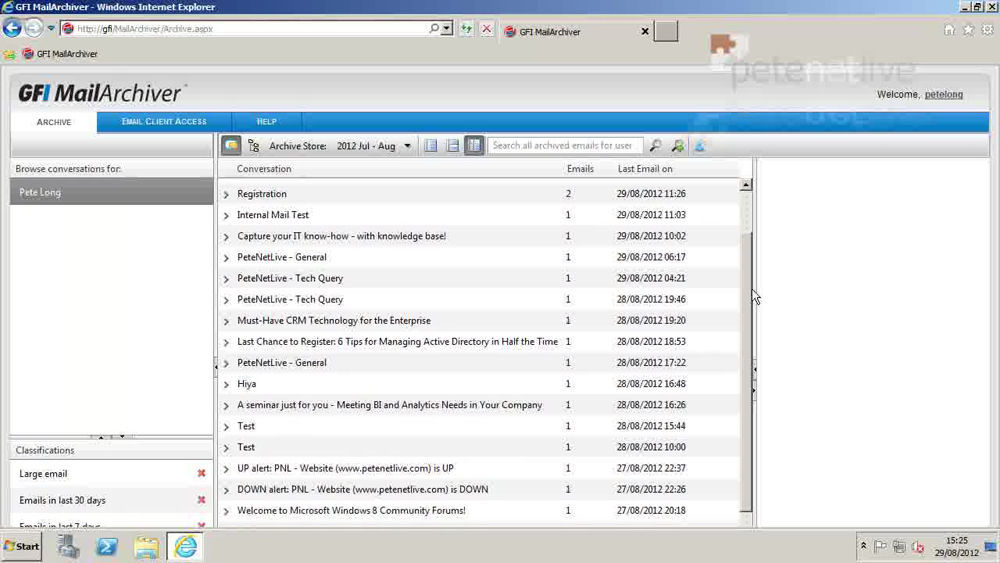
46. Now that user will have the imported mail as well (Note: The default view is “Emails in last 30 days” so don’t panic if you don’t see it all).
GFI MailArchiver – Exporting Data to PST File
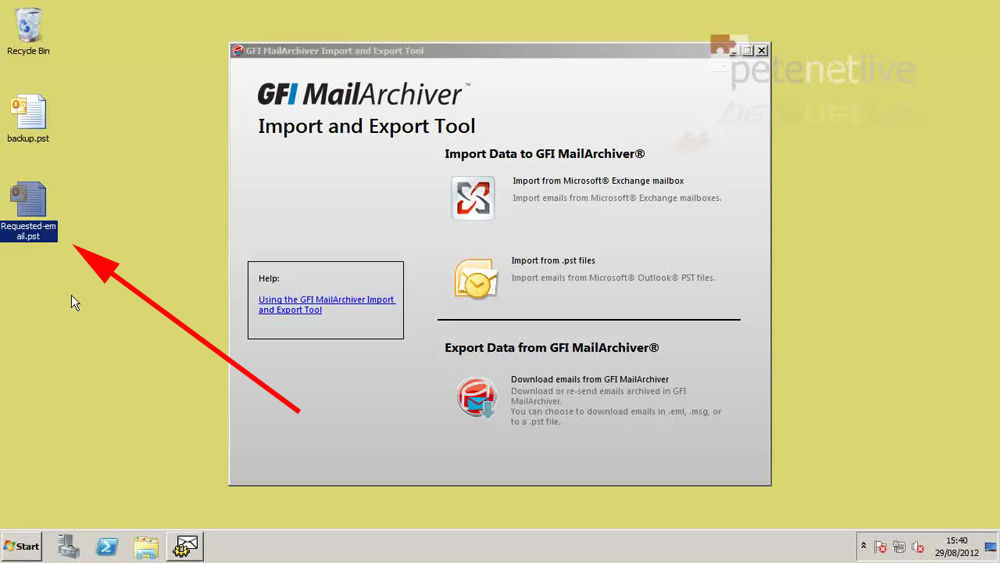
47. Launch the GFI MailArchiver Import and Export Tool.
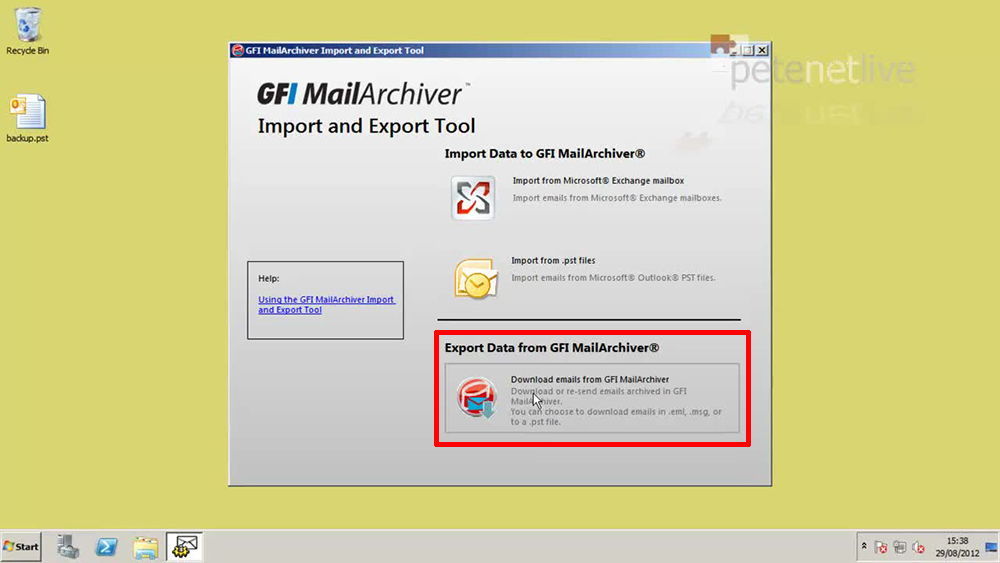
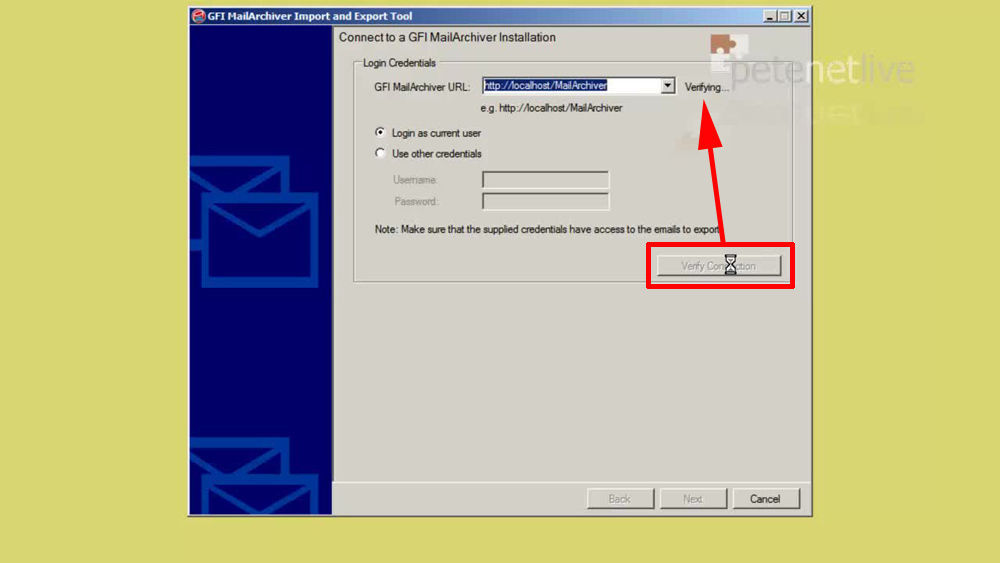
48. Enter the URL of the GFI server > Verify > Ensure it says OK > Next.
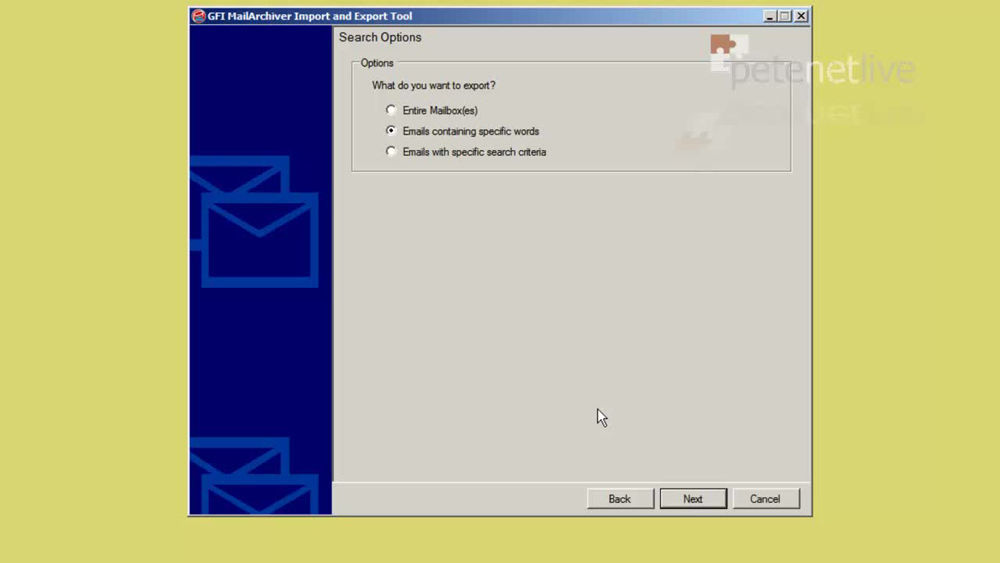
49. Select what you want to export (I’m going to search for email containing particular words) > Next.
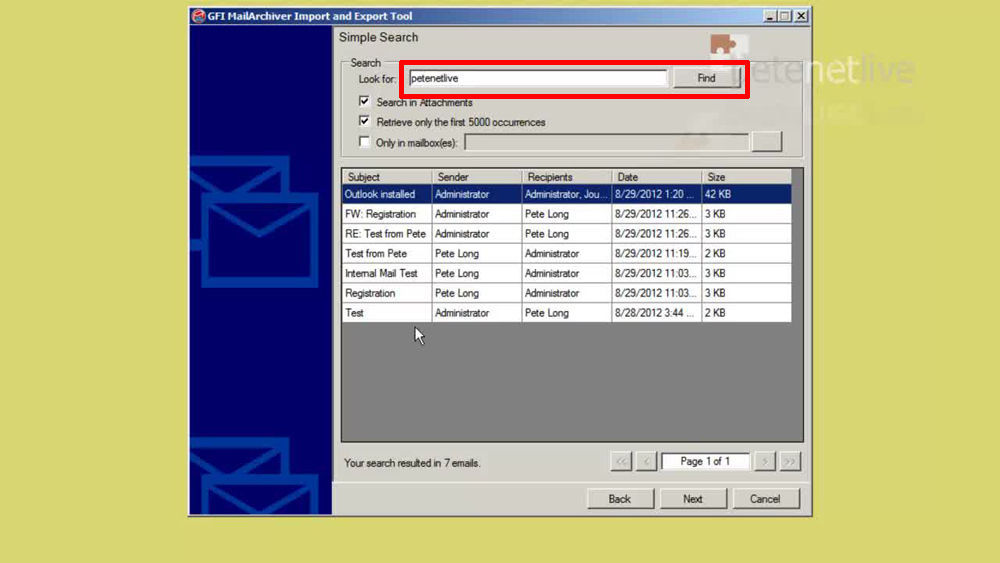
50. Type in your search text > Find > Next.
51. Here you can restore the mail to a mailbox, export it to .msg or .eml format, or my old nemesis .pst files, I’ll choose the latter > Next.
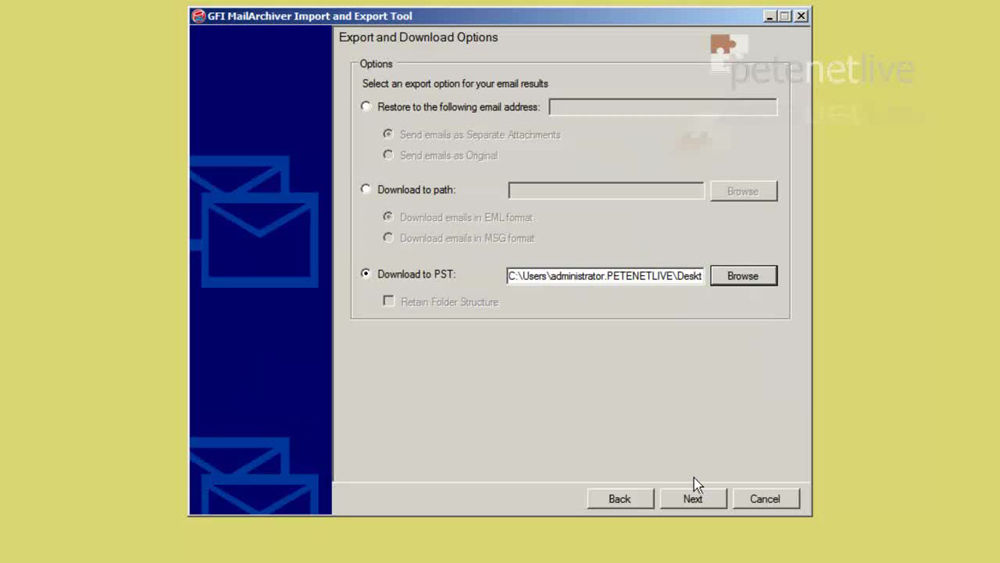
52. And there’s my .pst file, ready to be sent out to satisfy my freedom of Information enquiry.
Related Articles, References, Credits, or External Links
NA