KB ID 0000543
Problem
I will probably have a ton of these to do next year! The following process runs right through the entire migration process of vCenter, the ESX/ESXi hosts, The Datastores, The VM Tools, VMHardware, and finally re licencing everything with your new vSphere 5 keys.
Solution
Step 1 Verify your Software and Hardware Requirements
1. vCenter 5 Hardware Requirements:
CPU: Requires Dual CPU (At least 2GHz – IA64 Processors are NOT supported)
RAM: 4GB (More may be required if the database runs on the same machine and you have many hosts and guests.
Disk Space: 4GB (though you need additional 2GB to extract the setup files into).
vCenter can no longer be installed on an x32 Host Operating System (Neither can it be installed on Windows XP anymore!).
2. vCenter 5 Software Requirements:
OS: Windows Server 2003 x64, Windows Server 2003 R2 x64, Windows Server 2008 x64, Windows Server 2008 R2 x64.
Database: SQL 2008 R2 Express (Included).
Note: Microsoft Windows Installer 4.5 and .Net 3.5SP1 are also required. (Can be installed from the VIM setup Media).
Step 2 Back Up
1. You are doing and upgrade, you are only as good as your last backup!
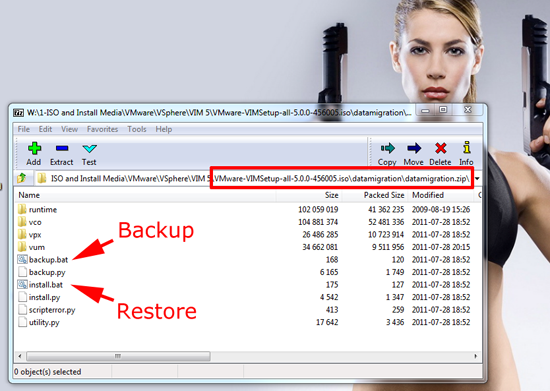
Note: Though it is designed for clients migrating from x32 vCenters, to x64 vCenters you can perform a backup with the datamigration tools On the vSphere VIM 5 Media.
Step 3 Upgrade to vCenter Server 5.0
1. Pop in the DVD, present the iso, or extract the setup files using 7Zip.
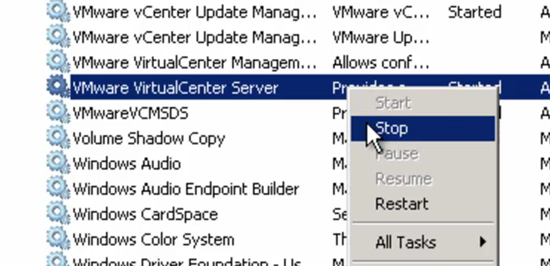
2. Start > Run > Services.msc > Locate and stop the VMware Virtual Center Server Service.
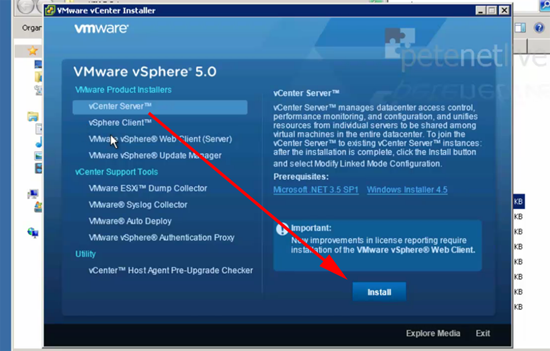
3. Run autorun.exe form the install media > Select vCenter Server > Install.
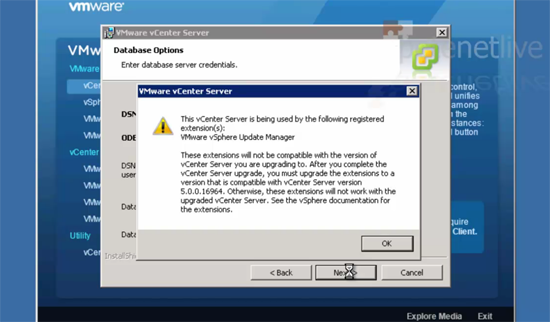
4. Select Language > Next > Welcome Screen > Next > Next > I agree… > Next > Enter your Licence Key (It’s easier to do this later) > Next > Next > If you have Update Manager installed you will see this message > OK.
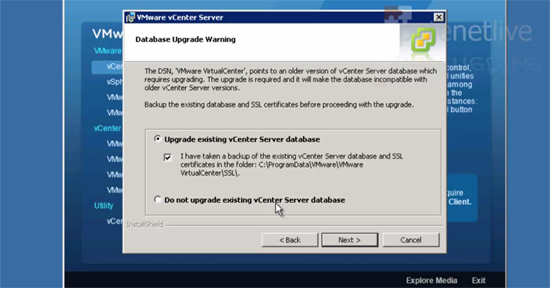
5. Select “Upgrade Existing vCenter Database” and tick the box to say you have a backup > Next.
6. Select Automatic > Next > Supply User Credentials > Next > Next > Next > Next > Select Small, Medium, or Large Deployment > Next > Install > Finish.
Step 4 Upgrade VMware vSphere Update Manager
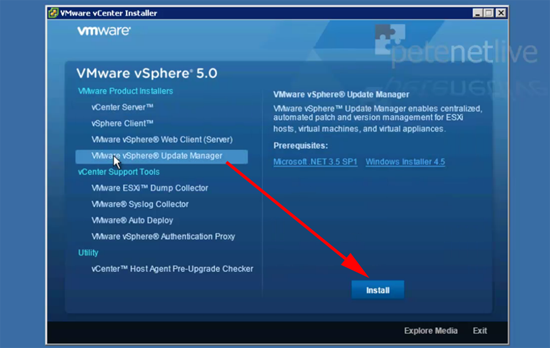
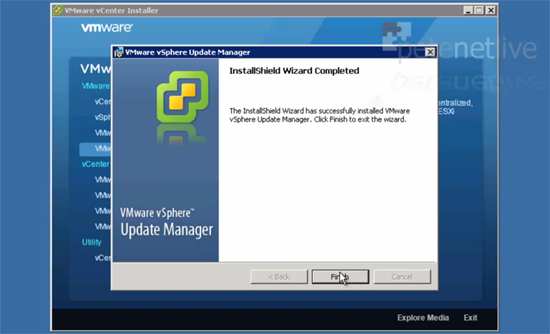
1. Back at the installer screen > Select VMware vSphere Update Manager > Install.
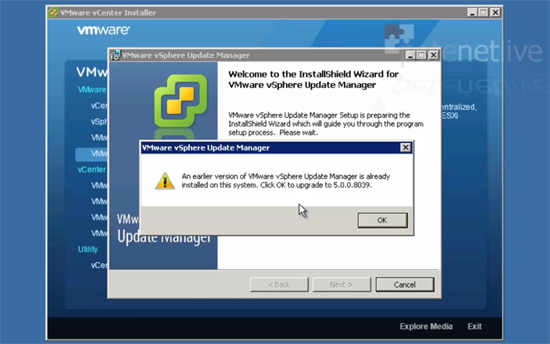
2. It should detect (providing you are updating update manager of course) the earlier version > OK > Next.
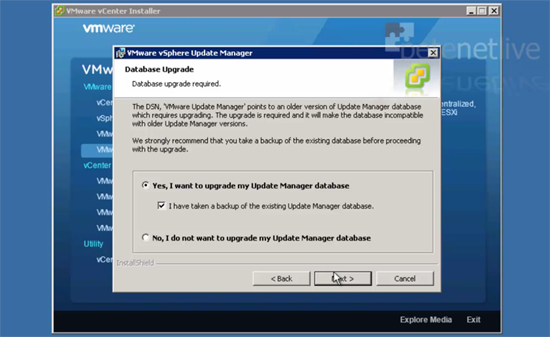
3. Next >Tick “I Agree….” > Next > Untick “Download Updates…” if you wish > Next > Type in the administrator password > Next > Next > Tick “Yes, I want to upgrade…” > Tick “I Have taken a backup…” > Next.
4. Next >Install > If prompted for a reboot click OK > Finish.
Step 5 Upgrade VMware vSphere Client 5.0
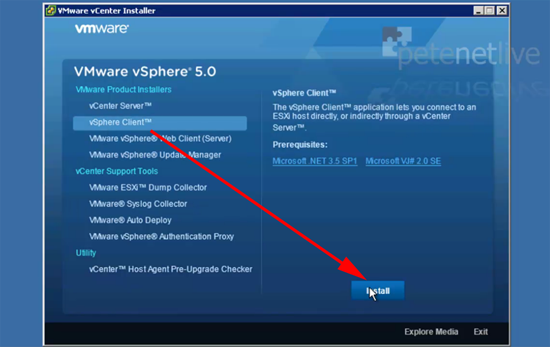
1. This does not have to be on the vCenter server, but your VI clients on your administrative machines will need updating. Back at the installer screen > Select VMware vSphere Client > Install.
2. OK > Next > Next > Tick “I Agree….” > Next > Enter your user information >Next > Install > Finish > Close the VMware vCenter Installer window.
Step 6 Install the Update Manager Plug-in.
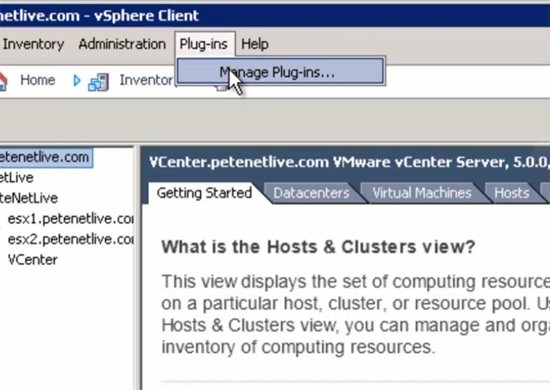
1. Launch your new VI client and log into the Virtual Center > Select Plug-ins >Manage Plug-ins.
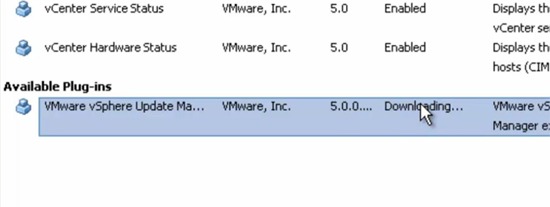
2. Locate and install the update manager Plug-in.
Step 7 Upgrade your Hosts to ESXi 5.0 Using Update Manager
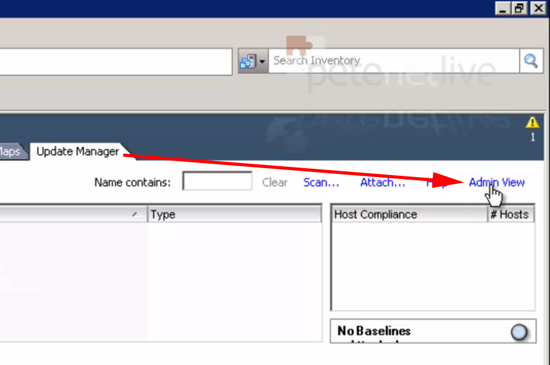
1. Whilst in your VI client, select the virtual Center > Update Manager Tab > Admin View.
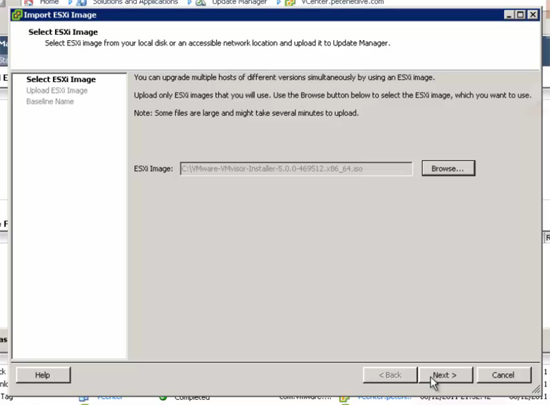
2. Select the ESXi Images Tab > Import ESXi Images.
3. Browse to a copy of the ESXi 5.0 install setup iso > Open it > Next.
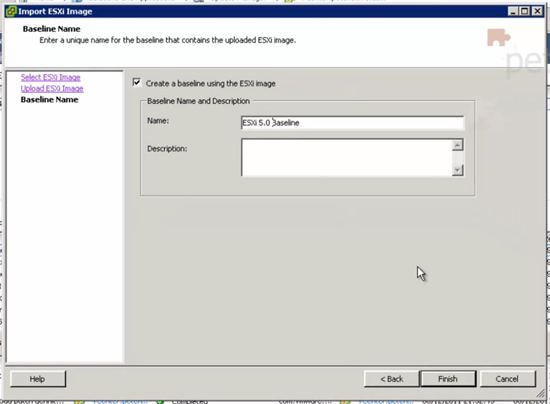
4. Next > Next > Give the Image a new name > Finish.
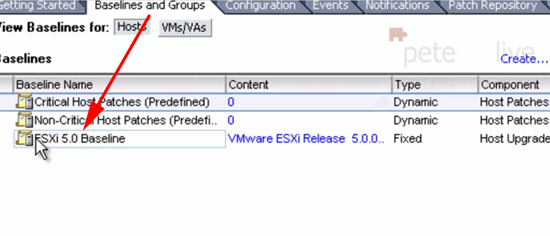
5. Select the “Baselines and Groups” Tab > You should see your imported Image.
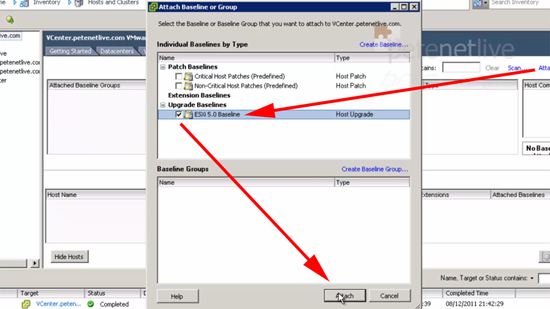
6. Change back to “Compliance View” > Attach > Select the ESXi 5.0 Baseline > Attach.
7. Your ESXi hosts should appear (If not, click scan) > Click Remediate > Ensure the host(s) you want to update are selected > Next.
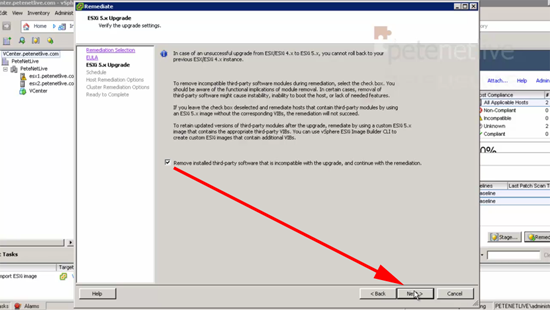
8. Tick “I accept….” > Next > Tick “Remove Installed Third Party Software…..” > Next.
Warning: If you upgrading from ESX (as opposed to ESXi you may have software installed e.g. UPS monitoring software, HP Insight Agents etc, these will be removed, be aware.)
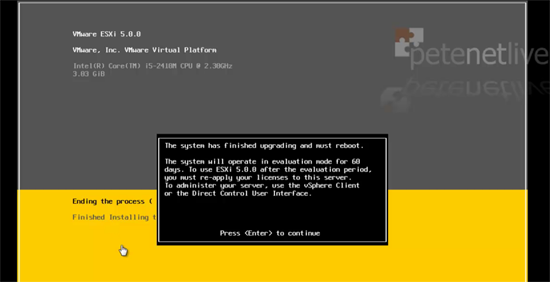
9. Next > Next > Finish > Your Hosts will remediate/upgrade. This can take a long time and appears to hang at 22% > If you have access to the host you can speed up the process by rebooting it when prompted, though you DONT have to do that. It will put the host into maintenance mode update it, the reboot it, and finally take it out of maintenance mode.
10. Repeat as necessary for any remaining ESX/ESXi hosts, if you have HA it will move your gust VMs about for you but I prefer to shift them manually as I find its usually quicker that way.
Step 8 Upgrade your VMFS-3 Datastores to VMFS-5
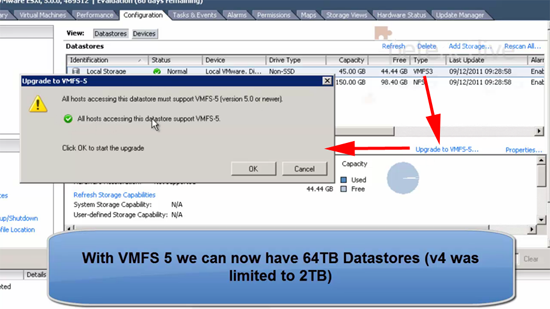
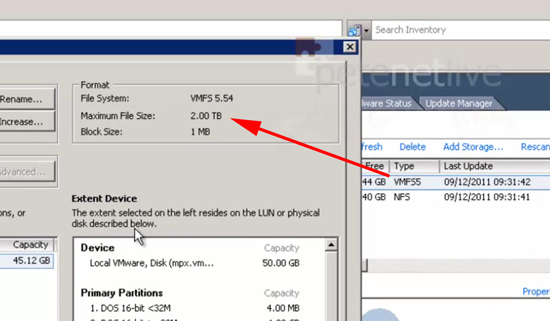
1. Select a host that has access to the datastore > Configuration > Storage > Select the VMFS Datastore > Update to VMFS-5 > At the warning click OK.
2. Depending on the size of the volume it might take a while, when its finished it will automatically rescan all the datastores and update the display.
Step 9 Upgrade the VMware Tools and Virtual Machine Hardware
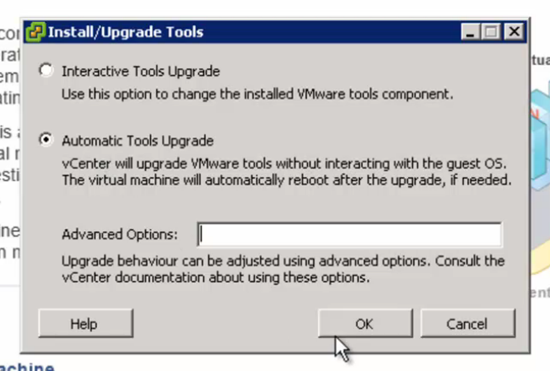
1. You can either do this on a machine by machine basis, or using Update Manager. To update the VMware tools on a particular guest, right click it and select Guest > Install/Upgrade VMware Tools.
2. Remember choosing “Automatic Tools Upgrade” will reboot the guest machine, as soon as its finished, plan some downtime or do this out of hours.
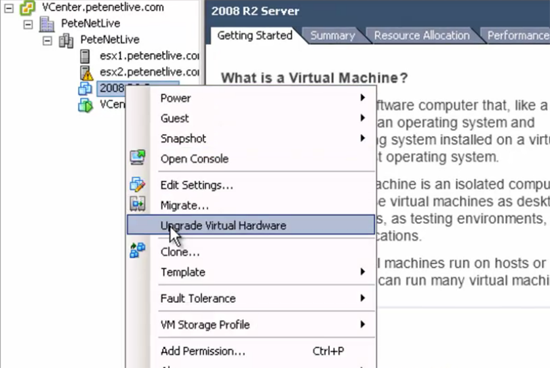
3. You can update the virtual machine hardware in the same manner (the guest needs to be powered off first) Then right click > Upgrade Virtual Hardware > At the warning message click Yes.
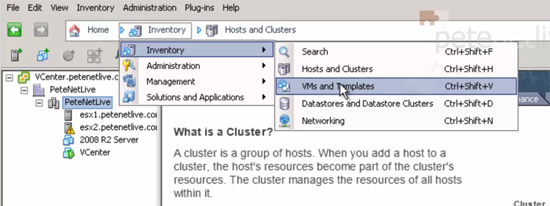
4. To update using Update Manager > Change your view to “VMs and Templates”
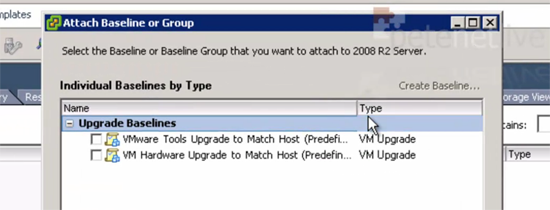
5. Then either select a single VM or select a folder containing multiple VMs (you can create a folder and drag the VMs in you want to update). Select the update manager Tab > Attach > Select either VMware tools or VM Hardware (or Both) > Attach.
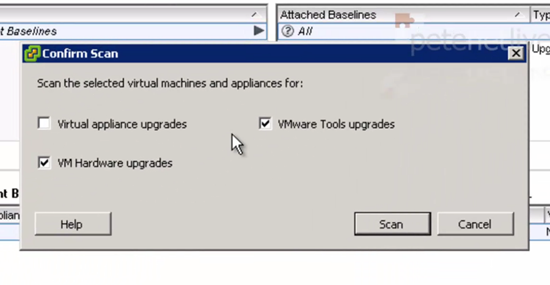
6. Select Scan > Select Tools and/or Hardware > Untick Virtual appliance upgrades > Scan.
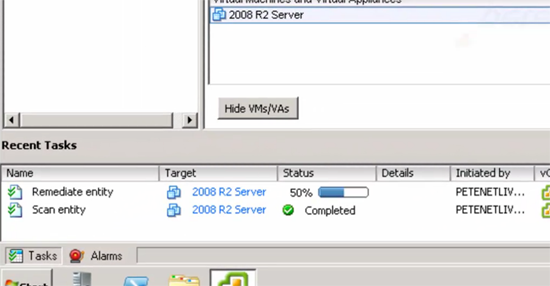
7. The guests that need upgrading will be shown as “non compliant” > Select them > and click Remediate.
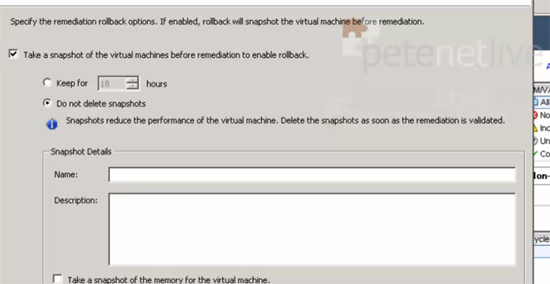
8. Next > Next > If you want to take a snapshot before proceeding, leave the option ticked > Next.
9. Finish.
Step 10 Install your vSphere 5 Licences
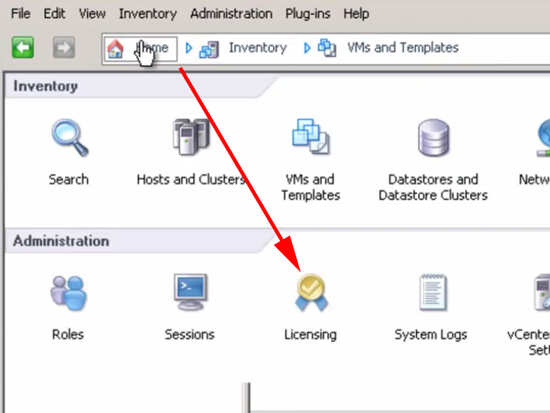
1. From within the VI client > Home > Licencing.
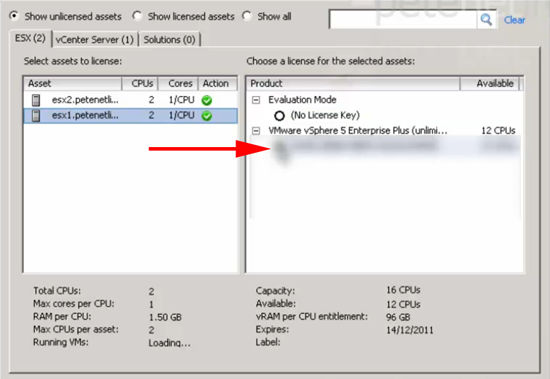
2. Manage vSphere Licences > Paste or type your licence keys in, and select > Add Licence Keys > Next > Select Each ESXi host and change its licence from Evaluation mode to the licenced key.
3. Select the Virtual Center tab and allocate that a licence as well > Next > Next > Finish.
Related Articles, References, Credits, or External Links
NA

