
KB ID 0000090
Problem
Those of you who know me will know that Cisco ASA is my weapon of choice in the firewall department. Now before the ISA brigade start emailing me telling me about “Application Layer Inspection” etc etc, that’s not because I think the ASA is better, cheaper or more effective, but because it’s “What I know”.
To be honest I’ve not installed ISA since version 2000, where what I really needed was MS Proxy 2.0 (now there was a product that did exactly what it said on the “Tin”), and that was a horrible experience which left me adverse to ever using ISA again. However I accept that version 2004/2006 is a damn good firewall.
So the other day when I was asked “Can we publish Outlook Web Access, on an ISA Server, that will be in the DMZ of a PIX?” I inwardly groaned, and despite me suggesting every possible other way of doing it, I bit the bullet and disappeared to the test bench with a copy of ISA and a large coffee.
Before you start !
OK, obviously we want to do this securely using SSL (that’s 128bit encryption) which means we need to use Certificates. Before you all glaze over or run away, this is simple, either buy one or install certificate services on your server and make one.
The single most IMPORTANT thing you need to do is make sure the certificate name resolves internally to the Exchange Server and publicly to the Outside Interface of the ISA server (or the public IP of the exchange box – if it uses a public address).
For Example
Certificate is called owa.mydomain.co.uk
Internally owa.mydomain.co.uk should point to the exchange box running OWA (you may need to set up split DNS for this).
Externally owa.mydomain.co.uk should point to the Outside Interface of the ISA Server (or a static public address for the Exchange Box).
Solution
Step 1 Install ISA
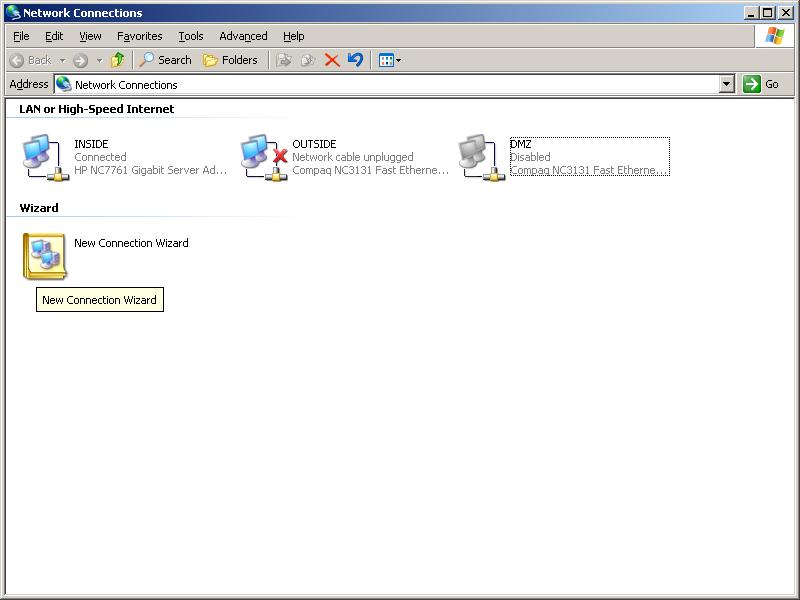
1. OK, I’m assuming you don’t already have an ISA server, if you do then skip this bit and go straight to Step 2 (not box 2 below). Before ISA is installed ensure your server is service packed up and has the correct IP addresses on the correct interfaces – It may be worth naming the interfaces first for simplicity later (INSIDE, OUTSIDE and DMZ, or LAN, WAN and DMZ for example)
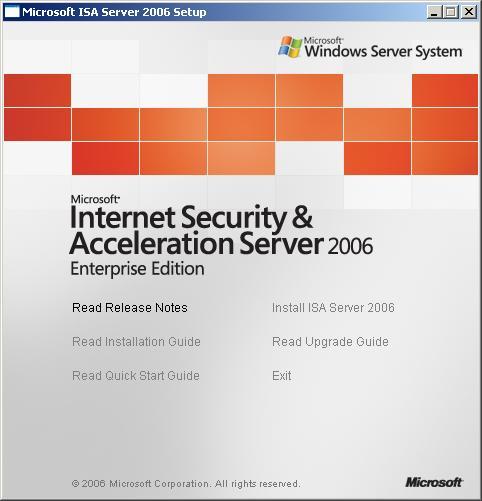
2. Let the CD/DVD Auto-run or locate ISAAutorun.exe file the CD and run that. From the splash screen select “Install ISA Server2006”.
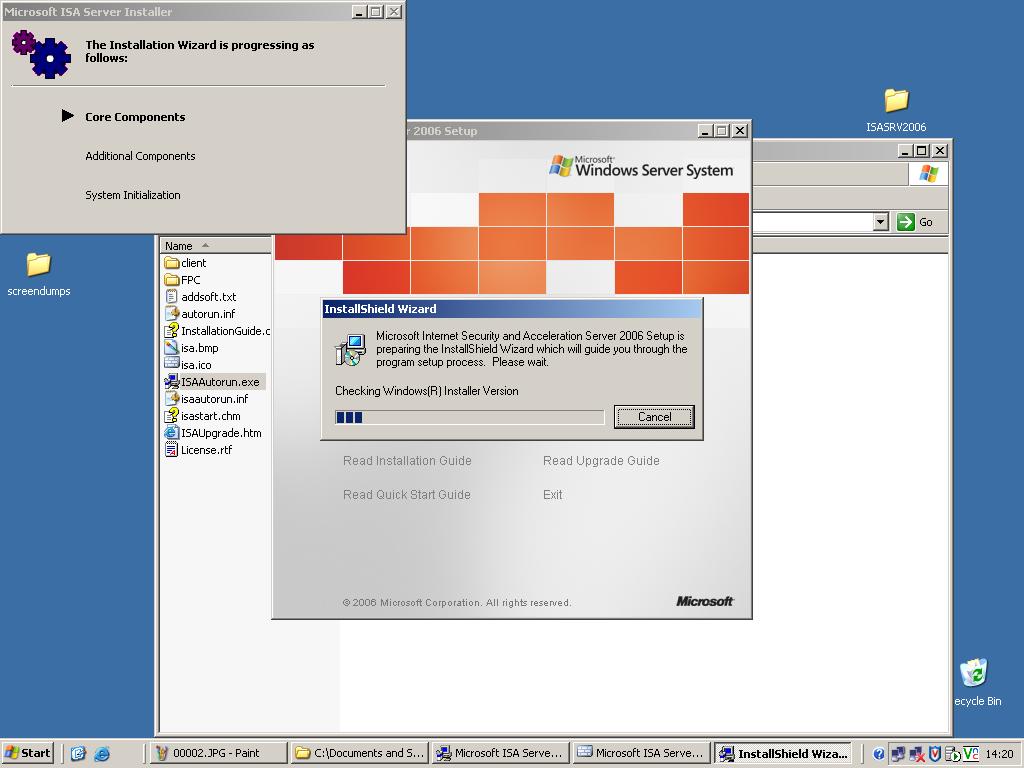
3. Set up files will be extracted.
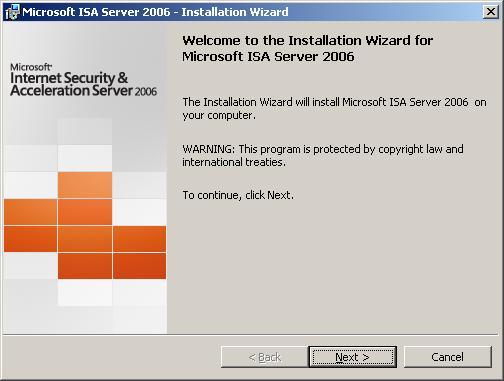
4. At the welcome screen > Next.
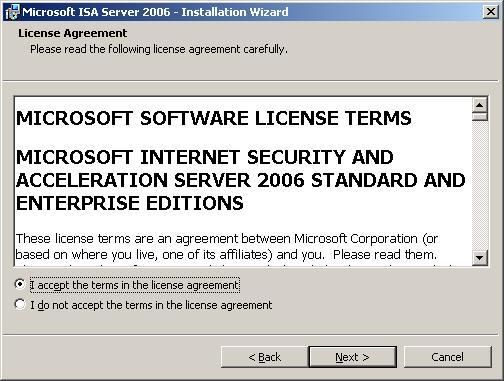
5. Accept the EULA, > Next.
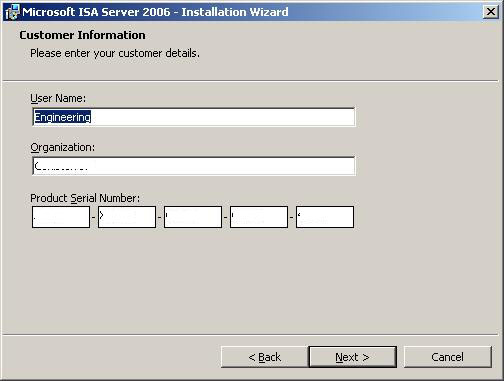
6. Enter the details and unlock code as appropriate.
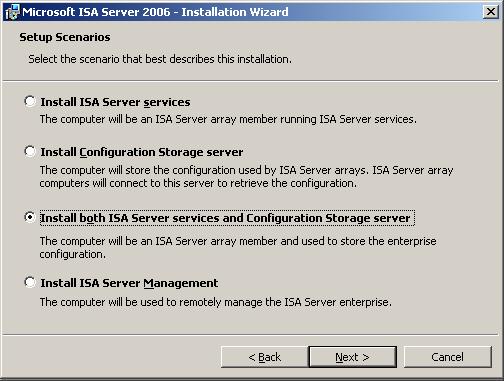
7. Install both ISA Server and Configuration Storage Server > Next.
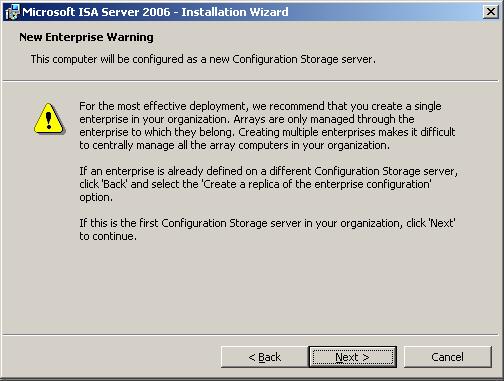
8. Create a new enterprise, then at the warning screen > Next.
9. You now need to specify networks – you can do this later or add more in at a later date, but lets do it now > Add.
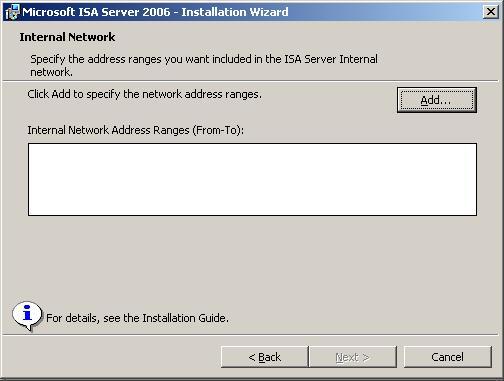
10. Add adaptor.
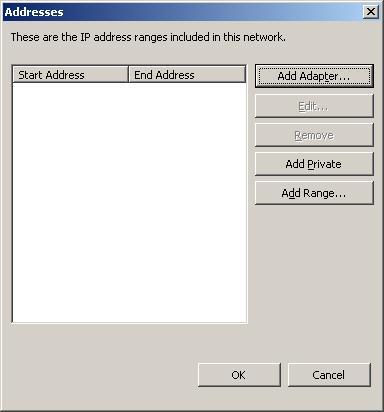
11. Add the adaptors for the Inside and Outside (and DMZ etc as applicable) > OK.
12. Review the information > Next.

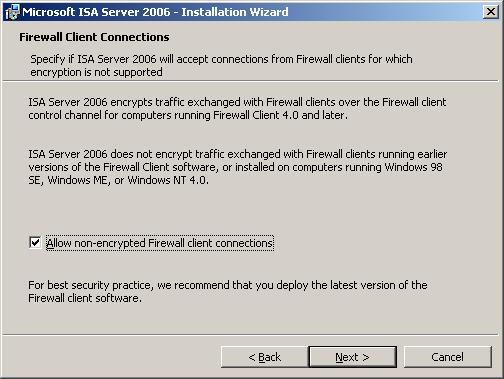
13.If you have older (9x and NT) clients select allow non encrypted firewall connections > Next.
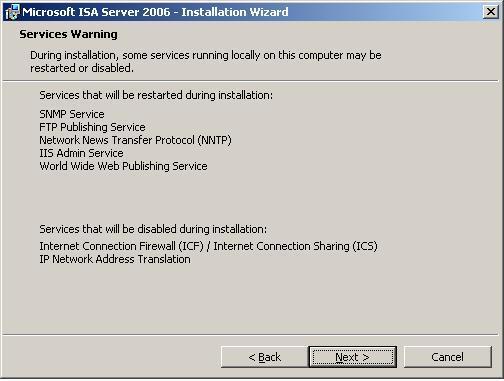
14.At the services warning screen > Next.
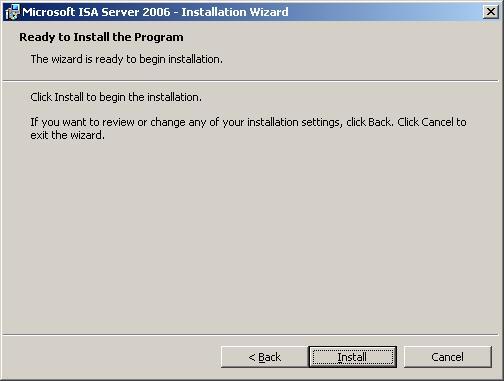
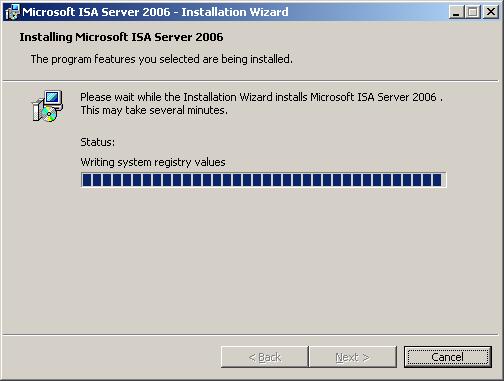
15. Install.
16. Go and have a coffee.
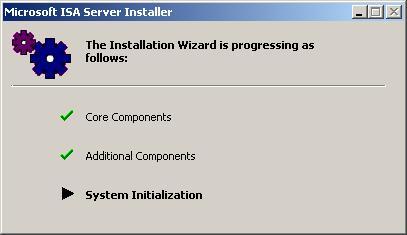
17. There is a distinct lack of spinning cogs on things these days don’t you think?
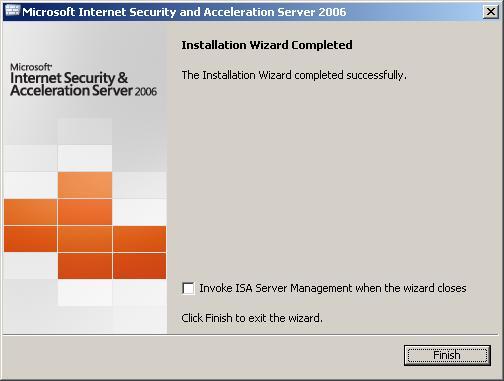
18. Job done! You can tick the box to launch the configuration wizard if you want, but we are not going to need that to do this job > Finish.
Step 2 Export the Exchange Web Certificate
OK, Im assuming you allready have Exchange Outlook Web Access secured using SSL – You need to export the certificate from the Exchange Server to the ISA Box .
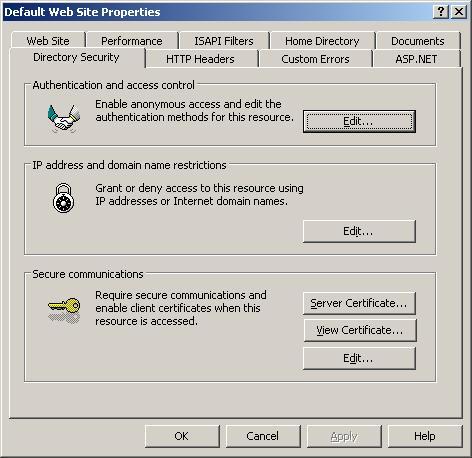
1. Open IIS Manager (Start > Administratove Tools > Internet Information Services Manager) > Expand > Server-name > Websites > Right Click Default Web Site” > Properties.

2. Directory security tab > server certificate button.
3. Next.
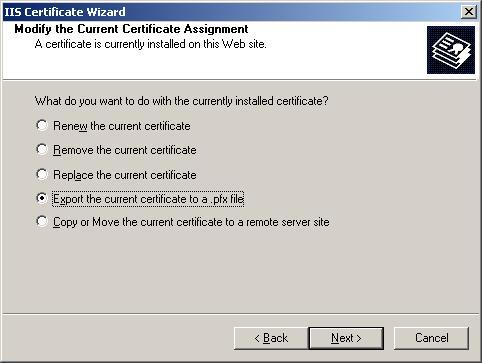
4. Export the certificate to a .pfx file > Next.
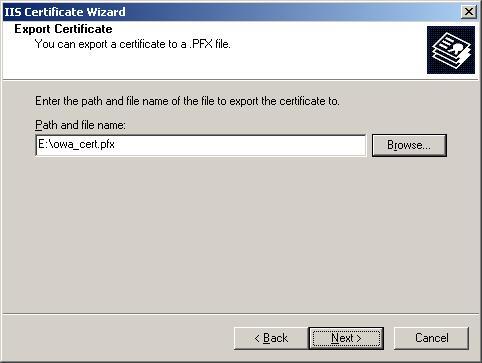
5. Choose a location to save the file (removable media or USB key would be handy)..
6. Don’t panic if it says at some point its FAT formatted (it will still work) > OK > Next.
![]()
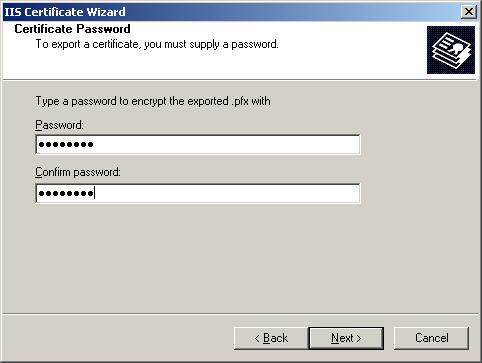
7. Enter a password > confirm the password > Next.
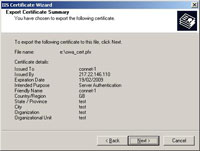
8. Next.
9. Finish.
Step 3 Import the Certificate into ISA
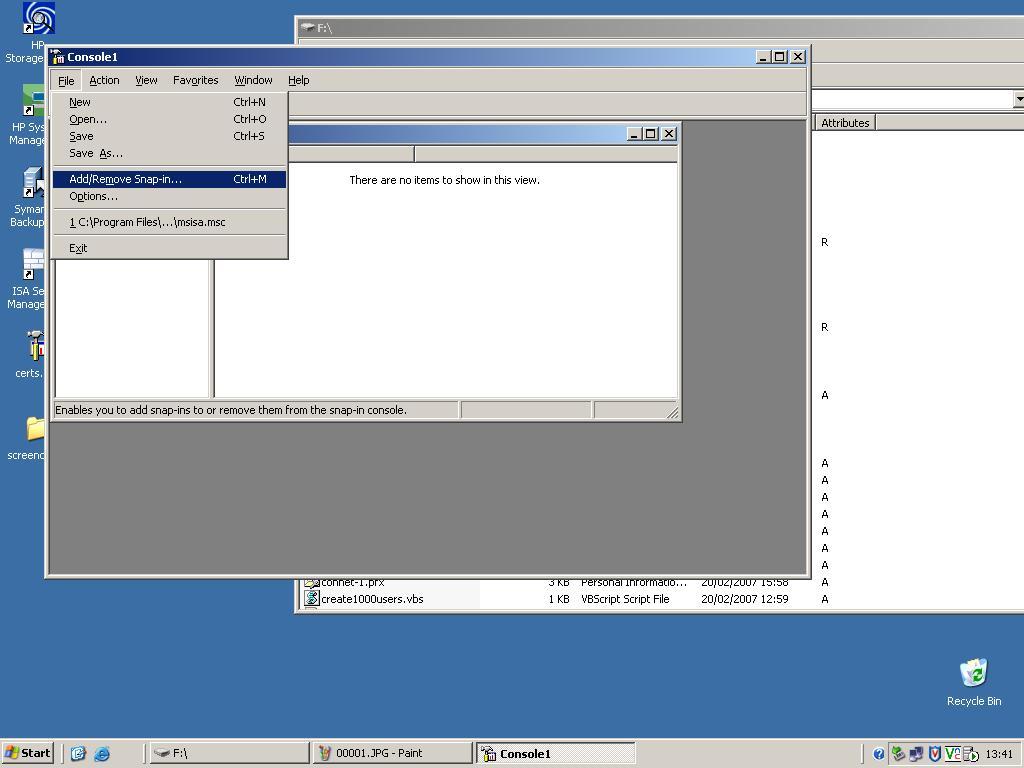
1. Take the .pfx file to the ISA Server, log in > Start > Run > mmc {enter}
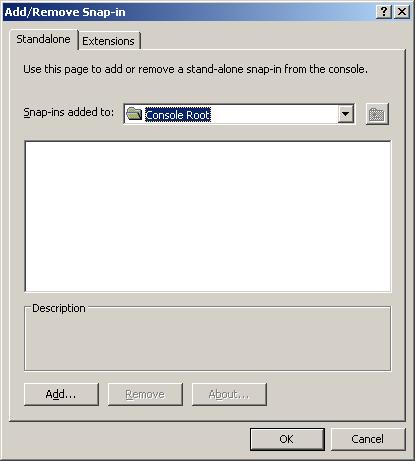
2. Add/Remove Snap In.
3. Add.
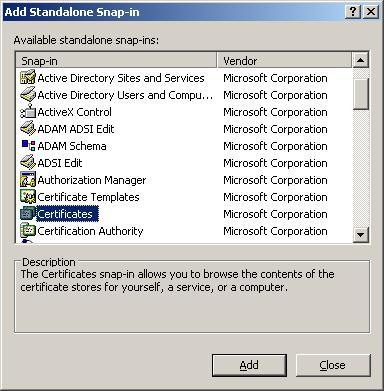
4. Scroll down and select “Certificates” > Add.
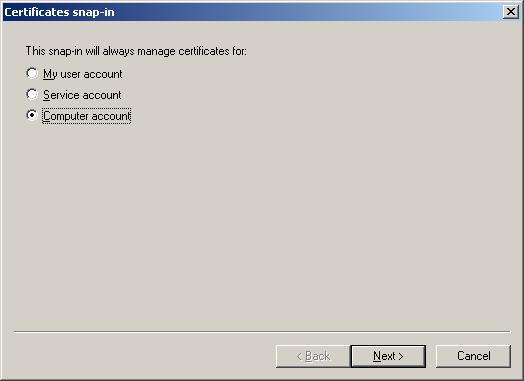
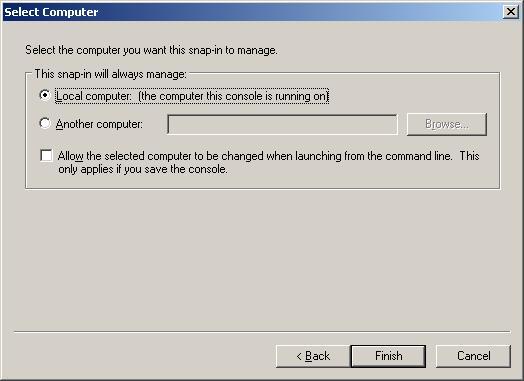
5. Select computer account.
6. Select “local computer” > Finish > Close > OK to return to the console so you are looking at the certificate console.
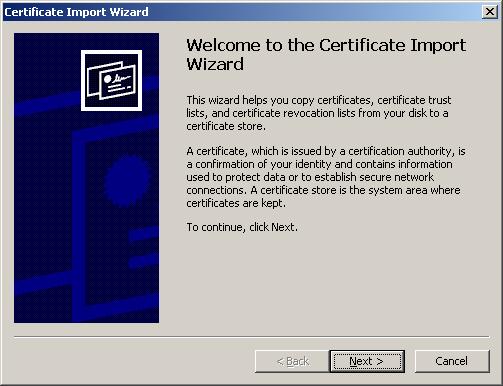
7. Expand Certificates > Personal > Certificates (note you may need to stop at personal if the certificates sub folder does not exist – this happens if there are NO certificates on the server already) >Right Click in the right hand window > All Tasks > Import.

8. Next.
9. Browse to the pfx file (Note Change “files of type” to “All Files (*.*)” > Open > Next.
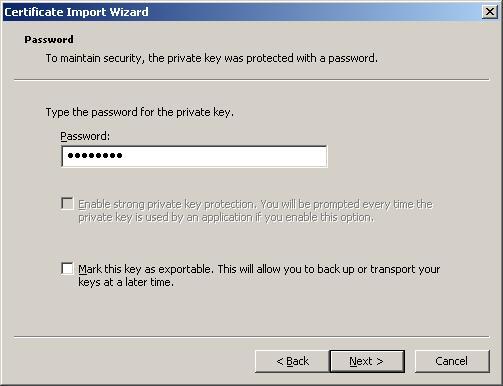
10. Enter the password you gave the certificate > Next.
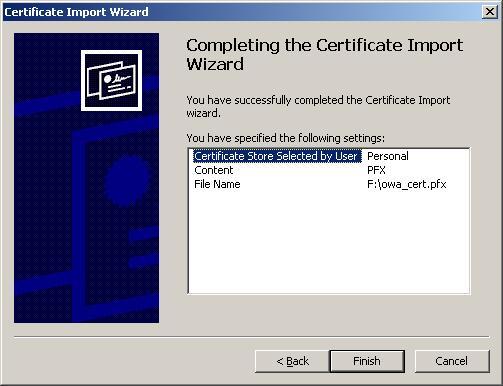
11. Next.
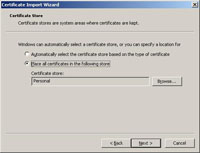
12. Finish.
Step 4 Publish OWA with ISA
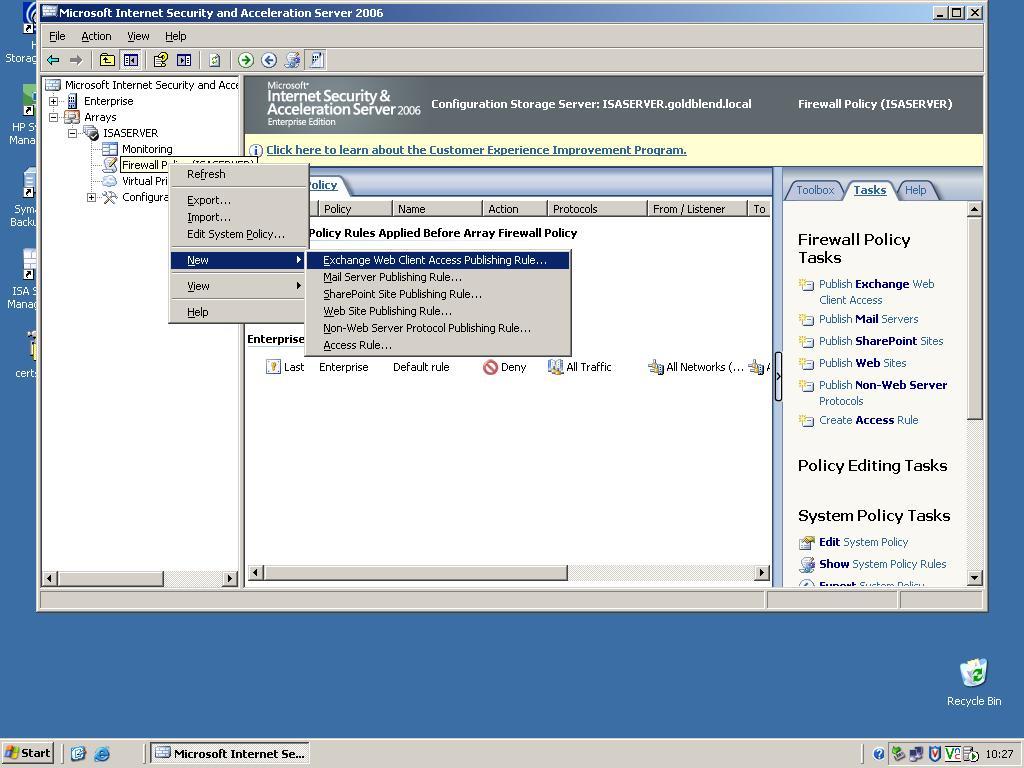
1. Launch the ISA Management Console > Navigate to > Arrays > Server-name > Right Click “Firewall Policy (Server-name)” > New > “Exchange Web Client Access Publishing Rule.”
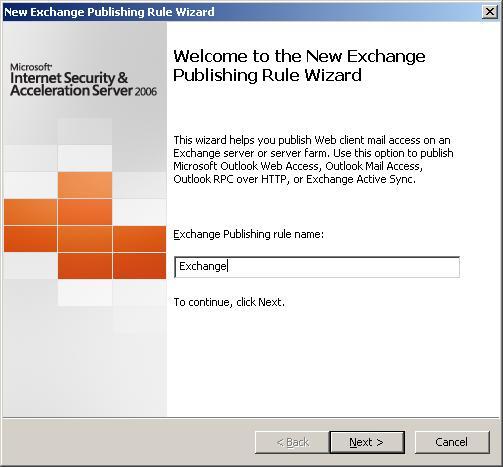
2. Give the rule a name e.g. Exchange > Next.
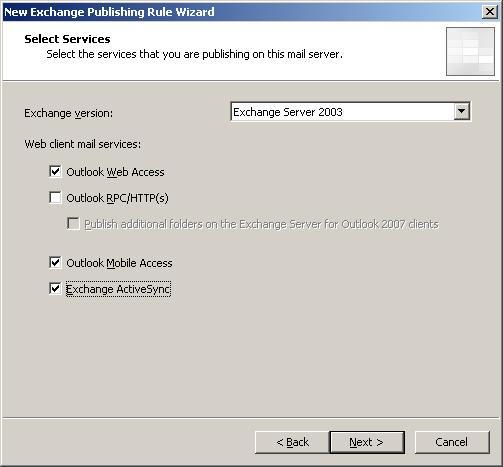
3. OWA, OMA and Active Sync > Next.
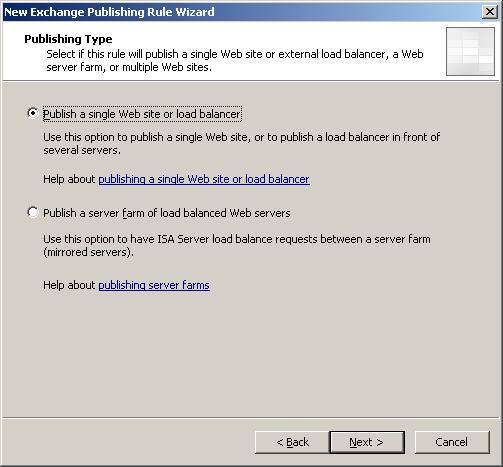
4. Select “Publish a single web site or load balancer” > Next.
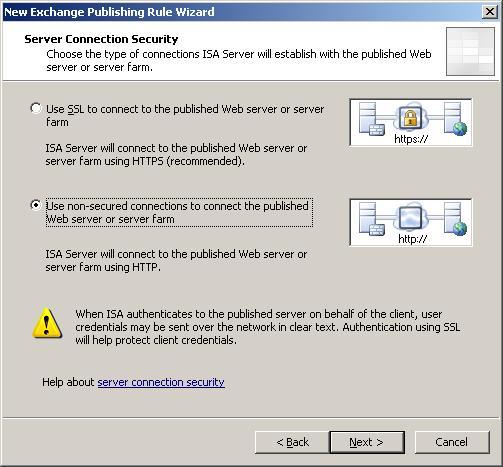
5. Select “Use SSL to connect to the published Web server or server farm using HTTP (Recommended)” > Next.
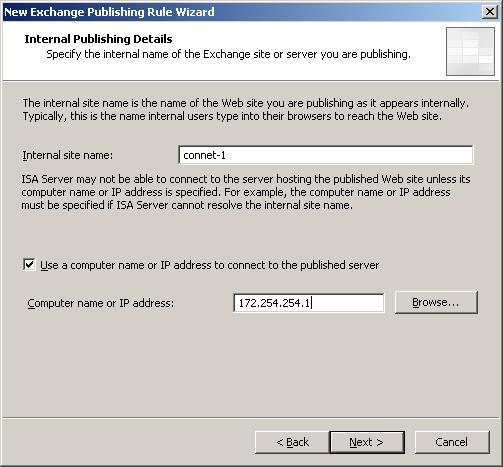
6. Internal Site name e.g. server1 > Tick Use Computer name or IP address and enter the IP address of the exchange box e.g. 172.254.254.1 > Next.
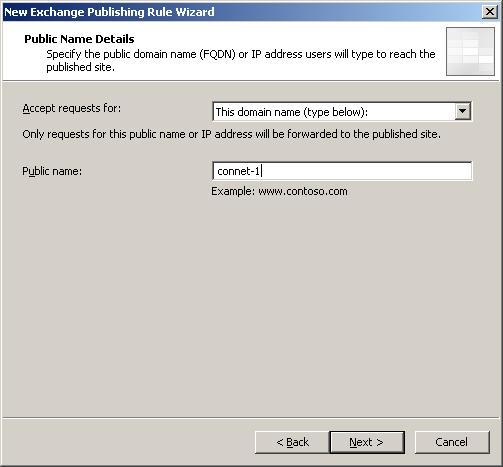
7. Public Name > enter the public name e.g. owa.yourdomain.co.uk (clients need to be able to resolve this on the internet).
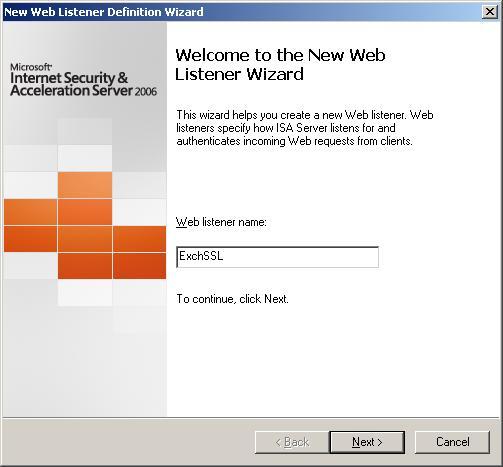
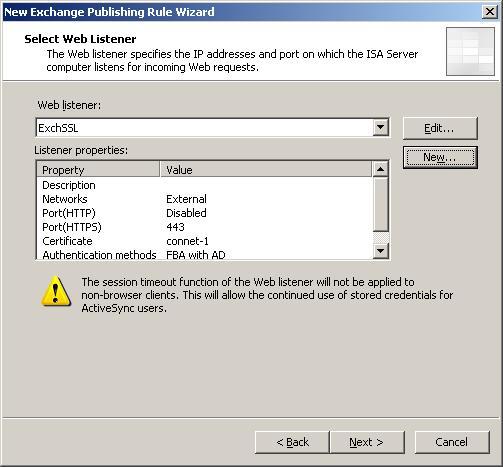
8. At The Web Listener Page > New.

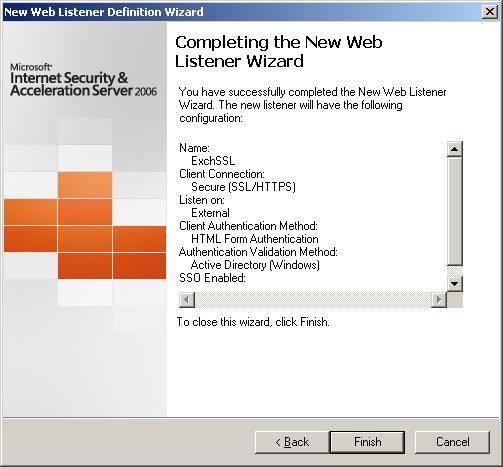
9. Give it a name e.g. ExchSSL.
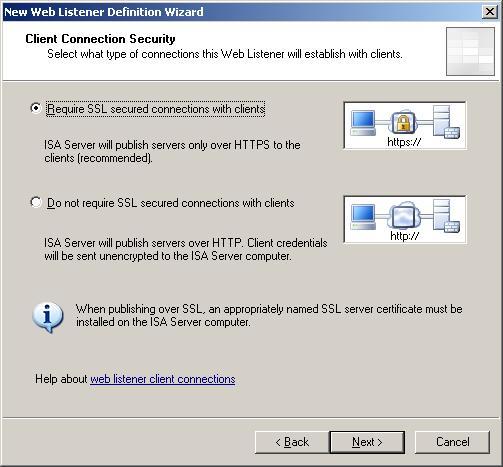
10. Require SSL secured connections with Clients > Next.
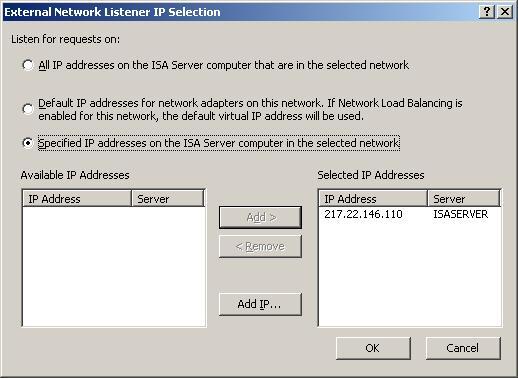
11. Select the External Interface > Click Select IP Addresses.

12. Tick “Specified IP Addresses..” > OK > Next.
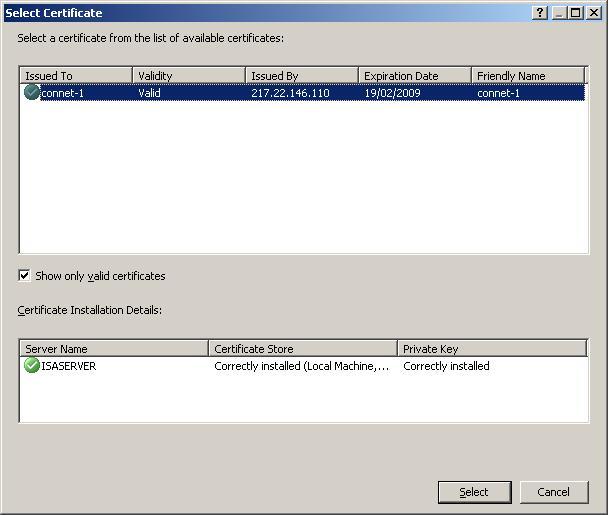
13. Select “Use a single cert for web Listener” > Click Select Certificate > Select the Certificate you imported earlier > Select > Next.
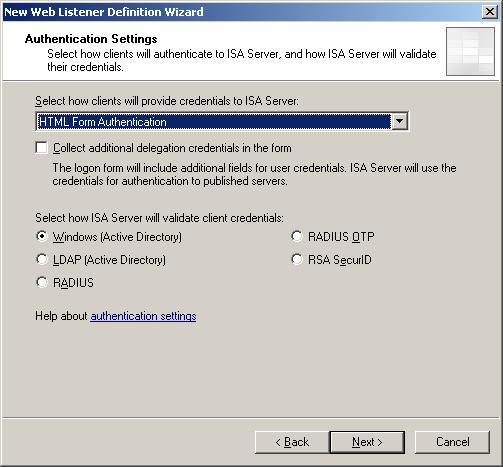
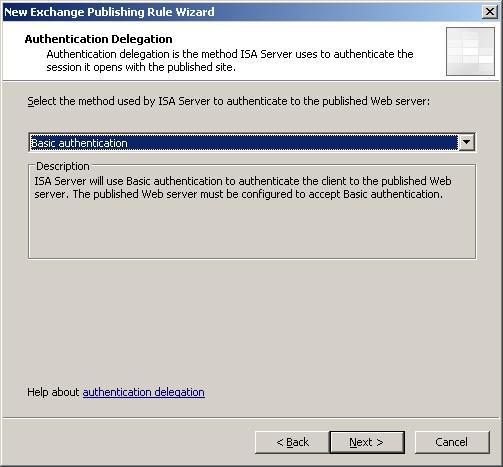
14. “HTML Form Authentication” > Select Windows (Active Directory) > Next.
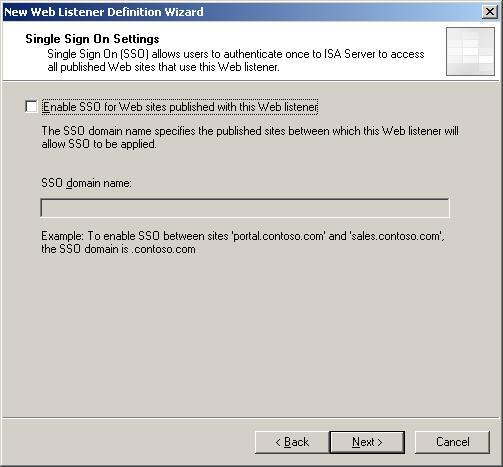
15. Untick Enable SSO > Next.
16. Finish.
17 Next.
18. Next.
19. Next.
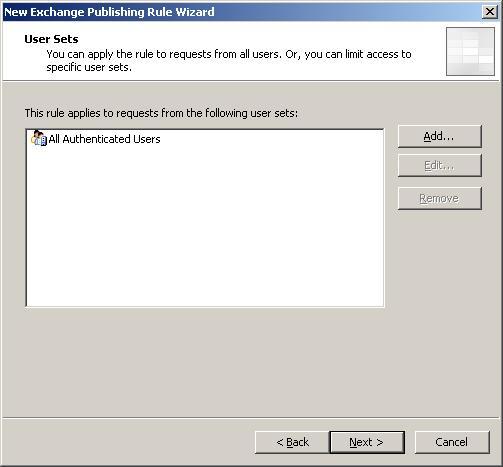
20. Finish.

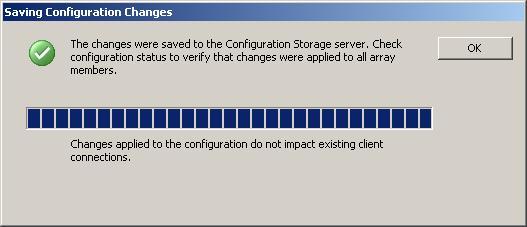
21. Click the “Apply” Button at the top.

22. When its done click OK.
Step 5 Test It
1. Fire up an internet Explorer connection and accept the Certificate.

2. Log in.
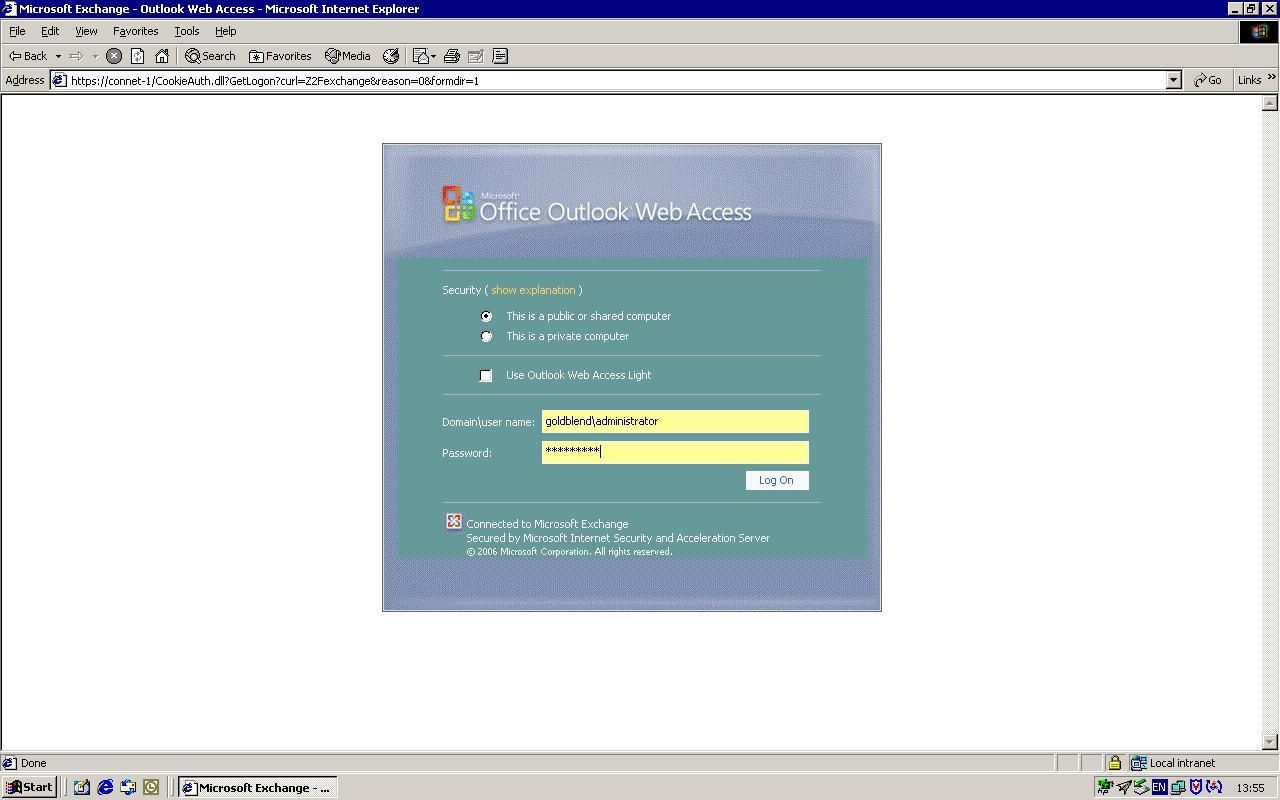
3.You are up and running.

Related Articles, References, Credits, or External Links
NA