
KB ID 0000085
Problem
You want to wire your own RJ45 wall sockets
Solution
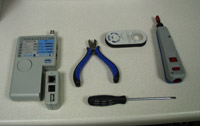
1. First Get the right Tools! You will need:
a. Krone Tool b. Flat Point Screwdriver c. Cable Stripper d. Wire Cutters e. Cable Tester (Not essential)
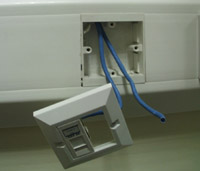
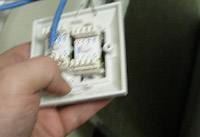
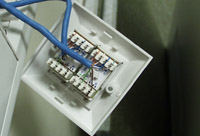
2. Hopefully before you start you will have something which looks similar to this (This is a double socket and one point is already wired) – Yours may be a single point.
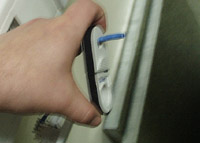
3. Using your cable strippers , strip the insulation back to about one and a half inches from the end of the cable. If there is a nylon cord running through the cable cut it away also.
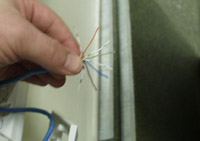
4. Untwist the eight wire cores and straighten them out.
5. Slide the female connector block into the face plate.
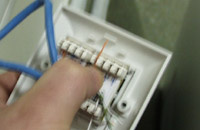
6. Place the first wire in, ENSURE that you leave enough “SLACK” for the remaining seven wires.
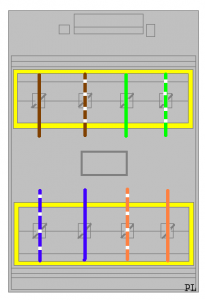
For the Wiring Sequence;
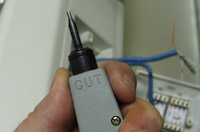
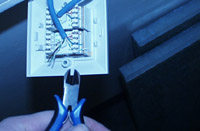
7. Your Krone Tool May well have a CUT side “MAKE SURE” you use it the right way round.
8. Using your Krone tool “Krone Away”

9. If your Krone tool does not cut/trim the wire you will need to cut off any excess.
10. All connected up :0)
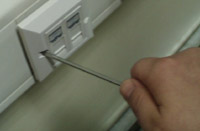
11. Screw the Face Plate back to the wall.
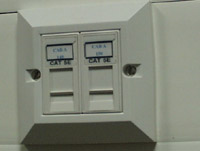
12. MAKE SURE the face plate is labelled up correctly, to the Comms cabinet patch panel.
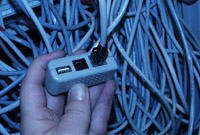
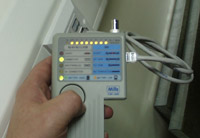
13. Go to the Comms cabinet and plug in the remote for your cable tester (If you don’t have a cable tester patch the socket in and try plugging in a known (working) PC).
14. All working fine – If one of your line is not connecting check your Krone connections – at both ends).
Related Articles, References, Credits, or External Links
NA