
KB ID 0000061
Problem
Cisco Firewall’s are expensive, I know I own some, and my firm sells them, getting hardware to run on your test bench is difficult enough, but getting high end Cisco equipment is an expensive proposition for your average “Techy”. These days most people run their test networks in virtual environment. I run Hyper-V at at home for Testing and I have my own VMware ESX server at work for testing and proof of concept work.
However the big problem is to build test networks that reflect what we are doing in a corporate environment. We usually have to compromise and find some obscure Linux firewall to pop in the virtual environment, which is a pain if like me your a died in the wool Cisco-ite.
To do this we need some software – PEMU PIX emulator has been out for quite some time, but some users will find it “sandal wearingly difficult” to set up, so an easier prospect is to use the GNS3 software which is a nice GUI wrapper that contains PEMU (It does a lot more as well but that’s outside the scope of this exercise).
What do you need?
1. A PC – I’m running on a windows XP VM but a physical machine will do just as well.
2. A version of the Cisco PIX software, this needs a Valid Cisco support agreement and a CCO Login to Cisco.
3. A Valid Cisco PIX Serial Number and activation key – from a firewall you have legally purchased!.
Solution
Step 1 (Get Everything together)
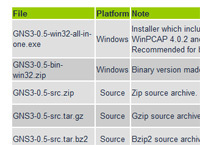
1. Download GNS3 from http://www.gns3.net/
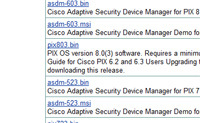
2. Download the PIX Operating system from Cisco (Note PIX and ASA firewall’s have DIFFERENT operating systems). At time of writing the latest version is 8.0(3) so this is the one we will use. At this point it might be worth downloading the ASDM which we will use in part 2 later – at time of writing 6.0(3)).
Step 2 Install and configure GNS3
3. Run the setup file for GNS3.

4. Click Next > I Agree > Next > Next > Next Install.
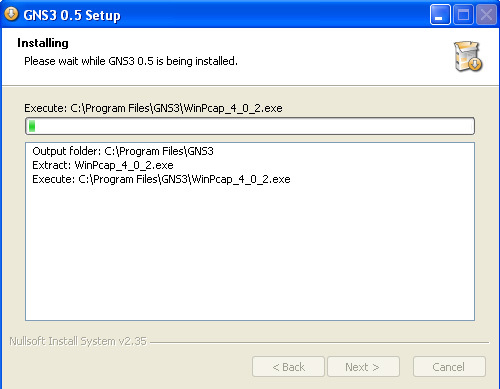
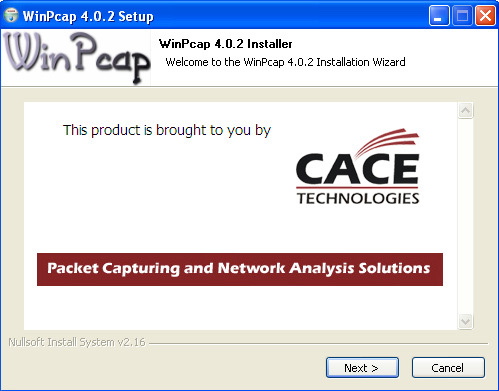
5. You may need to install WinPcap as part of the install just accept all the defaults. When done, GNS3 setup will continue.
6. Click finish
7. Launch GNS3

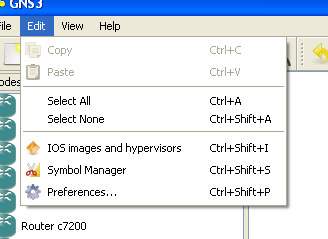
8. If the setup wizard starts just click OK. Click Edit > Preferences.
9. Select Pemu on the left then enter the following three pieces of information Under “Defaults PIX Settings”. PIX Image: The path to the PIX OS you downloaded in step 2. Key: the activation Key from your PIX Firewall. Serial: The Serial number of the PIX Click Apply > OK
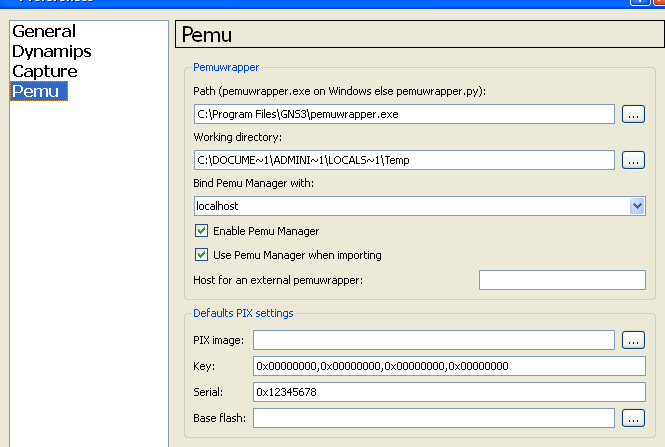
Note: This trips a lot of people up (Including me for about three hours!) You get the key and serial from the firewall by issuing a “show version” command. However modern PIX firewall’s display their Serial number in Decimal, PEMU was built when PIX was at version 6 and the serials in those days were displayed in HEX – so use windows calculator (in scientific mode) to convert the serial number to HEX (EXAMPLES BELOW ARE NOT REAL KEYS!!)
Like so,
PIX Serial = 405400123 converted to Hex = 1829EA3B Key to Enter = 0x1829EA3B
If the activation key is 0x36b86cee 0xb136bdee 0x20c173ee 0xf62b35ee you remove the spaces and replace them with commas, i.e. 0x36b86cee,0xb136bdee,0x20c173ee,0xf62b35ee
10. Back in the main screen click and drag the PIX firewall from the left hand column to the central workspace.
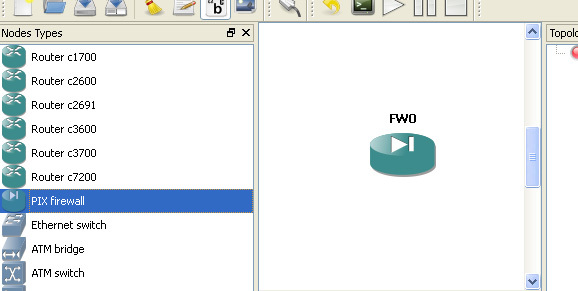
11. Right click the firewall and Select Start
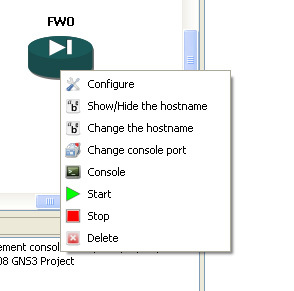
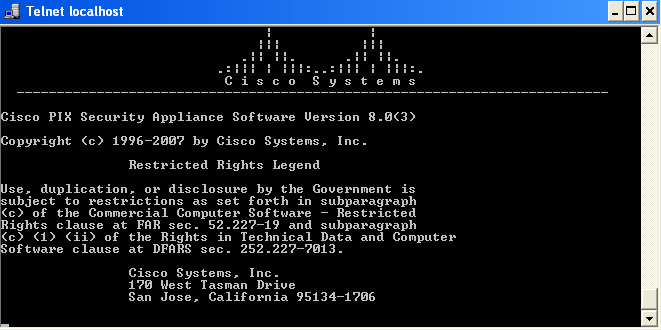
12. Right click it again and select console >and you will connect to the virtual firewall.
13. Now you have to enter the Activation key (Yes even though you have allready put it in).
Enter the following commands;
Note: NOT REAL KEYS!!
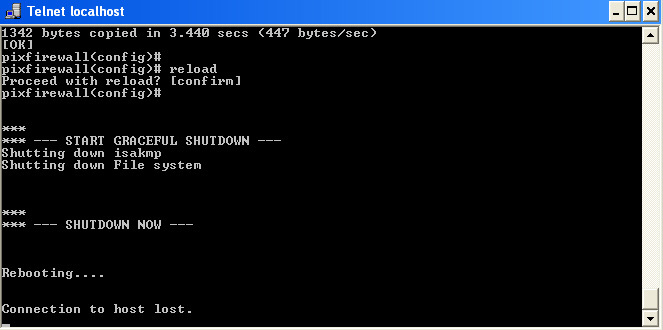
That’s you up and running,Note: the passwords will be blank. In Part 2 we will install the web management console and give the PIX a real connection.
Related Articles, References, Credits, or External Links
GNS3 Cannot Connect Network Interfaces when running on VMware vSphere