
KB ID 0000819
Problem
SSTP gives you the ability to connect to your corporate network from any location that has an internet connection, and is not filtering https. This port is usually open for normal secure web traffic. Traditional VPN connections require ports and protocols to be open for them to work, which makes a solution that runs over TCP port 443 attractive.
Thoughts: While I can see why this is a good idea, Microsoft has basically changed some existing protocols so they work on a port that wont be blocked by most firewalls. This is not a new approach, (Microsoft did it before with RPC over HTTP). I can’t help feeling that the more traffic we push over ports 80 and 443, sooner or later security/firewall vendors are going to statefully inspect/block traffic that isn’t supposed to be on that port. (If you think ‘that would never happen!’ Try running an Exchange Server through a Cisco firewall with SMTP inspection turned on). Anyway, it’s there, I’ve been asked to do a walkthrough, so read on,
Solution
I’ve got a Windows 2012 Server already setup, it’s a domain controller, and is running DNS. You don’t have to have the same server running SSTP/RRAS but in this lab environment that’s what I’m doing. In addition my remote VPN clients will get an IP address from my normal corporate LAN.
1. On the server I have two network cards installed, the first (NIC1) is the normal network connection for the server, the second (NIC2) will be the one that the remote clients get connected to (once they have authenticated to NIC1).
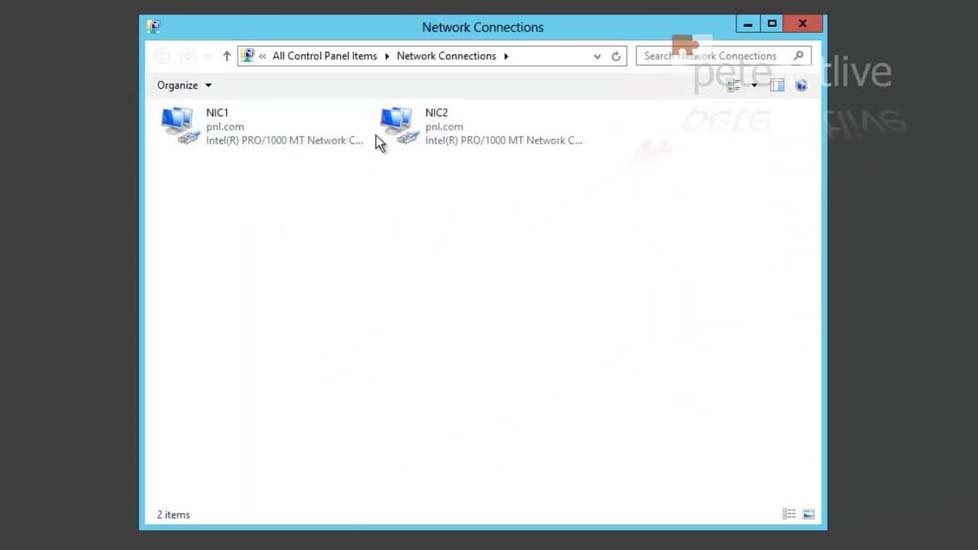
2. Make sure the Internet facing NIC has good comms, and works OK.
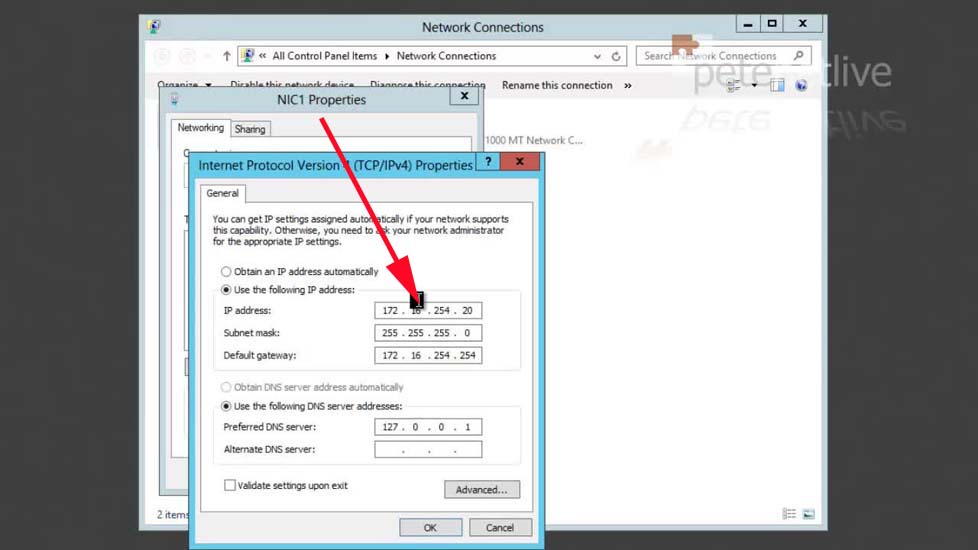
3. NIC2 as you can see, does not even need a default gateway.

Windows Server 2012 Add Certificate Services
I’m going to use a ‘self signed’ certificate, if you have purchased one, then skip this section.
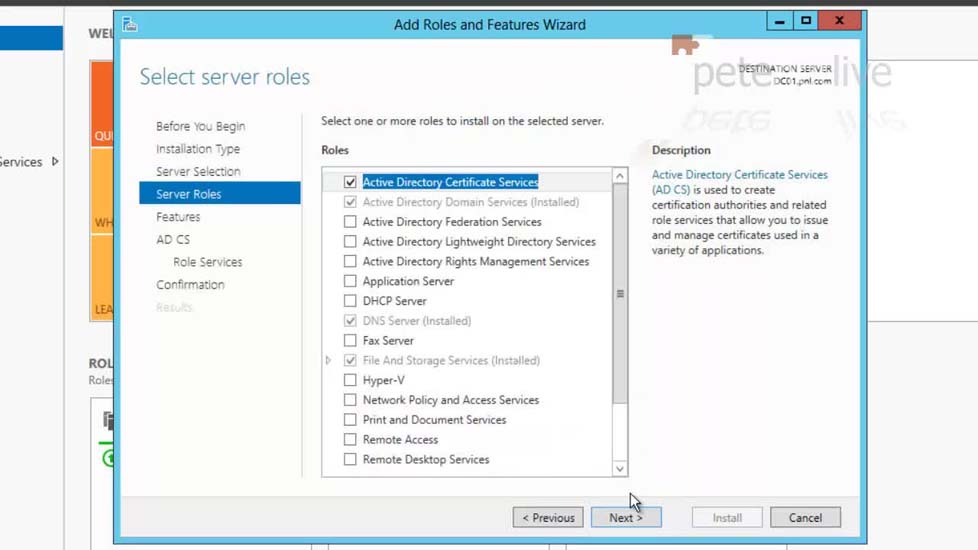
4. From Server Manager (ServerManager.exe) > Add Roles and Features > Next > Next > Next > Select > Active Directory Certificate Services.
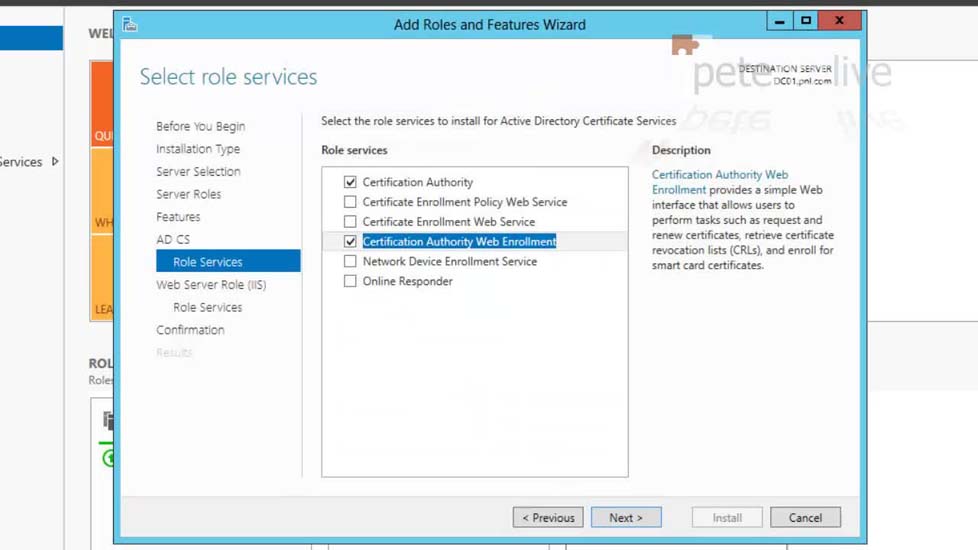
5. Add Features > Next > Next > Next > Tick ‘Certificate Authority Web Enrolment’.
6. Add Features > Next > Next > Next > Install > Close > From the warning (top right) > Configure Active Directory Certificate Services on this server.

7. Next.

8. Select both Certificate Authority and Certificate Authority Web Enrolment > Next.

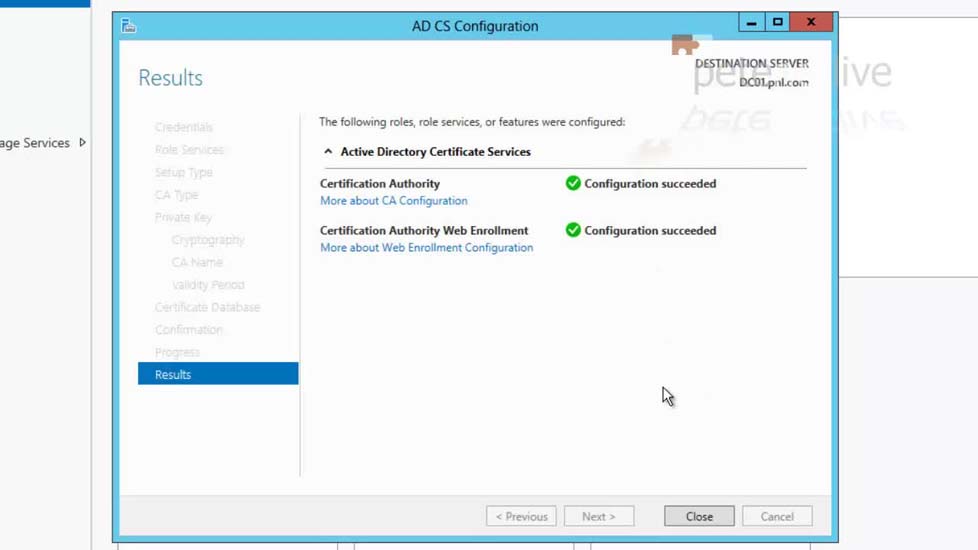
9. Next > Next > Next > Next > Next > Next > Next > Configure > Close > Close Server Manager.
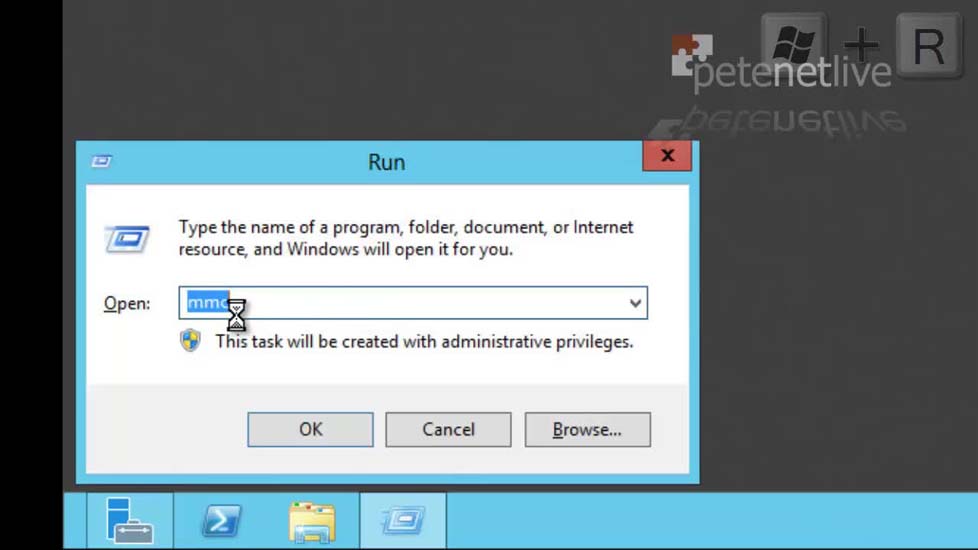
10. Open a Microsoft Management Console.
11. File > Add Remove Snap-in > Certificate Authority > Add > Local computer > Finish > OK.

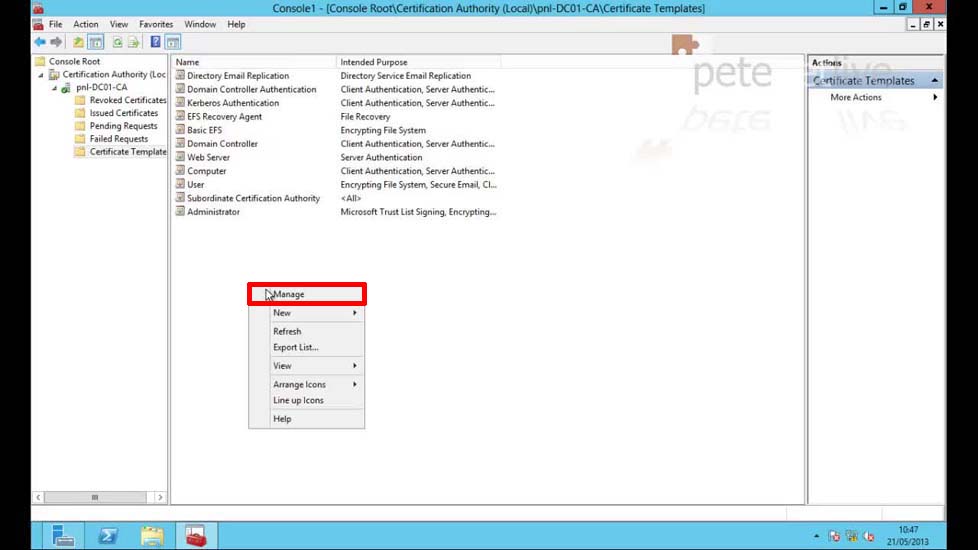
12. Drill down to Certificate Templates > Manage.
13. From the list that appears locate IPsec > Right Click > Duplicate Template.</p:
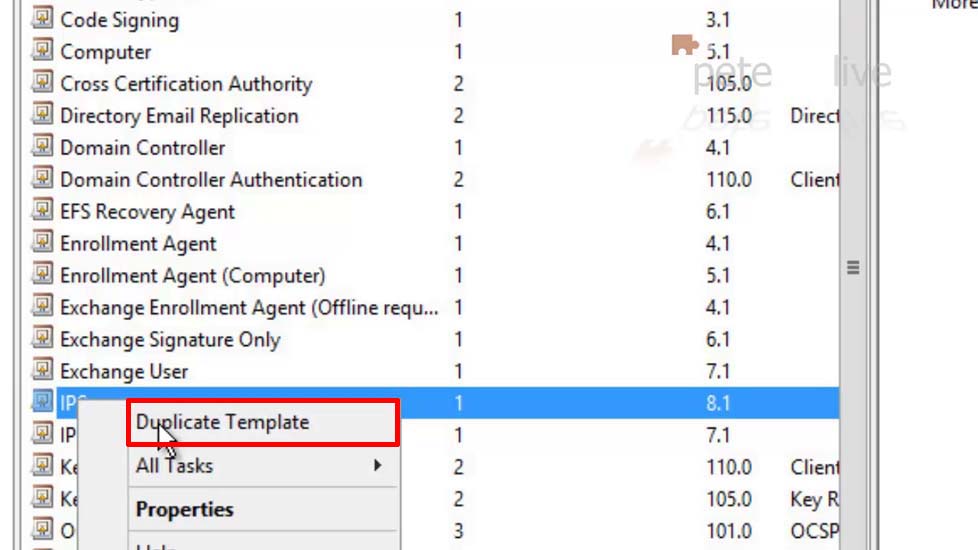
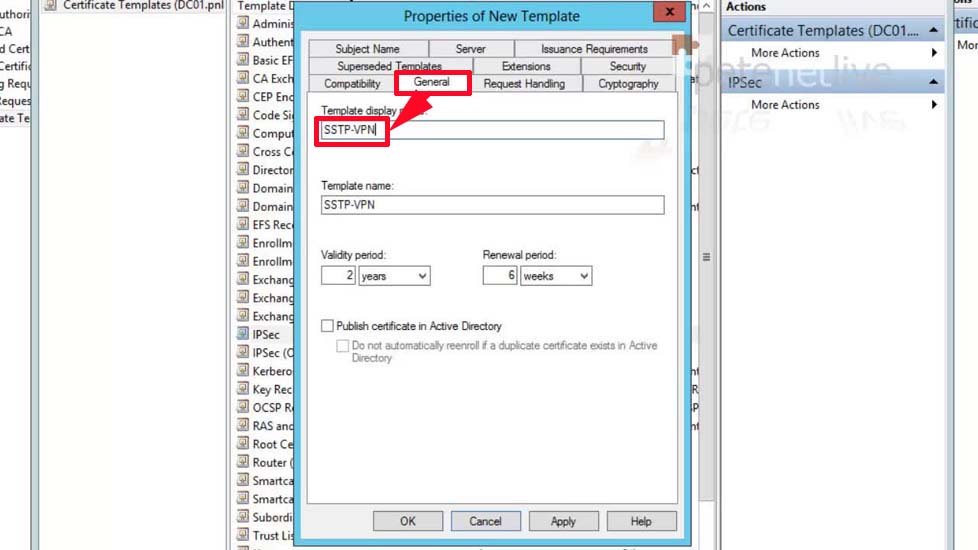
14. General tab > Change the name to SSTP-VPN.
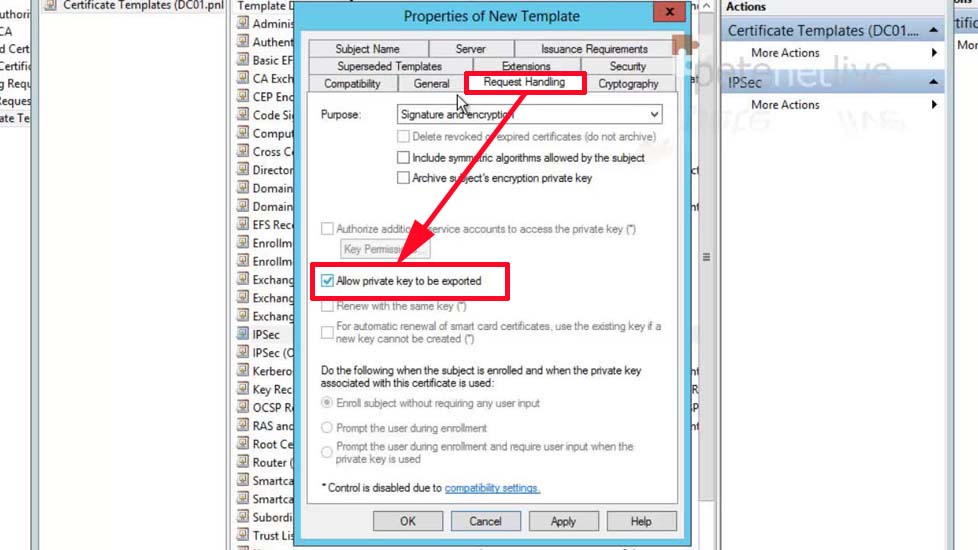
15. Request Handling tab > Tick ‘Allow private key to be exported’.
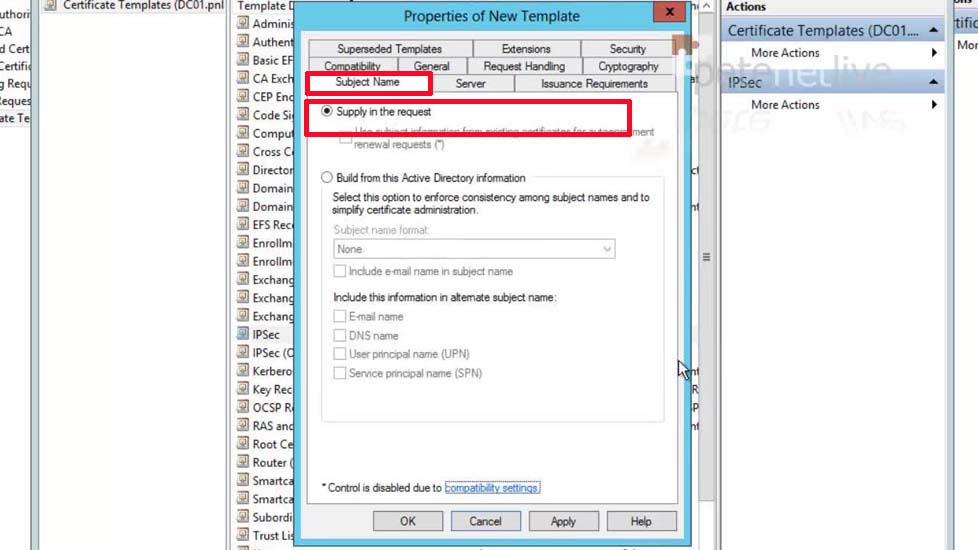
16. Subject Name tab > Tick ‘Supply the request’ > Click OK when prompted.
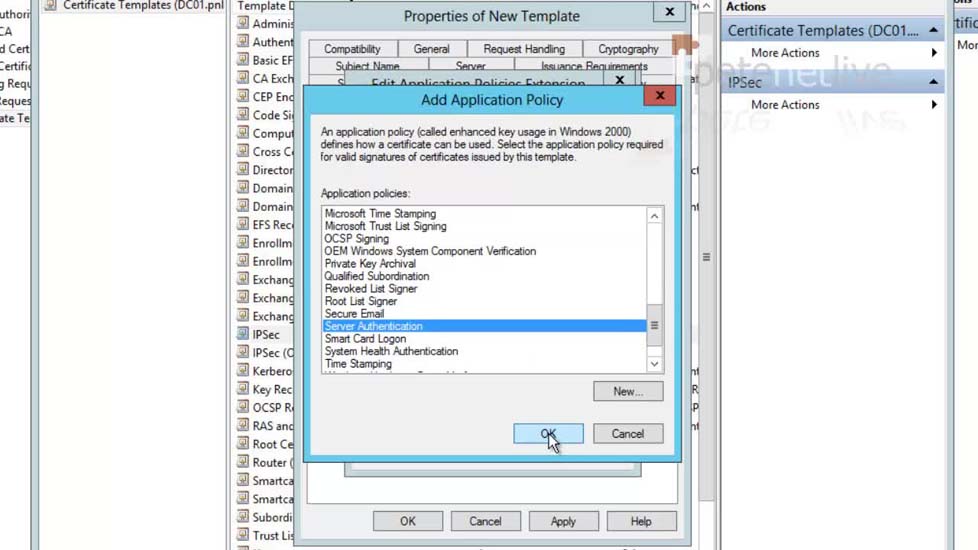
17. Extensions Tab > Select the Application Policies entry > Edit.
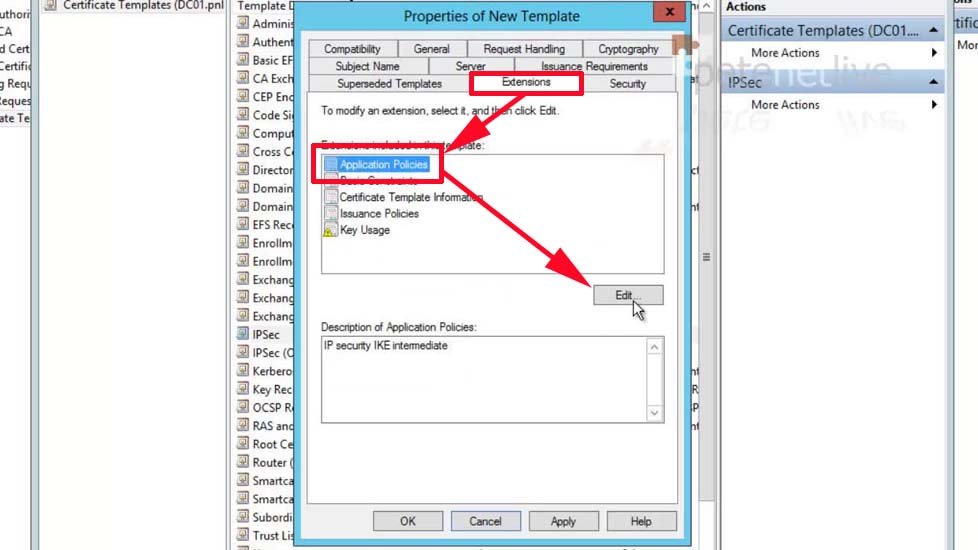
18. Add > Locate the ‘Server Authentication’ policy > OK > OK > Apply > OK > Close the Certificate Template console.
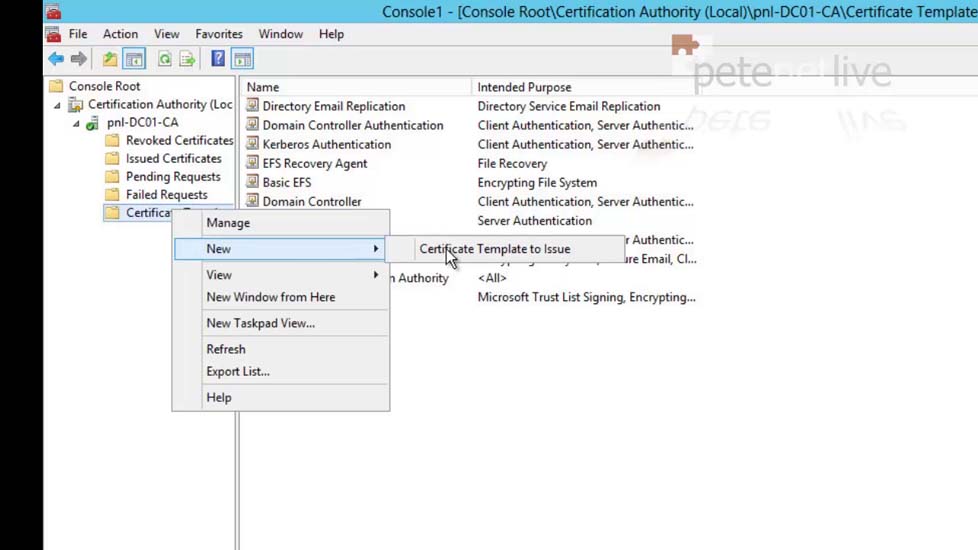
19. From the Certificate templates Folder > New > Certificate Template Issue.
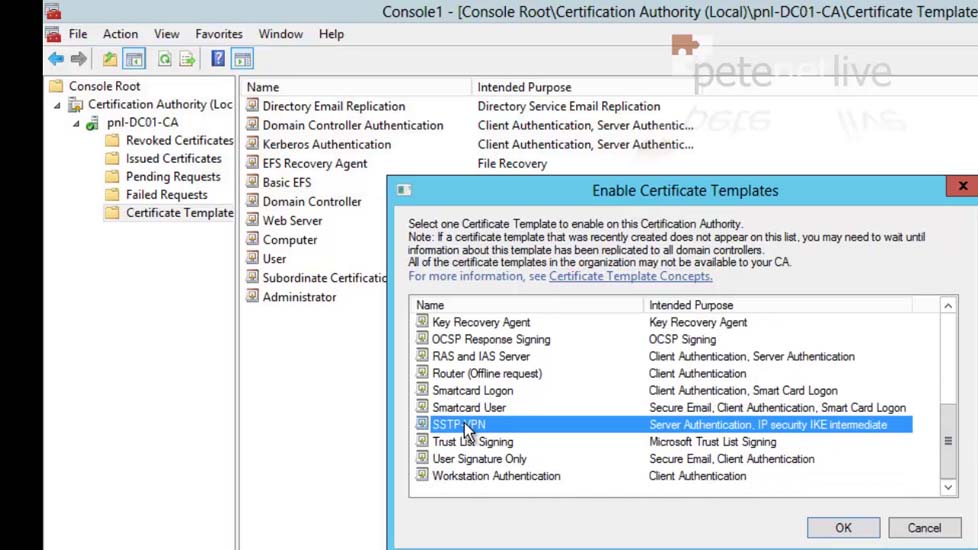
20. Locate the SSTP-VPN entry > OK > Close the MMC.
SSTP Firewall Setup
In this example my server is behind a corporate firewall. If yours is internet facing then you may simply want to add an exception/rules for allowing https/TCP443. My server will ultimately have a public IP address that resolves to its public name (vpn.pnl.com) so I just need to allow the ports in. If your server does not have its own public IP address, then you may need to setup port forwarding instead. You will see later I’m also going to use TCP 80 (normal HTTP) to access my certificate services remotely, so I’ve got that open as well. You may want to access certificate services via HTTPS instead in a corporate environment.
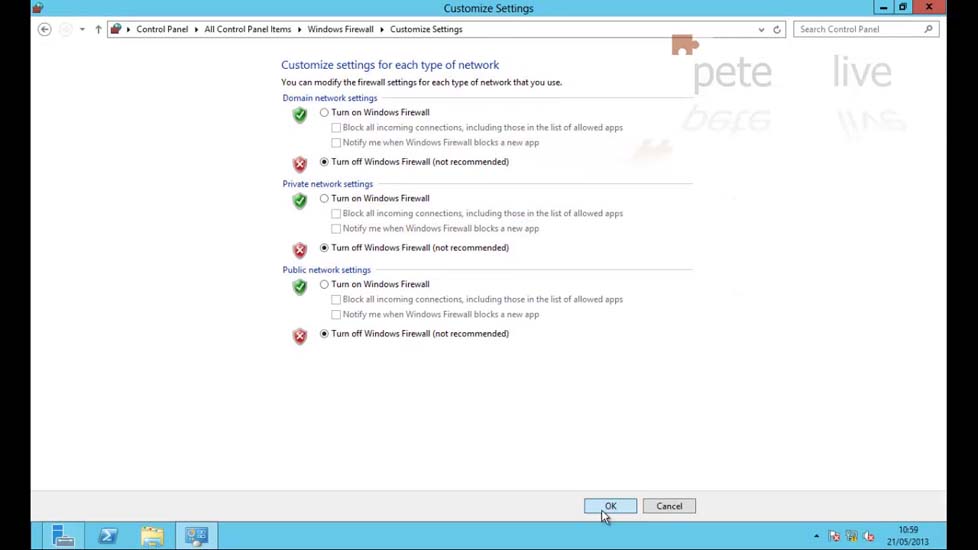
21. On this server I’m simply going to disable the firewall > Start > Run > firewall.cpl {enter} > Turn Windows Firewall on or off > Set as appropriate.
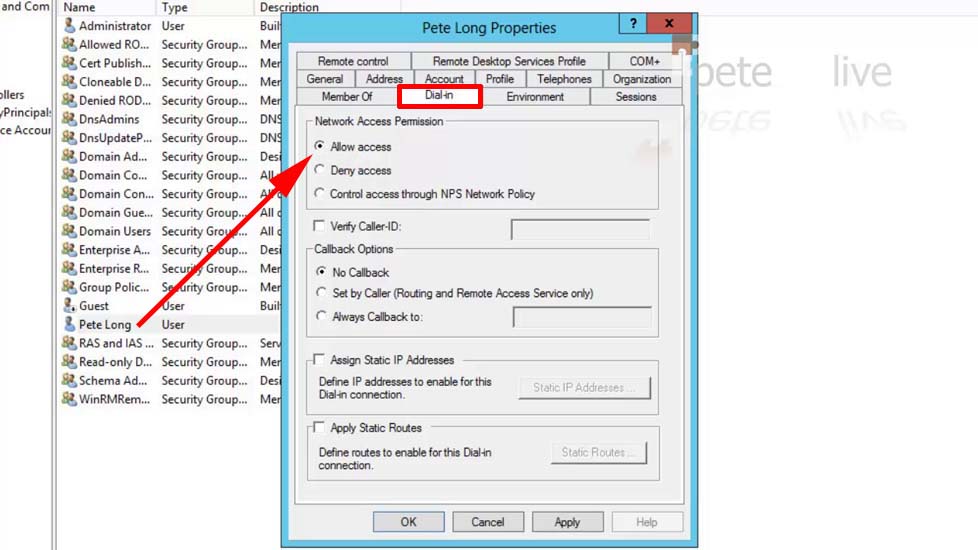
Grant users SSTP VPN/Dial-in rights.
22. Make sure that any user who wants to access the SSTP VPN has had their Dial-in set to ‘allow access’.
Windows 2012 Server Install and Configure RRAS for SSTP
23. From Server Manager (ServerManager.exe) > Add Roles and Features > Next > Next > Next > Select > Network Policy and Access Services.
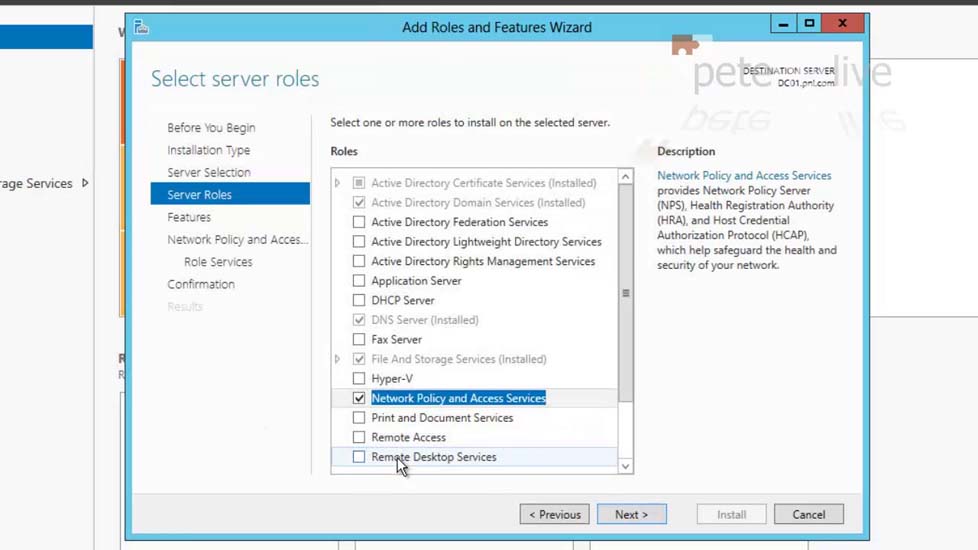
24. Add Features > Next > Next> Next > Next > Install > Close.
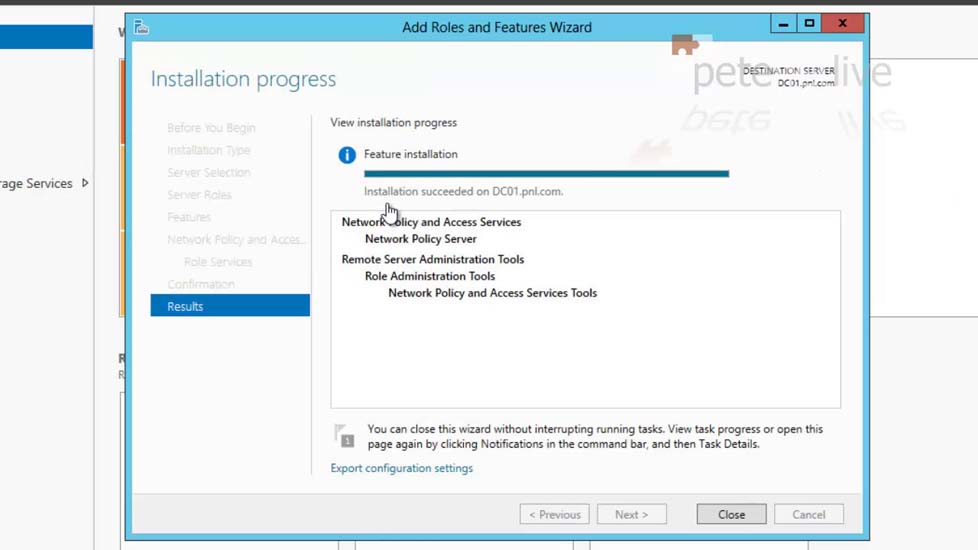
25. Back at Server Manager (ServerManager.exe) > Add Roles and Features > Next > Next > Next > Select ‘Remote Access’.
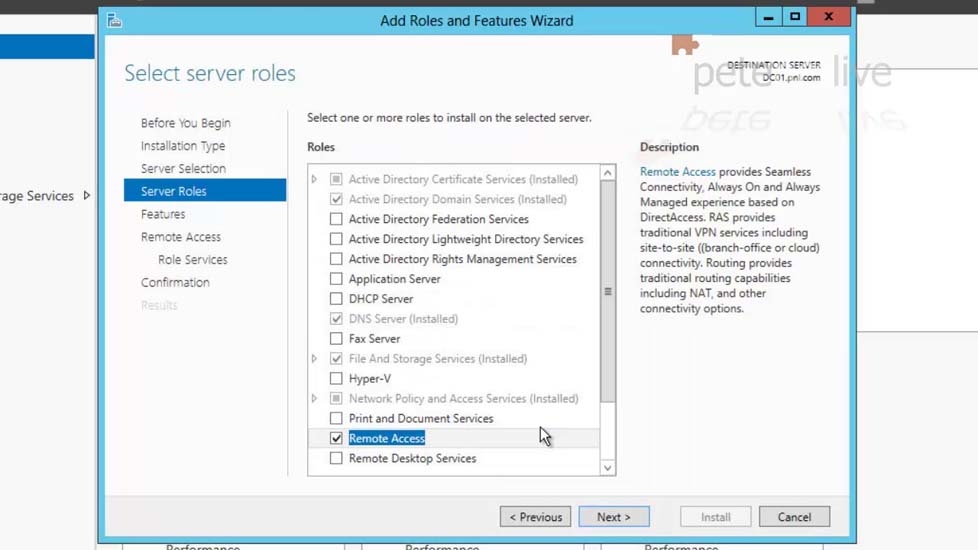
26. Add Features > Next > Next > Next > Tick ‘Routing’ > Next > Install.
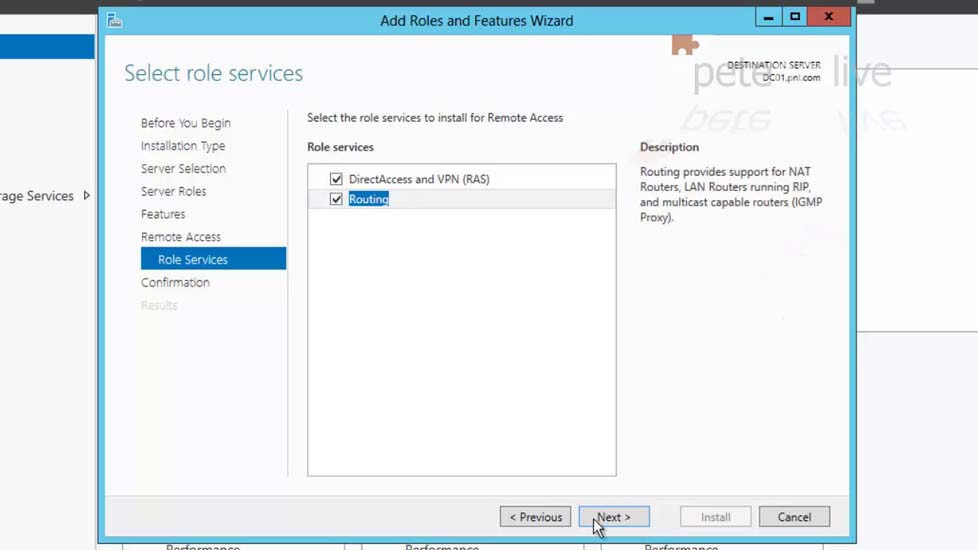
27. Close.
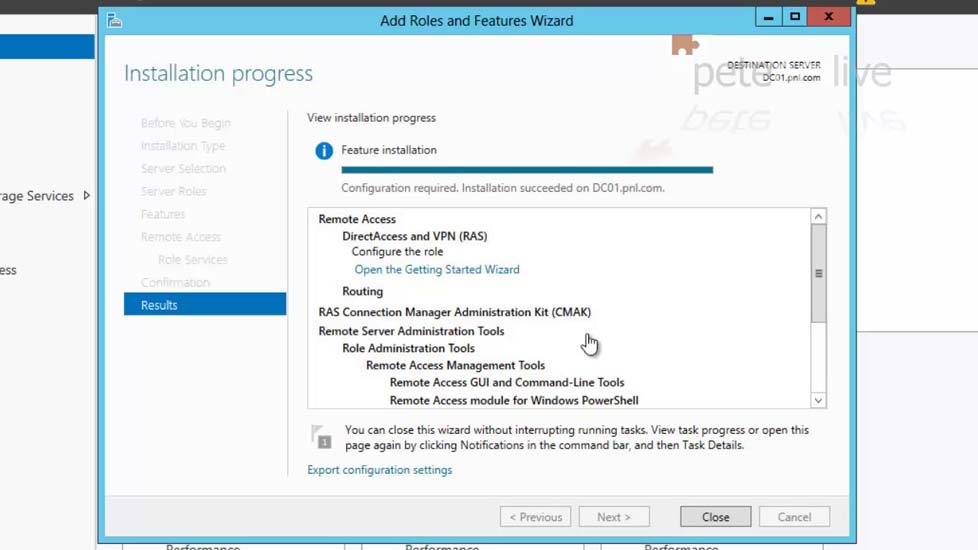
Note: At this point you may see the warning that there are additional steps to take, (to configure routing an remote access), if so you can launch and then close this wizard because we will do it manually.
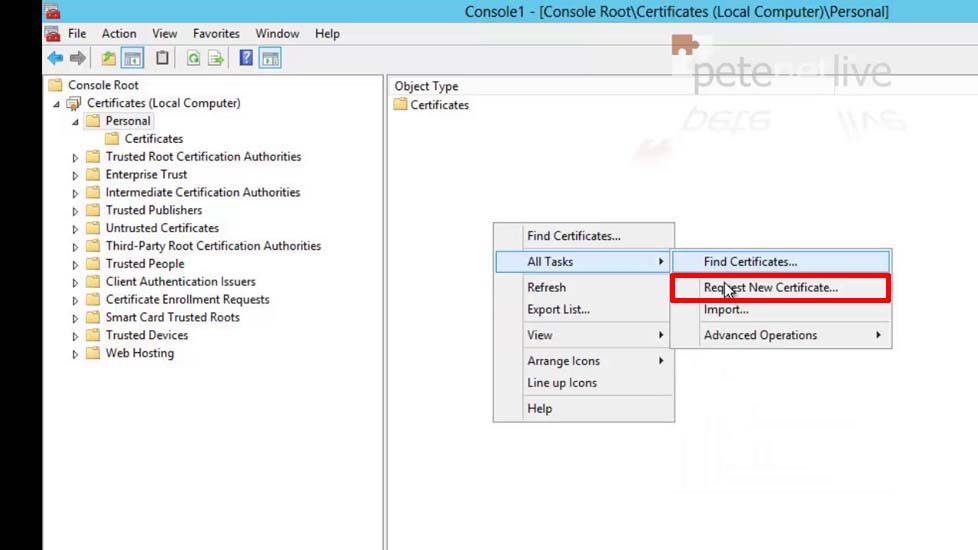
28. Close Server Manager > Open a new MMC > File > Add/Remove Snap-in > Certificates > Add > Computer account > Finish > OK.

29. Expand Personal > Certificates > All Tasks > Request New Certificate.
30. Locate the SSTP-VPN entry > Click the ‘More information required..’ link.

31. Change the Type to common name > Enter the public name of the SSTP VPN server > Add > OK.
Note: This will be the common name on the certificate, i.e. vpn.pnl.com, which will need a public A/Host record creating for it in your public DNS, (speak to your ISP or DNS hosting company). That way when your remote clients go to https://vpn.pnl.com they wont get an error, (providing you imported the root cert correctly on THAT machine).

32. Tick the certificate > Enrol.

33. Finish > Close the MMC.

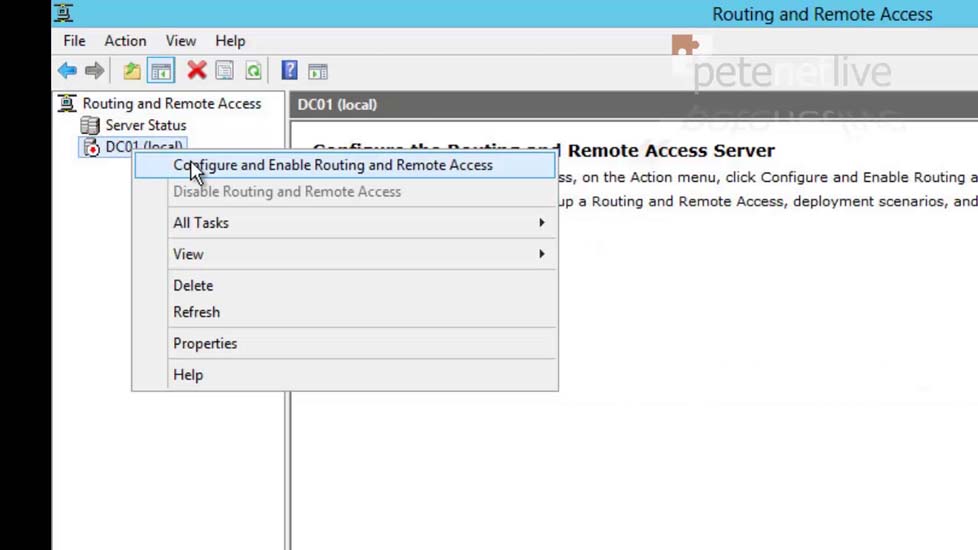
34. Windows Key+R > rrasmgmt.msc > OK.
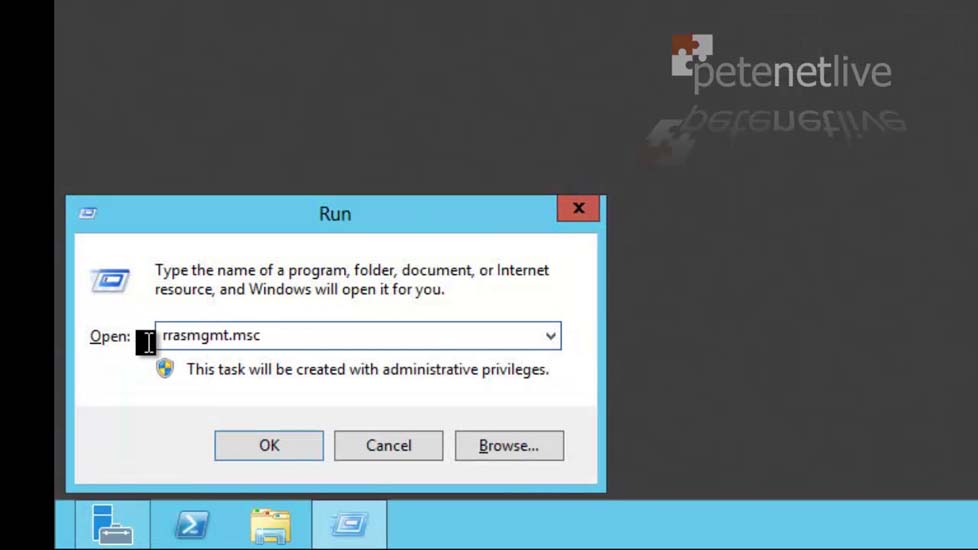
35. Right click the server > Configure and Enable Routing and Remote Access.
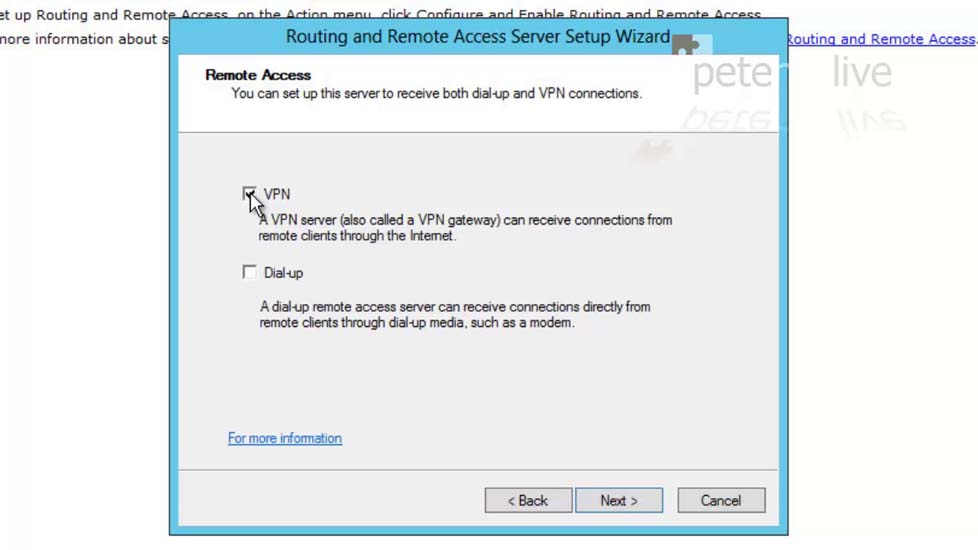
36. At the Wizard > Next > Next > Tick VPN > Next.
37. Select NIC1, In this case I’m unticking the ‘Enable security’ option, (or is disables RDP and locks the NIC down) > Next.

38. I’m going to use this server so select the bottom option > Next.

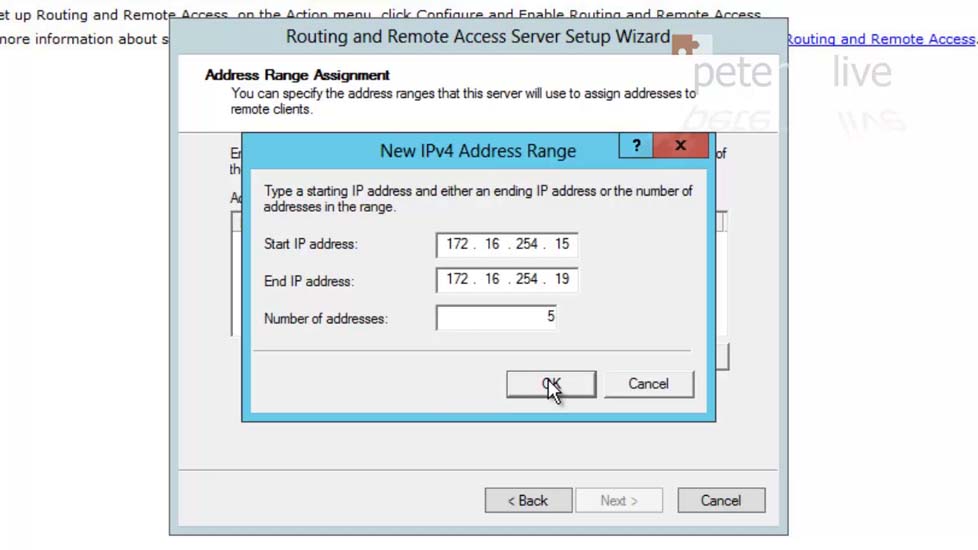
39. New > Create a range of IP addresses. (Note: You may need to exclude these from your existing DHCP scope) > OK > Next.
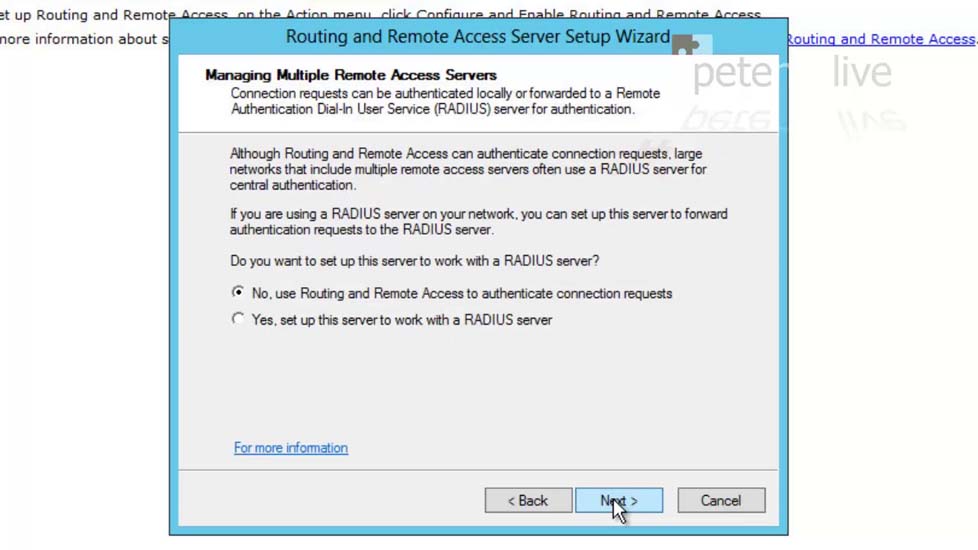
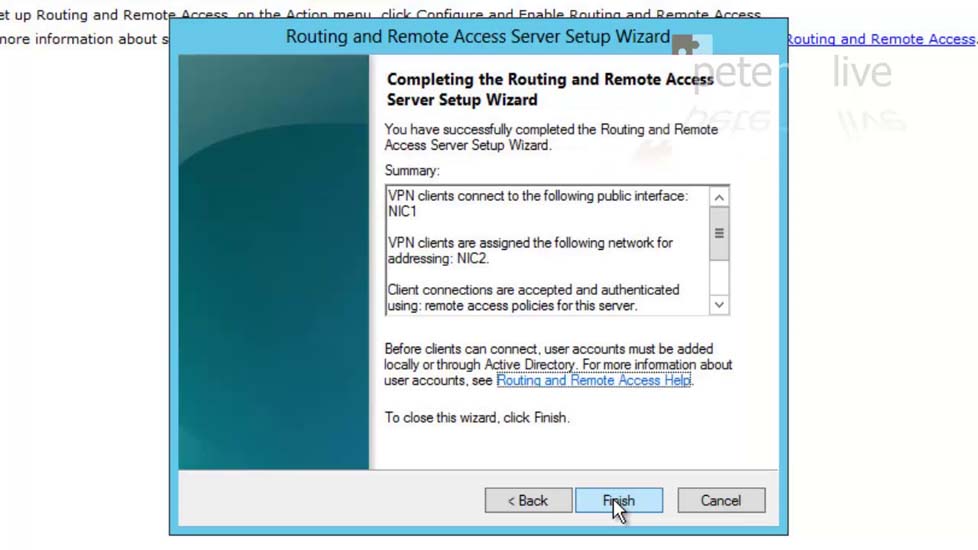
40. Next.
41. Finish > OK > OK > At this point you will see the services restarting.
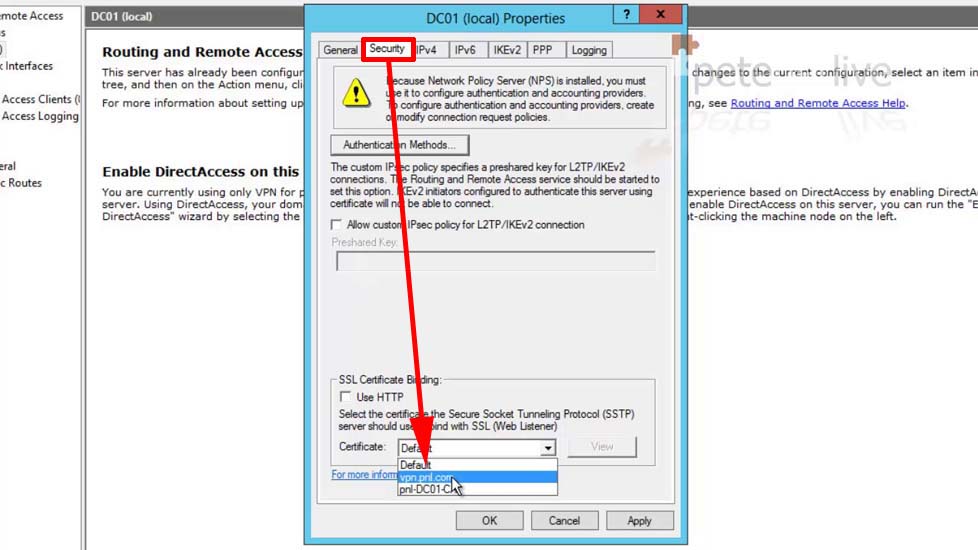
42. Right click the server > Properties.

43. Security tab > Change the certificate to the one we created > Apply > Yes > OK > Close the console.
Windows Server 2012 – Connect to SSTP from a Remote Client
At this point I have the correct ports open on the firewall, and I’m on a Windows 7 client outside the corporate network.
44. Because we are using a self signed certificate, we need to get the client to trust it. We can give the user the root certificate, or they can connect and download it, here I’m connecting to the Certificate Services web portal. Note: Remember that’s on the same server.

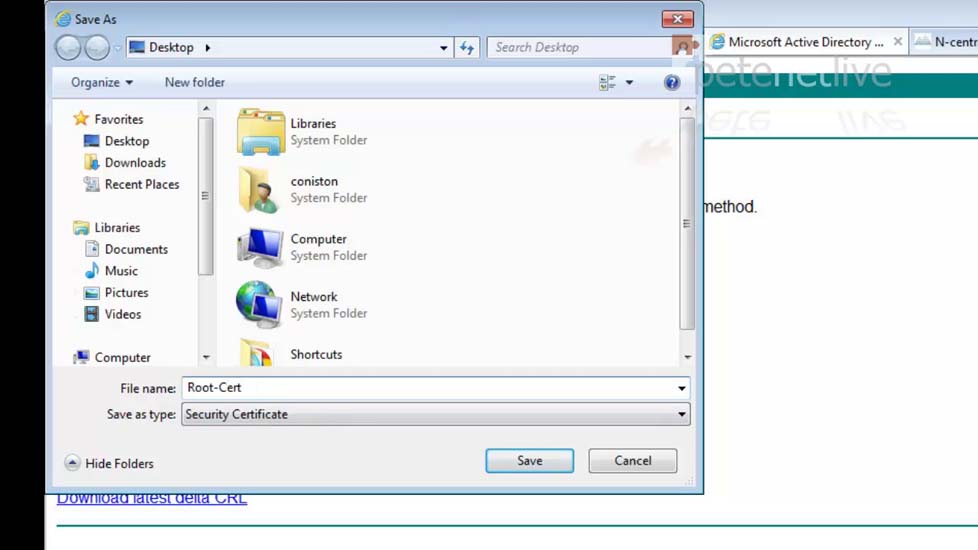
45. Supply your domain credentials > OK > Download a CA Certificate > Download CA Certificate > Save As.

46. Put the certificate somewhere, and call it something sensible.
47. Now launch an MMC on the client machine, and add the certificate snap-in (for ‘computer account’).
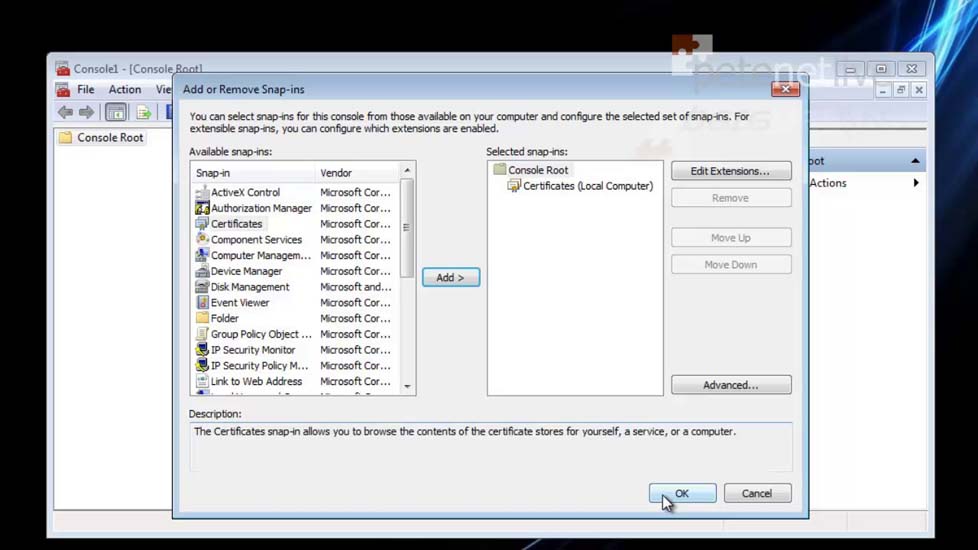
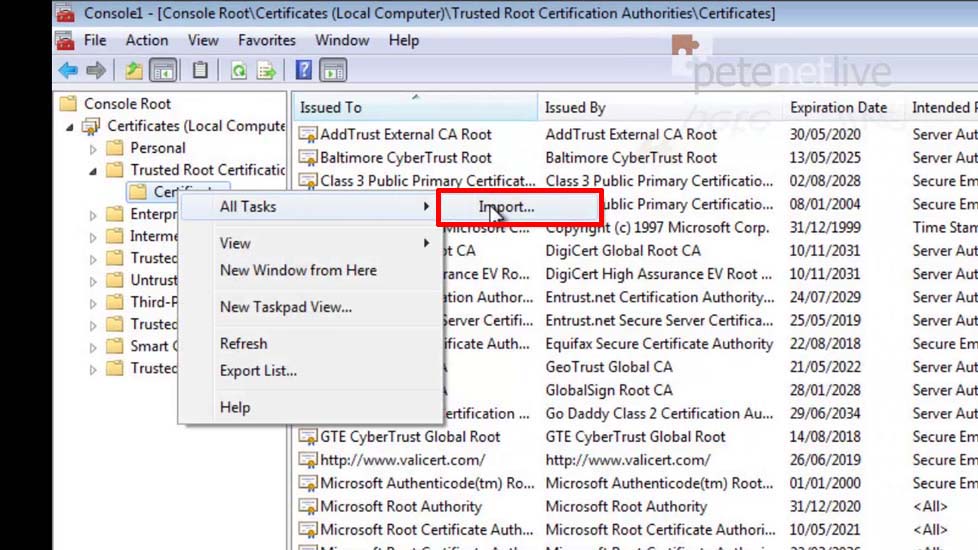
48. Drill down to Trusted Root Certification authorities > Certificates > All Tasks > Import > Navigate to, and select the certificate you just downloaded.
Note: If you double click the cert and import it manually, then it gets put into the user account NOT the computer account, and this will cause you problems. (Error 0x800b0109).
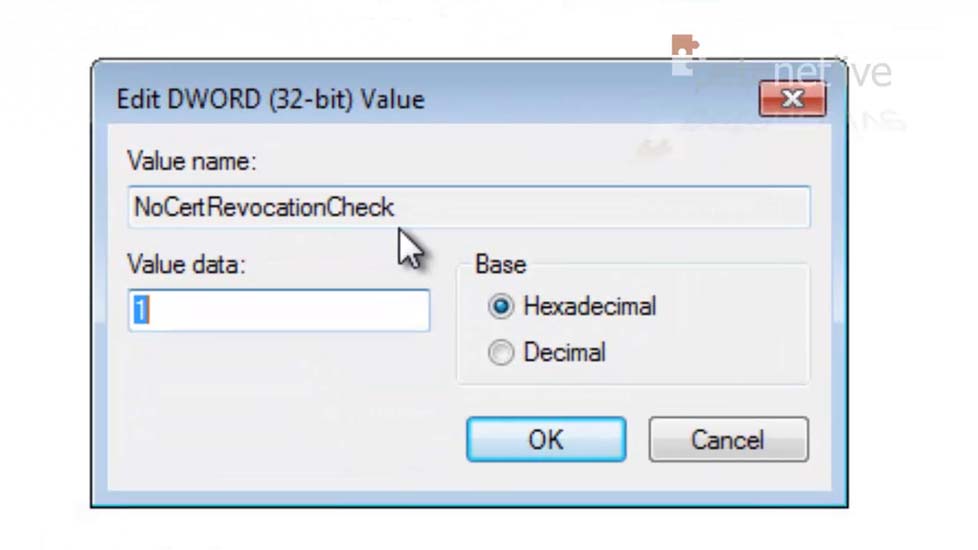
Registry Key Required for SSTP Access
The title is not really true, but as we are using a self signed certificate the client cannot check the CRL for the CA. Even with some purchased certificates you may need to to do this.
49. Open the registry editor and navigate to:
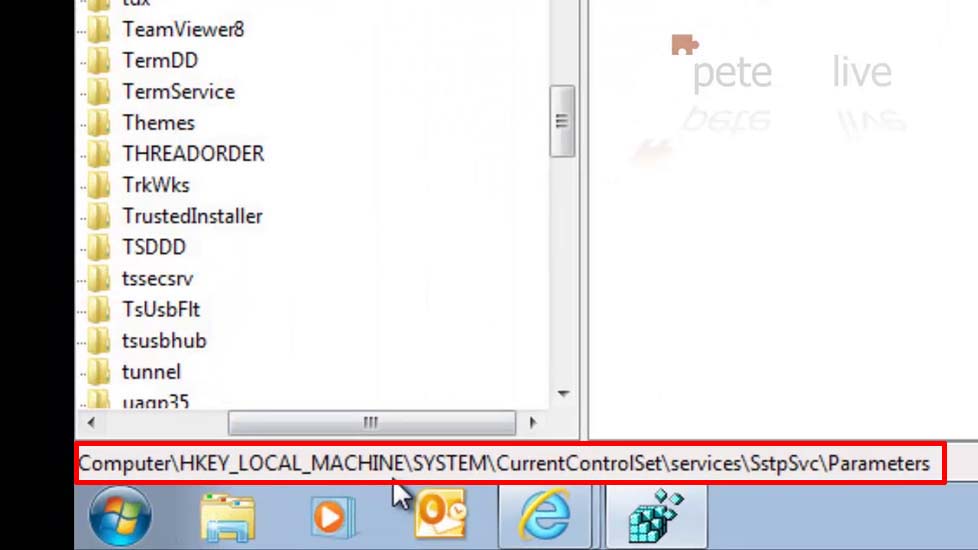
50. Create a new 32 bit DWORD called NoCertRevocationCheck and set its value to 1 (one).
Setup a SSTP VPN Connection
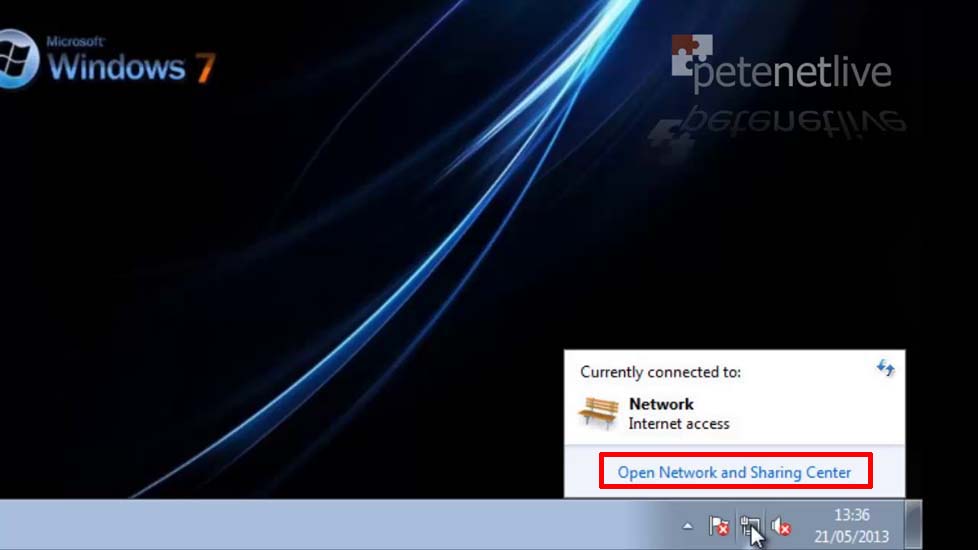
51. Open the Network and sharing Center.
52. Setup a new connection or network.

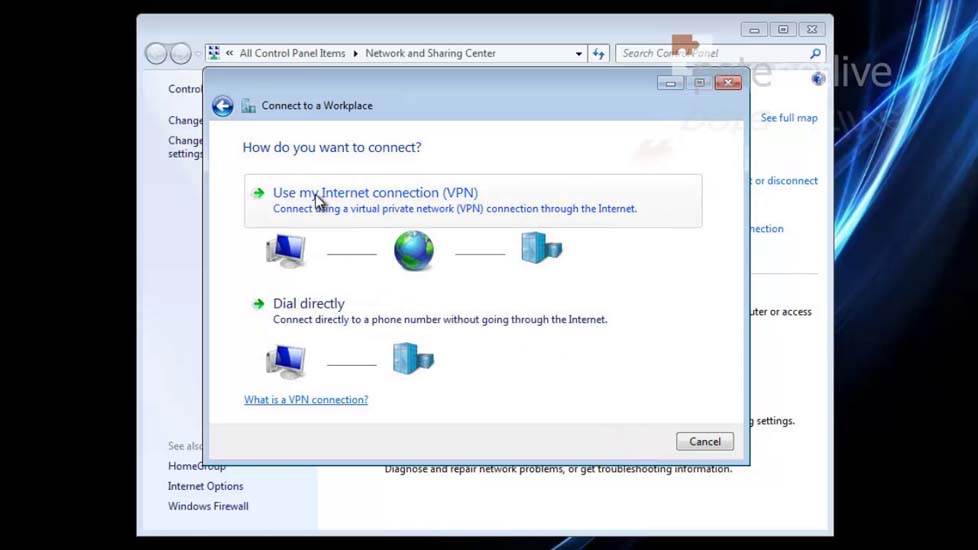
53. Connect to a workplace.

54. Use my Internet Connection.
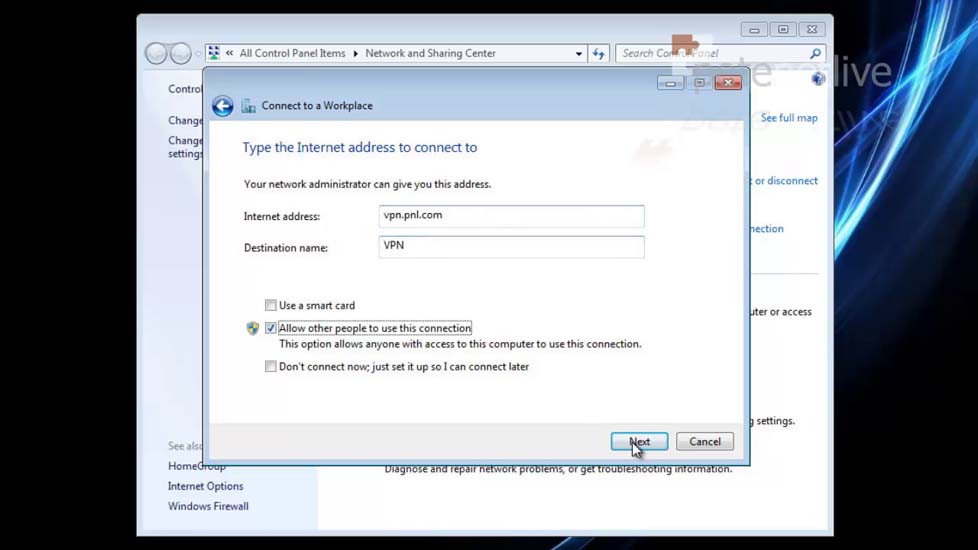
55. Supply the Internet Address (that matches the common name you used above) > Next.
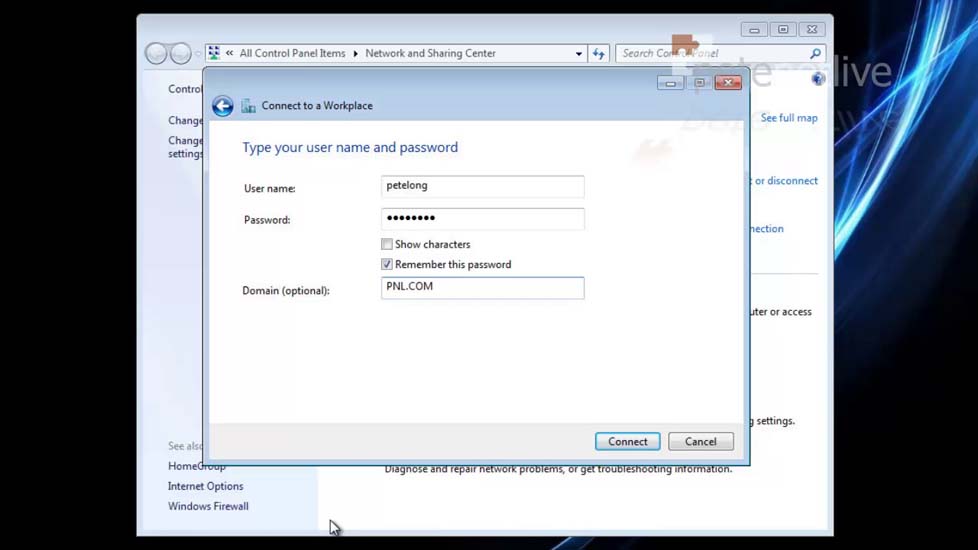
56. Supply your domain credentials > Connect.
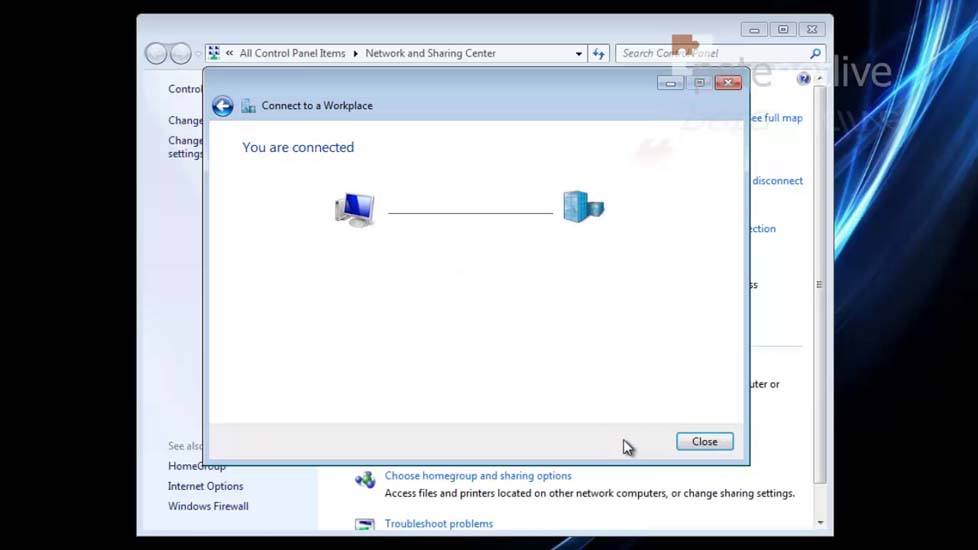
57. Connected successfully.
Note: If it fails at this point, it usually gives you an error code you can Google, or it gives you the option of logging for you to troubleshoot.
58. Just to prove I’m connected, this client can ping the SSTP servers private address.

Related Articles, References, Credits, or External Links
NA