
Cisco ASA to Juniper SRX Site to Site VPN
KB ID 0000710
Problem
You want to establish a site to site VPN from a site with a Cisco ASA firewall, to another site running a Juniper SRX firewall. I had to do this this week, and struggled to find any good information to help.
In the example below I’m configuring the whole thing from a laptop (172.16.254.206) that’s on the Juniper’s site. Use the diagram below, and substitute your own IP addresses and subnet addresses, to get a workable solution for your site.
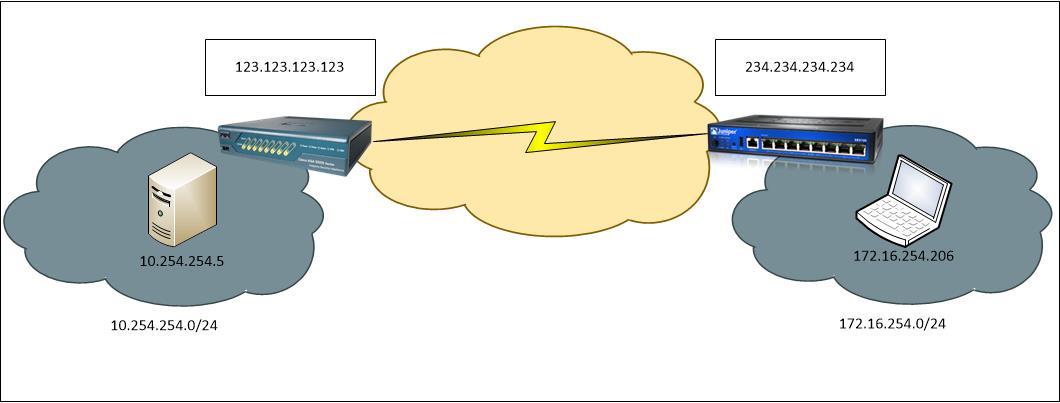
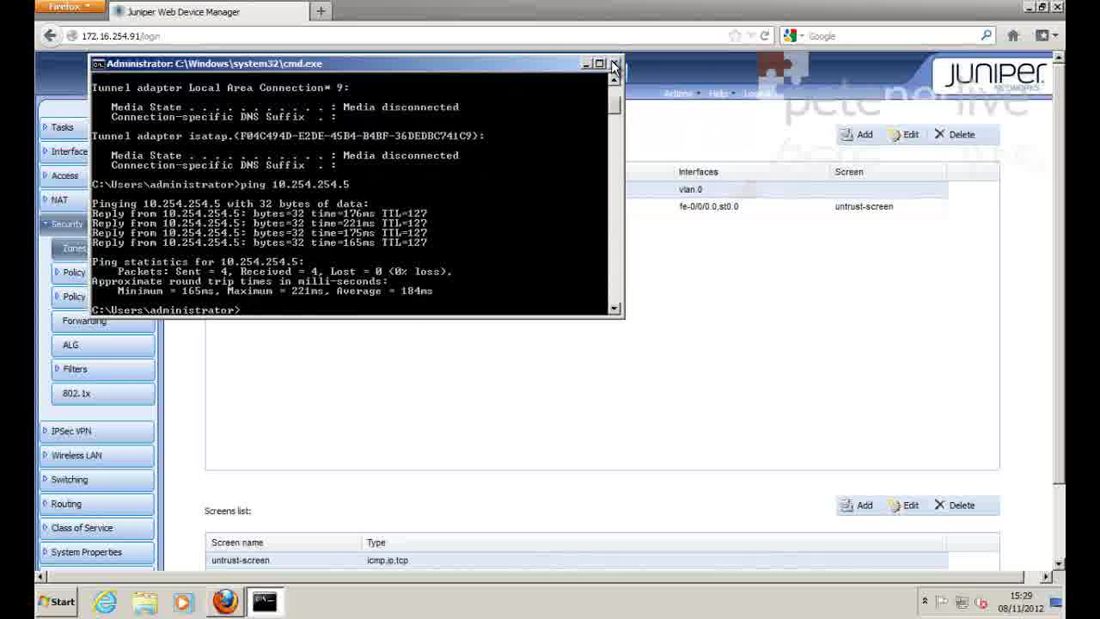
When the process is complete, I will test it by pinging the host behind the Cisco ASA on the remote site (10.254.254.5).
Solution
Before you begin, I will assume both firewalls are functioning properly and the clients behind them can access internet services (where allowed) through them already.
Step 1 – Configure the ASA
Model used Cisco ASA 5505 v8.4 (ASDM 6.4)
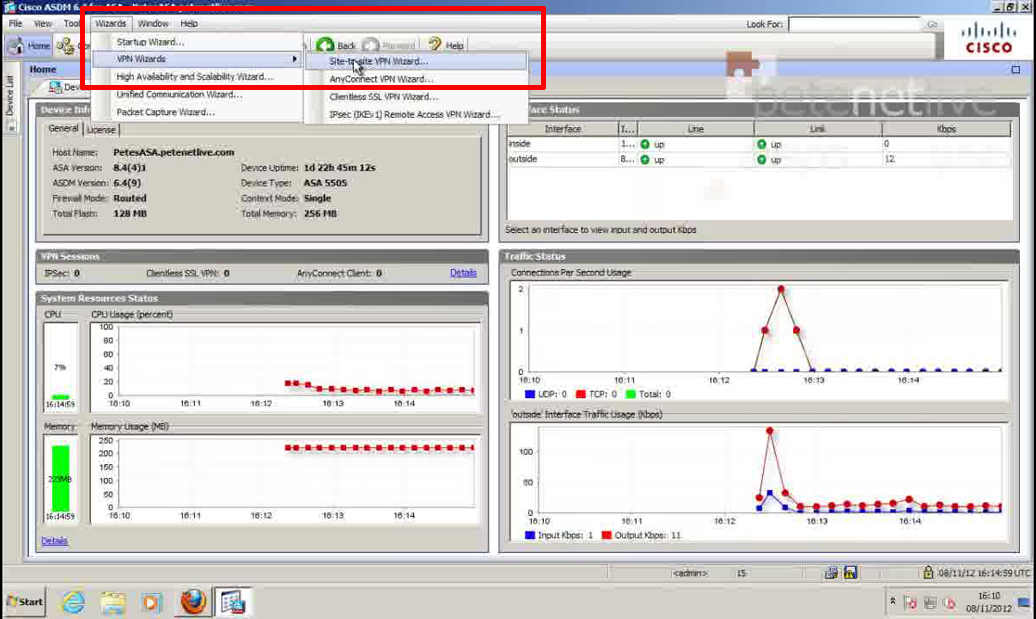
1. Connect to the ASDM > Wizards > VPN Wizards > Site-to-site VPN Wizard.
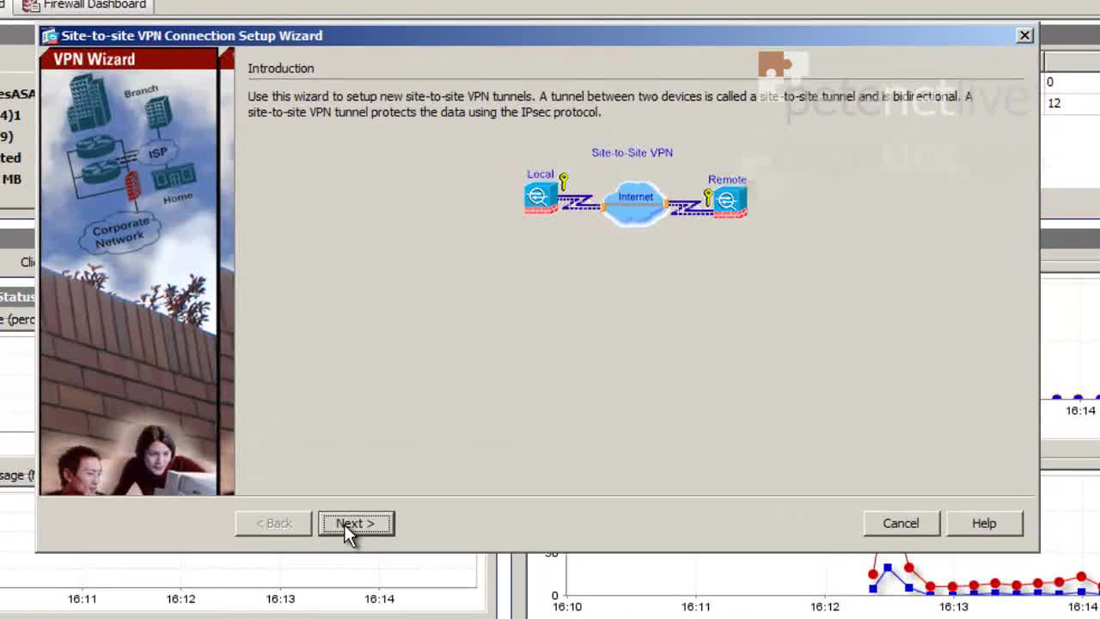
2. Next.
3. Enter the public IP address of the Juniper Firewall > Next, (Note: I’m assuming the VPN is terminated on the outside interface, if not change it).

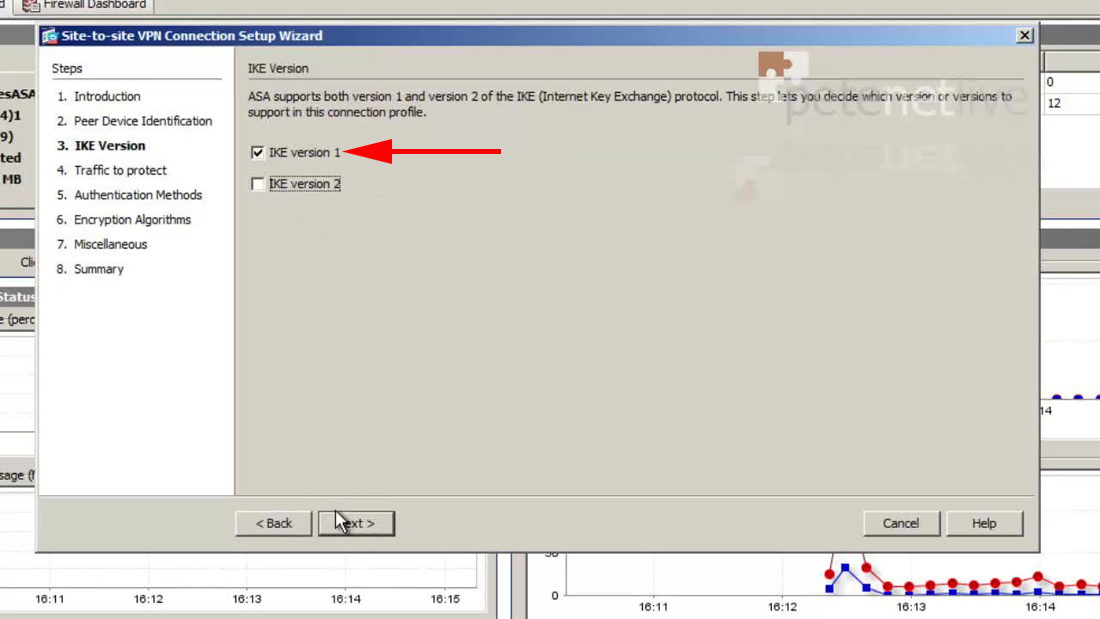
4. IKE version 1 > Next.
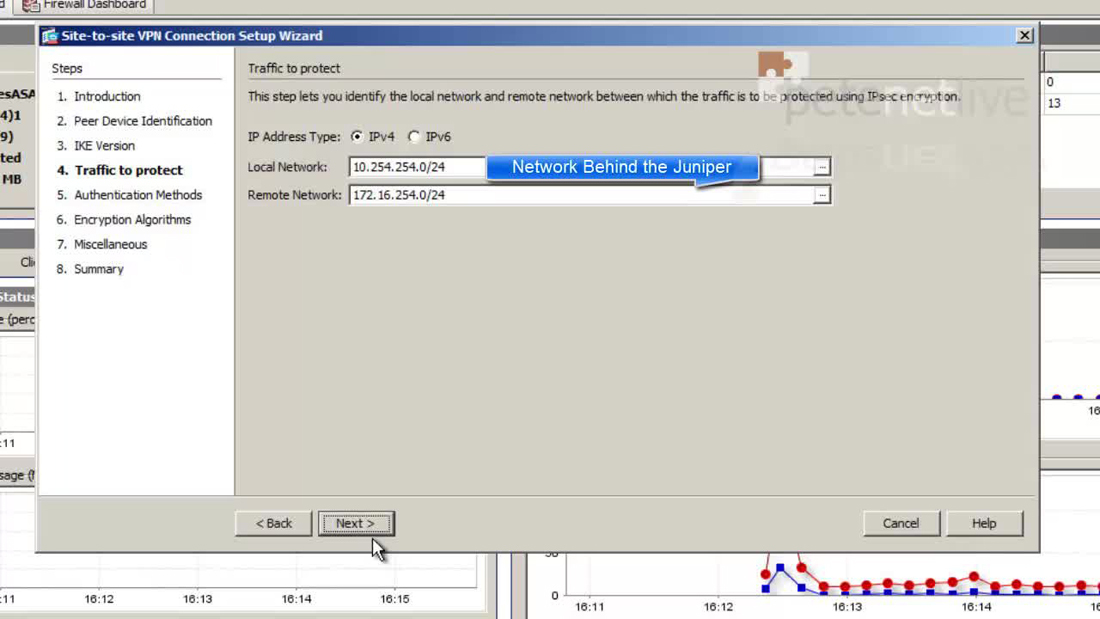
5. Enter the Local (behind the ASA) network > Then the Remote (behind the Juniper) network > Next.
Note: You can type them in, but if you use the pick-list button you can select ‘inside-network’ for the local, and define a network object for the remote network.
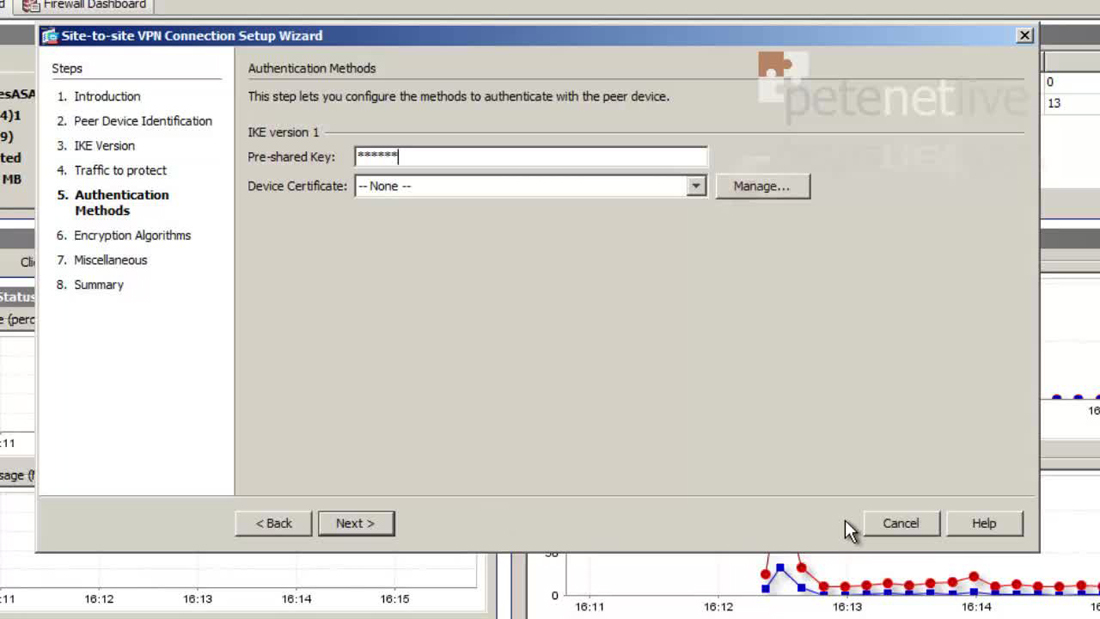
6. Enter a pre shared key, (remember this, you need to enter it on the Juniper).
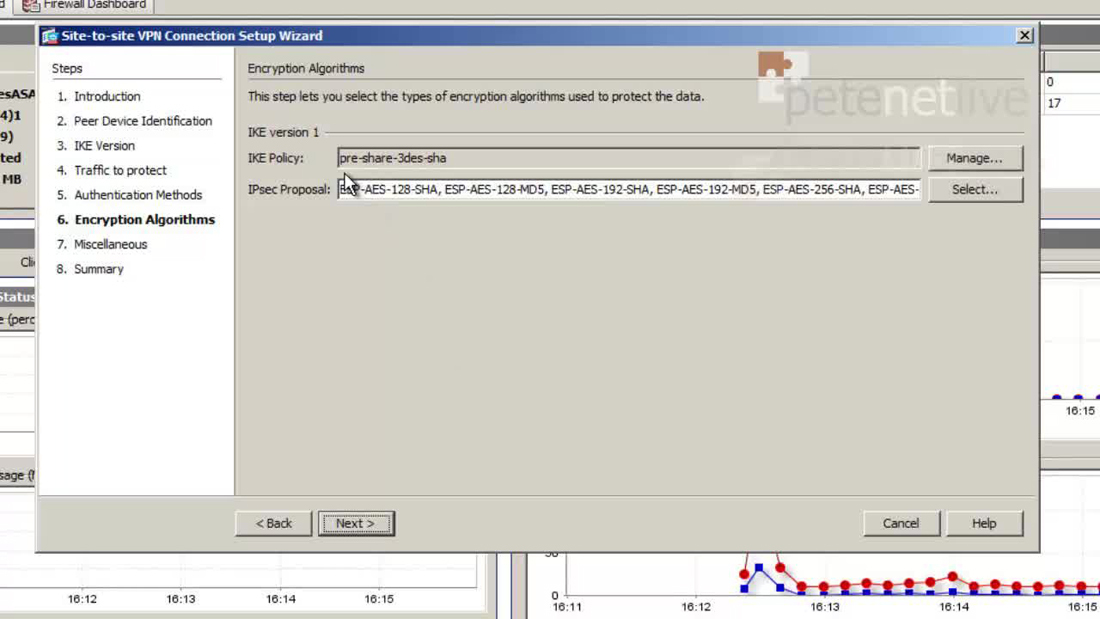
7. Accept the default of 3DES and SHA1 > Next.
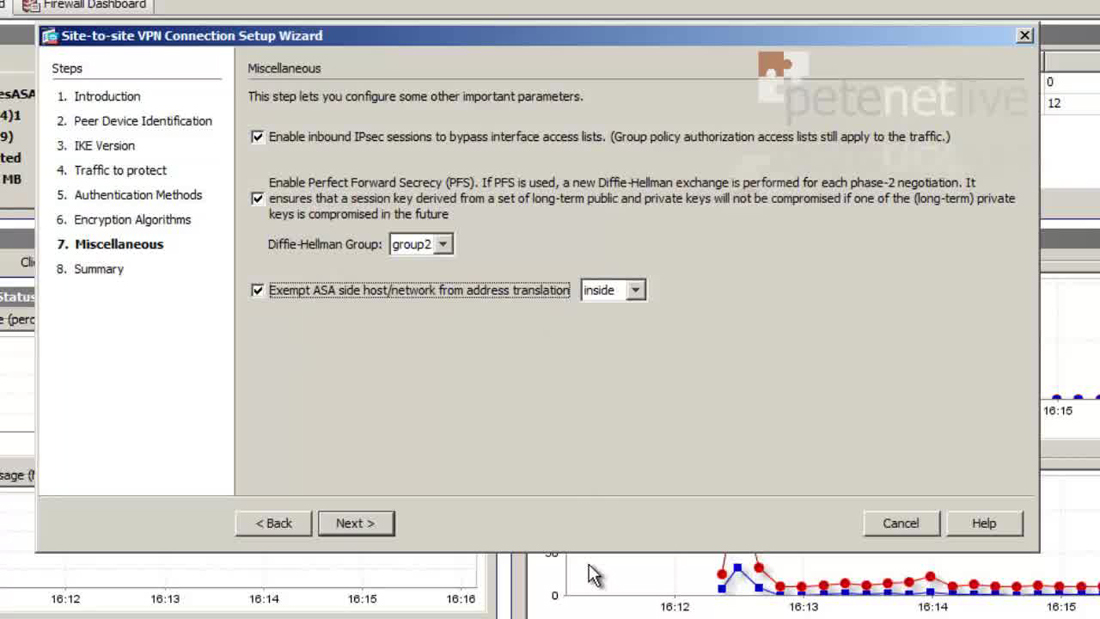
8. Enable PFS > Tick the box to exempt traffic from NAT > Next.
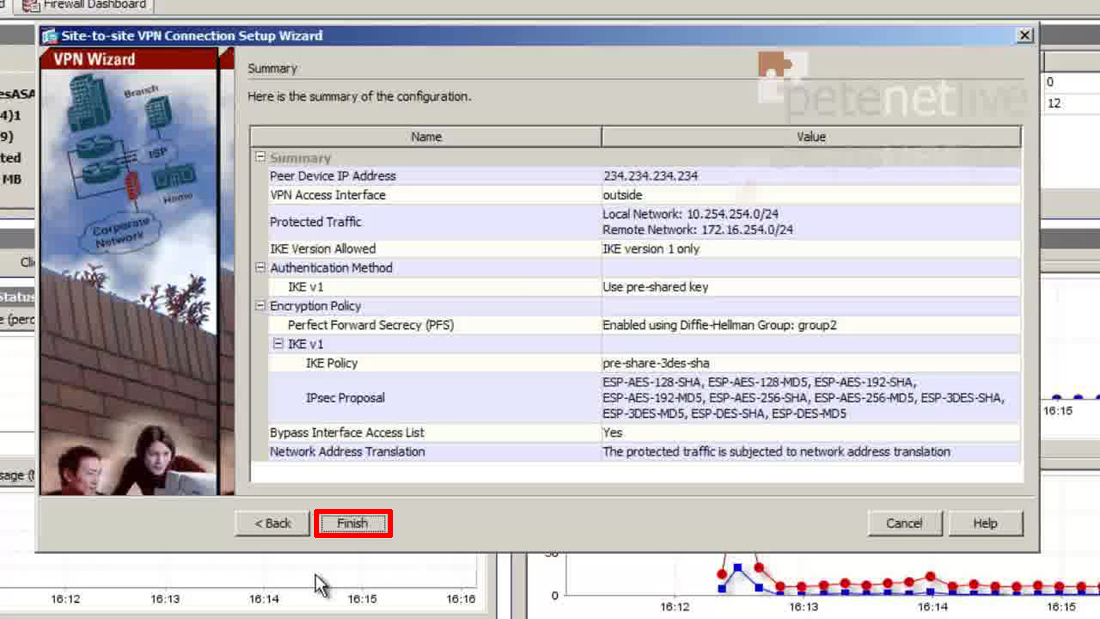
9. Review the settings > Finish
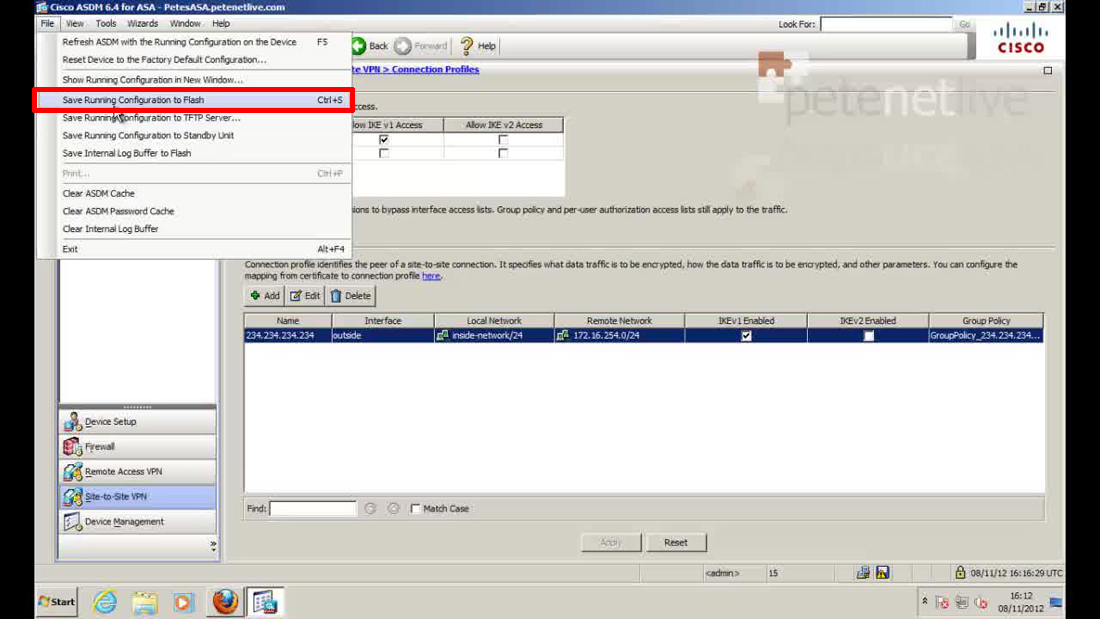
11. Save the changes > File > Save running Configuration to Flash.
Step 2 – Configure the Juniper SRX (Route Based VPN)
Model used SRX100B version 11.2R4.3
The SRX support two types of VPN
- Route based VPN – VPN selection is done based on the route. In this you define a route pointing to the tunnel interface (st0 interface) bound to the VPN.
- Policy based VPN – VPN is selected based on the policy.
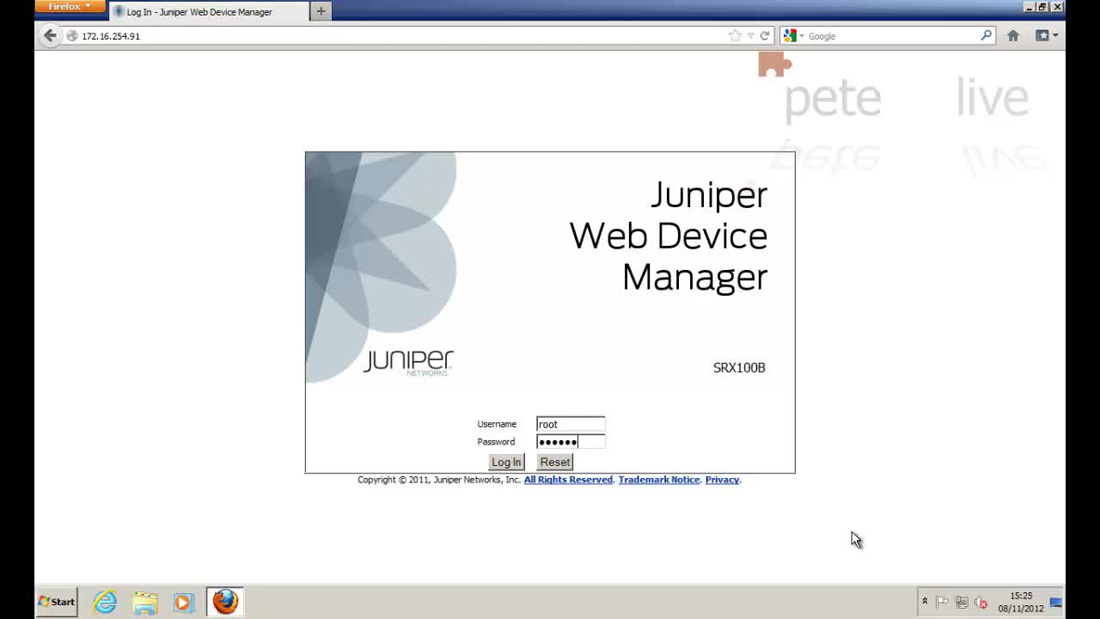
12. Log onto the Juniper Web Device Manager.
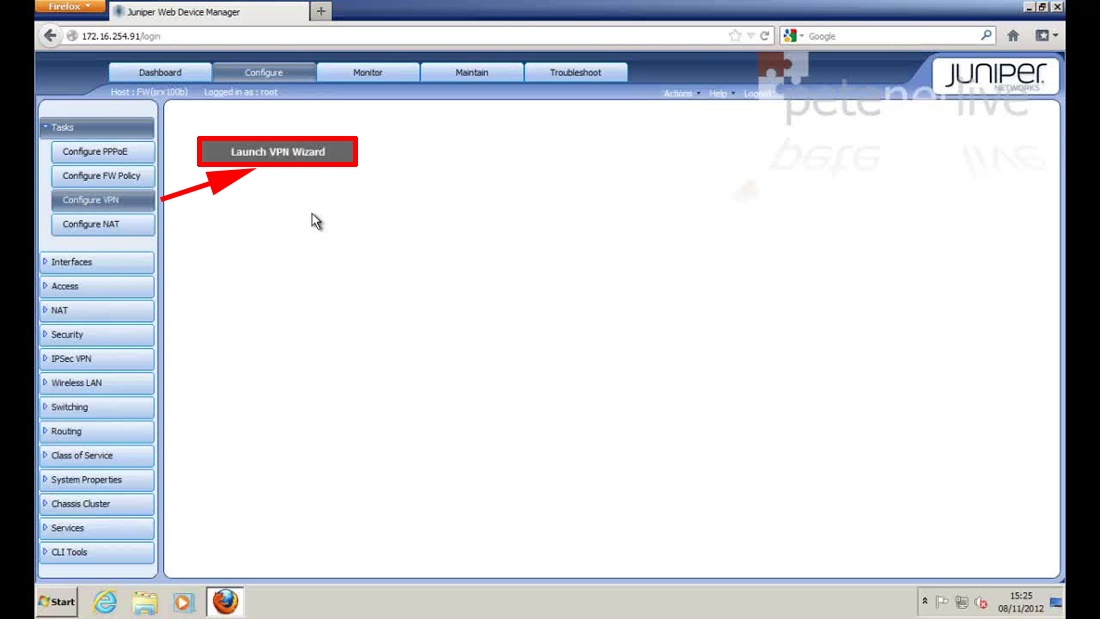
13. Tasks > Configure VPN > Launch VPN Wizard.
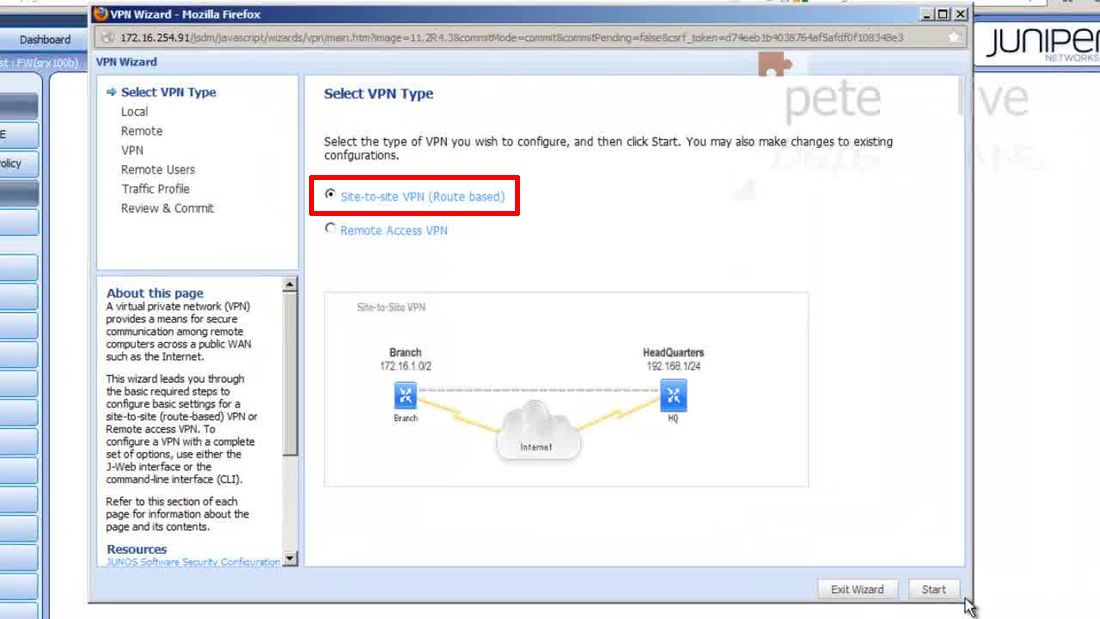
14. Accept the default of Site-to-site > Start.
15. Give the tunnel a name > Set the local zone to trust > Add in the local subnet (behind the Juniper) > Name the Secure Tunnel Interface (just put in a zero) > Set the secure tunnel zone to Untrust > Enter the physical address the VPN will be terminating on, (usually the fe0/0/0.0 interface, but it does not have to be) > Next.
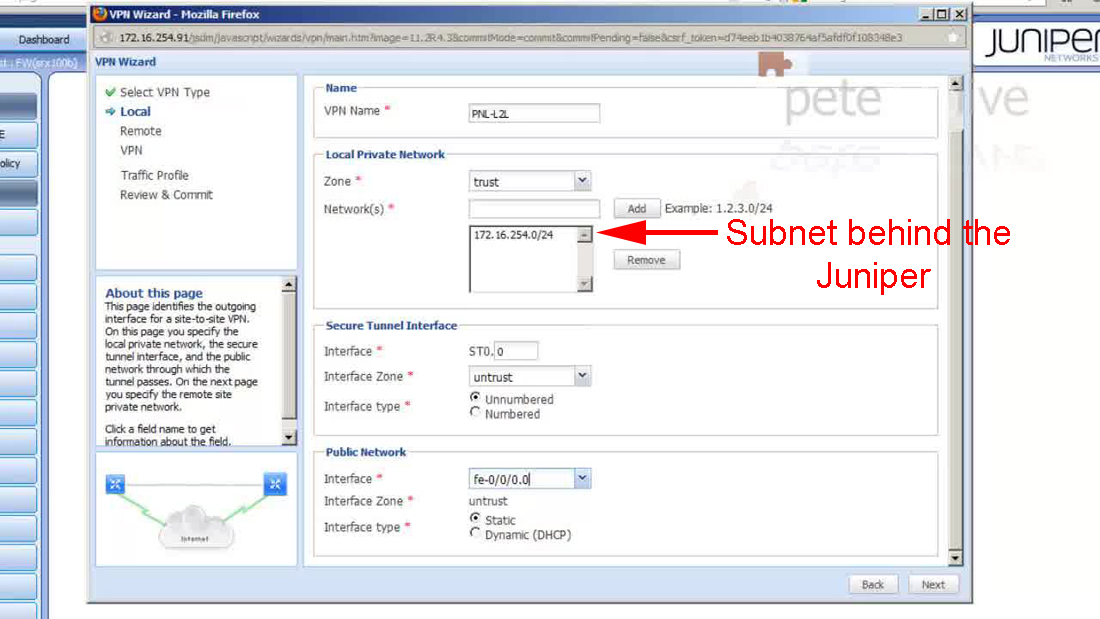
Note: On the Juniper, when specifying a subnet use the short subnet notation, i.e. 192.168.1.0 255.255.255.0 would be 192.168.1.0/24 (if you get stuck use my subnet calculator).
16. Supply the public IP address of the ASA > and add in the subnet at the far end of the tunnel (behind the ASA) > Next.

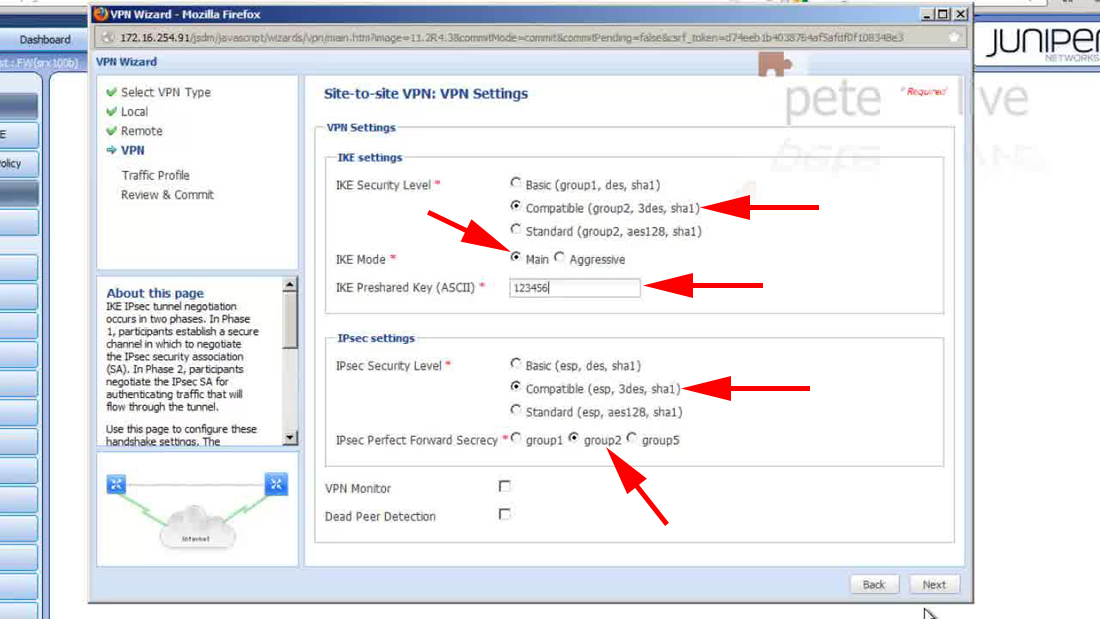
17. Set the IKE (phase 1) settings to Compatible, Main Mode, enter the same pre shared key you setup in Step 1 (number 6) > Set the IPSEC (phase 2) settings to Compatible, IPsec Perfect Forward Secrecy (PFS) to group 2 > Next.
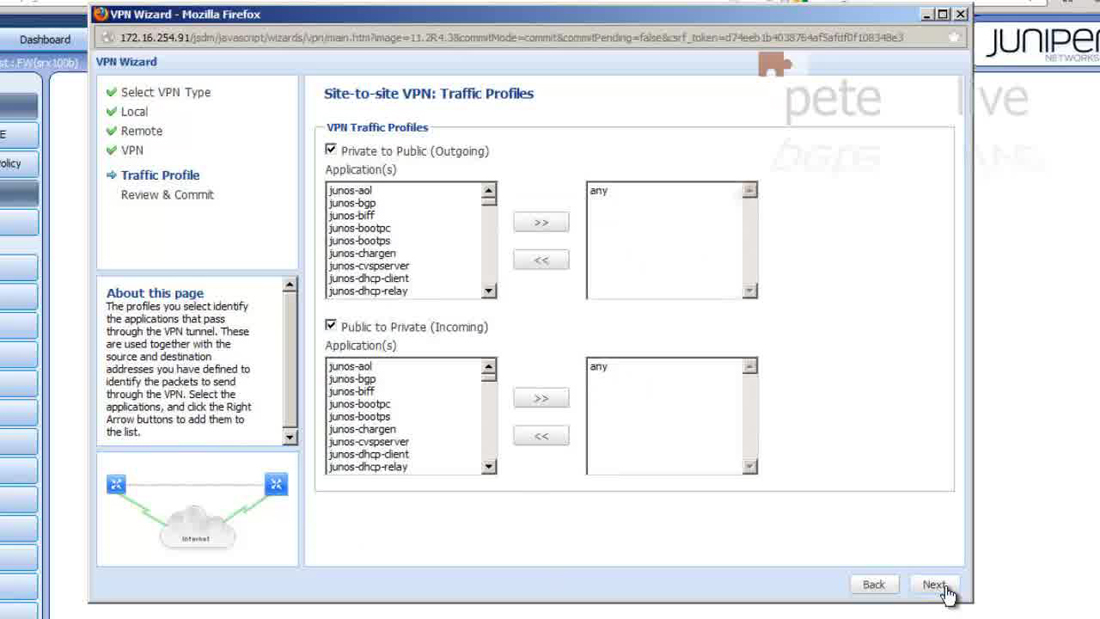
18. Accept the defaults > Next.
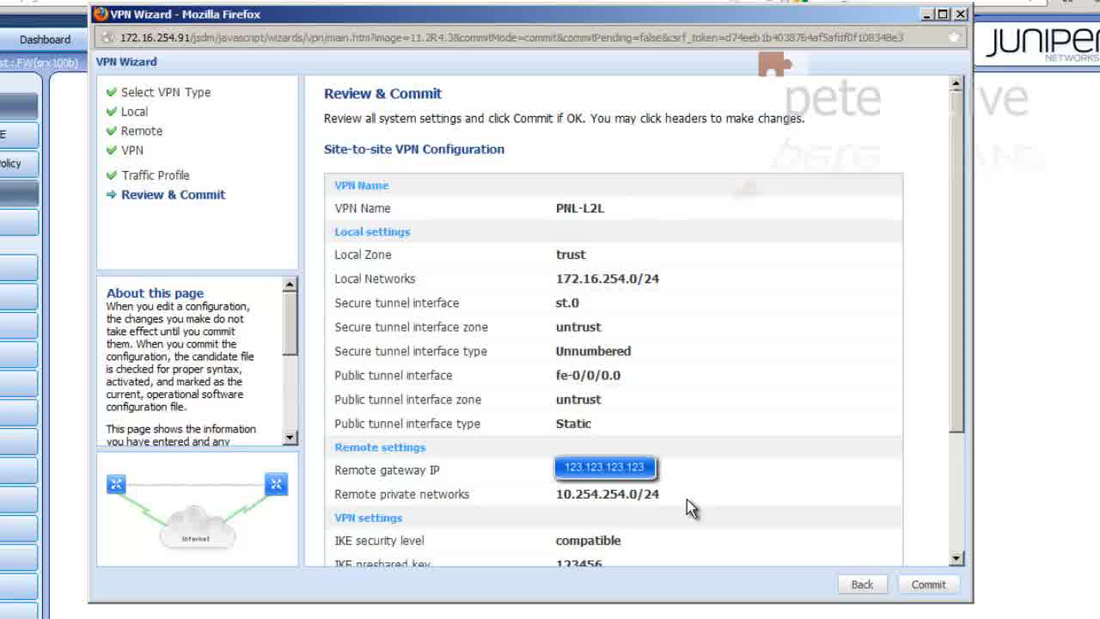
19. Review the settings > Commit.
Step 3 – Additional Steps required (for Cisco ASA)
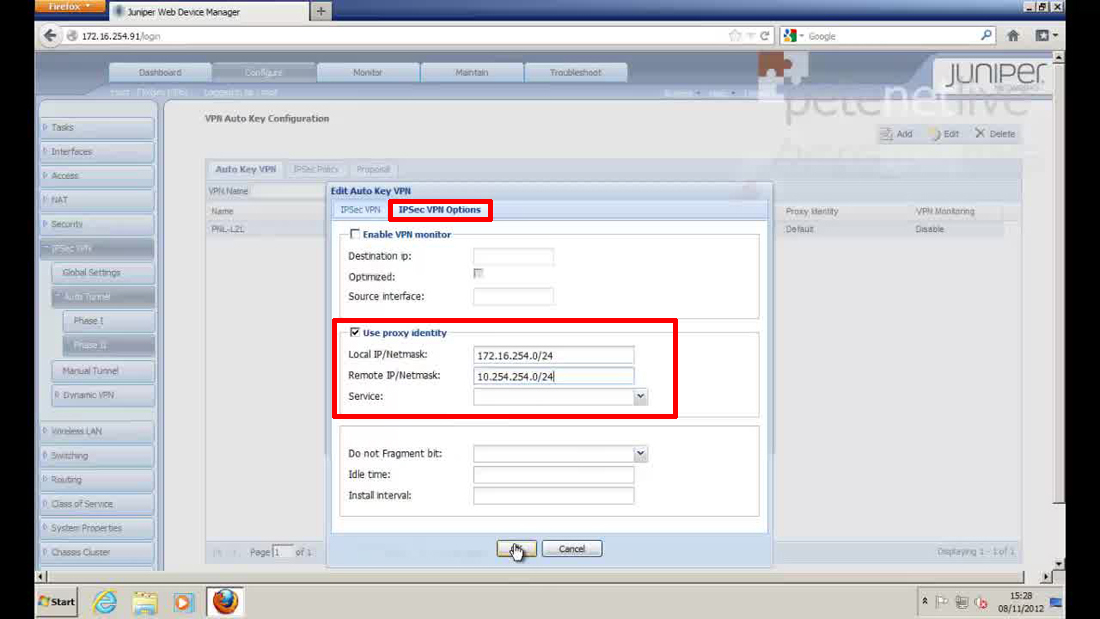
20. Navigate to IPsec VPN > Auto Tunnel > Phase II > Select your tunnel > Edit > IPsec VPN Options > Tick ‘use proxy identity’ > Enter the local and remote subnets > OK.
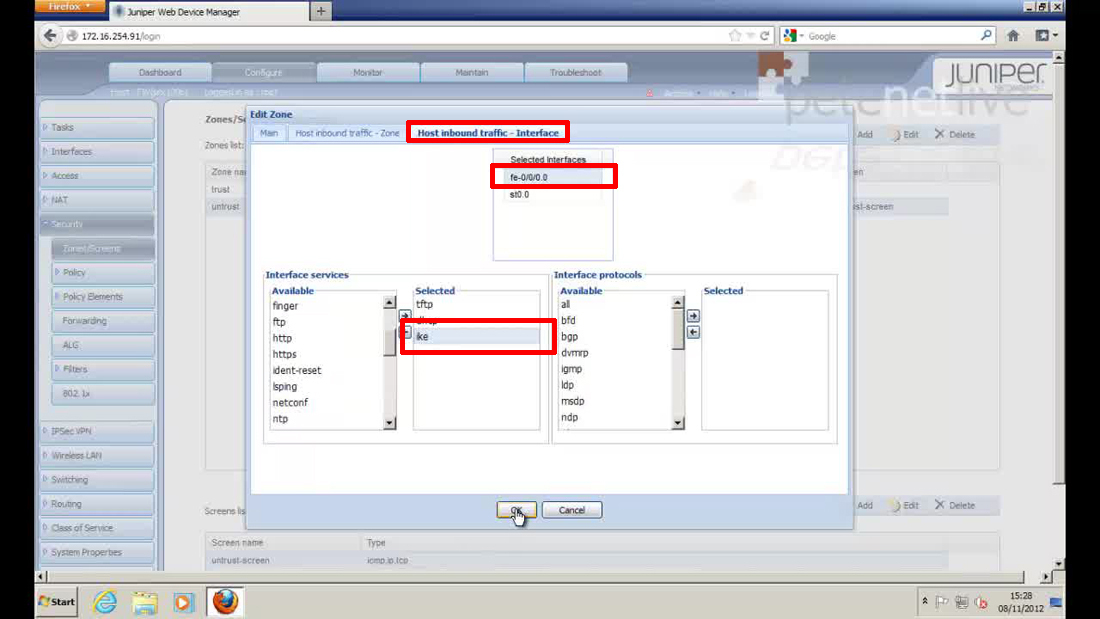
21. Navigate to Security > Zones/Screen > Select the untrust zone > Edit > Host Inbound traffic – Interface > Select the physical address that the VPN is terminating on (usually fe-0/0/0.0) > Add IKE as an Interface service > OK.
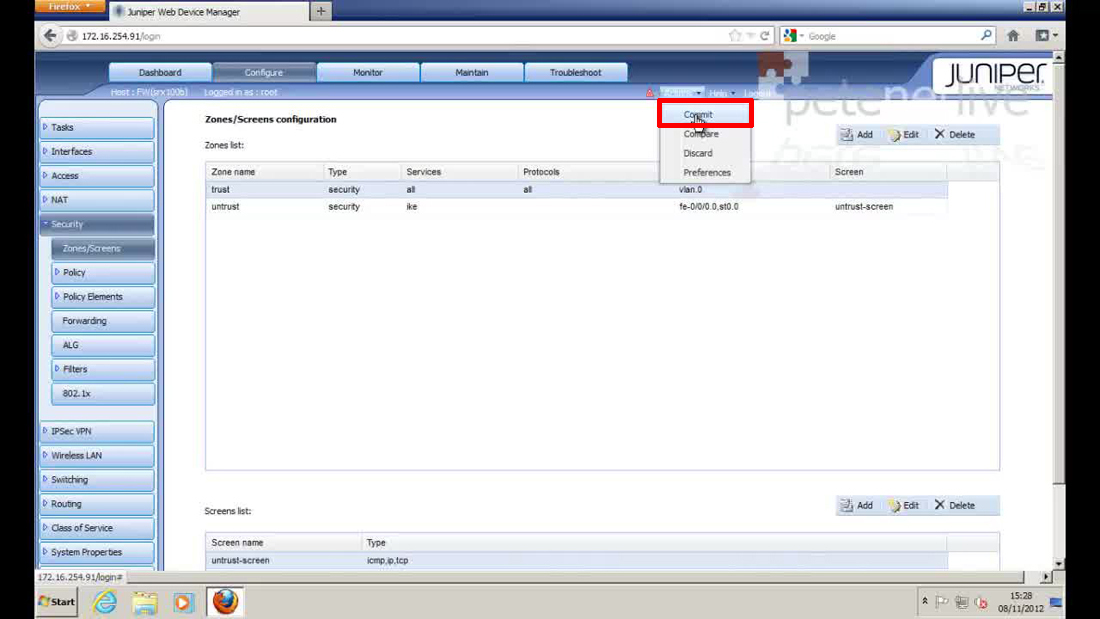
22. To save the changes > Action > Commit.
23. Test the VPN by attempting to ping a host on the other end.
Juniper SRX Command Line
On the Cisco firewalls I prefer to work at command line. The Juniper Firewall also supports CLI, you can check the VPN config with the following commands;
If you want you can execute the below commands on CLI to get the “set” commands
show security ike | display set
show security ipsec | display set
show | display set | match <external interface configured in ike>
show | display set | match <st.x>
Above commands will give you the “set” commands for cli.
Related Articles, References, Credits, or External Links
Special thanks to Kalanidhi Tripathi at JTAC for his assistance.
Juniper KB Articles
SRX Getting Started – Configure VPN tunnel for site-to-site connectivity
How to configure IPSec VPN on a J Series or SRX Series device