
KB ID 0000626
Problem
If you have a machine setup and working on your wireless network, sometimes it’s easier to set other machines up by simply migrating the settings. Either because you don’t want your child to try and type in a 64 bit WPA key, or you might simply have forgotten the WEP/WPA key,and don’t want to go through all the hassle of setting it up again.
In a small business environment you can give your colleagues their wireless settings in an XML file, or on a USB thumb drive. When using XML files you can even script the deployment of wireless settings to your users.
Solution
Option 1: Export/Import wireless Networks to XML File.
This is quick and easy, and if you are feeling adventurous enough, could be used to script the deployment of wireless networks.
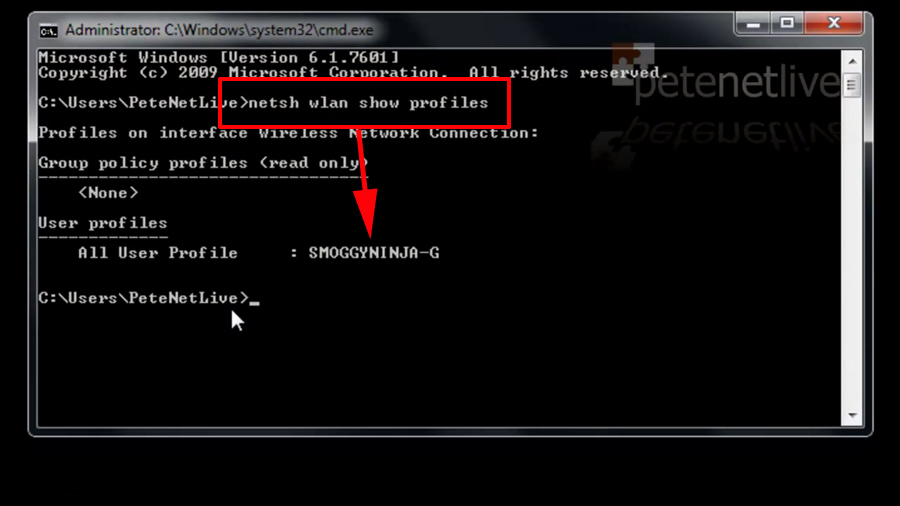
1. On your working wireless machine, open a command window, the following command will list all the wireless profiles that are installed on this machine, )in the example below there is just one).
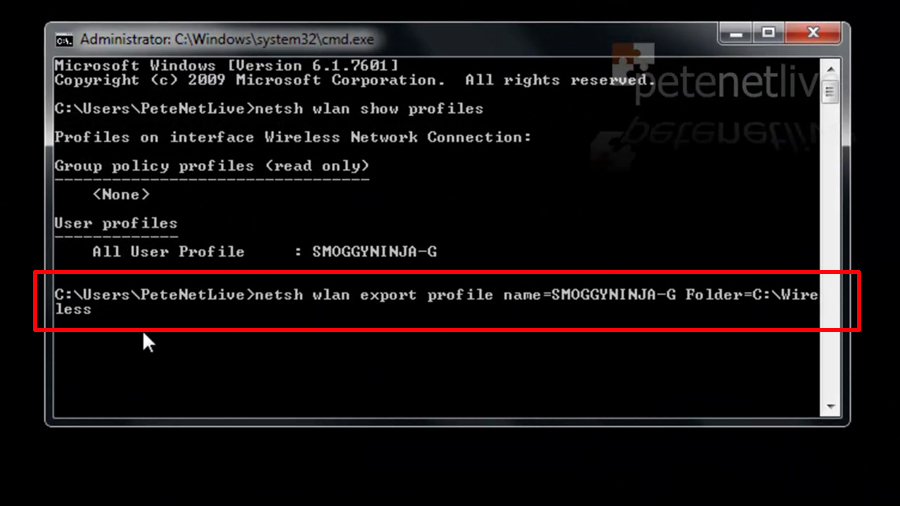
2. Now we know the name of the profile (Note: Typically it will be the SSID), we can export it to a folder. Be aware if the folder does not exist, the process is liable to fail.
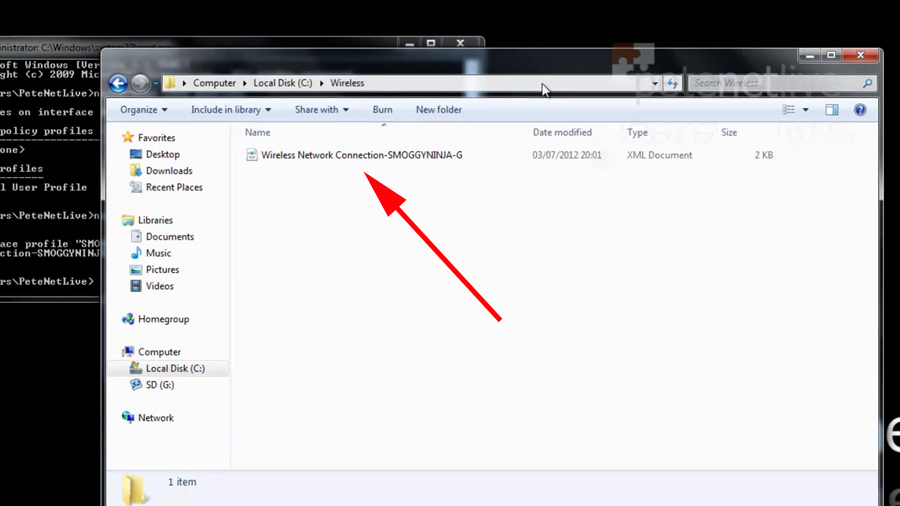
3. This will produce an XML file, containing the settings.
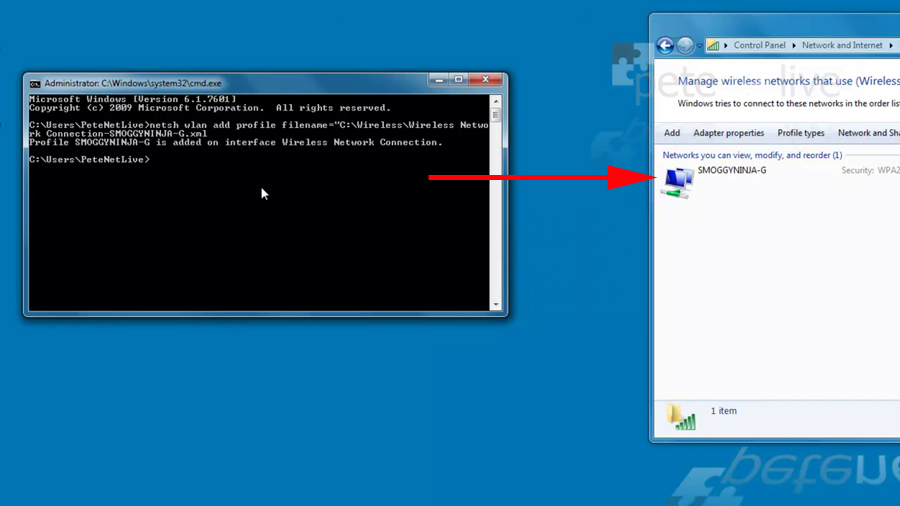
4. Copy the folder containing your XML file to the destination machine, and issue the following command;
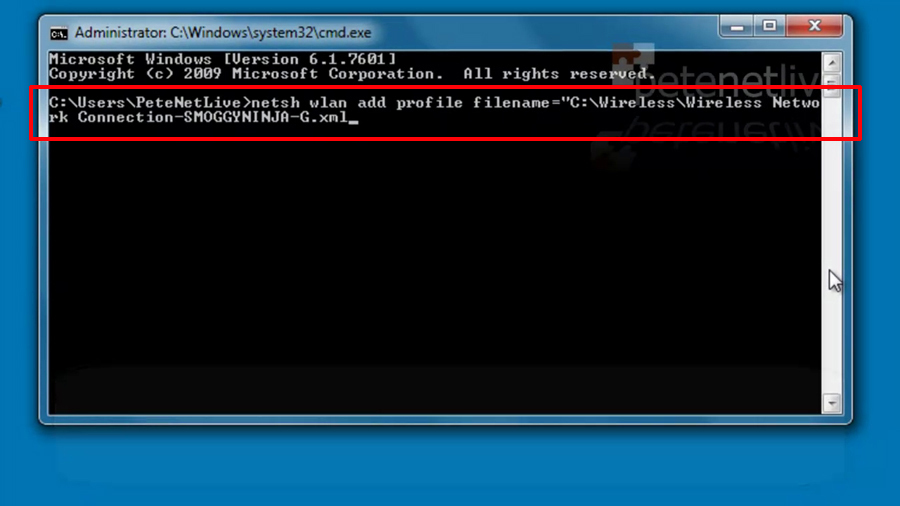
5. Your wireless profile will be restored.
Option 2: Export/Transfer/Import wireless Settings via USB.
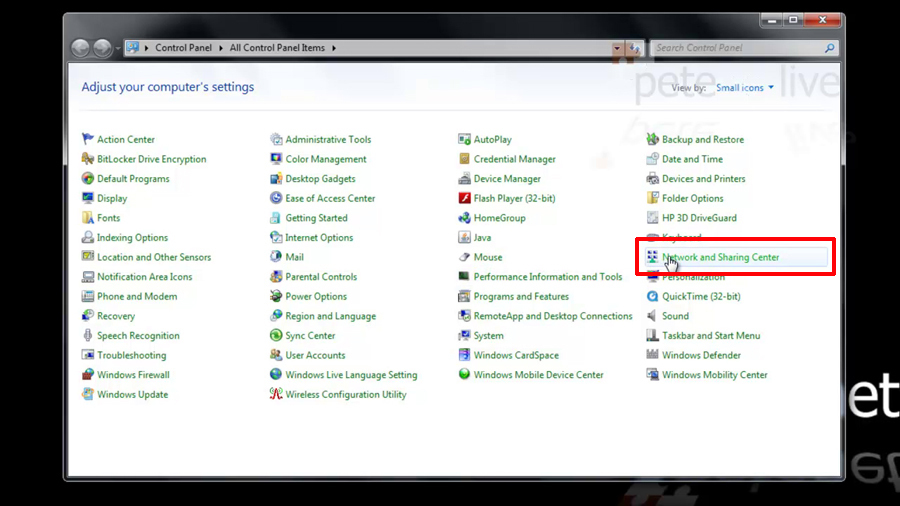
1. On the source machine open ‘Control Panel’.

2. Select ‘Network and Sharing Center’.
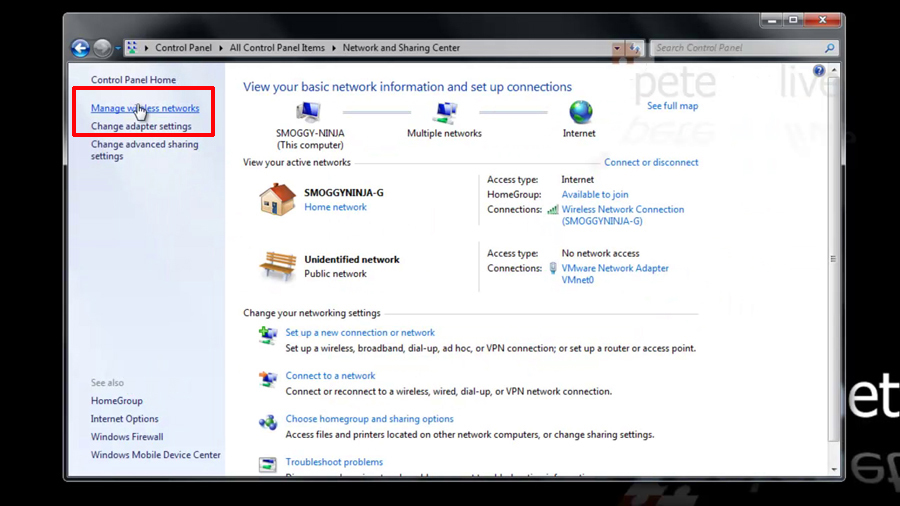
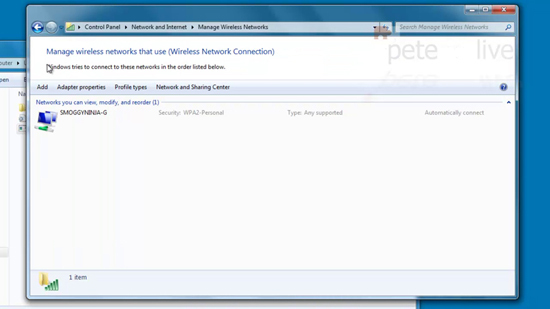
3. Select ‘Manage wireless networks.
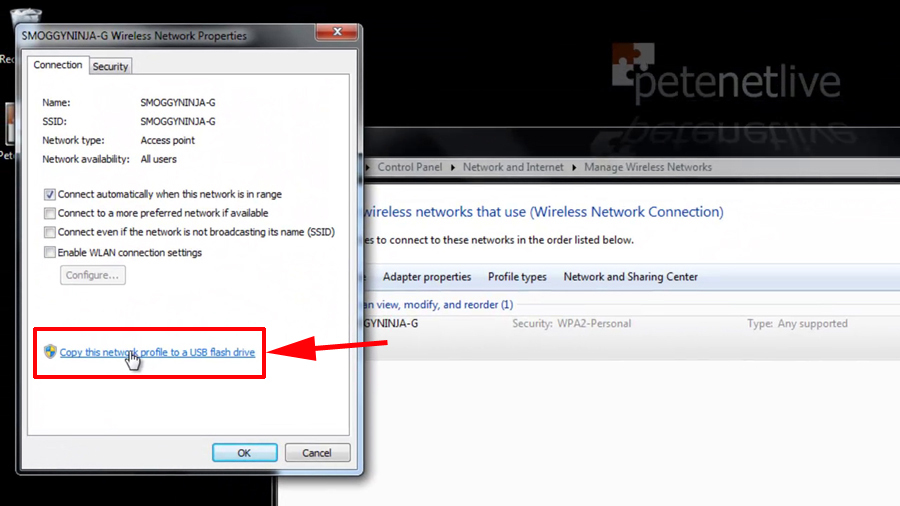
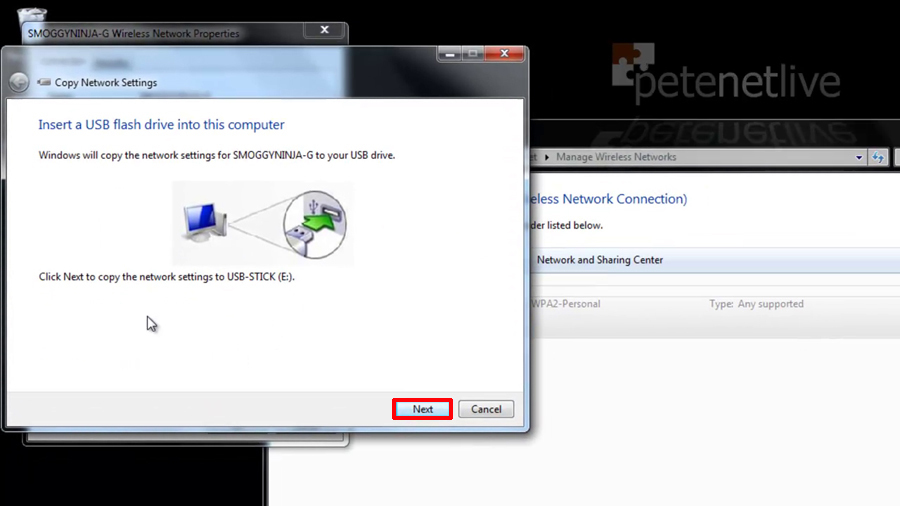
4. Locate the wireless profile you want to migrate, (in the example below there is just one), double click it > select ‘copy this network profile to a USB flash drive’.
5. Assuming you already have a USB drive plugged in, the wizard will detect it > Next.
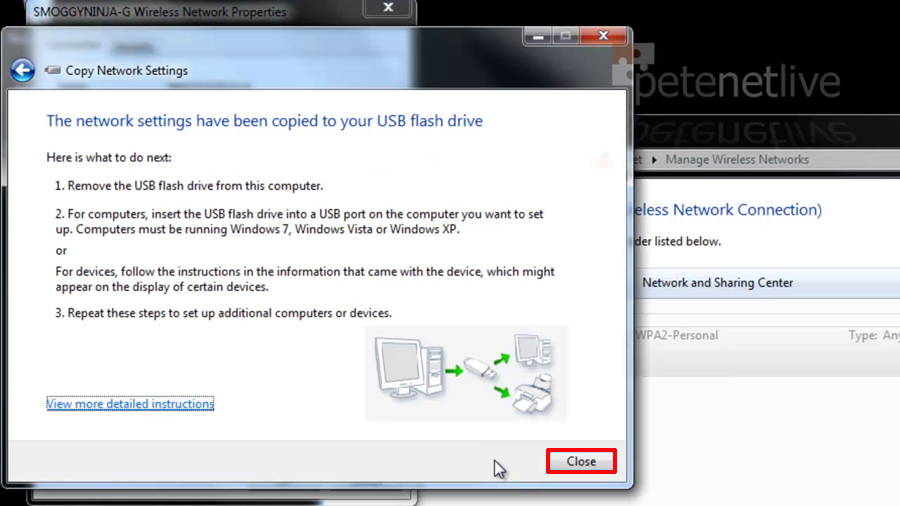
6. Close.
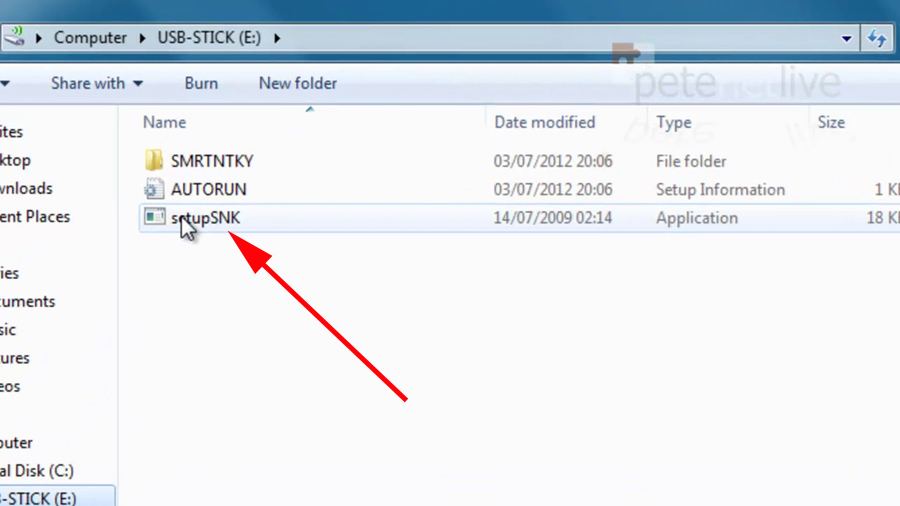
7. Take the drive to a destination machine, and plug it in, Windows 7 has autorun disabled, with older versions of Windows you can simply choose ‘Connect to wireless network” from the autorun menu. If not open the drive and run the setupSNK.exe file.
8. Yes to confirm.
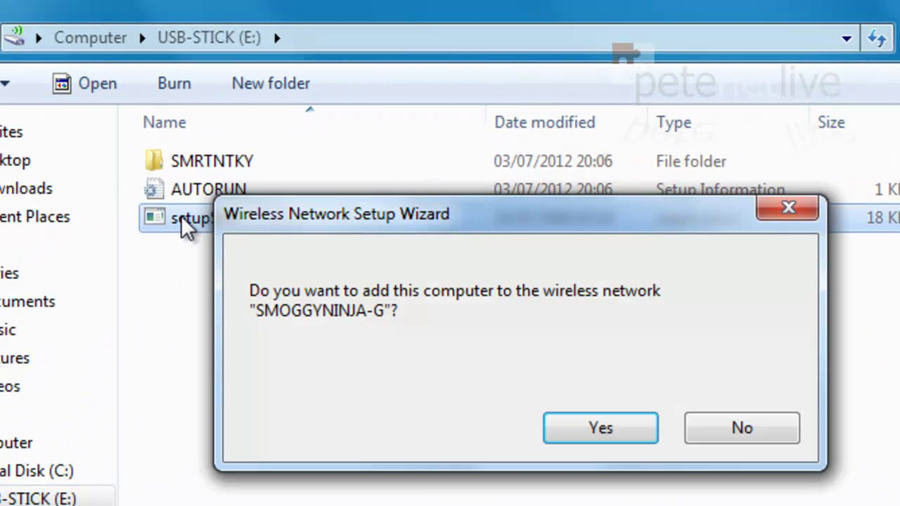
9. OK to close.
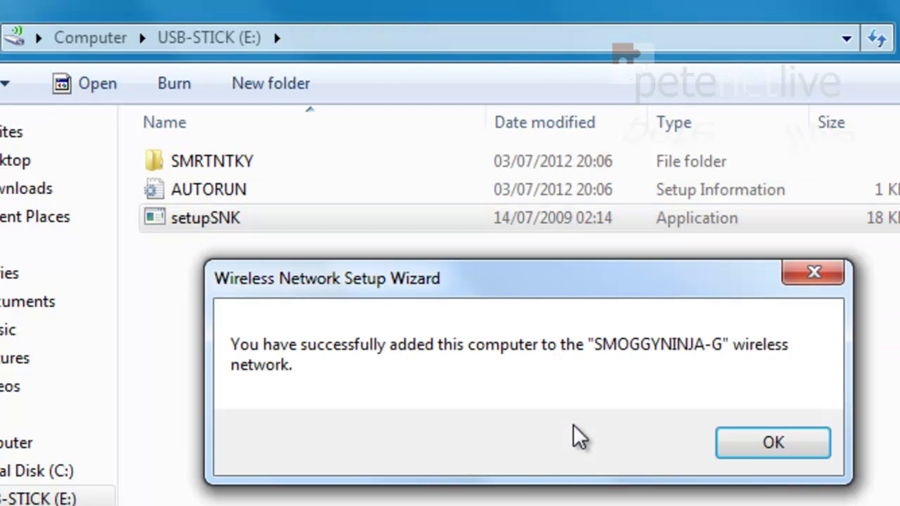
10. Your network is setup and ready to go.
Related Articles, References, Credits, or External Links
NA