
KB ID 0000624
Problem
Originally I wrote this back for Windows 7, but I have now updated it for Windows 10. How to add an IP network printer.
Setup a Windows Printer
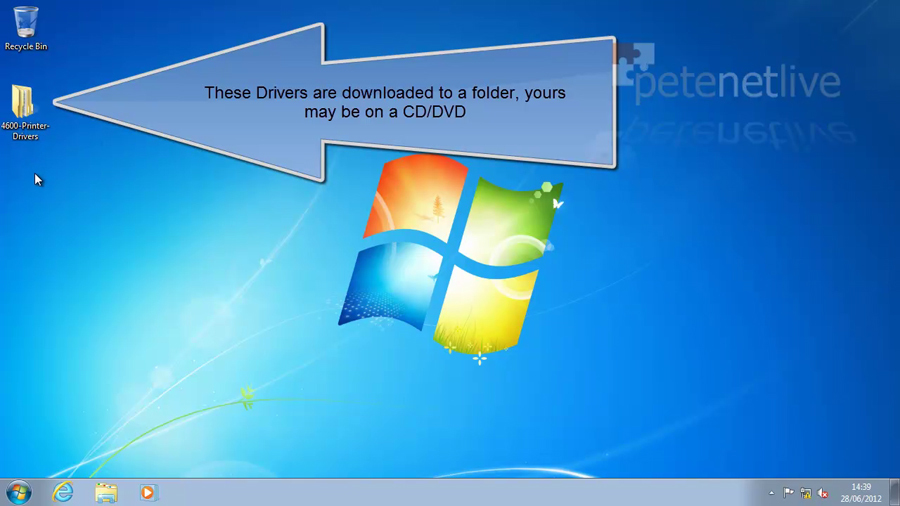
1. If you don’t have a CD/DVD that came with the printer, then get onto the manufacturers website and download the correct drivers for your printer, you will need to know if you require 32 or 64 bit drivers.
How to Tell if Windows is 32 or 64 bit
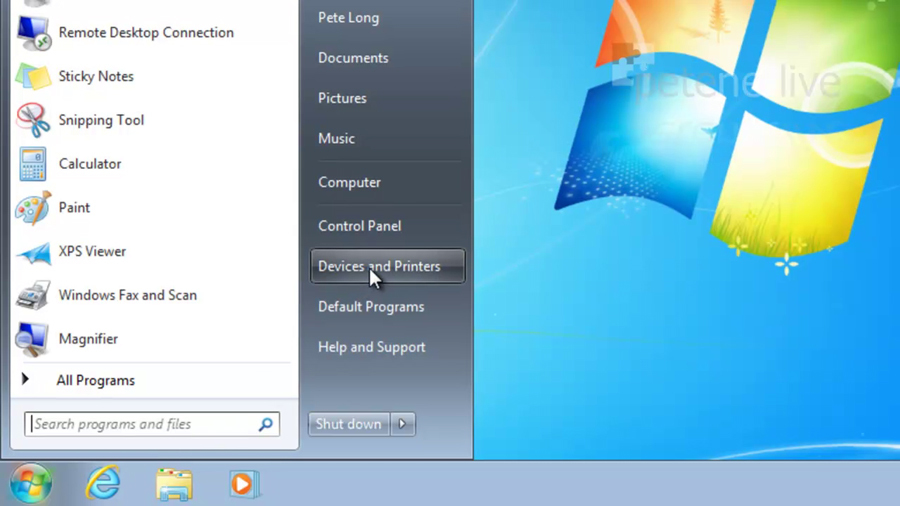
2. Start > Devices and Printers.
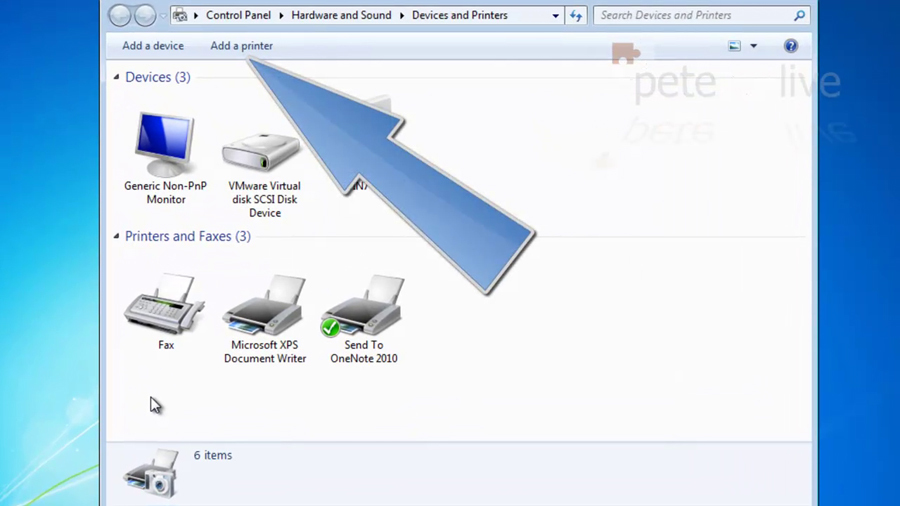
3. Add Printer.
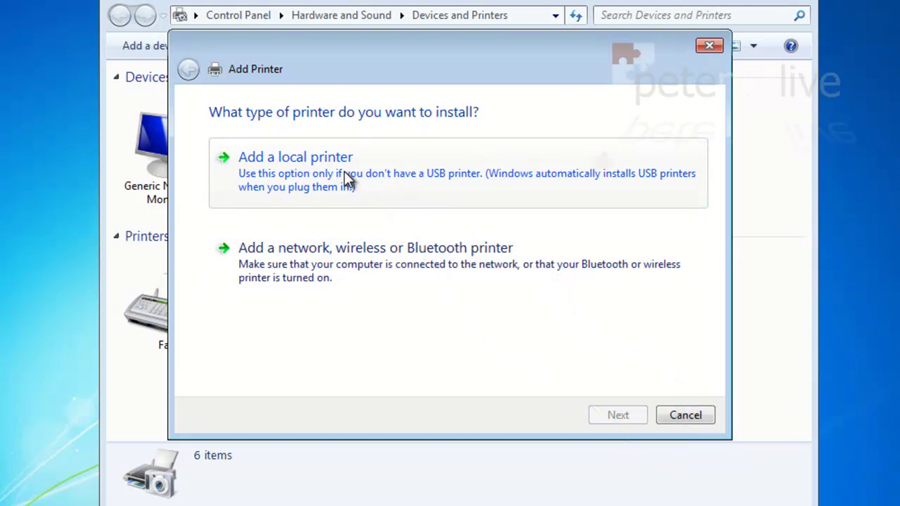
4. Choose “Add a local printer“. I only ever choose the network printer option if I’m connecting to a printer by name in the win7printer name format, or I’m going to browse Active Directory for a printer.
5. Select a new port > Set the type of port to “Standard TCP/IP Port” > Next.

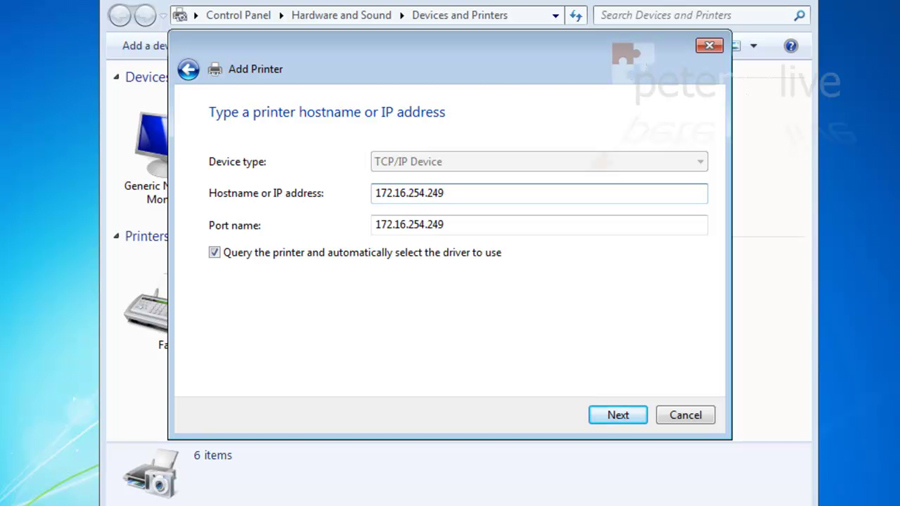
6. Enter the IP address of the printer. Either you have set this up manually, or you have got it from a configuration page that you printed off the printer > Next.
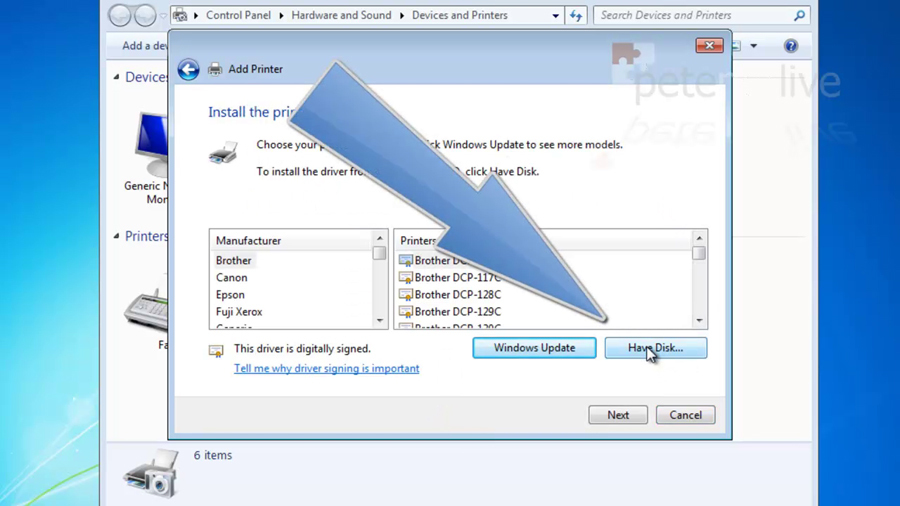
7. Have Disk.
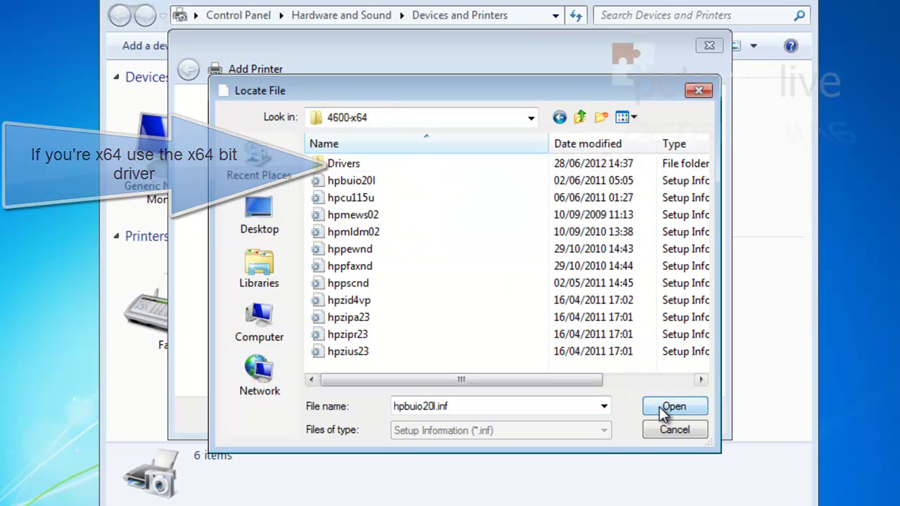
8. Navigate to your drivers.
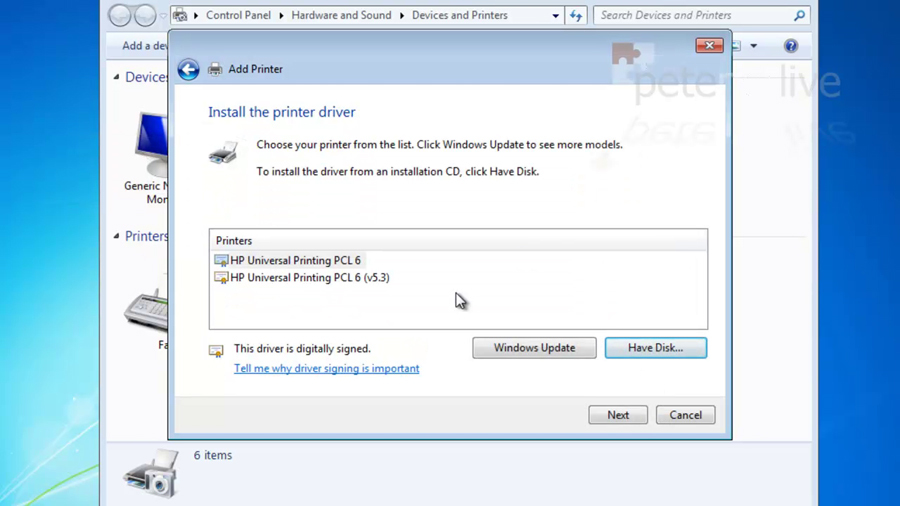
9. Some drivers are for multiple printer types, select yours. Note: It’s not unusual for multiple manufacturers models to be listed here > Next.
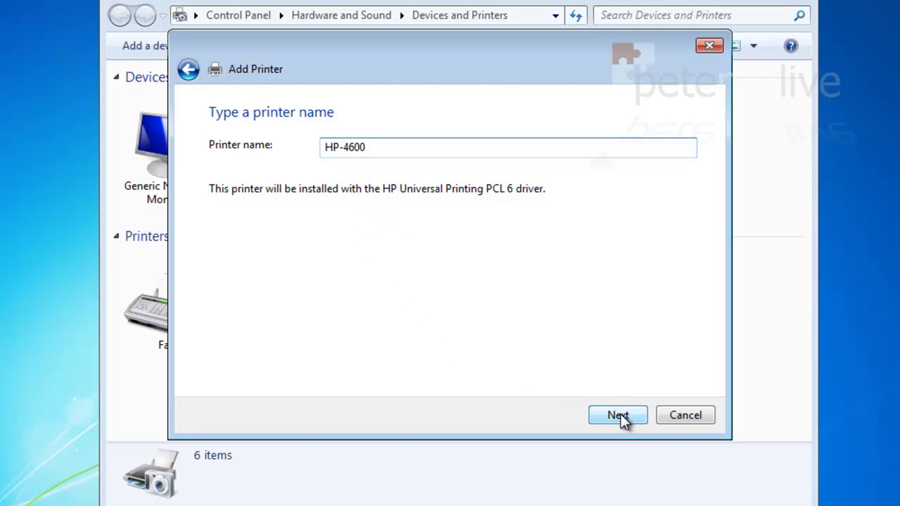
10. Give the printer a name > Next.
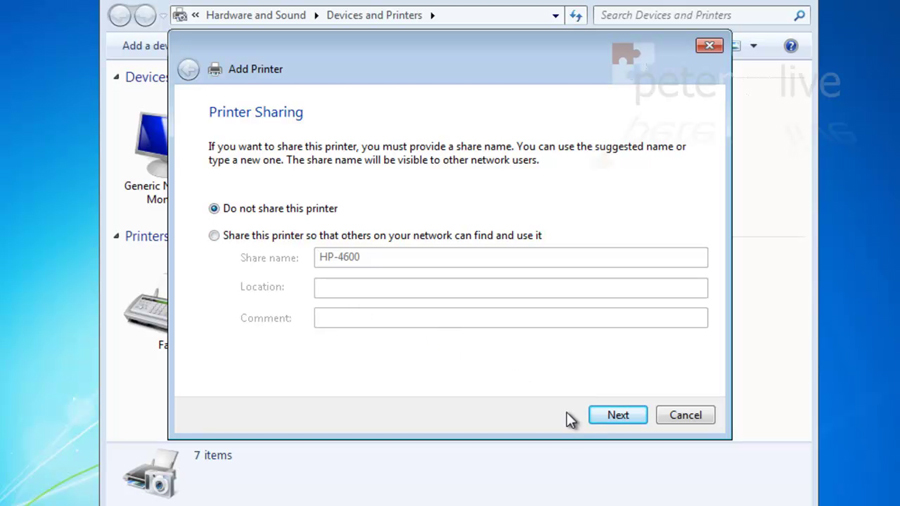
11. Choose whether you want to share the printer or not > Next.
Test Your Windows Printer
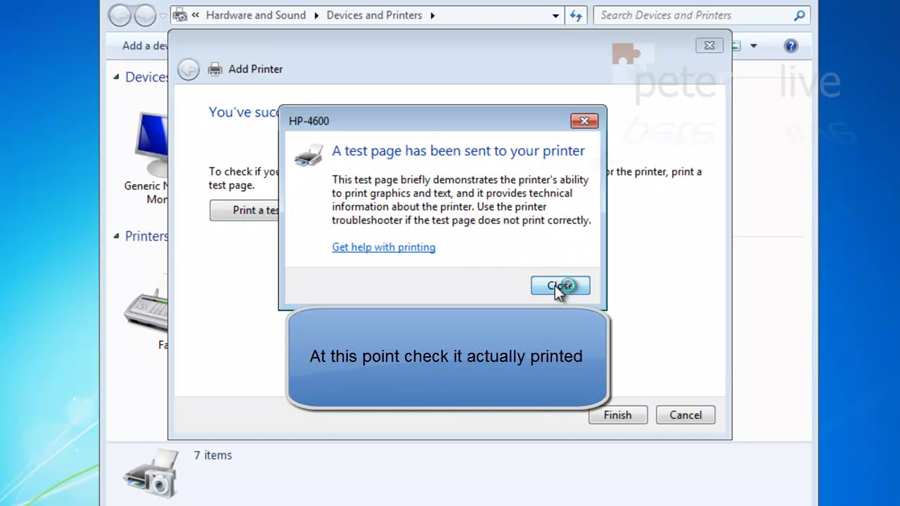
12. Print a test page.
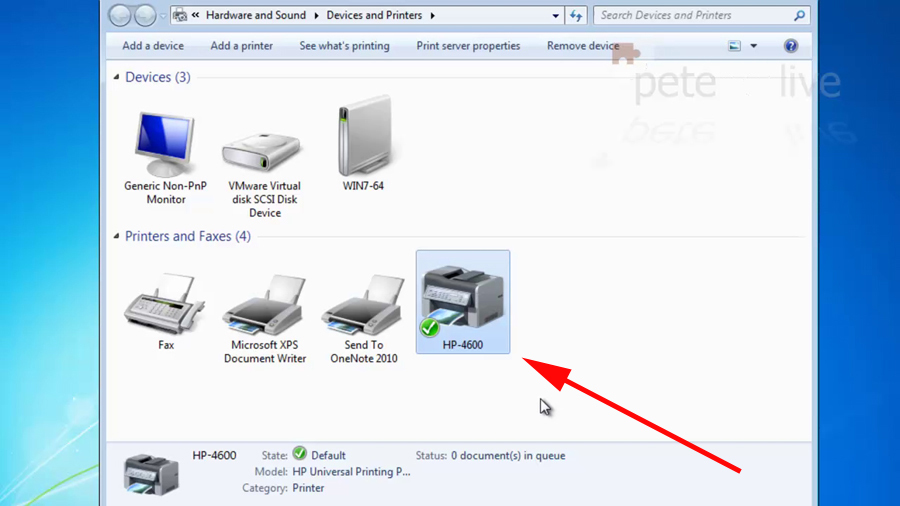
13. There’s your new printer setup and ready (the green tick denotes it’s the default printer).
Note: The Default Printer, is where your print jobs are sent if you have multiple printers installed, and you simply hit the print button in an application.
Related Articles, References, Credits, or External Links
NA