
KB ID 0000612
Problem
ThinApp is an “Odd” VMware product, insofar as it’s got nothing to do with virtual machines or virtual technology. It’s a product that turns applications into “Stand alone” thin applications, that can be sent to a user and ran without the need for that user to have administrative access, or the need to install anything.
ThinApp was a product called Thinstall that VMware purchased and “re-badged”, you get a free copy with VMware View 5 (Premier Edition). And it ships with a copy of VMware workstation. (Not because it needs a copy, but VMware recommends you use a clean virtual machine to create your ThinApps on).
If you’ve ever used sysdiff in the past or Novell Zenworks for Desktops, you will be familiar with the process, take a ‘scan’ of a clean machine, then install application(s), then carry out another ‘scan’. The software then works out the ‘difference’ and uses that information to build a software package.
In the example below I’m going to create a stand alone version of Google Chrome, that is pre configured, and has Java already installed, and finally deploy that as a single executable file.
Solution
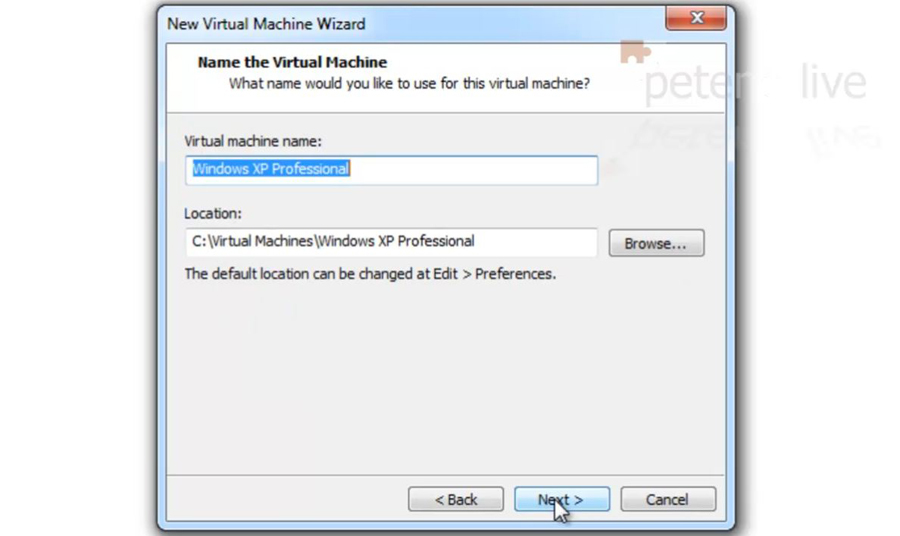
1. It’s recommended that you create your ThinApp on the oldest operating system that it might be deployed on, so here I’m creating a virtual machine in VMware workstation that’s running Windows XP.
2. When built remove any hardware that will not be needed, like the floppy drive, and the USB Controller (Edit > Settings).

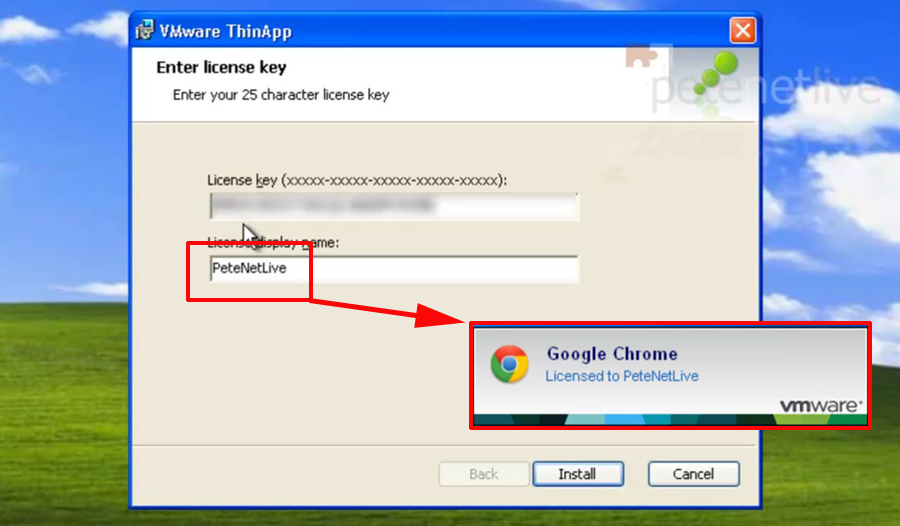
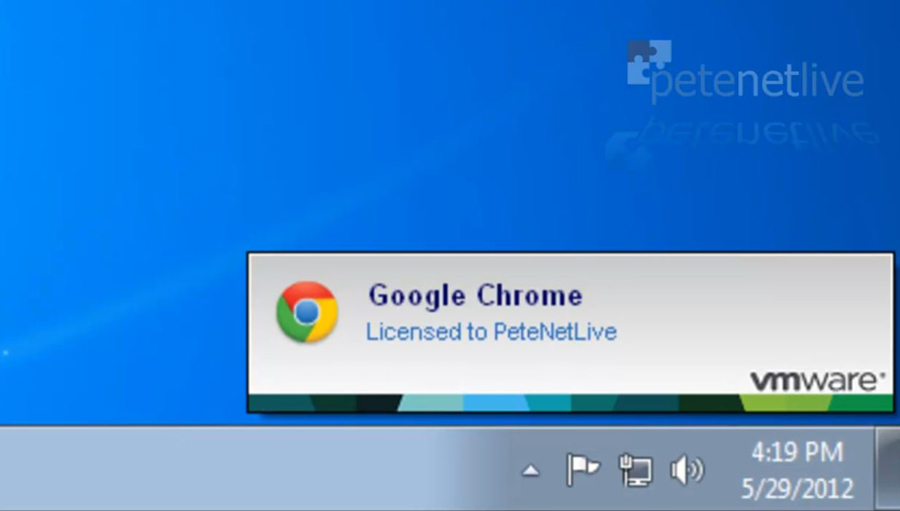
3. Installing ThinApp is pretty straightforward, simply run the executable and follow the on screen prompts the only thing to note is; when you enter your licence key, be aware the name you enter will display on the “splash screen” as your ThinApp loads (as shown).
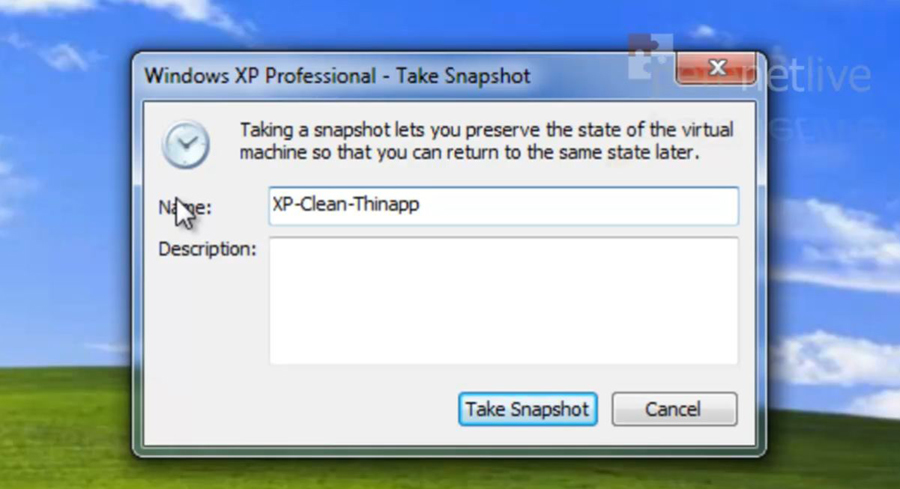
4. Once your reference machine is setup, take a snapshot of it, so you can roll back to this point to create further ThinApps on this clean machine (VM > Snapshot > Take Snapshot).
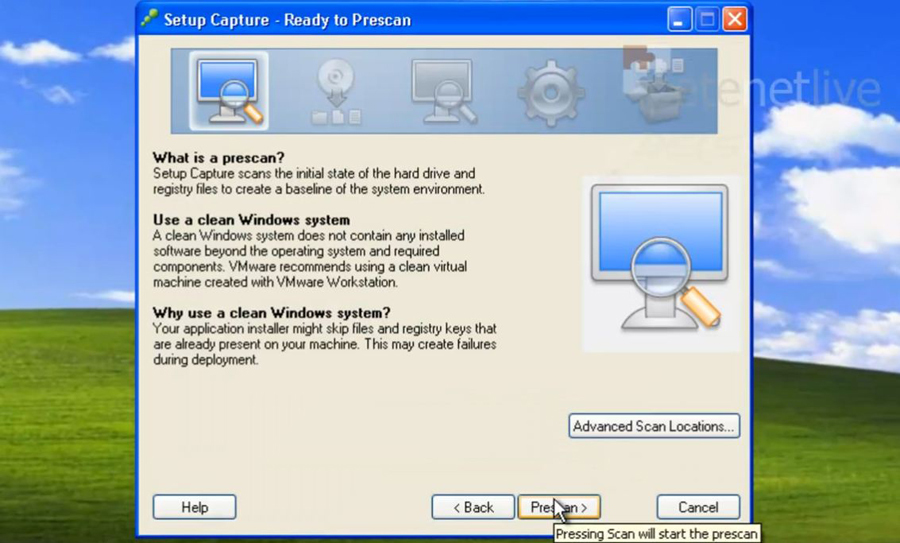
5. Run the ThinApp Setup Capture > Next > Prescan > This will take a few minutes > When finished simply minimise the window you are finished with it for now. Note: Don’t worry if the application you are installing requires a reboot, ThinApp is clever enough to cope with that.
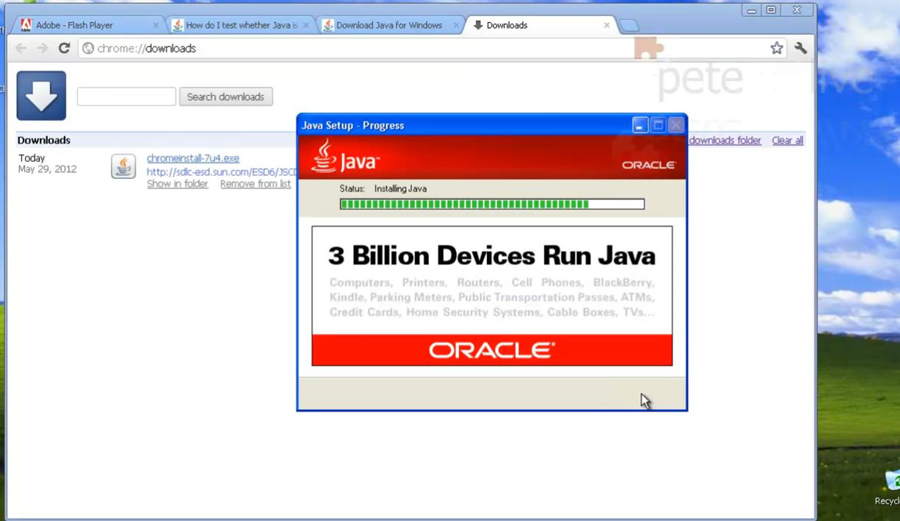
6. Now install and configure the application you require, in this case Google Chrome. I’m also installing Java, and setting the default homepage to the Google search page.
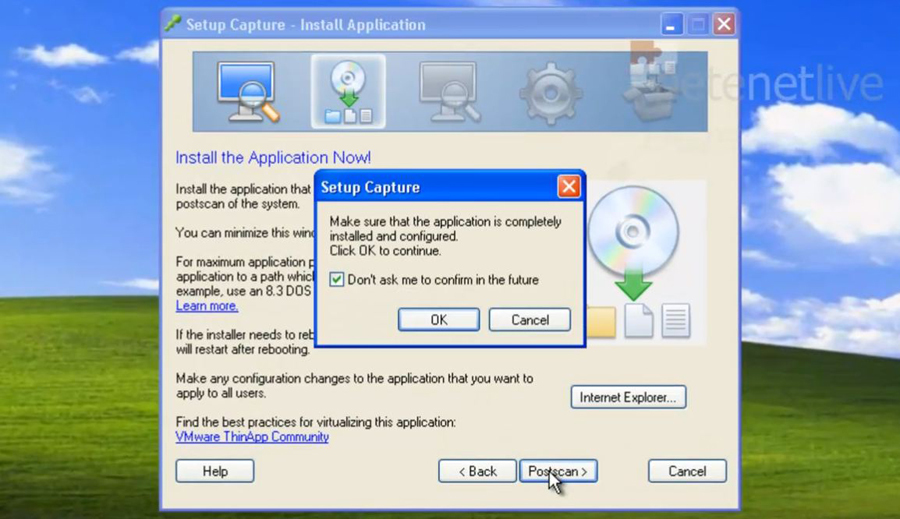
7. When the application is installed to your liking, maximise (or open the capture if you’ve rebooted) and select ‘Postscan’ > OK.
Note: Before running Postscan make sure you delete any installer files downloaded, any icons from the desktop you do not want deployed in the ThinApp, and empty the recycle bin (you don’t want all that stuff captured, when creating your ThinApp).
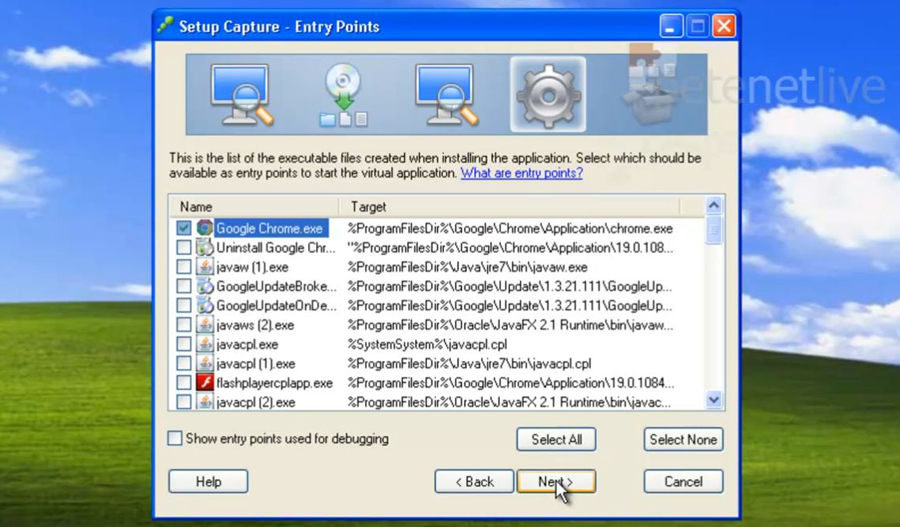
8. Make sure only the executable you require is ticked as an entry point > Next > At the Horizon App Manage Page > Next.
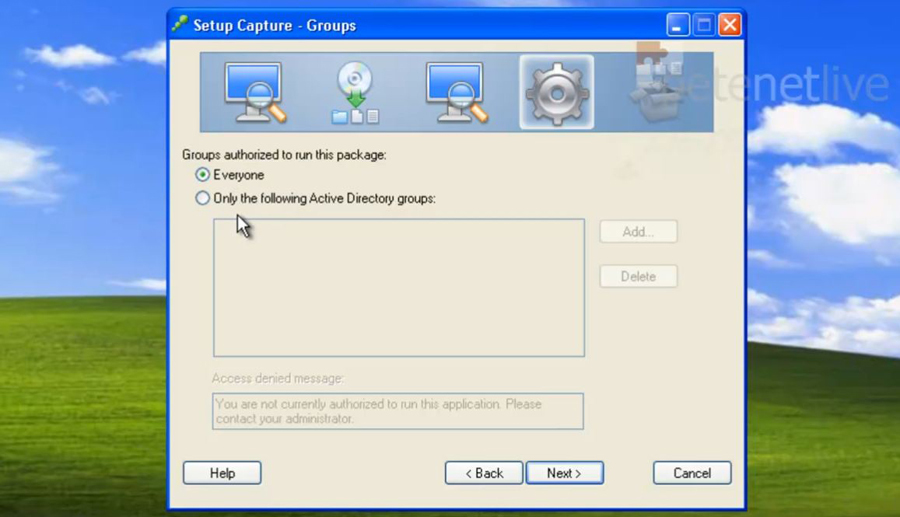
9. In a domain environment you can restrict ThinApp access to particular users or groups > Next.
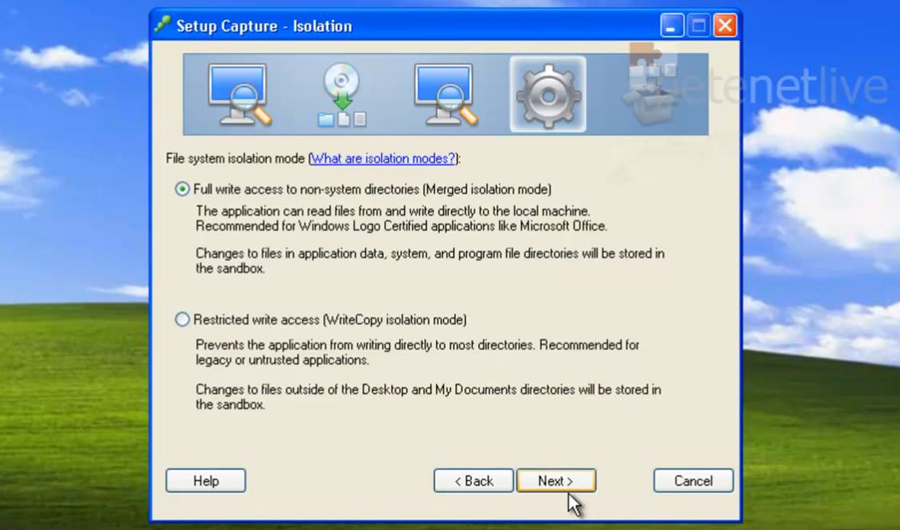
10. Set the isolation mode as required, for most cases it will be ‘Full’ > Next.
11. Select the option to store the sandbox in the user profile > Next > Select whether you want to provide statistics to VMware > Next.

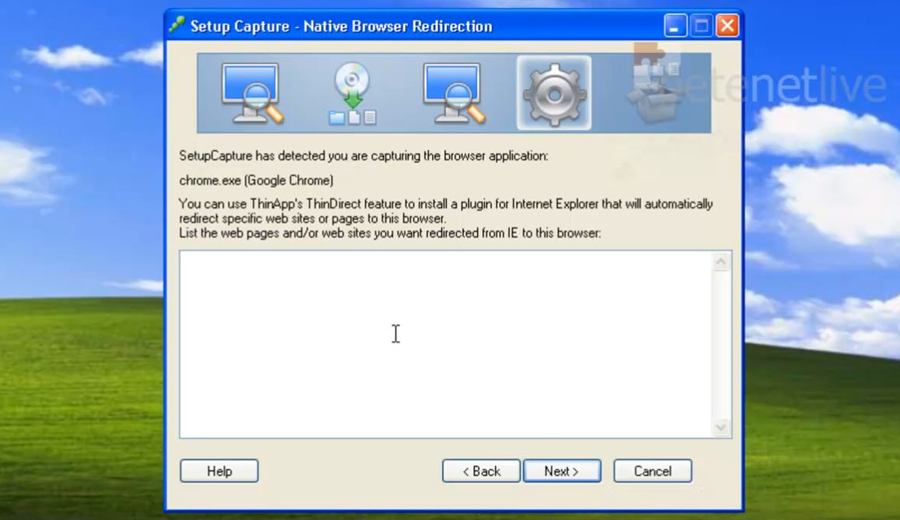
12. You will see this screen ONLY of you are capturing a browser. This is used if you have a particular website that will only run in IE6, or Firefox etc. So that only when URL’s enters listed here are accessed (either directly or from a hyper link) the ThinApp browser will open them, all other URL’s will be opened by the default browser. It’s a cool feature but not one I’m using > Next.
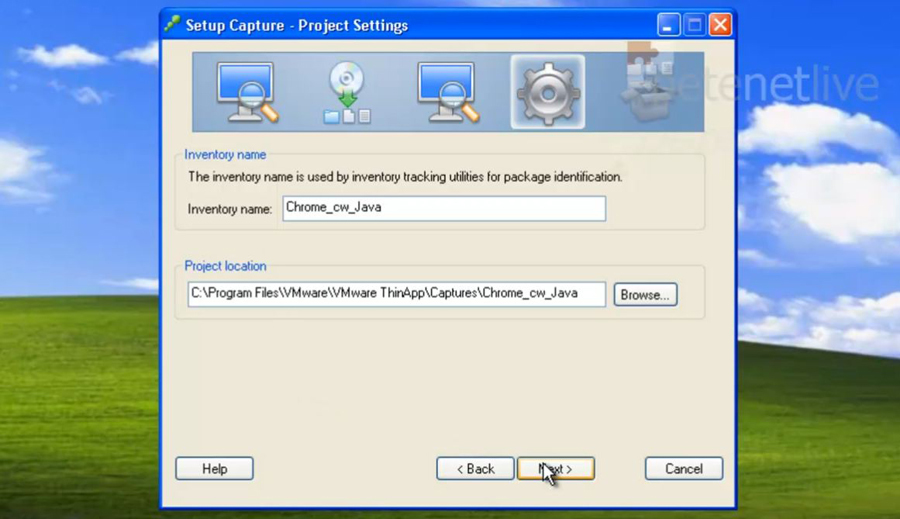
13. Give your ThinApp a name > Next.
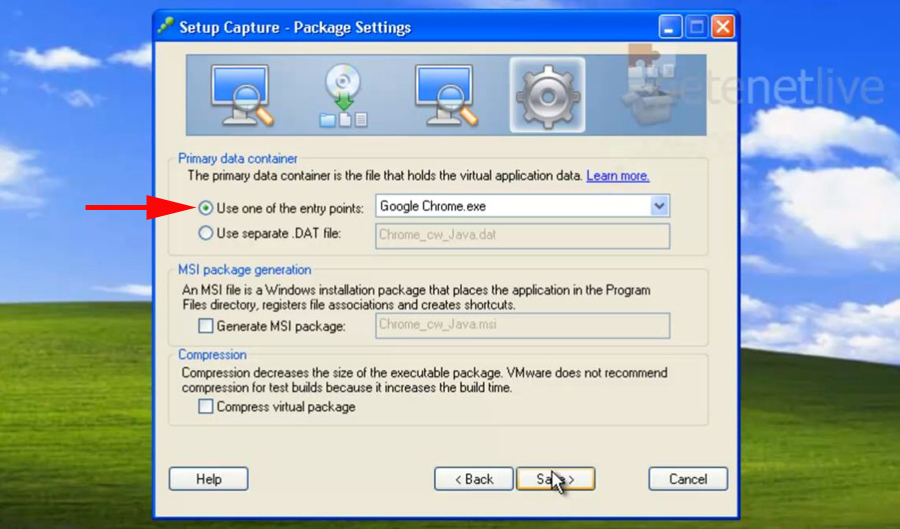
14. I’m choosing the option to embed everything into my executable, selecting this may cause a warning about icons, but I ignored and deployed with no problems > Save.
Note: You can use this page to create an MSI file to deploy via group policy if you wish.
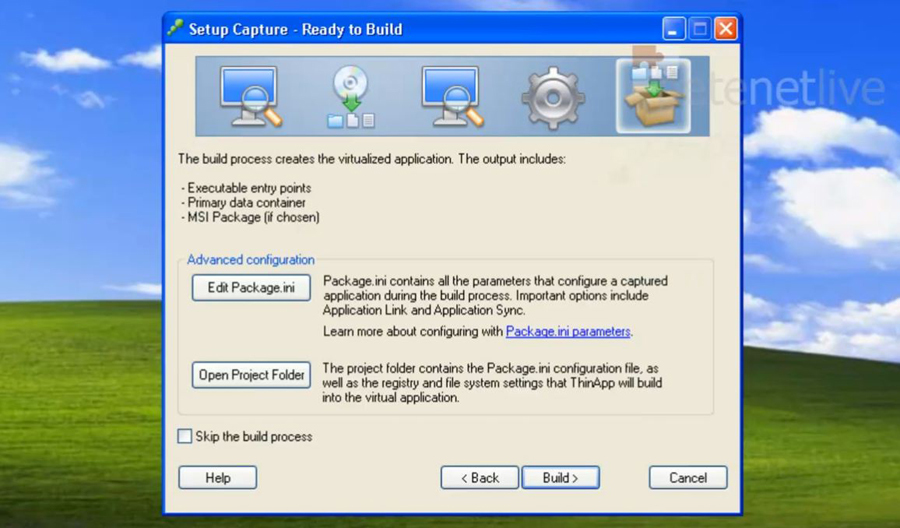
15. After ThinApp generates the files it needs > Build.
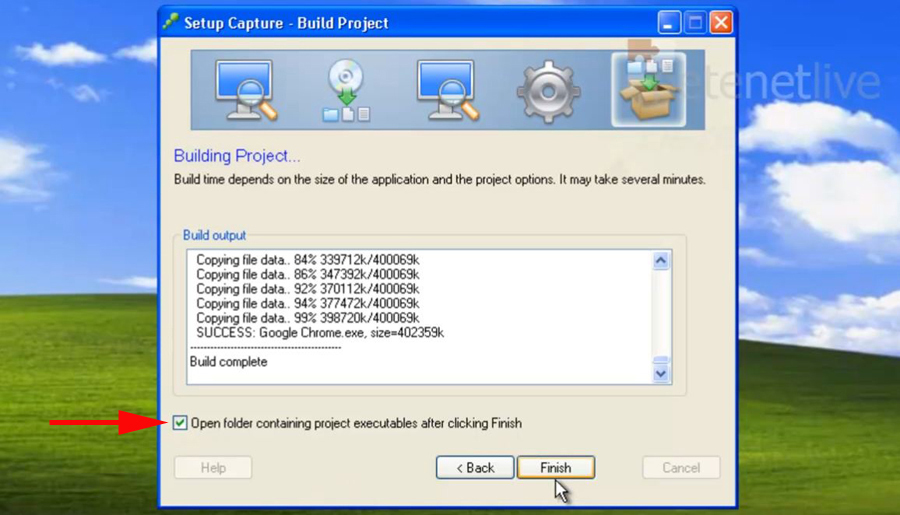
16. Finish
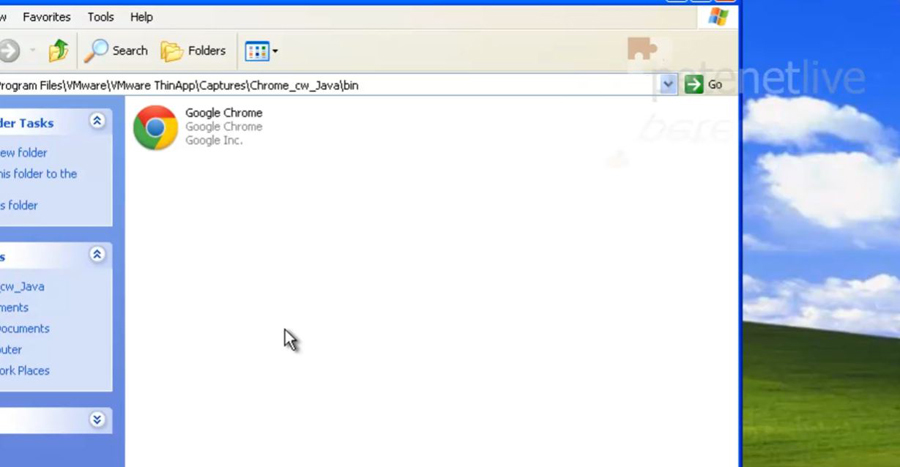
17. Heres my ThinApp executable file.
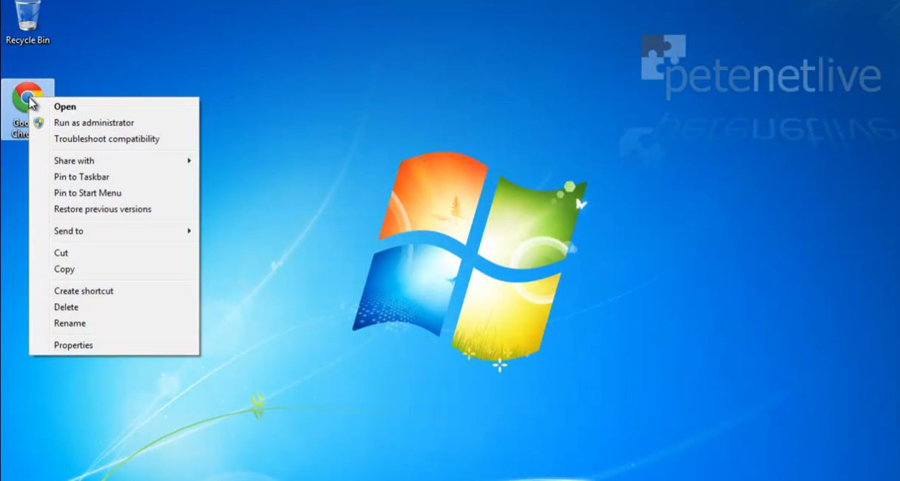
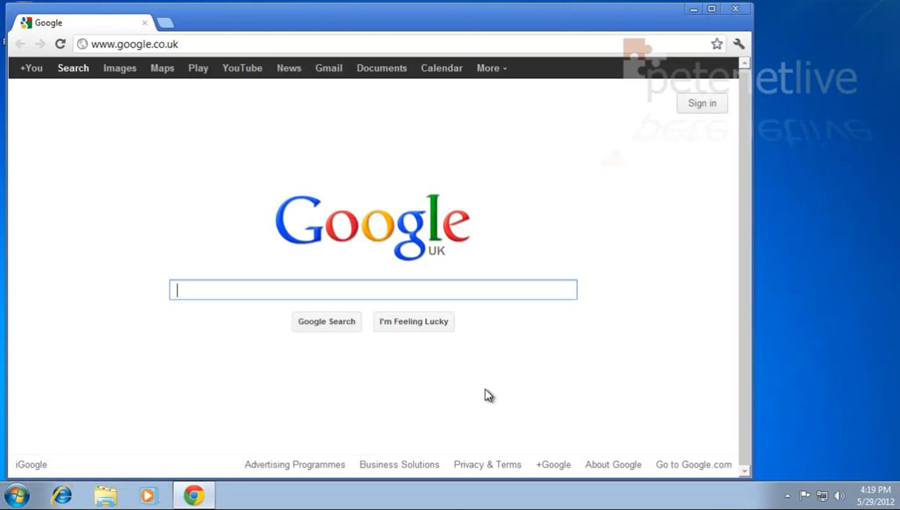
18. To test I’ve copied it to a Windows 7 machine.
19. While it’s loading this is what you will see.
20. And here is my ThinApp version of Google Chrome running and pre configured.
Related Articles, References, Credits, or External Links
NA