
KB ID 0000562
Problem
I prefer to think of OVF Templates as “Zip” files for Virtual Machines and Virtual Appliances. Where as the OVA file is the complete appliance pre packaged. There are two things you will want to do with an OVF Template;
1. Export a VM to an OVF Template
2. Import an OVF Template (Note: VMware call this “Deploy an OVF Template”)
Note: There are tools for OVF templates for other VMware virtualisation products, this is just for vSphere / ESX.
Tech Note: I find it a lot simpler to do this from PowerCLI now, see the article below;
VMware: Export a VM to OVA With PowerCLI
Solution
Export a Virtual Machine to OVF (vSphere v6)
Note: Machine must be Powered Off and have No Snapshots!
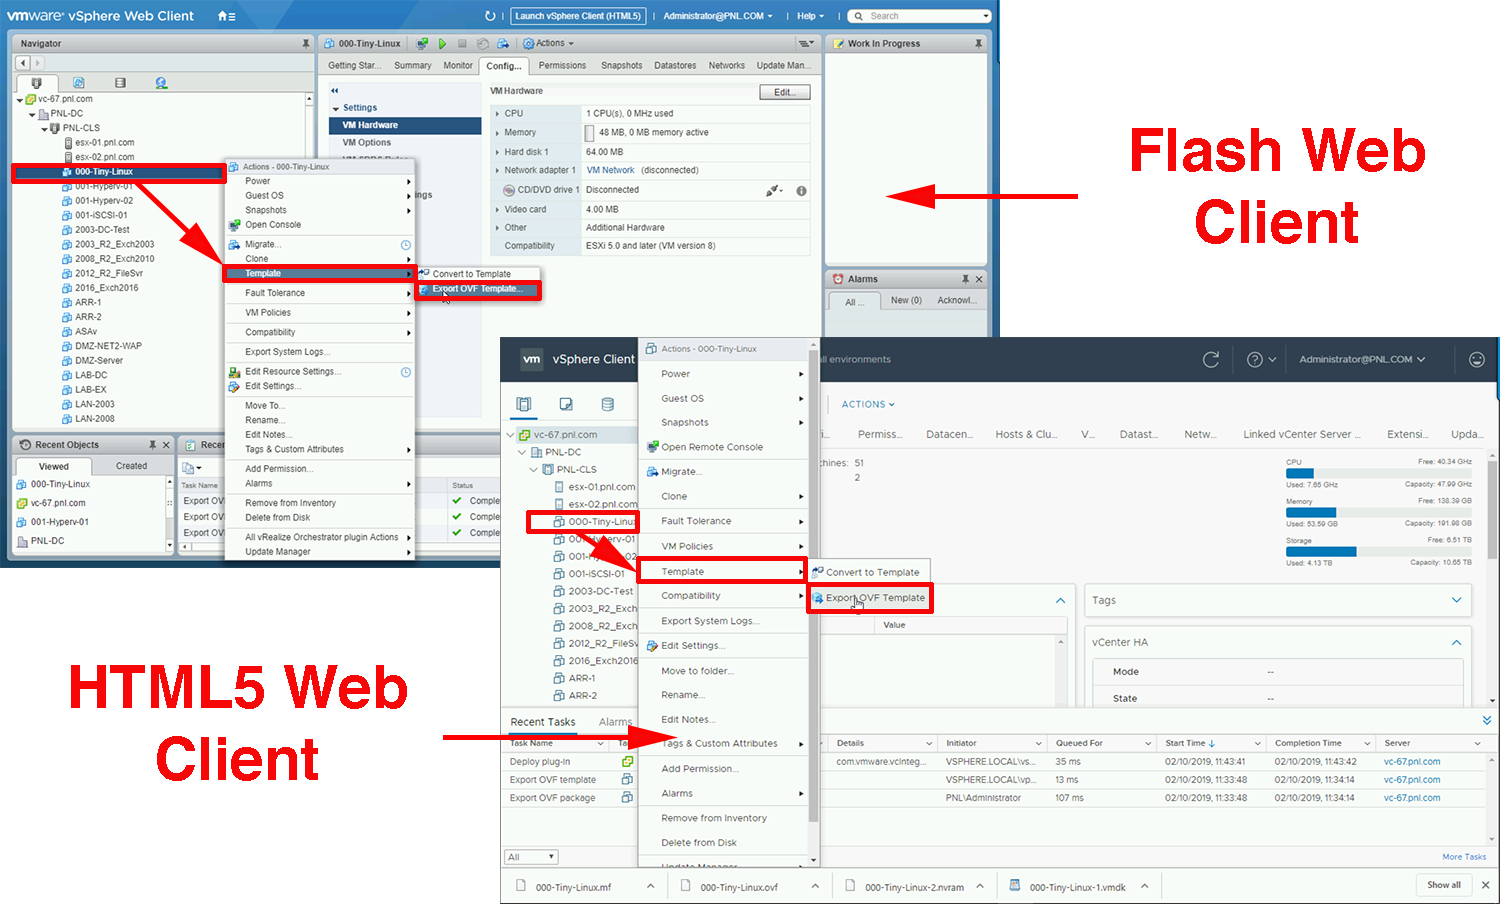
Select the VM > Templates > Export OVF Template.
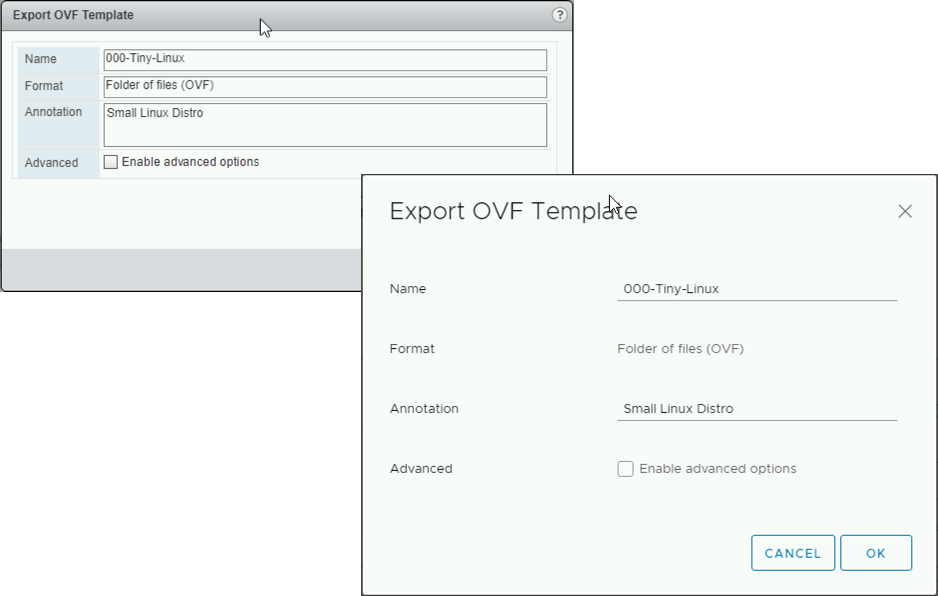
Change the name, annotation as required > OK.
Your files will be downloaded, (the location will depend on your browser settings!)

Export a Virtual Machine to OVF (vSphere v3, v4 and v5)
Note: Machine must be Powered Off and have No Snapshots!
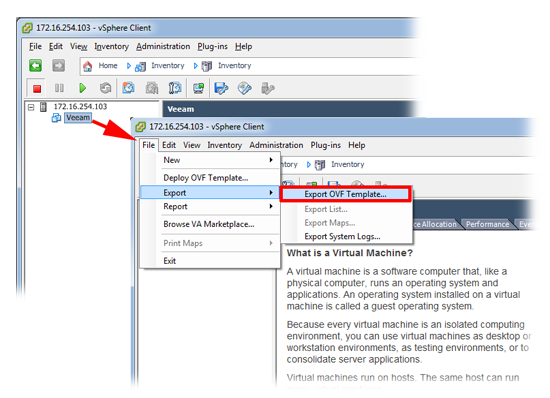
1. Connect to your host with the VI client > With your virtual machine powered off > Select it > File > Export > Export to OVF Template.
2. Select a location to save the files to > OK.

3. Depending on the size of the VM this can take a while.
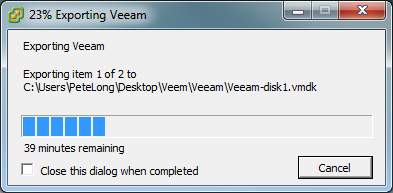
4. It will give you the following message when it’s finished.
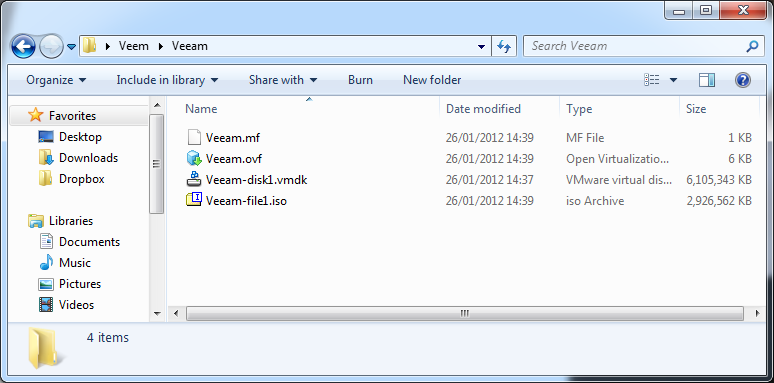
5. Here are the files that it has created.
Import / Deploy an OVF Template to a Virtual Machine
HTML5 Web Client: You can select Deploy OVF Template from either the Cluster or Host Level.
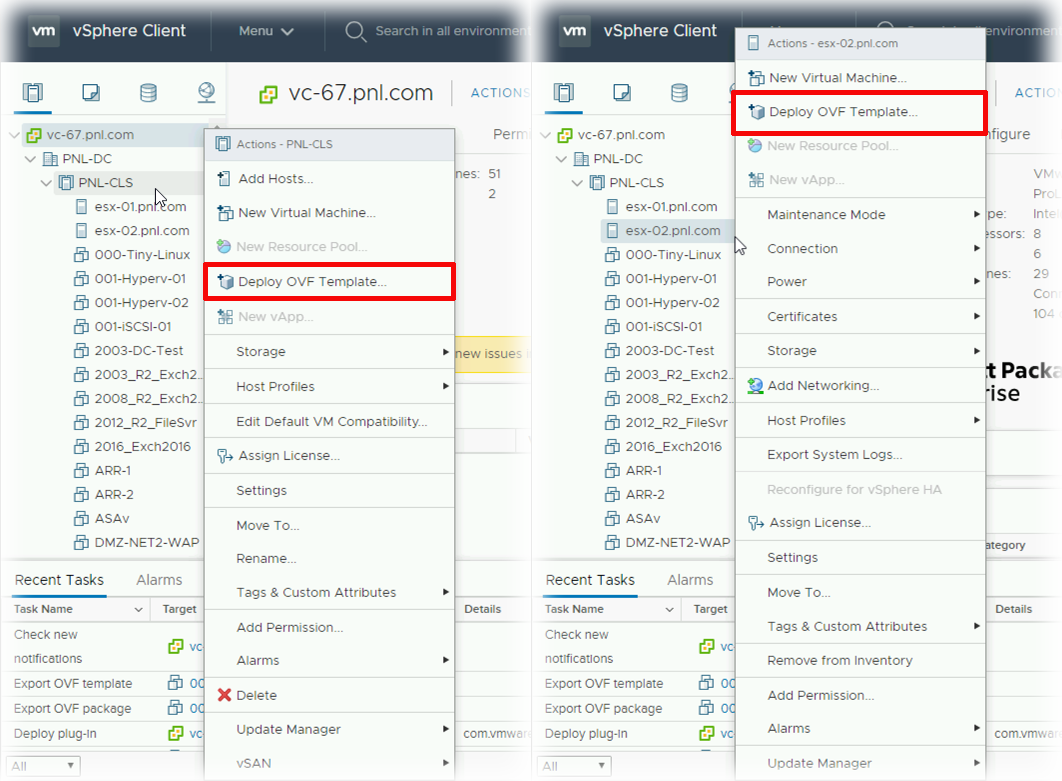 :
:
Flash Web Client: If importing OVA or OVF files into vSphere via the vSphere Web client, you can import them at the vCenter, Host, or Cluster Level.
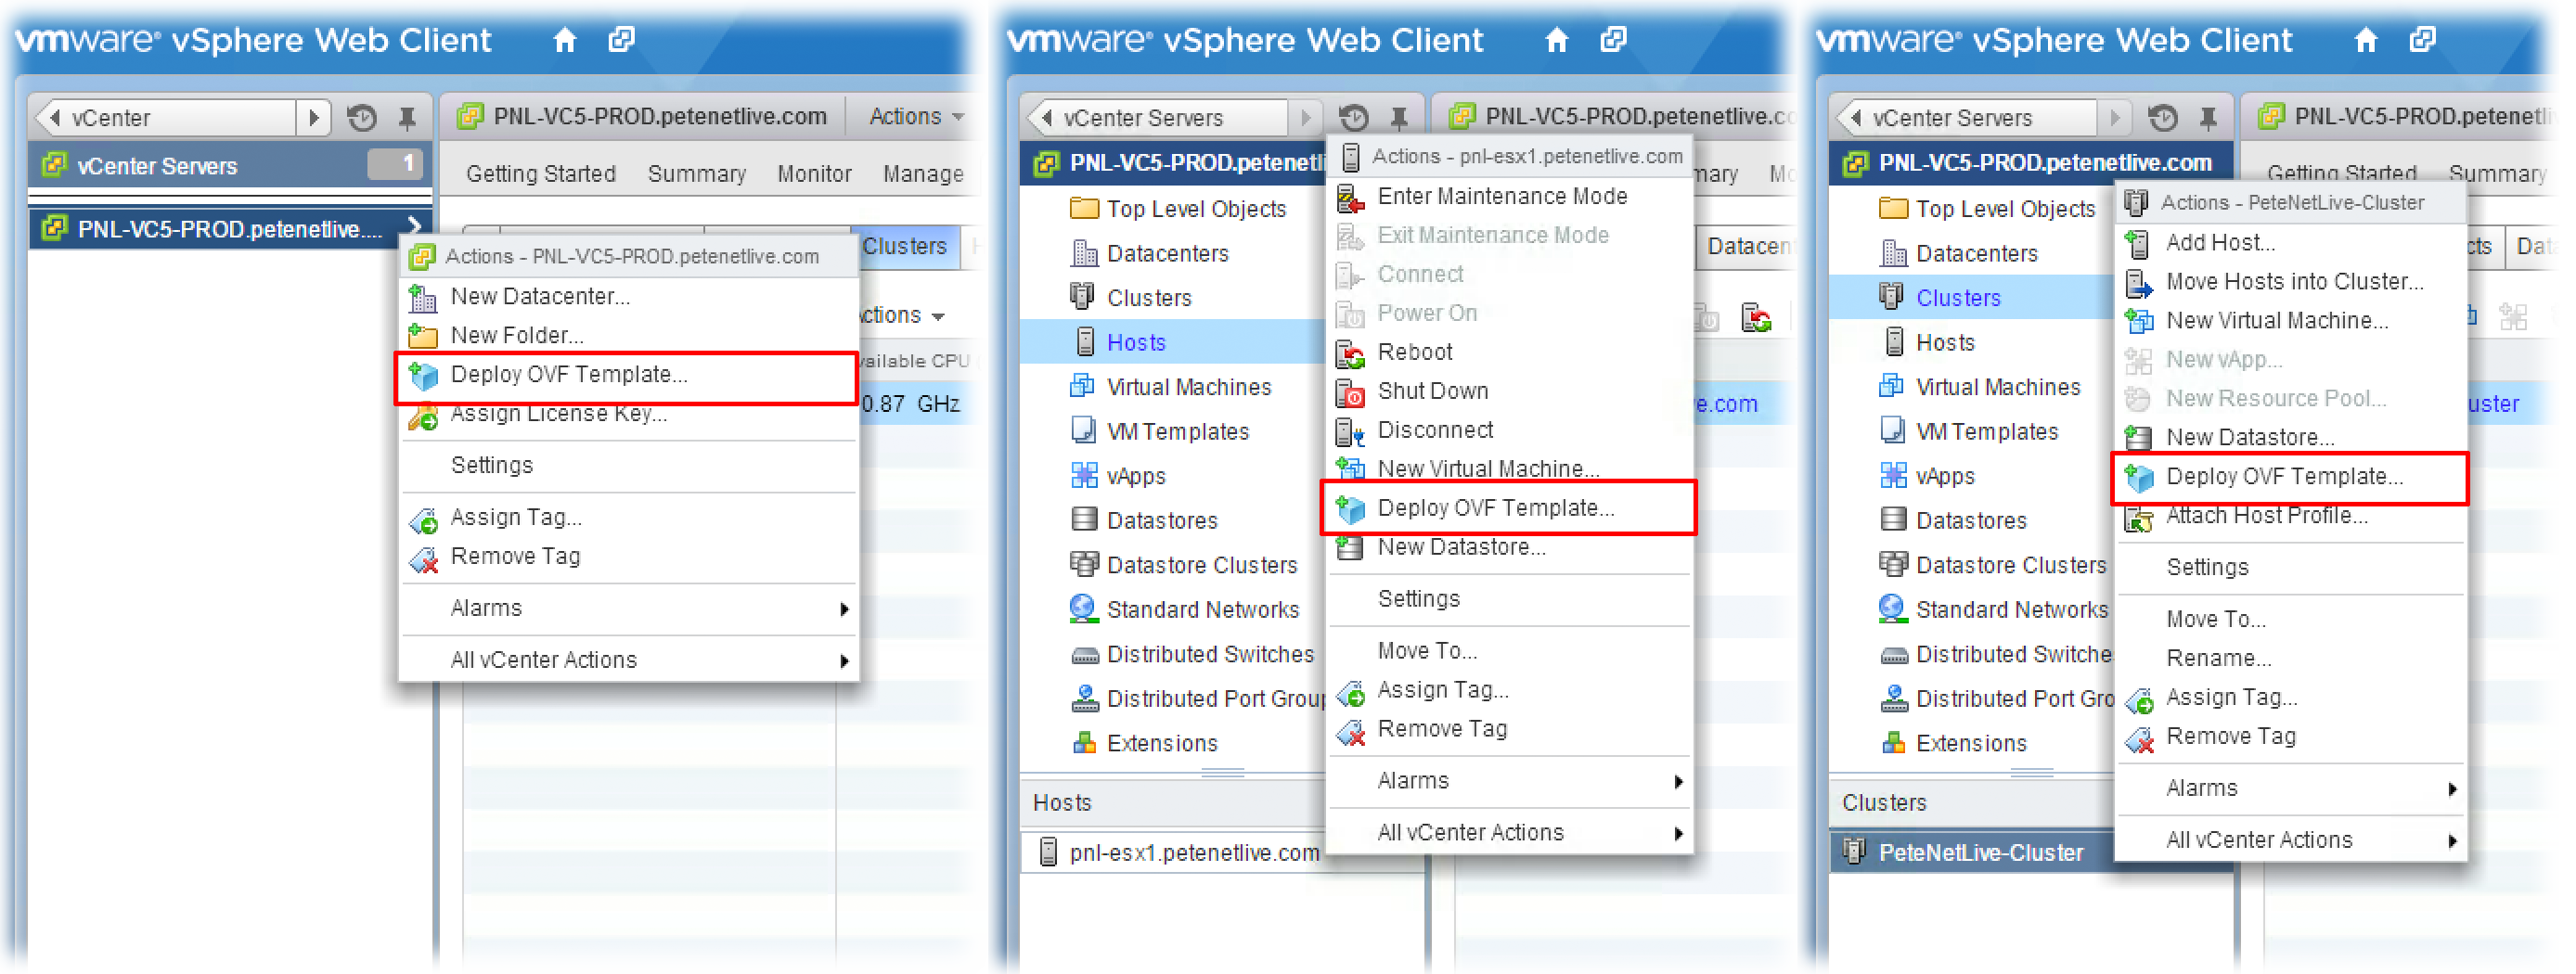
From this point forward: The procedure is the same for both Flash and HTML5 clients, Ill show the process using the HTML5 client.
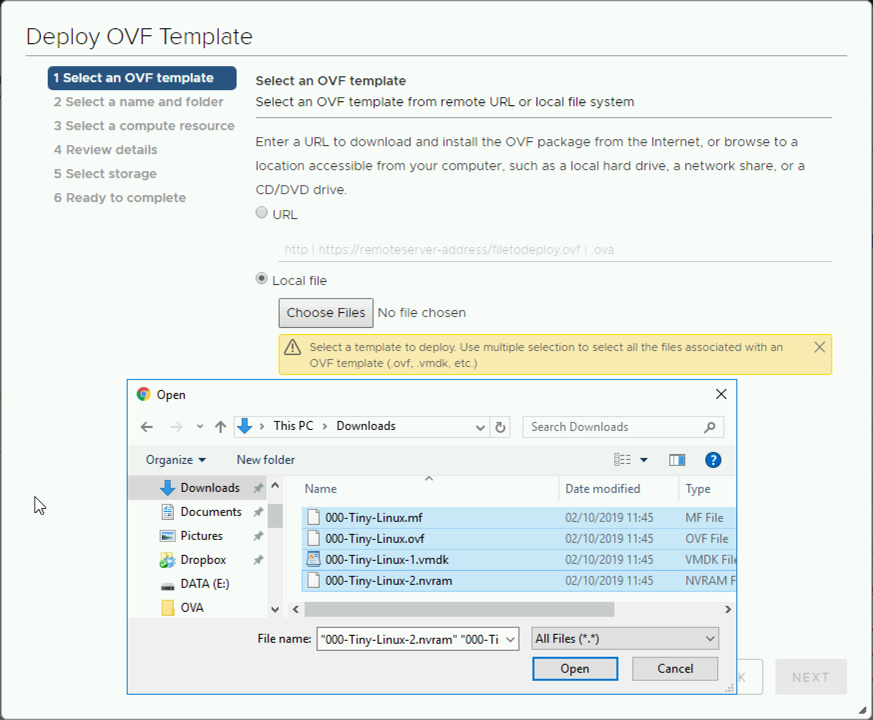
Choose Files > Navigate to and select ALL the applicable files > Next.
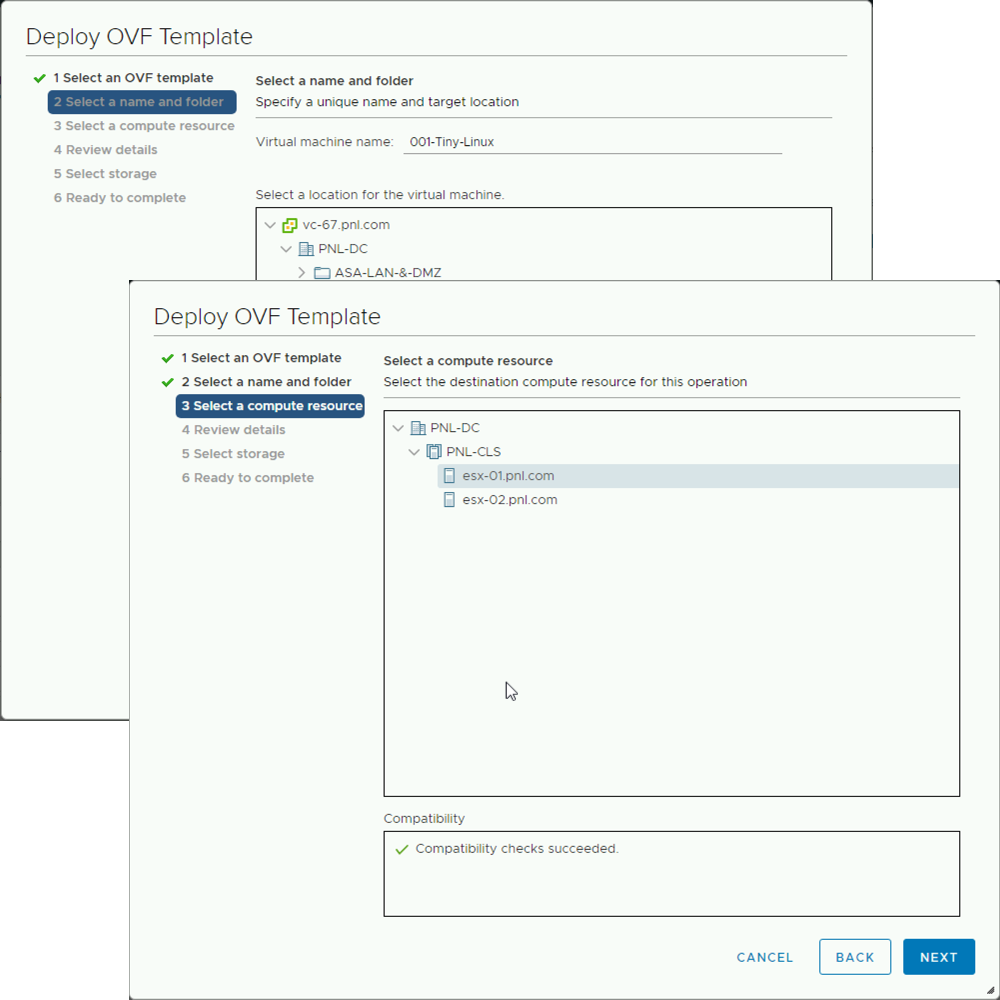
Give the new VM a name, and, (if applicable) select a folder to put it into > Next > Select a host to deploy to > Next.
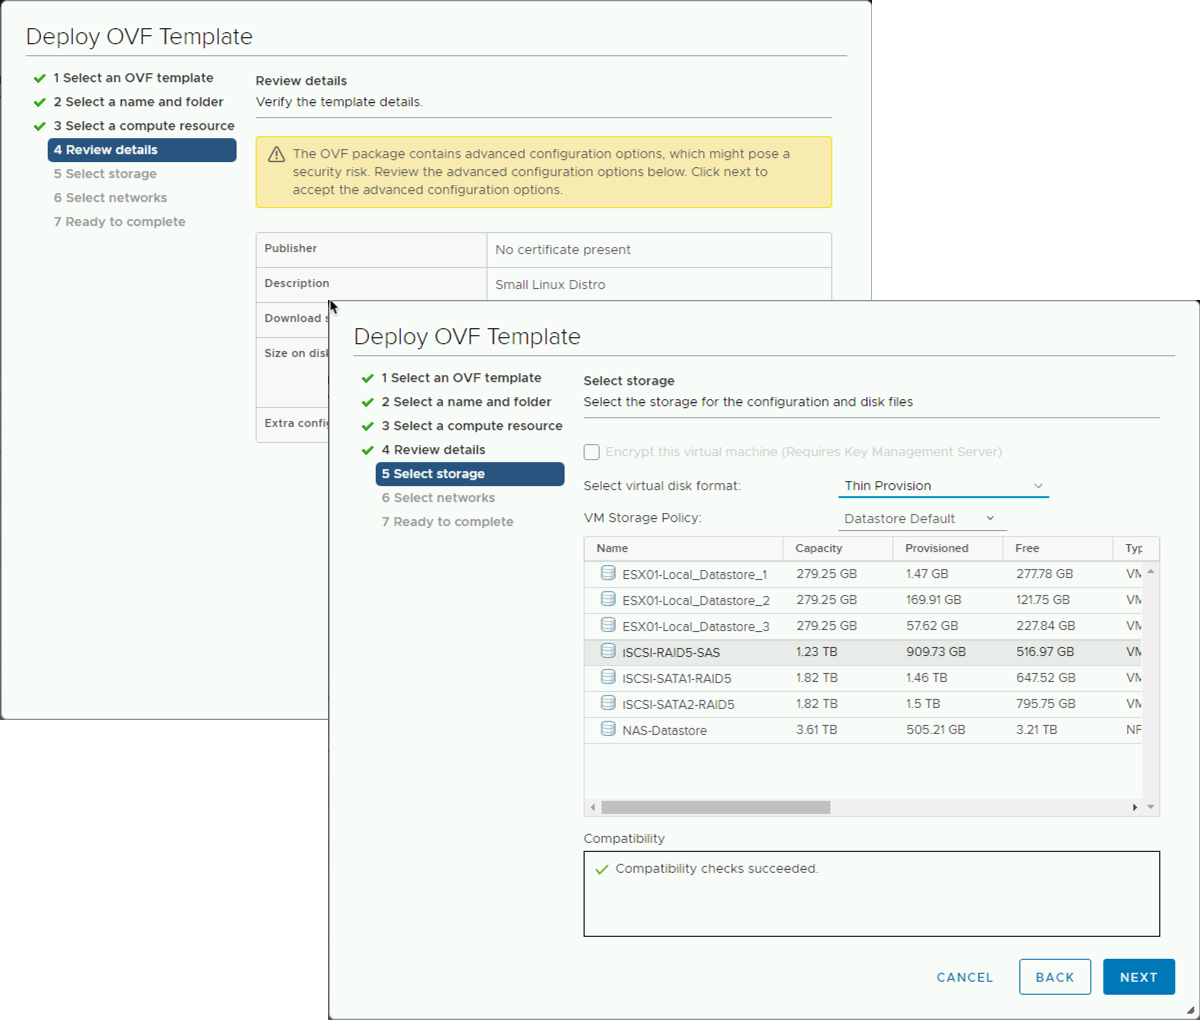
Review details > Next > Choose the storage, (and optionally disk format) > Next.
Select the Port Group you want to connect the new VM to > Next > Again review the details > Finish.

Import / Deploy an OVF Template to a Virtual Machine (vSphere v3, v4 and v5)
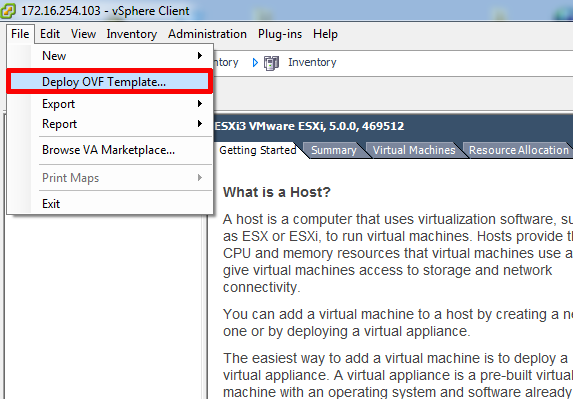
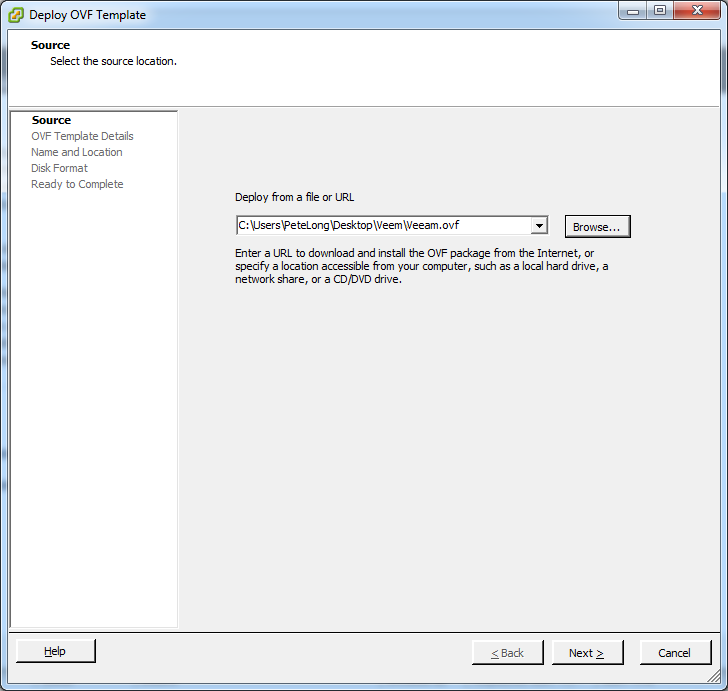
1. To create a VM from an OVF template, connect to your host with the VI client > File > Deploy OVF Template.
2. Browse to the location that the .ovf file is stored > Next.
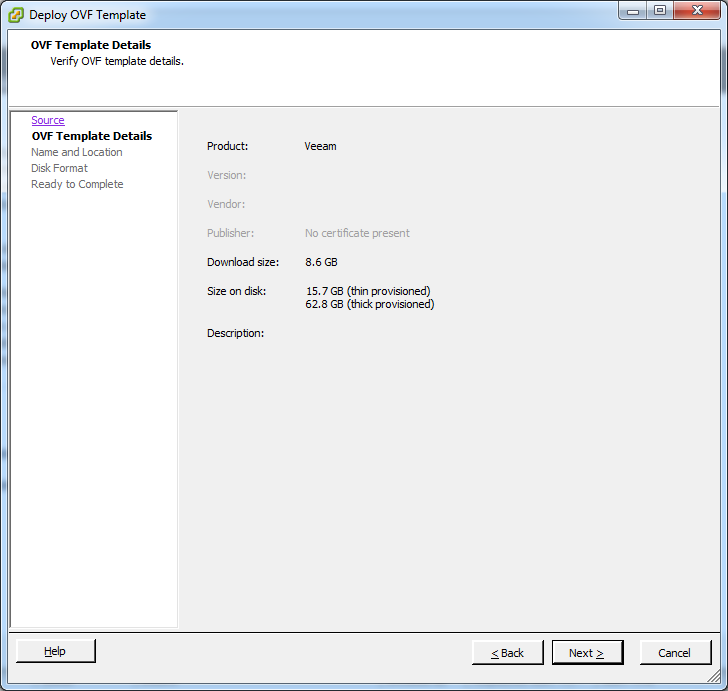
3. Read the details > Next.
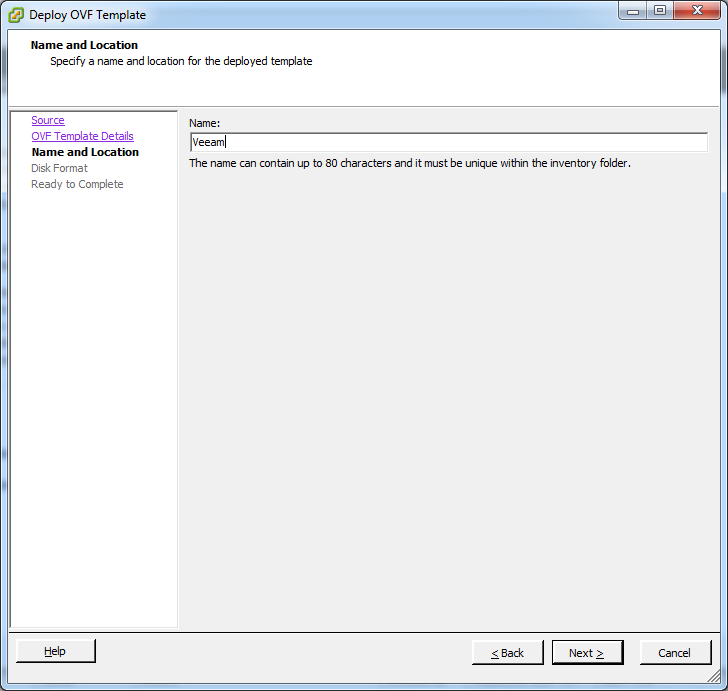
4. Give the new VM a name > Next.
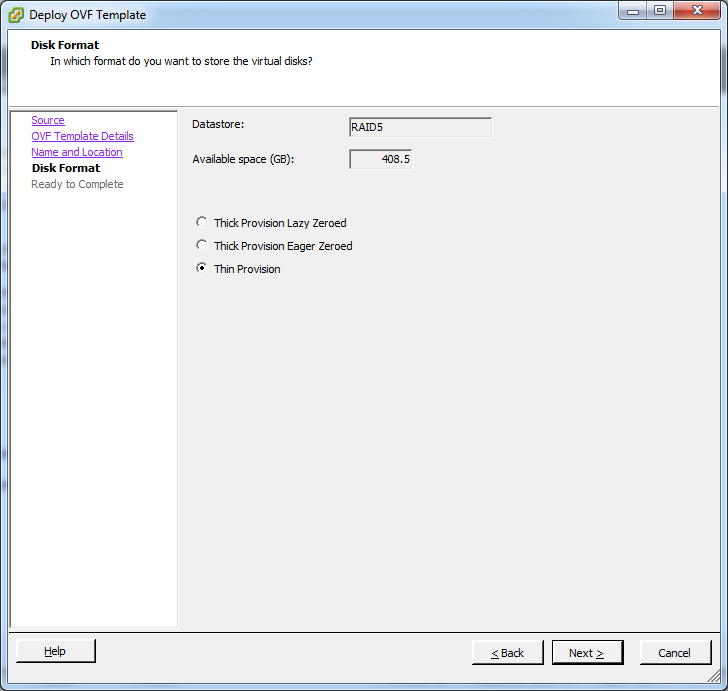
5. Select the disk format (Thick or Thin) you want the new VM to use.
What does Lazy Zeroed and Eager Zeroed Mean?
Data on disks is stored as a 1 (one) or a 0 (zero), so if all the blocks on the disk are set to zero, when you put data on the disk, it only has half the work to do (i.e. write the ones). Eager Zeroed, puts zeros on all the blocks on the disks straight away, Lazy Zeroed puts all zeroes in a block the first time the block is read.
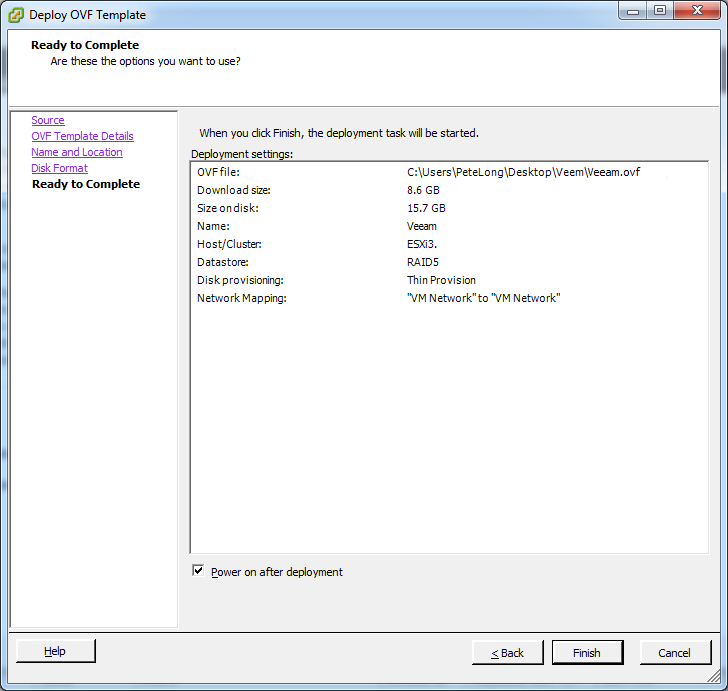
6. Read the summary, and if you want to power on the VM on completion, tick the box > Finish.
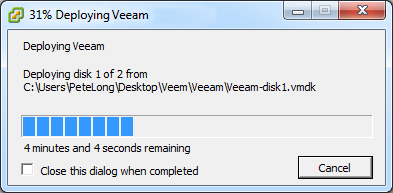
7. Depending upon the amount of data this can take a while.
8. It will give you the following message when it’s finished.
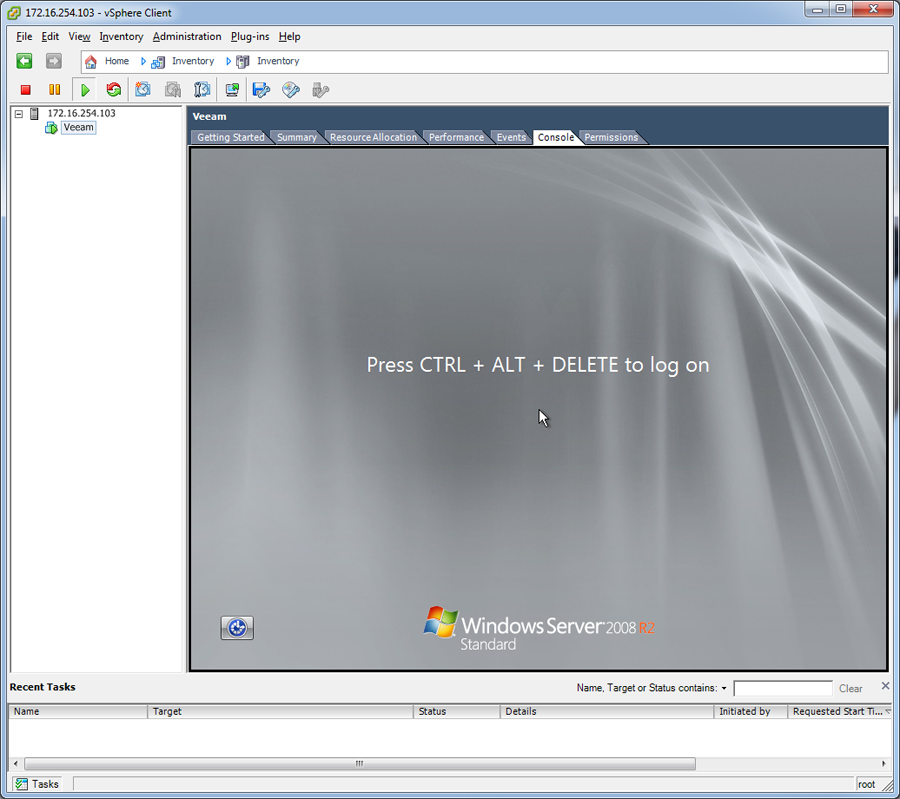
9. And here is your VM, imported, powered up, and working.
Related Articles, References, Credits, or External Links
Original Article Written 26/01/12