
KB ID 0000522
Problem
A few weeks ago my boss asked me to take a look at Microsoft Lync. Because he was interested in the Lync Client (formally Microsoft Communicator) for instant messaging.
Decent info is a bit thin on the net, and I don’t have the patience to read stupidly long PDF files. So to redress the balance I thought I would publish my findings below.
Solution
Note: The following procedure is carried out on Server 2008 R2 with Windows 7 Clients, on my VMware test network.
Walkthrough
I know a lot of people don’t like watching videos so heres my notes:
Pre-Requisites
1. Download and install, Microsoft Silverlight. (link)
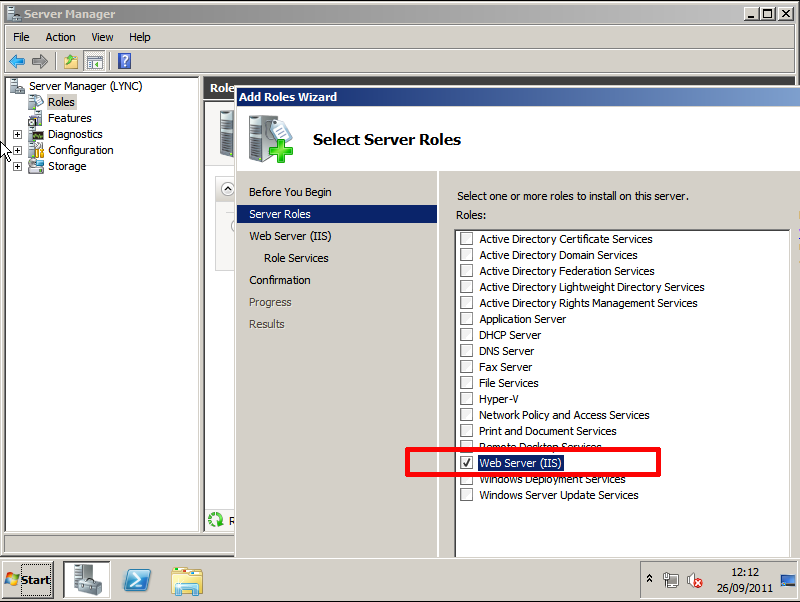
2. IIS (Roles > Add Roles > Web Server IIS) > Next.
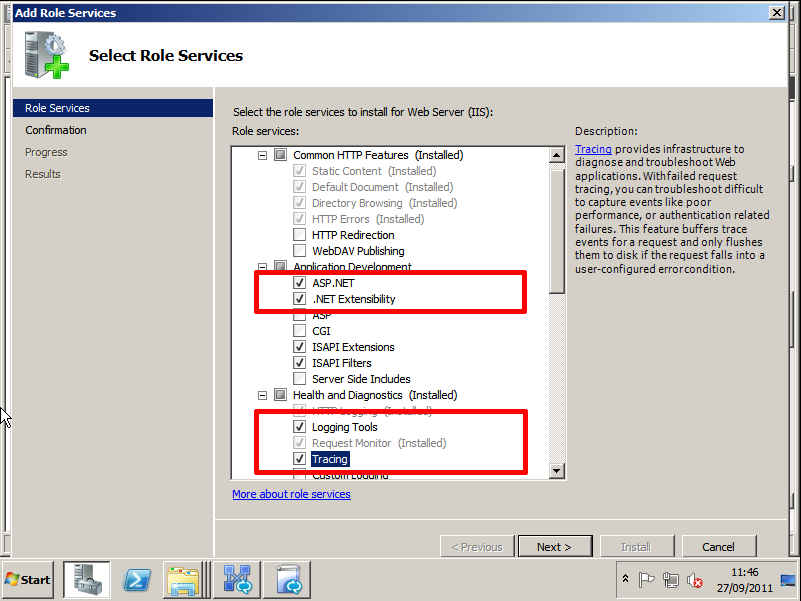
Also add:
i. ASP.NET
ii. Logging Tools
iii. Tracing
iv. Client Certificate Mapping Authentication.
v. Windows Authentication
vi. IIS Management Scripts and Tools
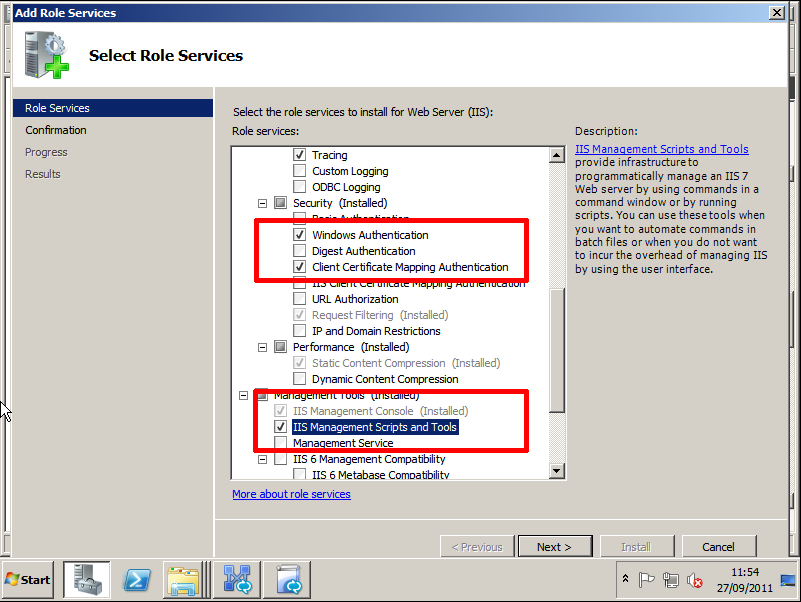
Next > Install > Finish.
3. RSAT Tools (Features > Add Features > Remote Server Administrative Tools > AD DS and LDS Tools) > Next > Install > Close > Select Yes to Reboot > Post Reboot Installation will continue > Close.

4. Have a Certification authority set up in your domain. OR a certificate ready for the Lync Server to import.
Install
1. Run Setup > It will ask to Install C++ let it do so.
2. Once it’s finished, It will ask for the install location > change if required > Install.
3. Accept the EULA > OK.
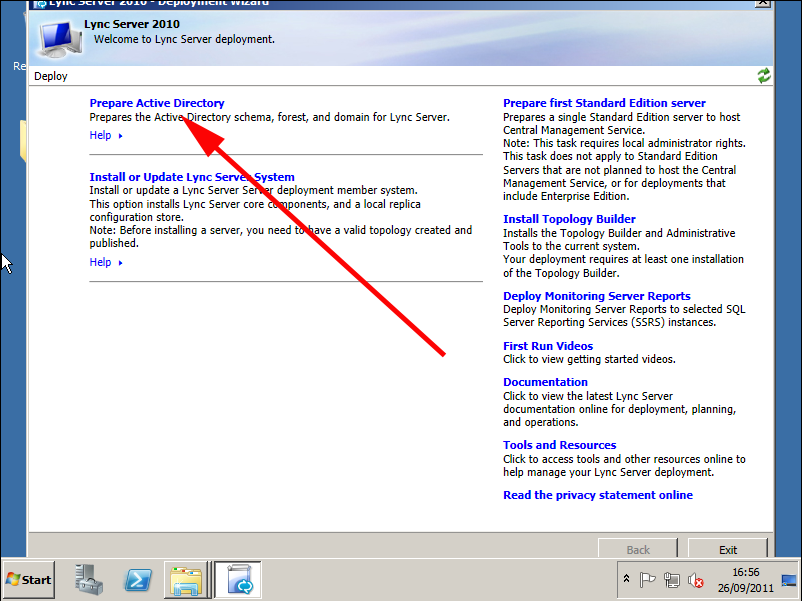
4. When the Deployment Wizard starts > Select “Prepare Active Directory”.
5. Prepare Schema > Run > Next > Finish.
6. Allow domain replication.
7. Prepare Current Forest > Run > Select Local Domain > Next > Finish.
8. Allow domain replication.
9. Prepare Domain > Run > Next > Finish.
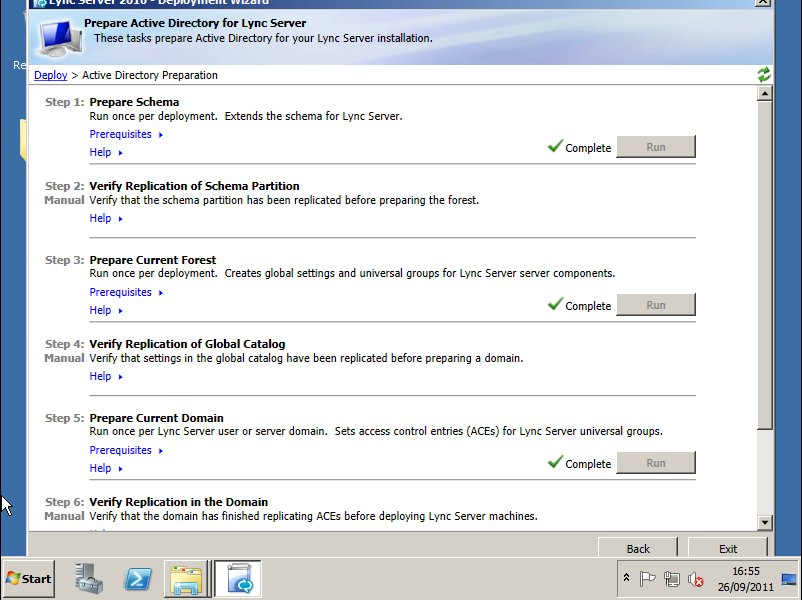
10. When all are completed, add your administrators to the newly created AD group CSAdministrators > Then click “Back” to return to the main page of the Deployment Wizard.

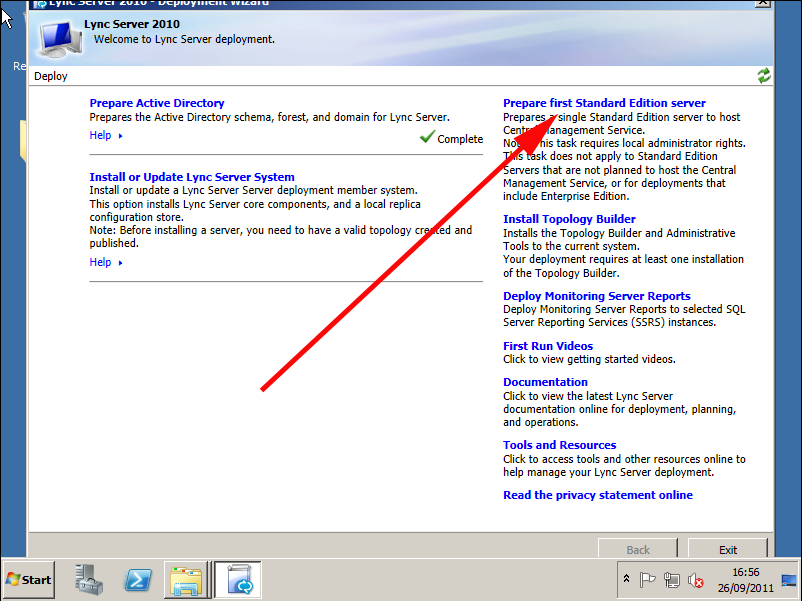
11. Prepare First Standard Edition Server > Next > SQL Express will install > Finish.
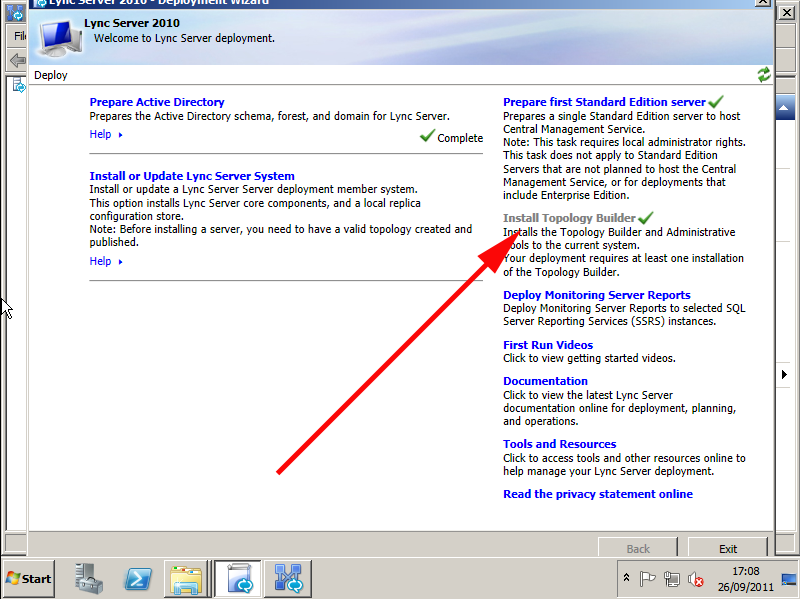
12. Install Topology Builder > It installs very quickly and gets a green tick when complete.
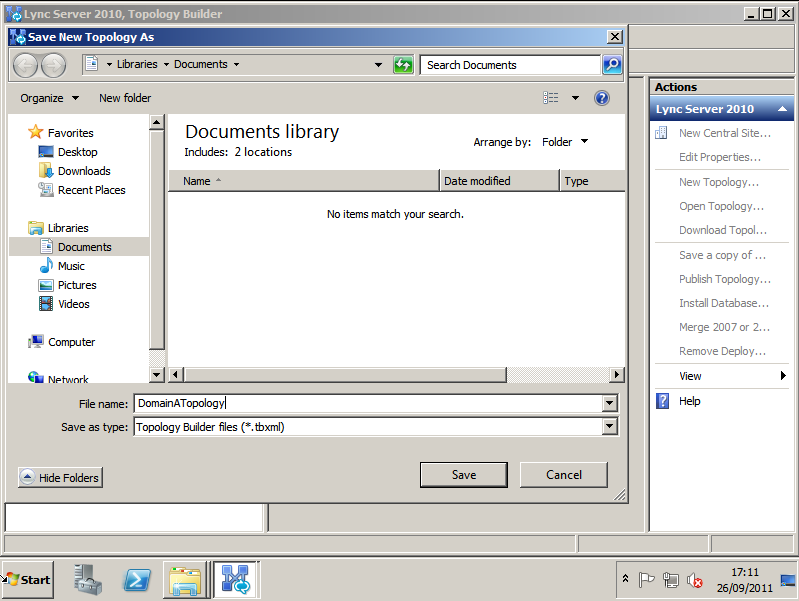
13. Start > All Programs > Microsoft Lync Server 2010 > Lync Server Topology builder > When promoted select > New Topology > OK.

14. Save the topology as requested.
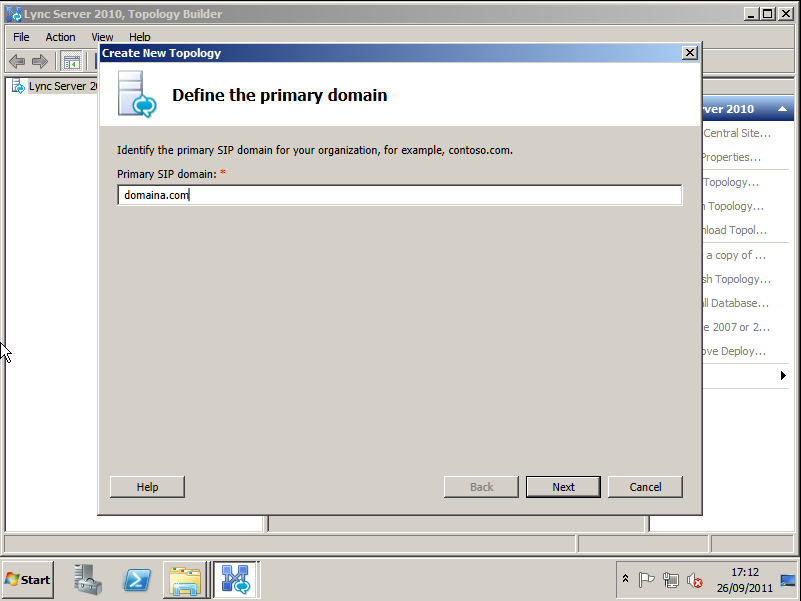
15. Under “Primary SIP Domain” > enter your domain name > Next.
16. Enter any additional domains if required > Next.
11. Give the site a name and description > Next.
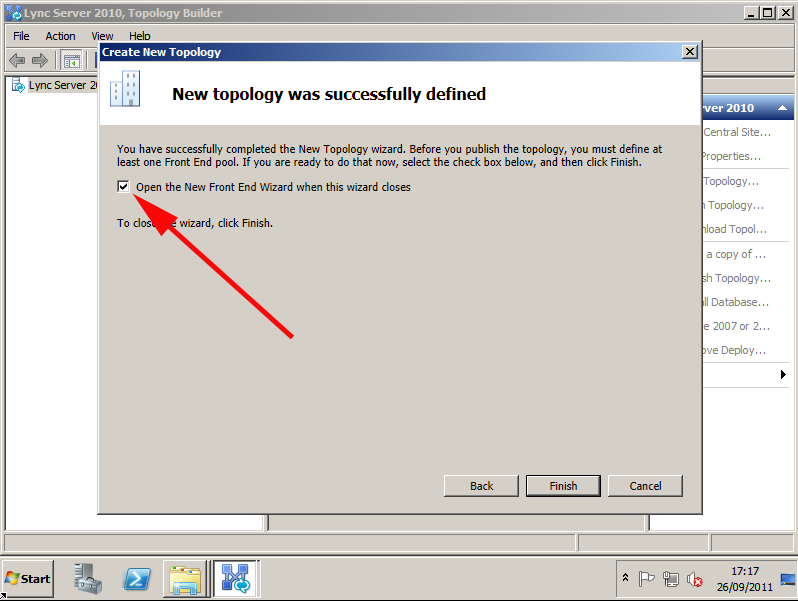
12. Enter site details > Next > With the option to “Open the new front end wizard..” selected > Finish.
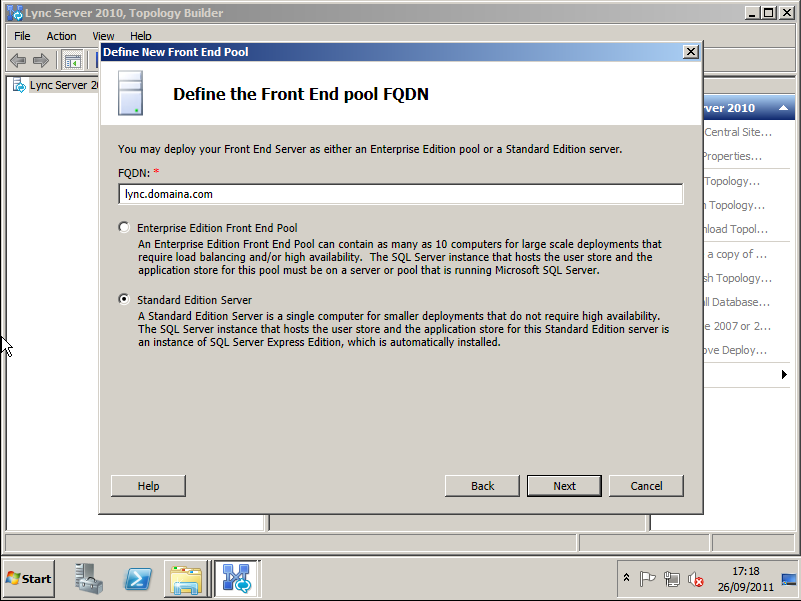
13. At the “Define a new front end pool” wizard > Next > Enter the FQDN of the server and select Standard Edition > Next.
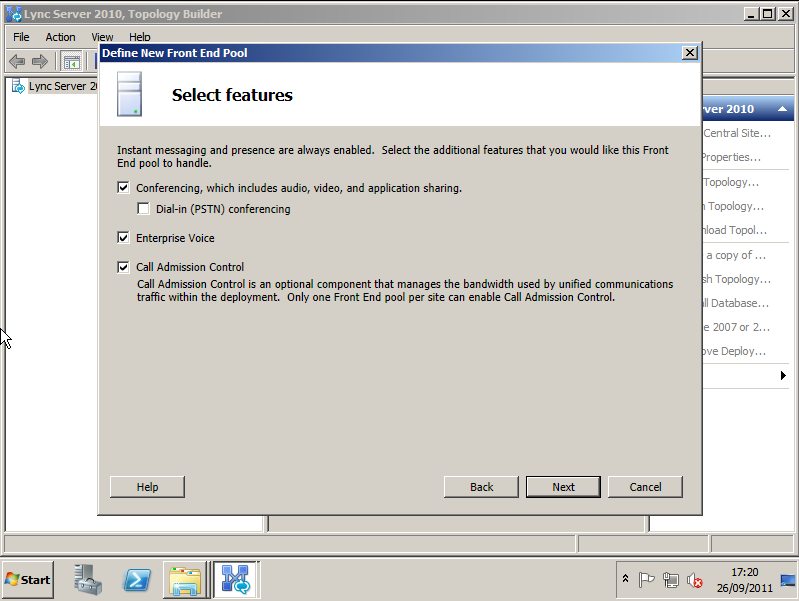
14. Select features (Everything except PSTN, because I don’t have a PSTN gateway) > Next.
15. Choose to Collocate Mediation Server > Next.
16. Don’t add any further server roles > Next > Next.
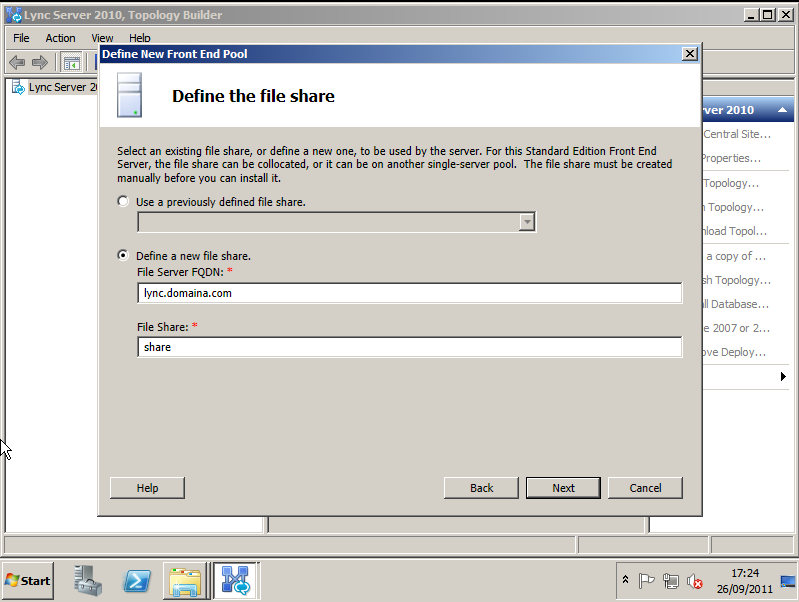
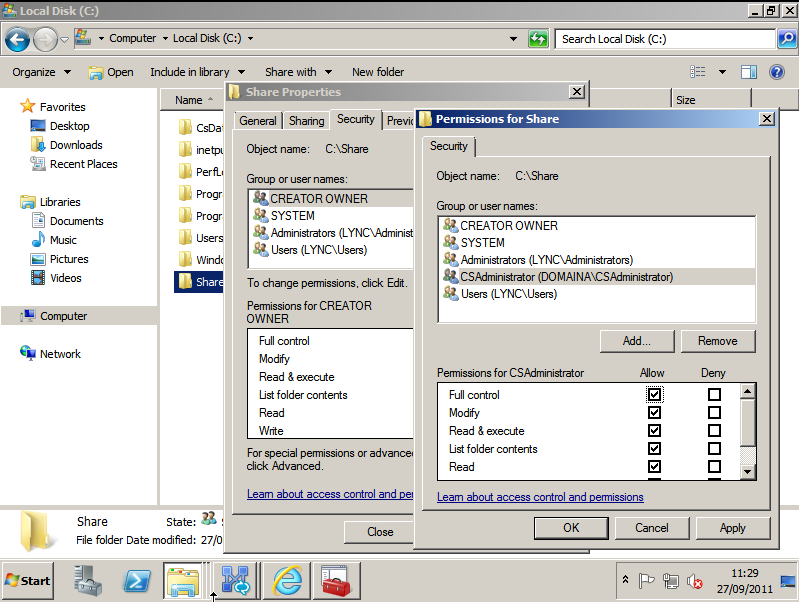
17. Let it create a new share > Next.
(Note manually create the share and make sure it has appropriate permissions).
18. Set external URL if required > Next > we are not adding PSTN > Finish.
19. On the Topology Builder Select > Edit Properties > Central Management Server.
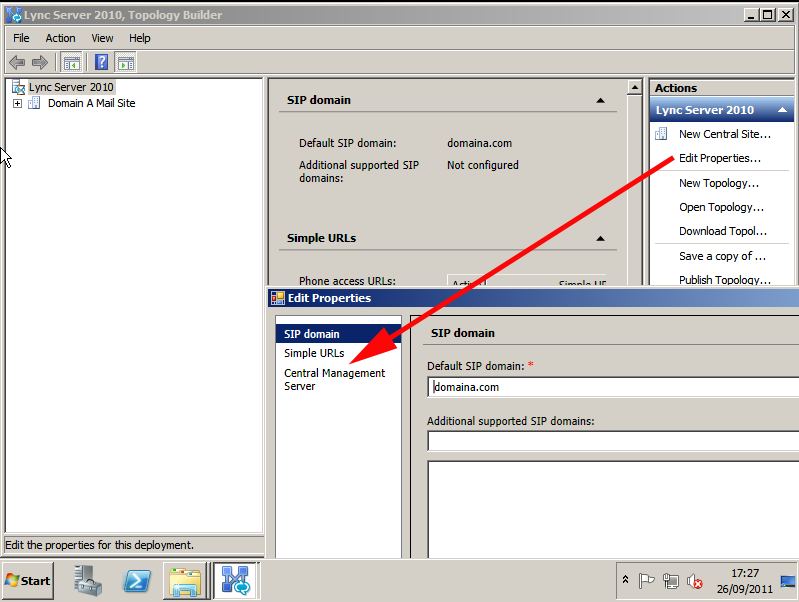
20. Add in the admin URL (Note: Make sure this resolves in DNS), and FQDN of the server > OK.

21. Select Publish Topology > Next > Next > Finish.

22. Re-launch or swap back to the Lync Server Deployment Wizard > Select Install or Update Lync Server System.

24. Run step one “Install Local Configuration Store” > Select “Retrieve directly…” > Next > Finish.
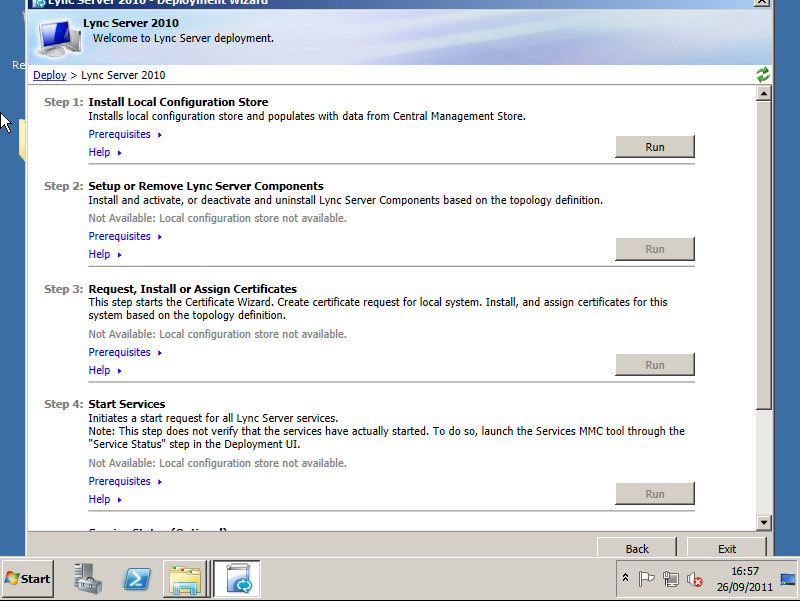
25. Run Step two “Setup or Remove Lync Server Components” > Next > (If you get a Prerequisite installation failed: Wmf2008R2 click the link) > Finish.
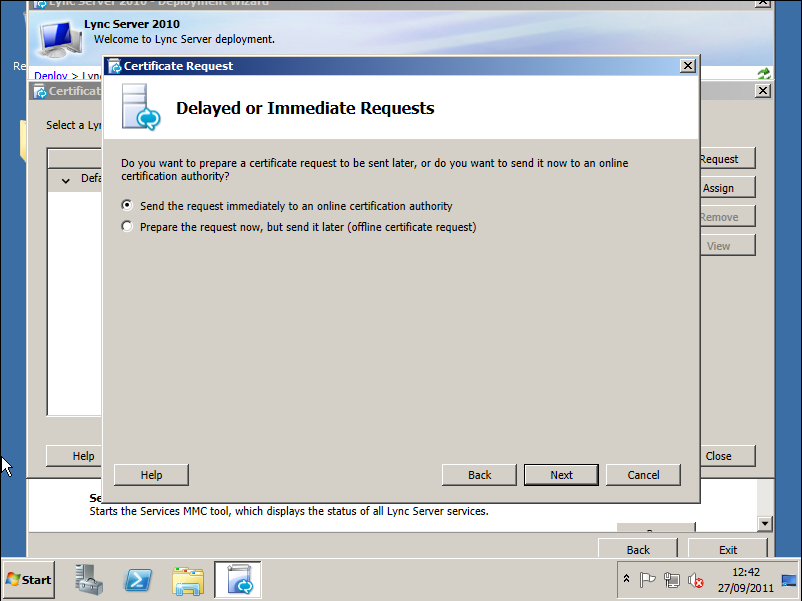
26. Run Step three “Request, Install, or Assign Certificates” > Request > Next > Send request immediately > Next.
27. Select your CA > Next > Next > Next.
28. Choose a friendly Name > Next.

29. Fill in your Organisation information > Next > Enter country > State and City > Next > Next > Next > Next > Next > Next > Finish. > Close.
30. Run Step 4 “Start Services” > Next > Finish.
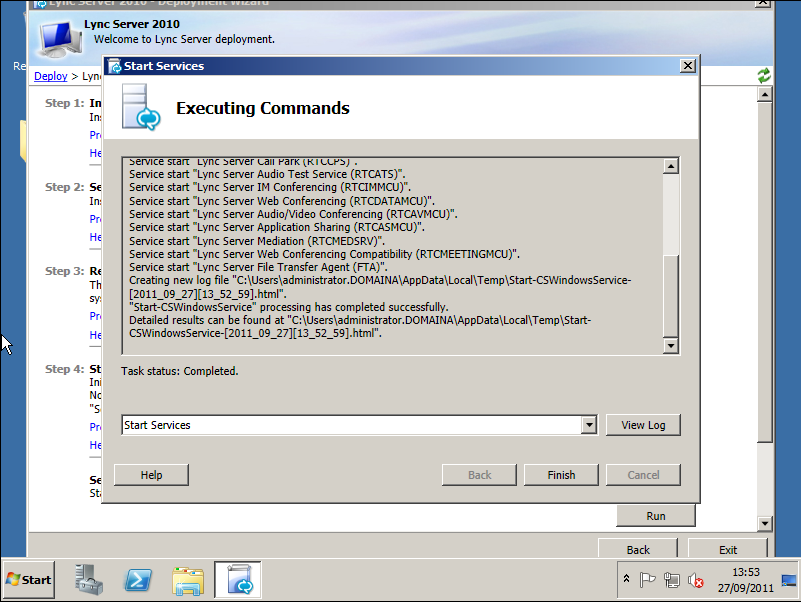
31. Check the service status if you wish.
32. Close the deployment wizard.
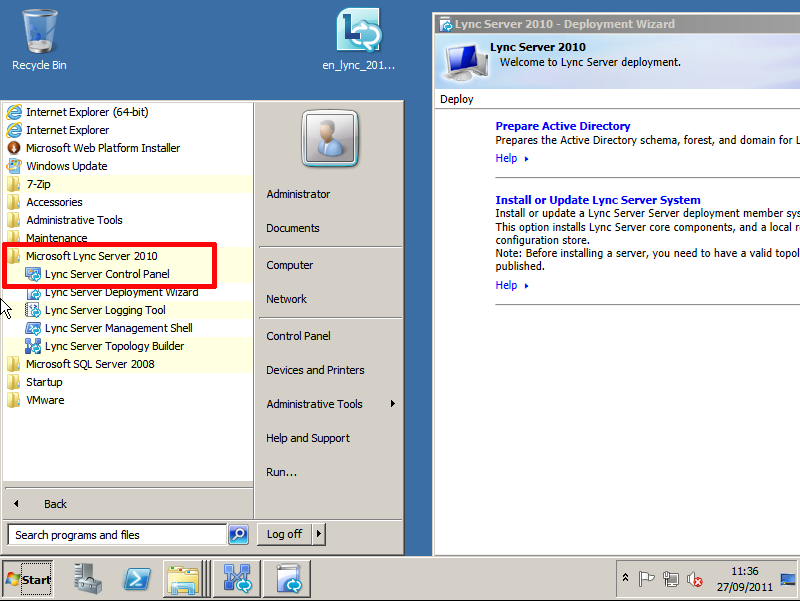
Launch “Lync Server control Panel” and Configure
1. Launch the ” Lync Server Control Panel” > Log in with an admin account (created above at step 10).
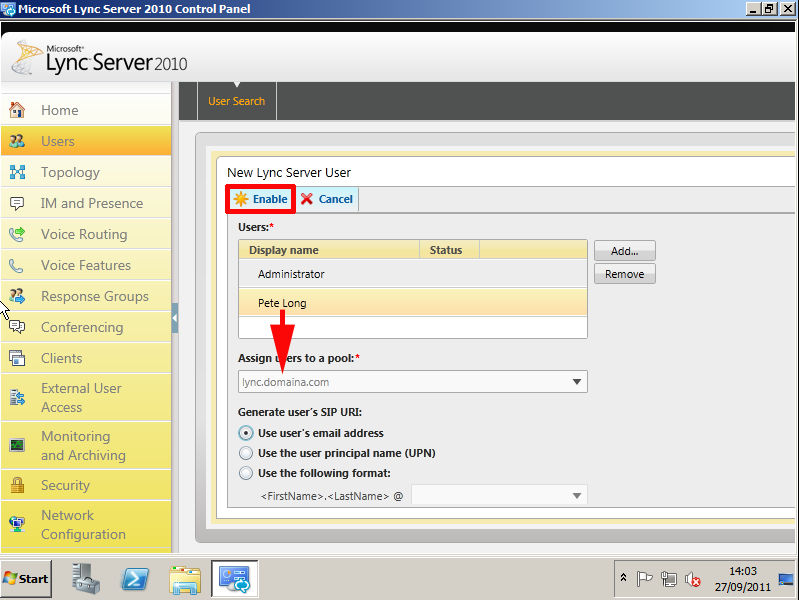
2. Navigate to Users > Add.

3. Add in your users and assign them to your pool.

Post Install Tasks
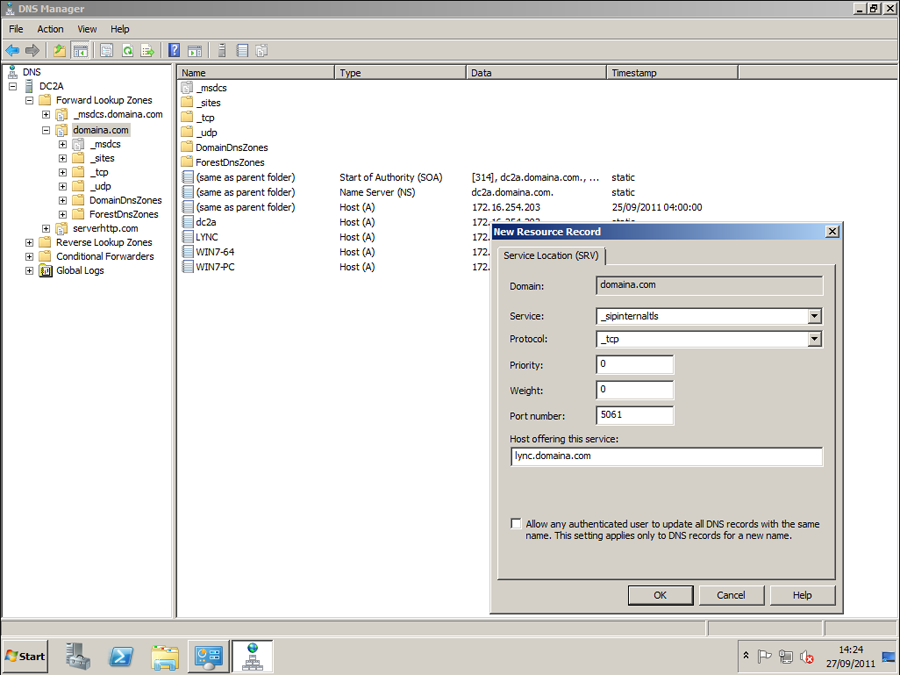
1. You need to create a DNS SRV (Service Location) so the client can locate the Lync server:
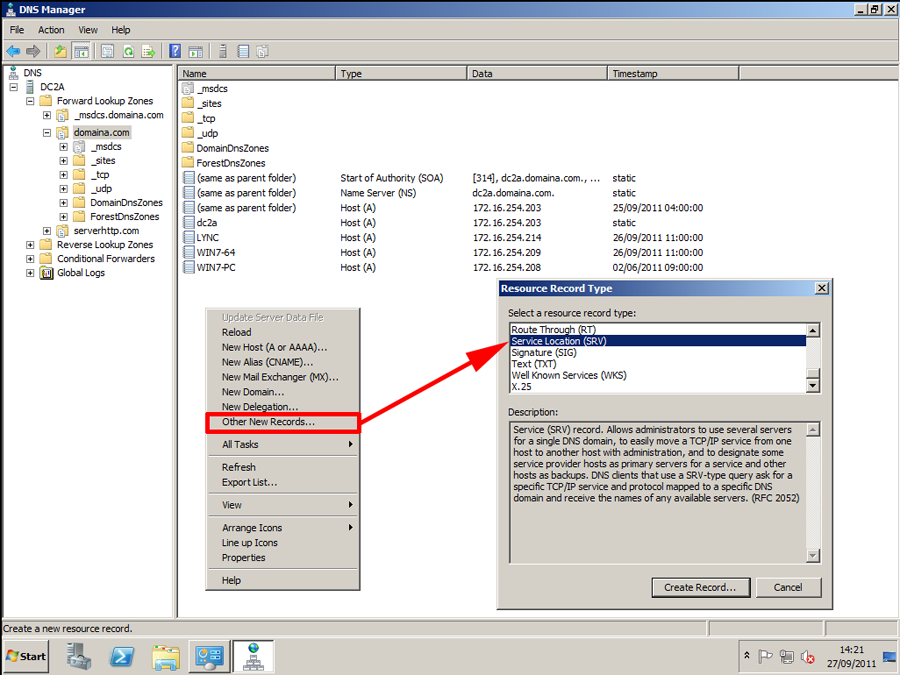
i. service: _sipintenaltls
ii. Protocol: _tcp
iii. Port Number: 5061
iv. Host offering service: the FQDN of the Lync Server.
Install the ‘Lync Client’ on the client machines.

Related Articles, References, Credits, or External Links
NA