
KB ID 0000297
Problem
I had to work out how to do this for a client, and as is my modus operandi, I’ll try and save you some of the pain I endured,
Products Used
System Center Configuration Manager 2007 SP2 Windows Server 2008 R2 SQL 2008 R2 (At time of writing neither officially supported or not supported on SCCM)
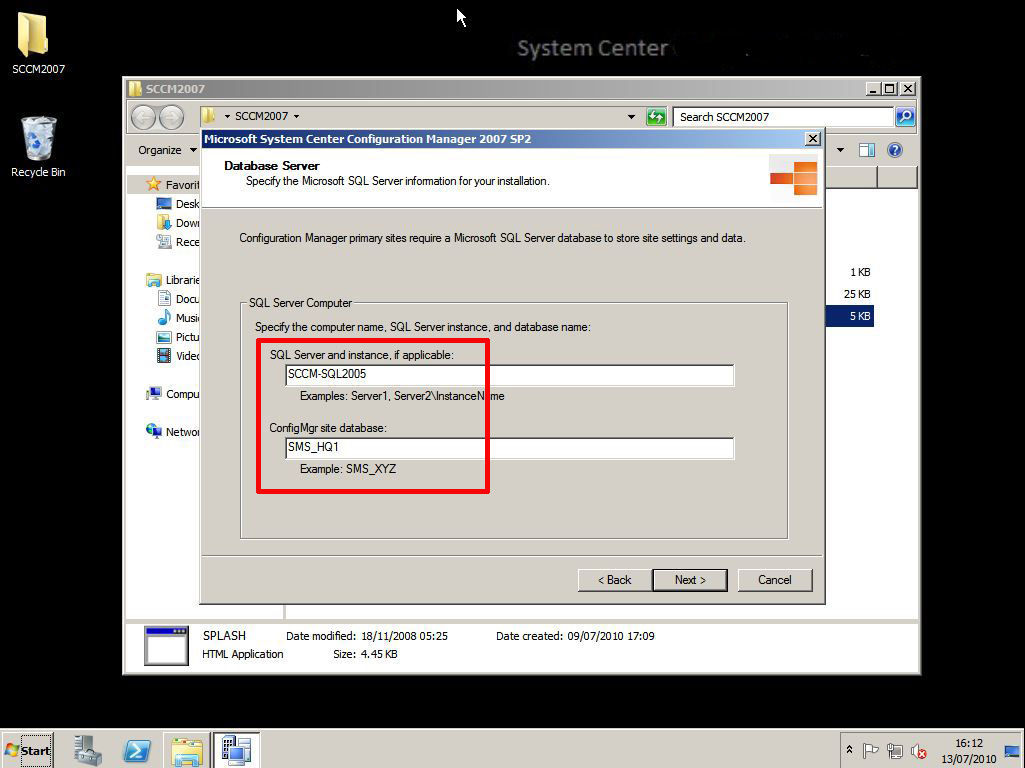
Note: I was originally going to use SQL 2005 – hence the reason the SQL servers name is SCCM-SQL2005, however I bit the bullet and used SQL 2008 R2 instead.
Solution
Step 1: SCCM Domain pre install work.
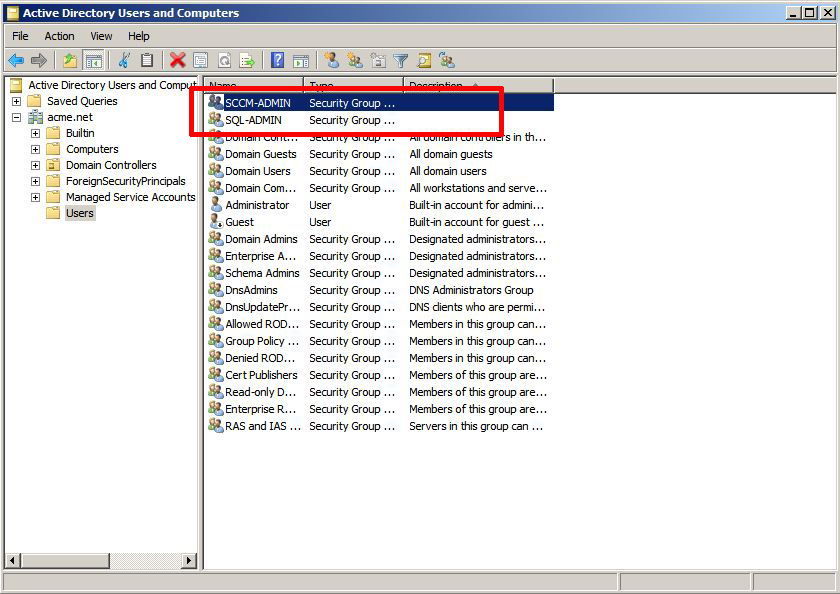
1. Create two groups in Active Directory.
a. sccm administrator group SCCM-ADMIN b. sql administrator group SQL-ADMIN
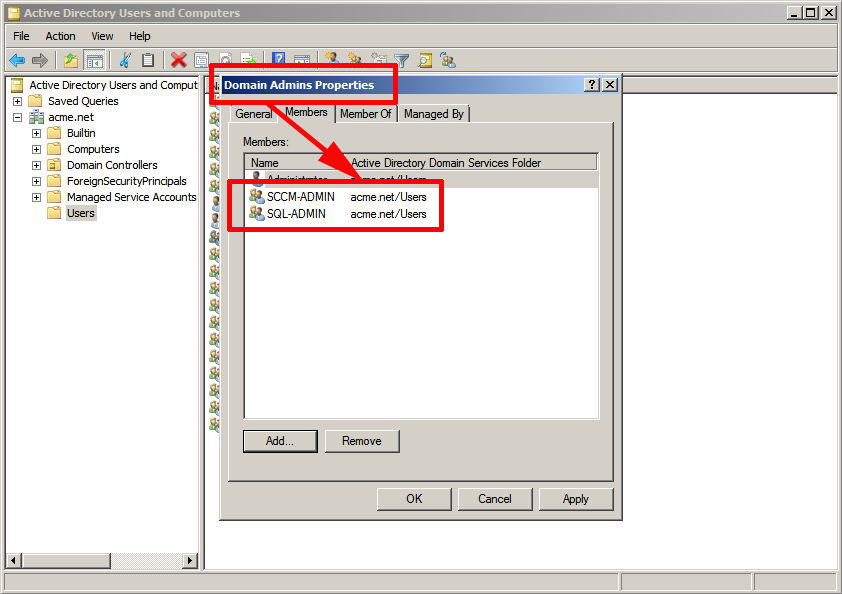
2. Add both groups to the Domain Admin’s group.
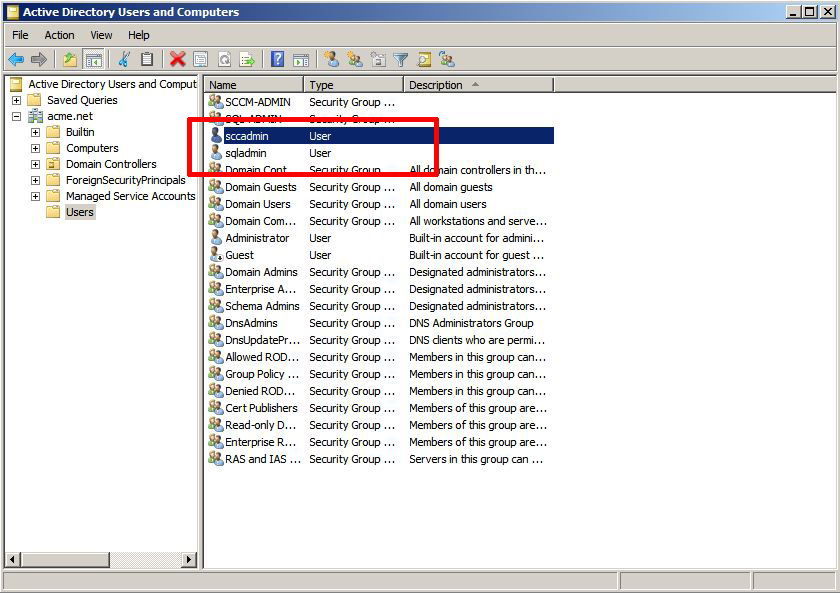
3. Create two new users: sccmadmin and sqladmin.
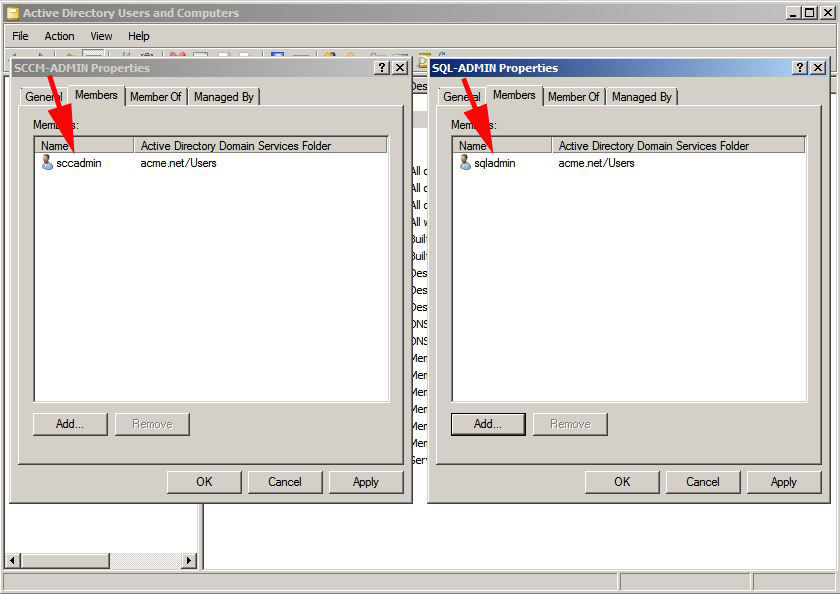
4. Add sccmadmin to SCCM-ADMIN group and add sqladmin to SQL-ADMIN group.
Step 2: SCCM Pre requisites
1. Add the IIS (Web Server Role).

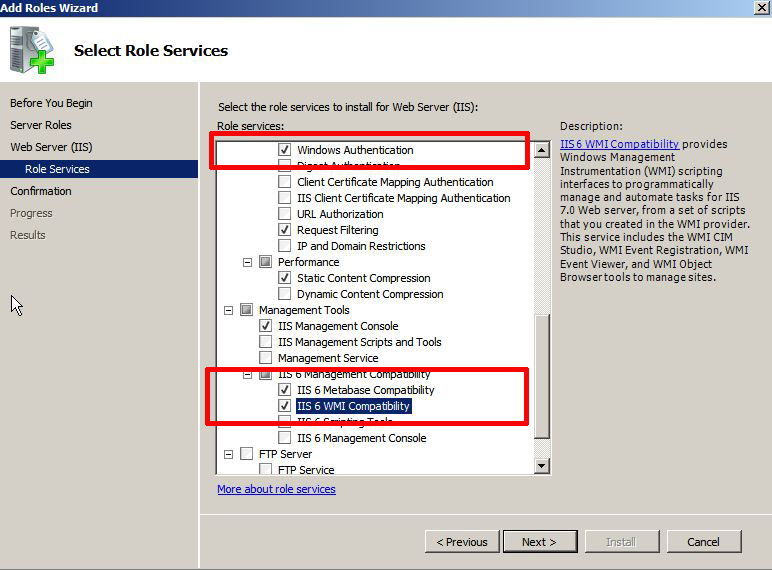
2. Add the following IIS Role Services:
a. HTTP redirection. b. ASP.Net
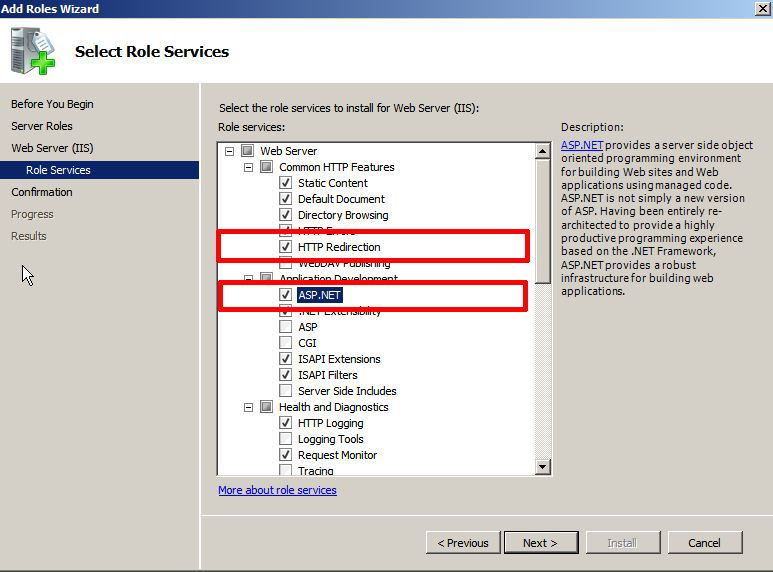
c. Windows Authentication. d. IIS6 Metabase compatibility. e. IIS6 WMI compatibility.
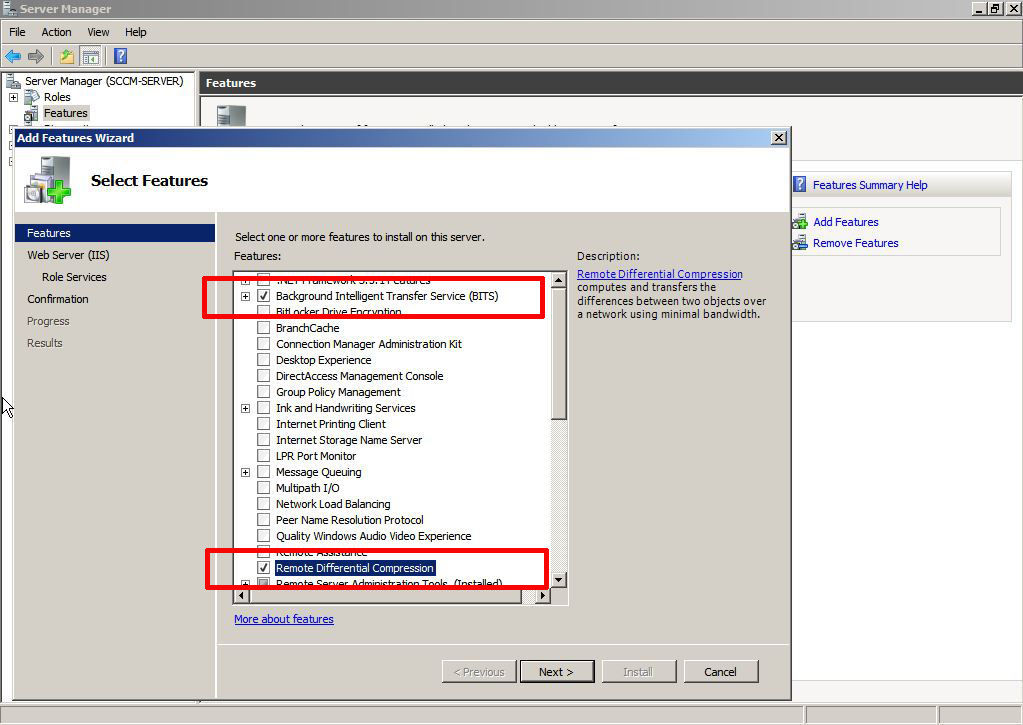
3. Add the following “server Features”:
a. Background Intelligent Transfer Service. b. Remote Differential Compression.
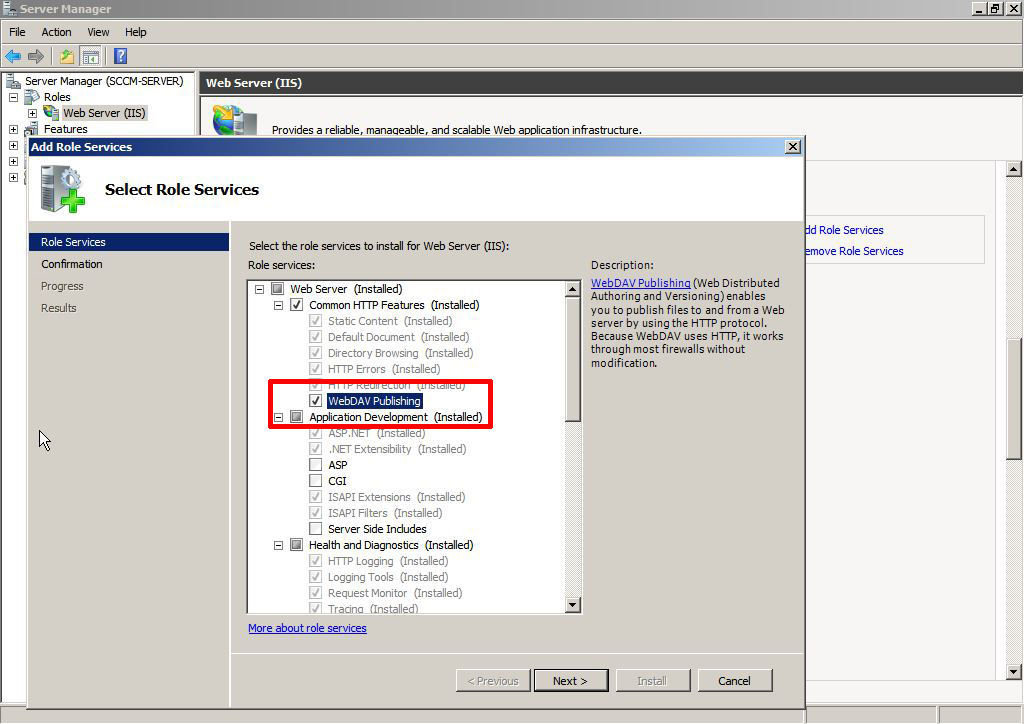
4. If you are NOT running Windows Server 2008 R2 Download and install WebDav (already included in Windows Server 2008 R2). If you are running R2 skip to the next step.
5. Server Manager > Roles > Web Server (IIS) > Add Role Services > WebDAV Publishing > Next > Close.
6. To enable WebDav > Start > Administrative Tools > Internet Information Services (IIS) Manager > Expand {server name} > Sites > Default Web Site > WebDav Authoring Rules.
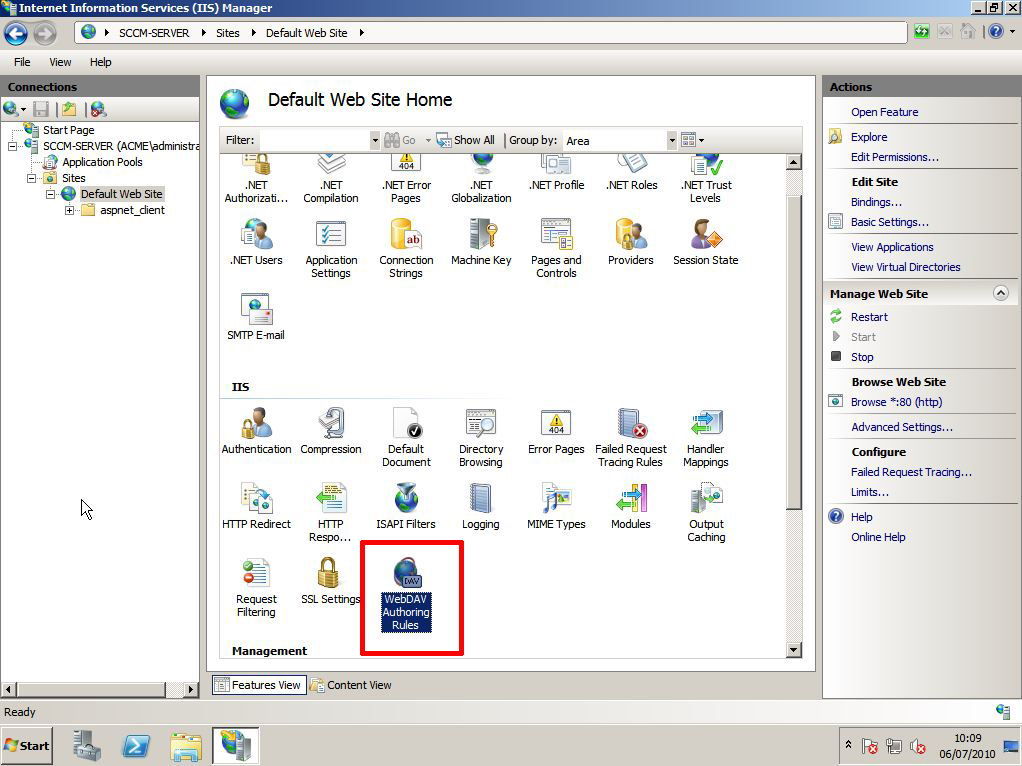
7. Select Enable WebDav (On the right hand side).

8. Select add authoring Rule > All Content > All Users > Permissions > Read > OK.

9. Select the rule you have just created > WebDav Settings.

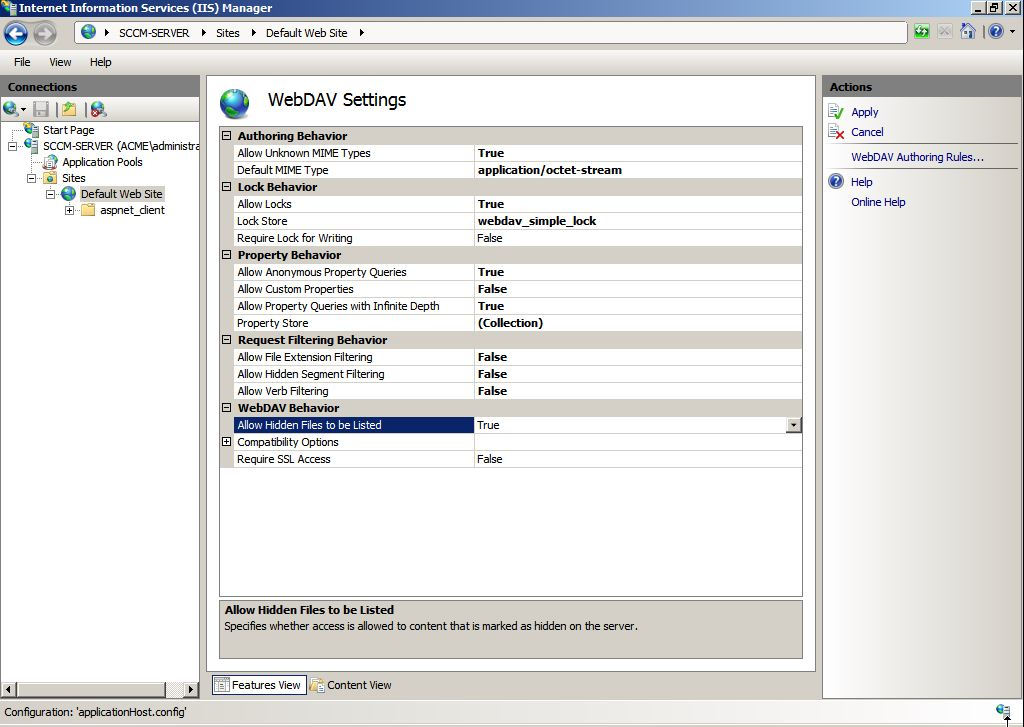
10. Change “Allow Anonymous Properties Queries” to True > Change “Allow Custom Properties” to False > Change “Allow Property Query with Infinite Depth” to True > Change “Allow hidden files to be listed” to True > Apply.
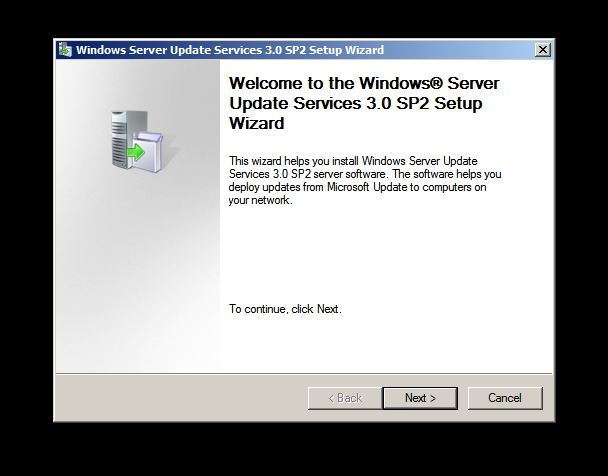
11. WSUS needs to installed on the SCCM server – Note Server 2008 R2 needs (WSUS Server Update Services 3.0 SP2). If you try and install SP 1 you will see this error.
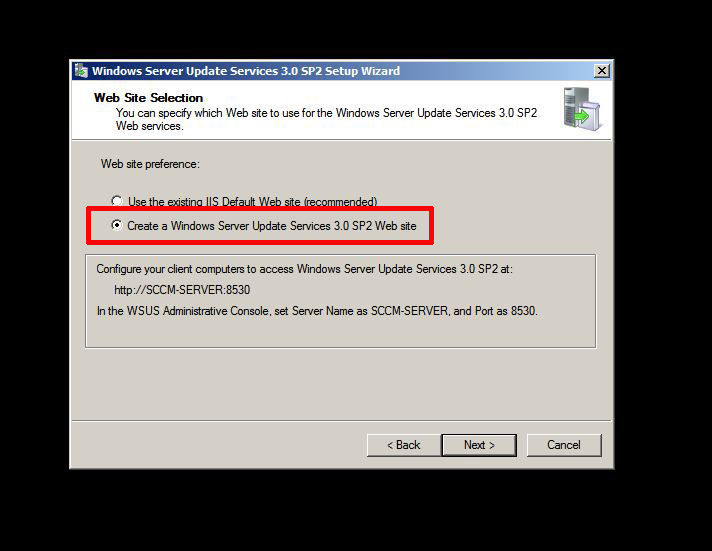
12. From the WSUS installation choose “Full server installation” > DO NOT accept the default “Use the existing IIS Default Web site” > Use “”Create a Windows Server Update Services 3.0 SP2 Web site” (Note: this will use port TCP 8530 by default).
Step 3: SCCM Install SQL Server.
1. From the SQL install media run setup.exe > Installation > “New Installation or add features to an existing Installation” > OK.

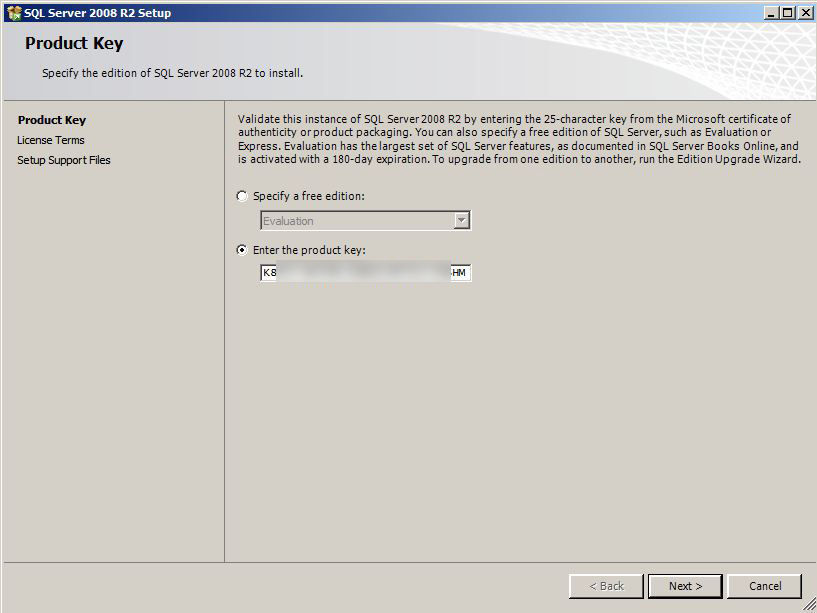
2. Enter product Key if applicable > Next > “I accept…” > Next > Install > Next > Next.
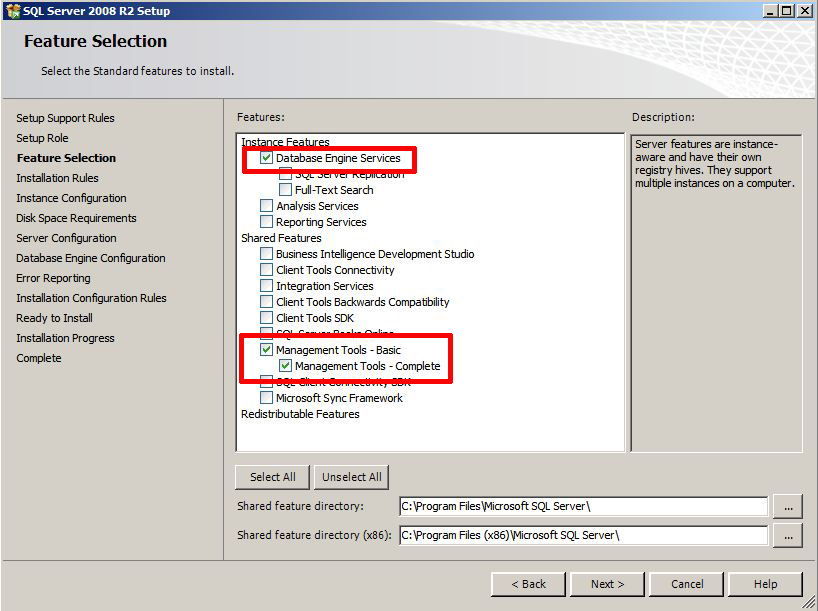
3. Tick Database Engine Services > Tick Management Tools (Basic and Complete) > Next.
4. Next > Accept the defaults > Next > Next.
5. On the Server configuration Page > Select “Use the same account for all SQL Server services > Select the User you created originally (sqladmin) > Set the SQL Server Agent and SQL Server Database Engine Startup type to “Automatic” > Next.

6. Accept “Windows Authentication” > Add in your SCCM-ADMIN group and SQL-ADMIN group > Next > Next > Next > Install.

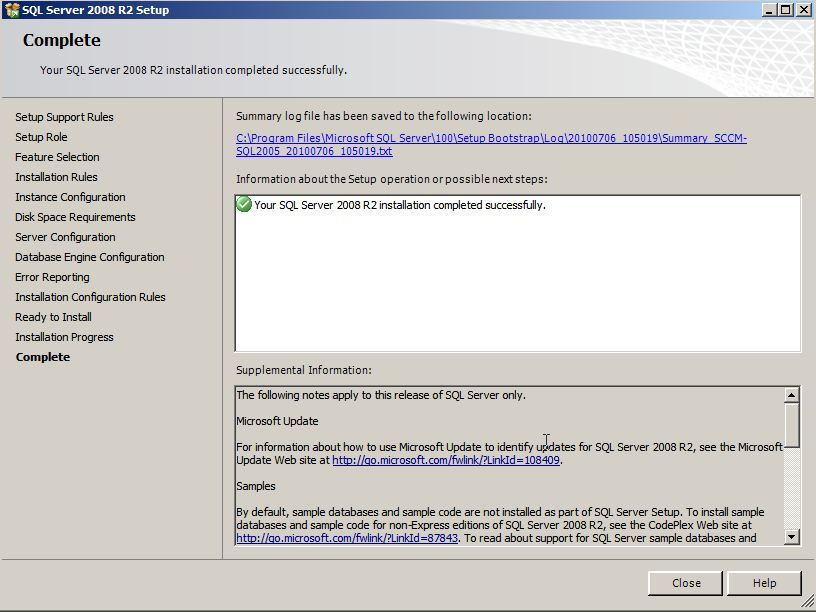
7. When it’s completed click close.
Step 4: Prepare Active Directory for SCCM
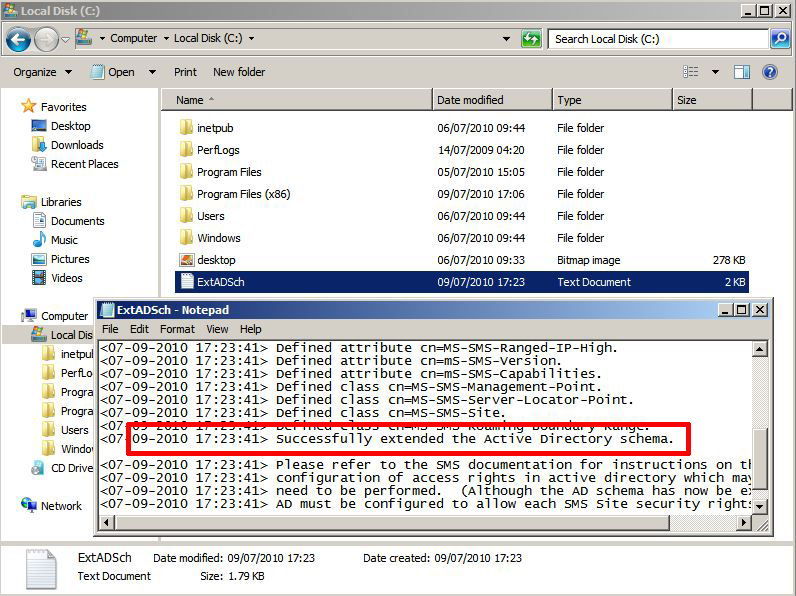
1. Extend the schema > From the install media > SMSSETUP > BIN > 1386 > extadsch.exe

2. Check the above was successful by opening the c:extADsch.txt file it should say “”successfully extended the Active Directory Schema”.
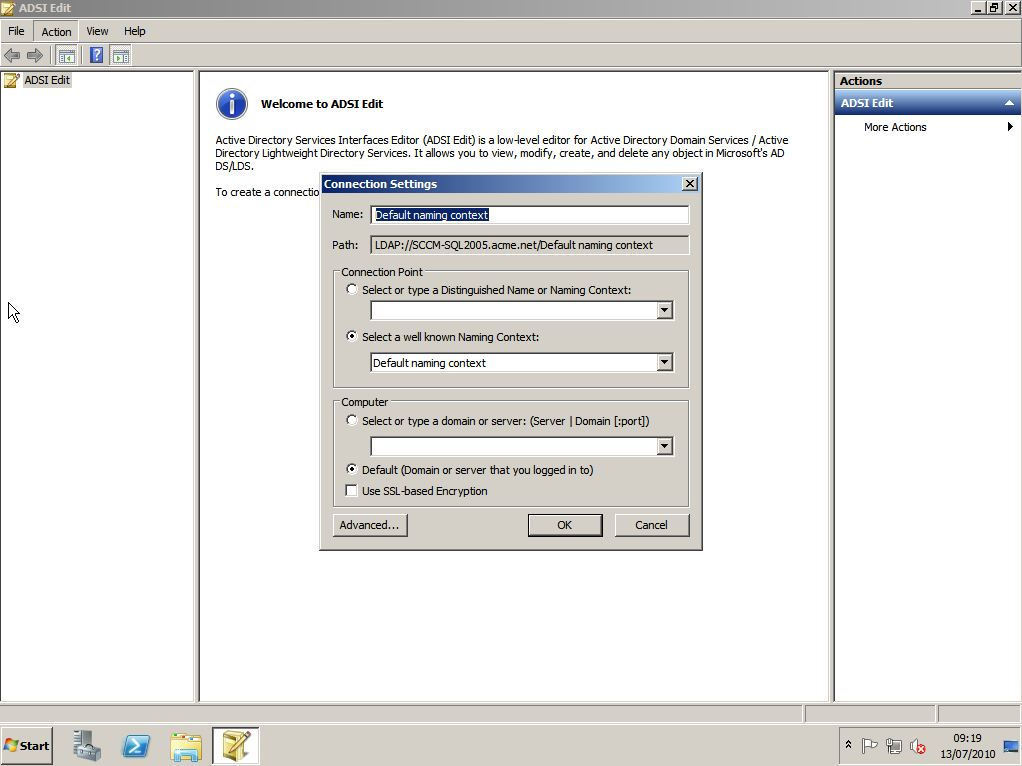
3. We now need to create some active directory objects go to a domain controller > Start > Administrative tools > ADSI Edit > Action > connect to > leave everything on its defaults > OK.
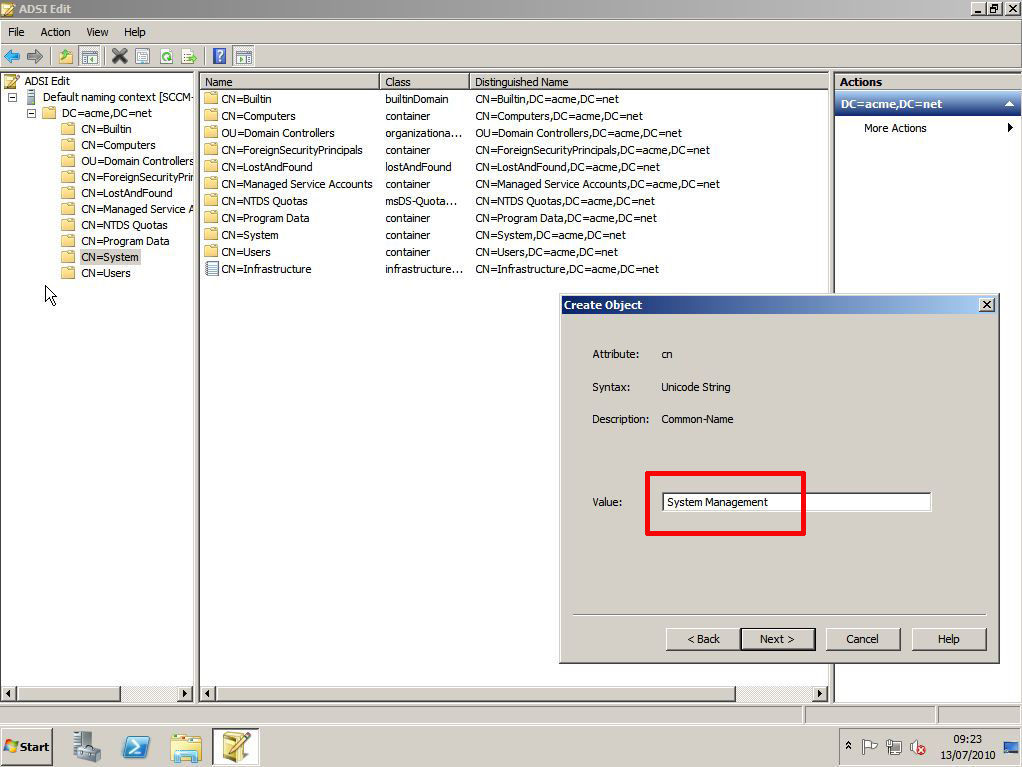
4. Expand the Default naming context > Expand your domain name > Right click “system” > New > Object > Container > Next.

5. Call it “System Management” > Next > Finish > Close ADSI Edit.
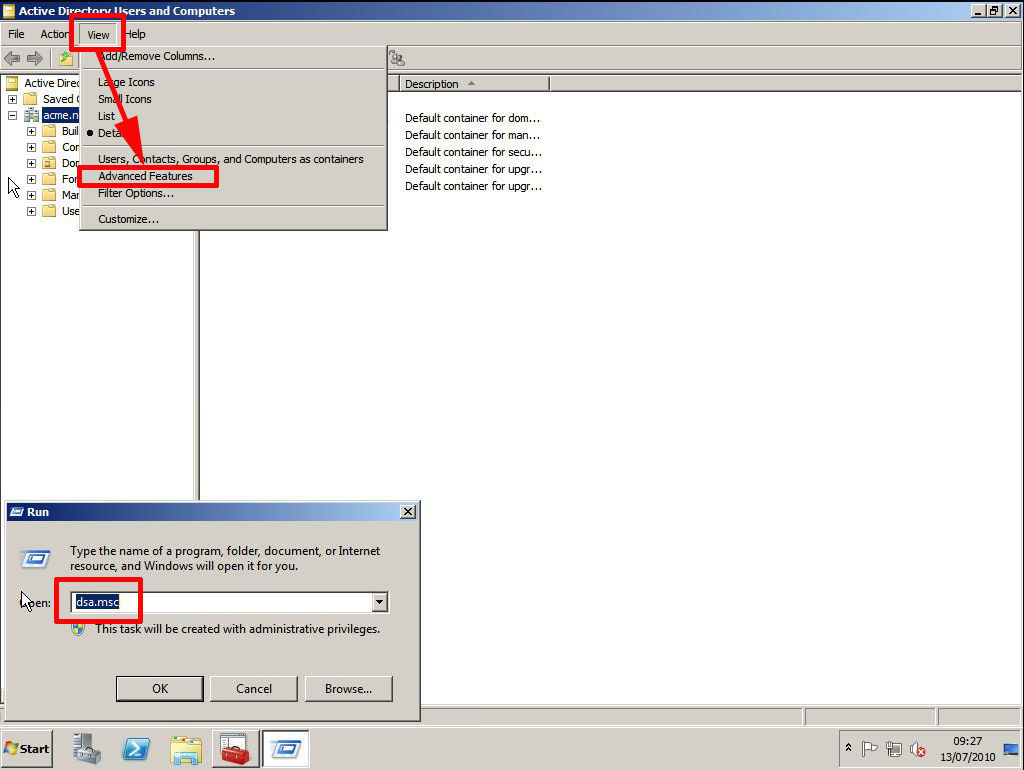
6. Still on the domain controller > Start > dsa.msc {enter} > View > Advanced.
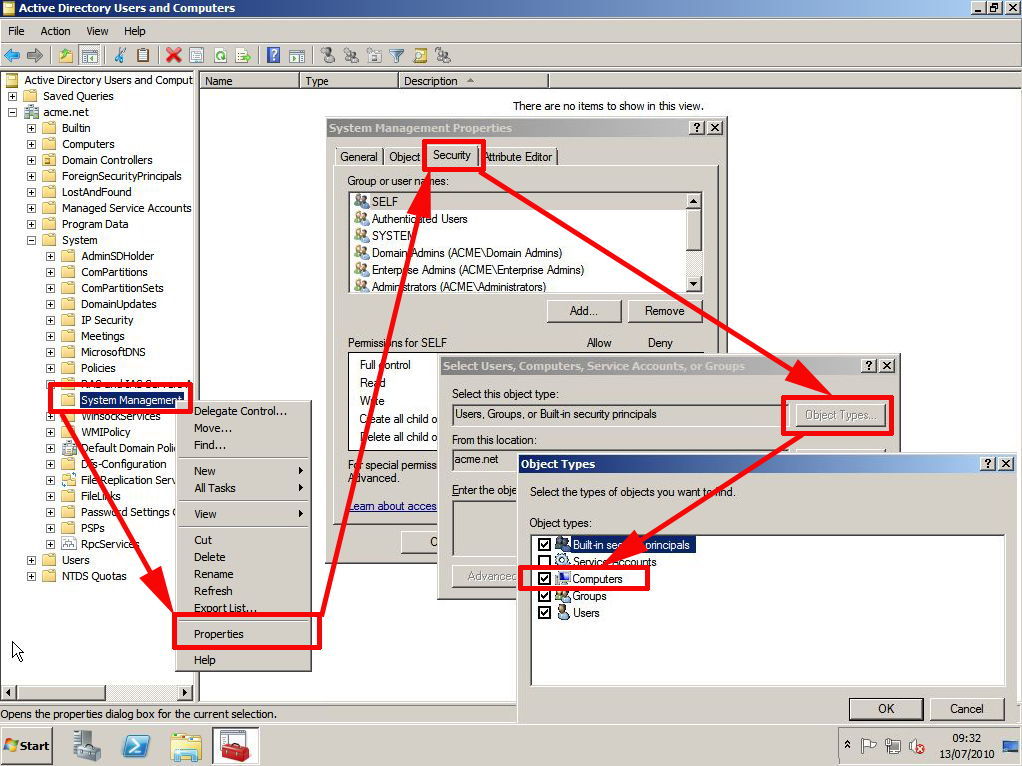
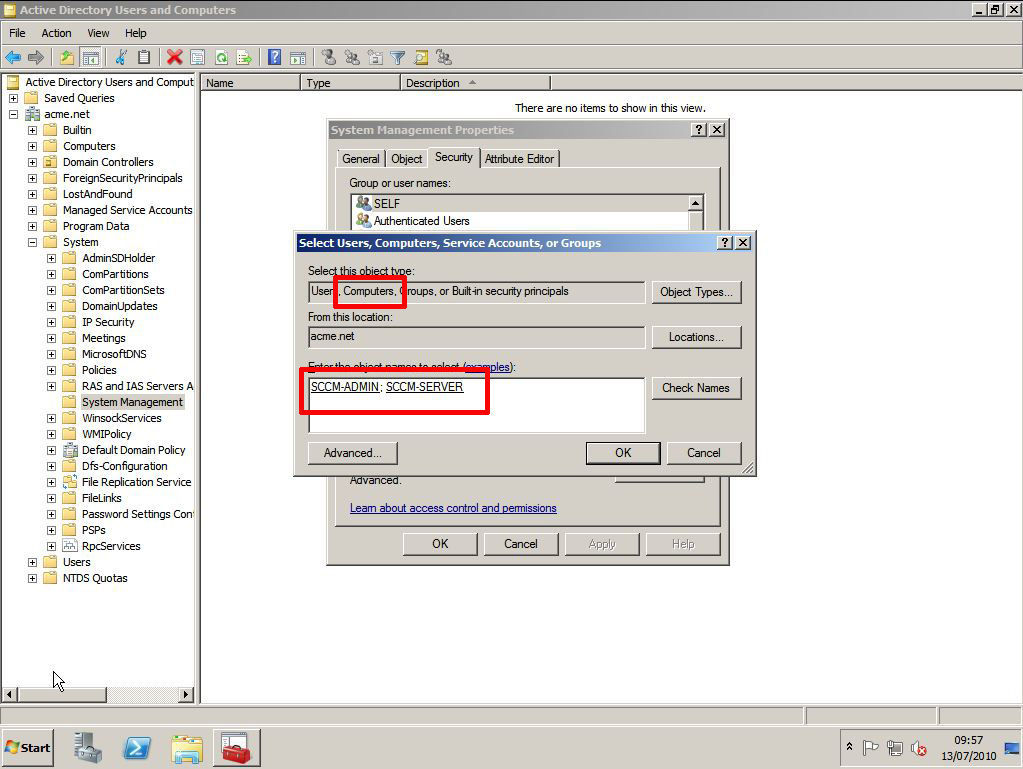
7. Expand “system” > Locate the container you created “System Management” > right click it and select properties > Security Tab > Add > Object Types > Tick Computers > OK.
8. Click Advanced > Find Now > Locate and add the SCCM-ADMIN group you created earlier > Also add the SCCM Server itself > OK.
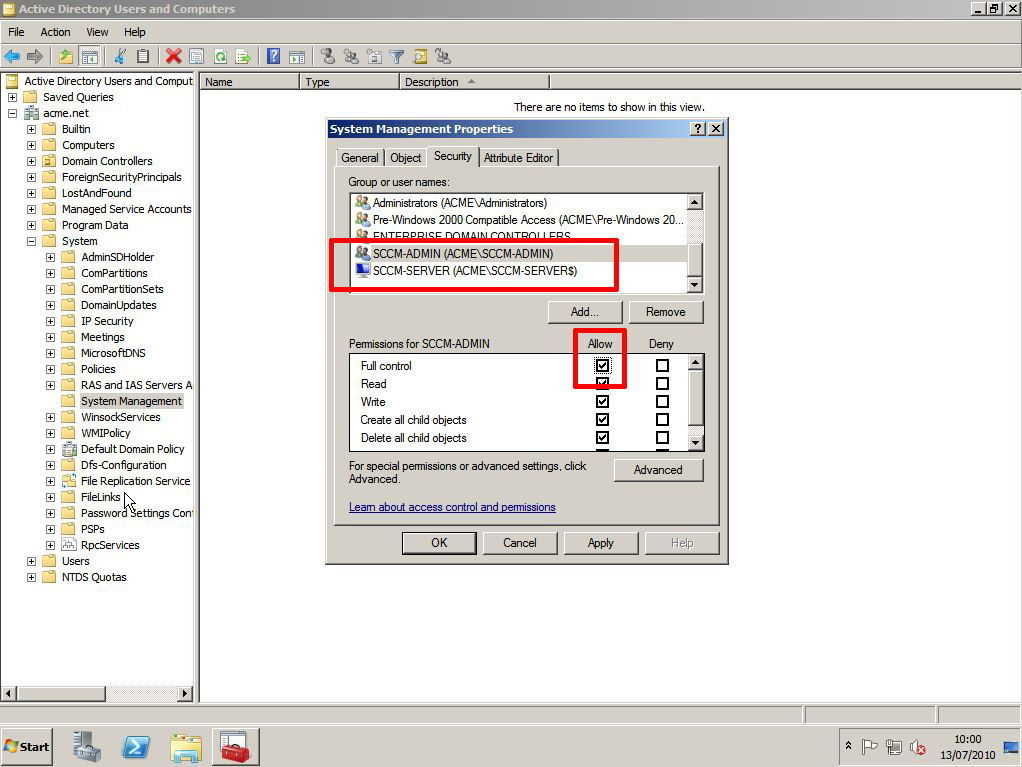
9. Grant allow “Full Control” to both the SCCM admin group and the SCCMserver.
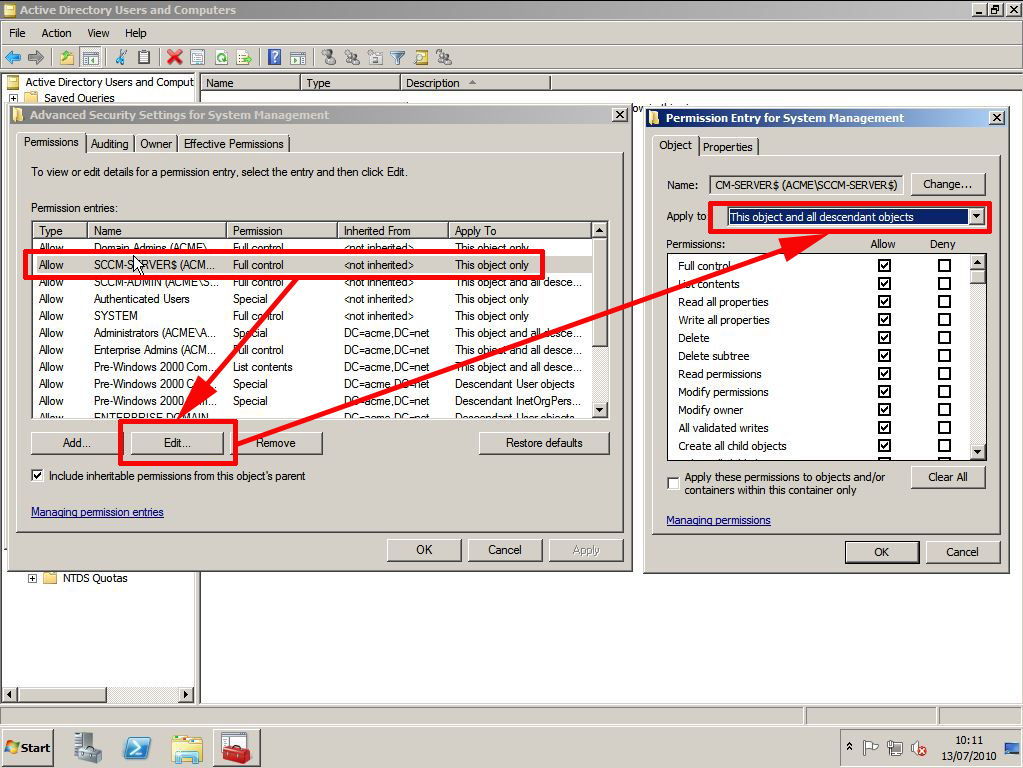
10. Now click advanced > Select the SCCM-ADMIN group > Edit.

11. Change the “Apply to” section from “This object only” to “This object and all descendant objects” > OK > Apply > OK.

12. Repeat the above for the SCCM-Server object.
Step 5: Install SCCM
1. Log on as the sccadmin user.
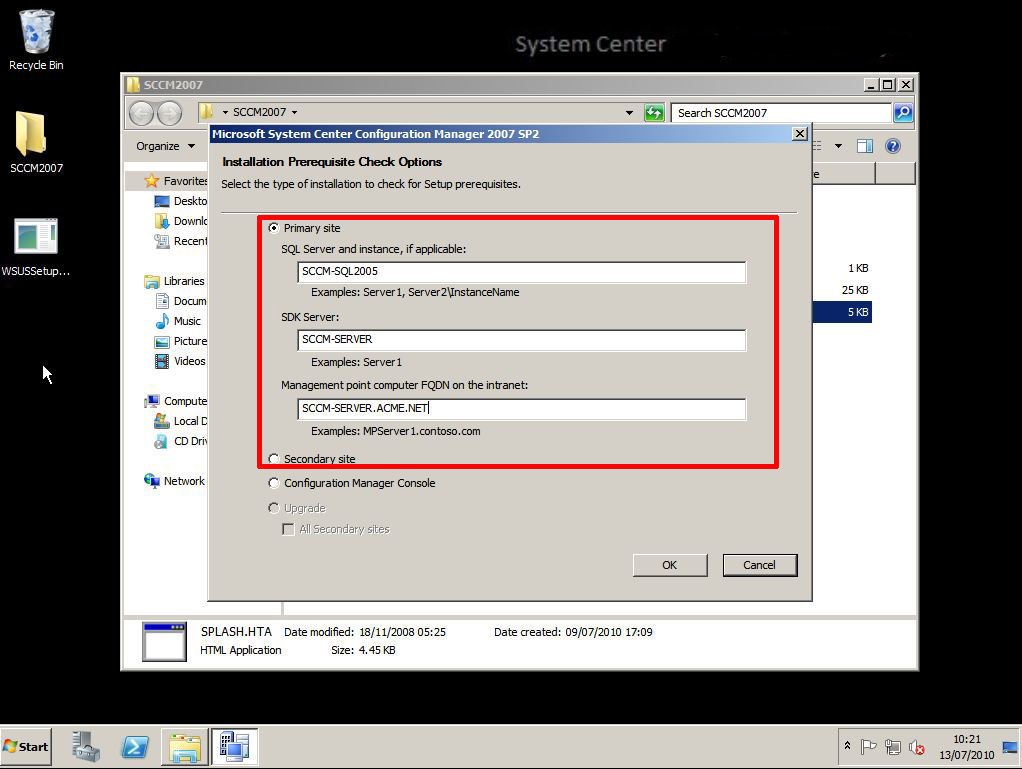
2. From within the SCCM setup media run splash.hta > Run the Pre requisite checker > Enter the SQL Server name > SCCM server name and the FQDN of the SCCM server > OK.
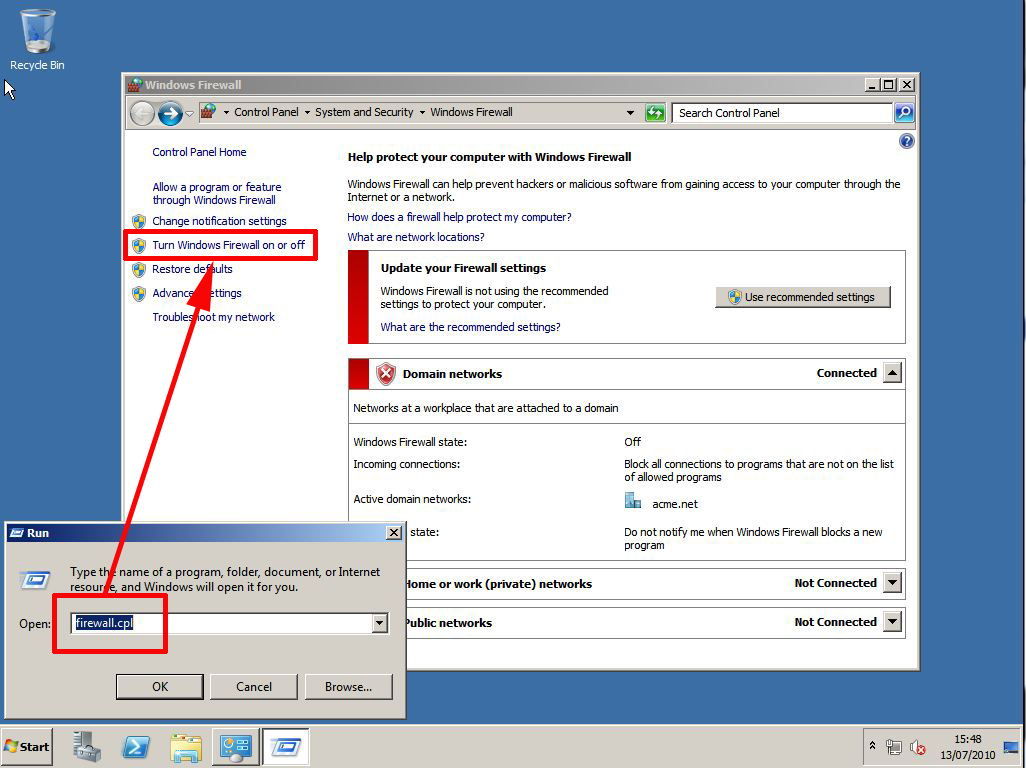
3. Note If you cannot talk to the SQL server then check that the Windows firewall is not blocking you (on the SQL server Start > run > firewall.cpl > Turn it off).
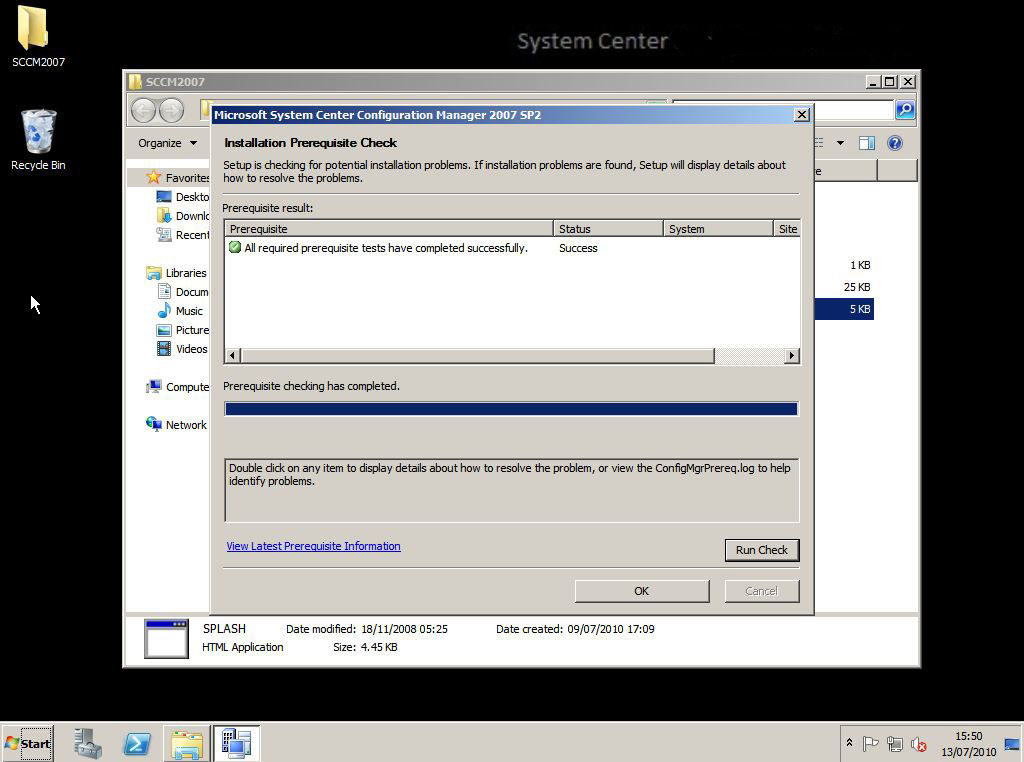
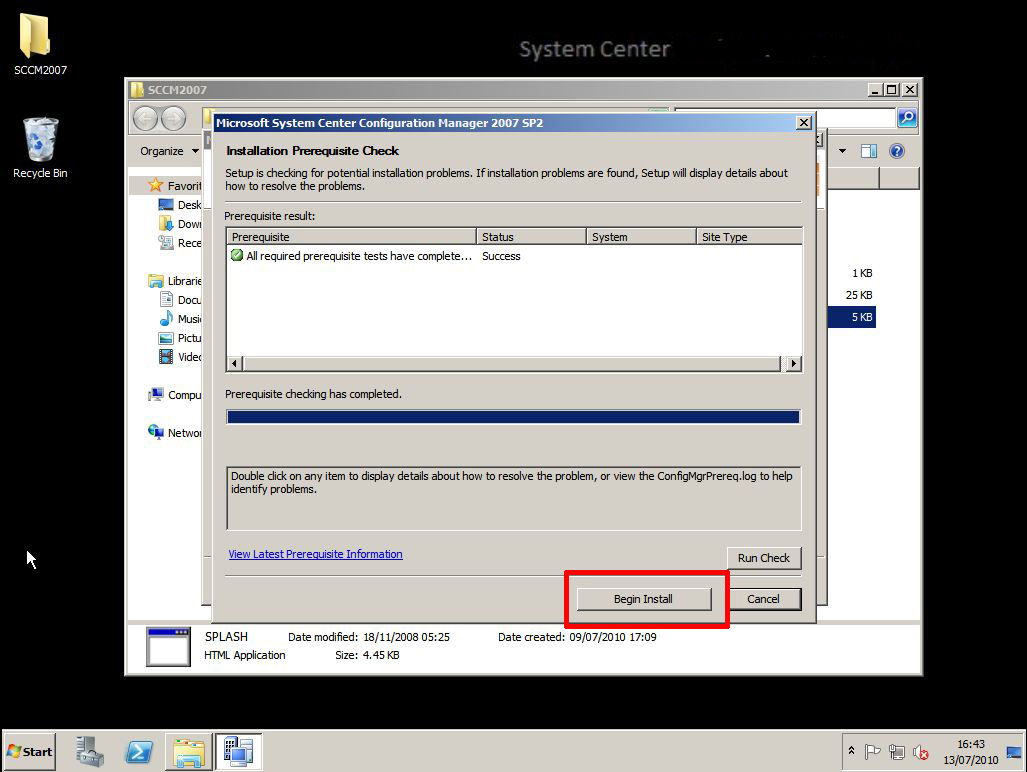
4. All being well it should say “All required pre requisite tests have completed successfully” > OK.
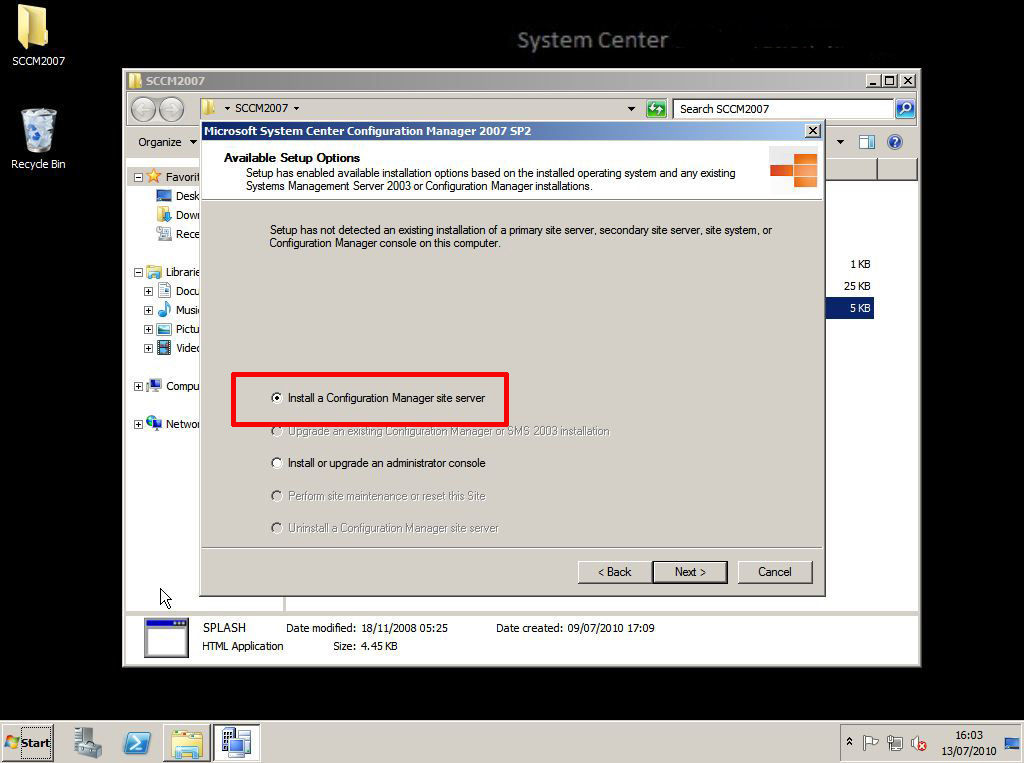
5. Re-run Splash.hta > This time choose > Install configuration Manager 2007 SP2 > Next > “Install Configuration Manager site Server > Next.
6. Tick “I accept these License terms > Next > Custom Install > Next > Primary Site > Next > Next > enter unlock code is applicable > Next > Accept/change the install directory > Next > Enter a Site code and friendly name > Next.
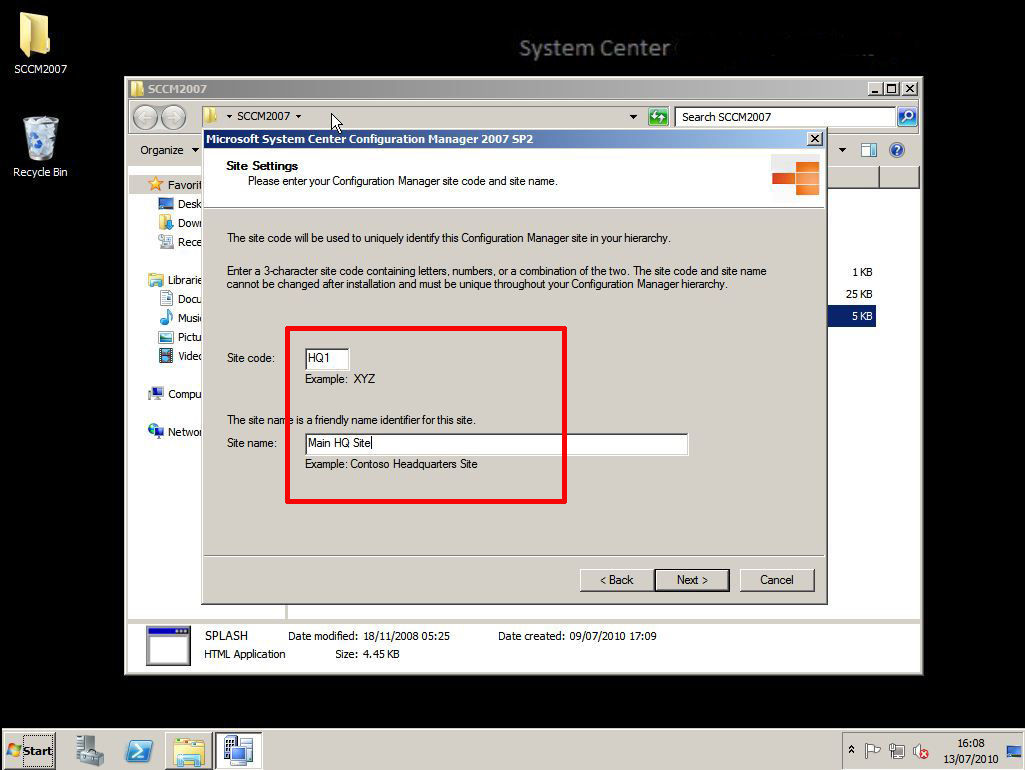
DO NOT ever try and change this code and don’t forget it!!
7. Change the Site mode to “Configuration Manager Mixed Mode” (Native mode requires certificate services and considerably more work). > Next.

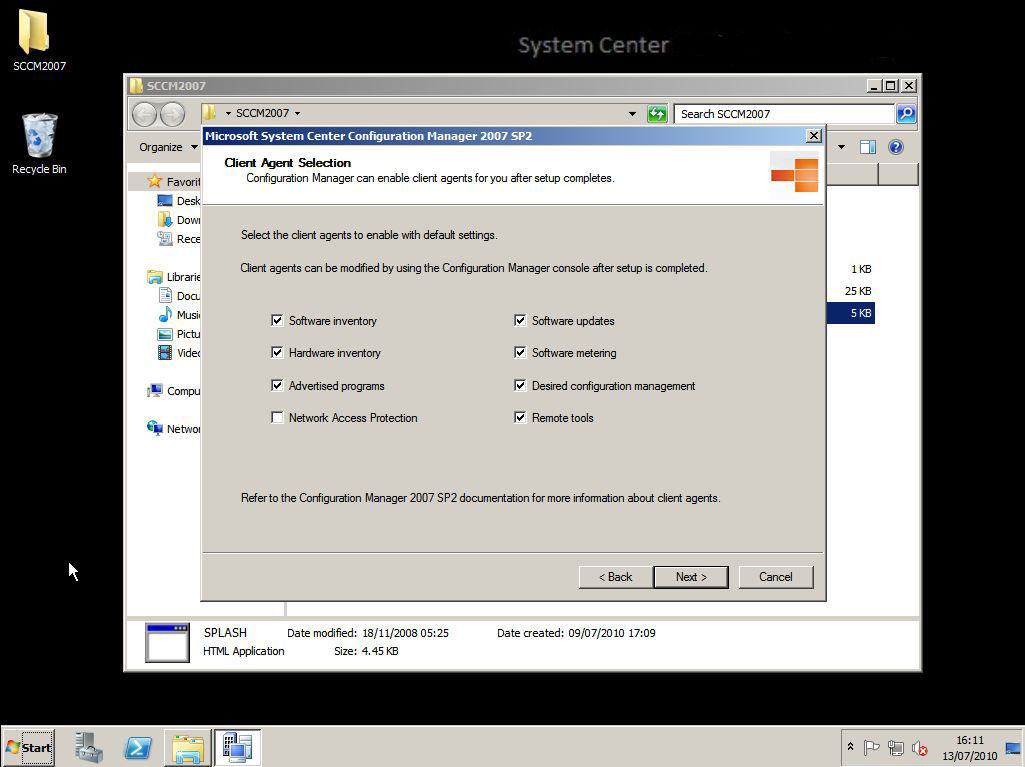
8. Accept the defaults (everything except NAP) > Next.
9. Enter your SQL server name > Next > Next > Next > Next > Next.
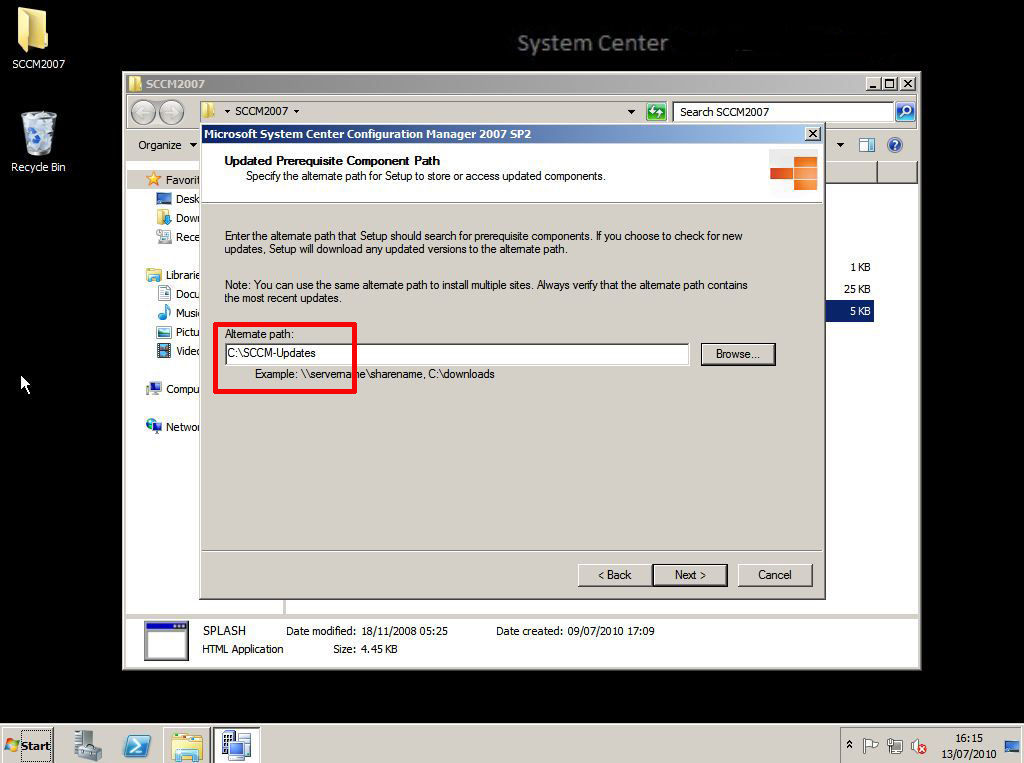
10. Select a location to install the updates to > Next.
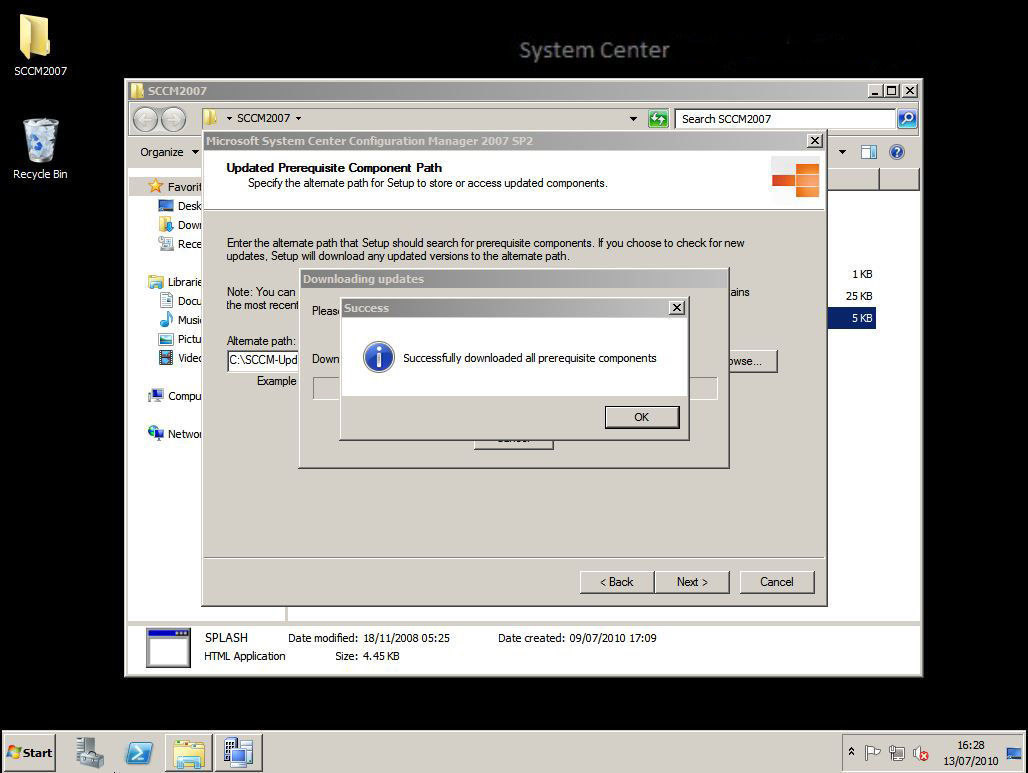
11. Updates will download this may take some time > when finished it should say it was successful > OK > Next.
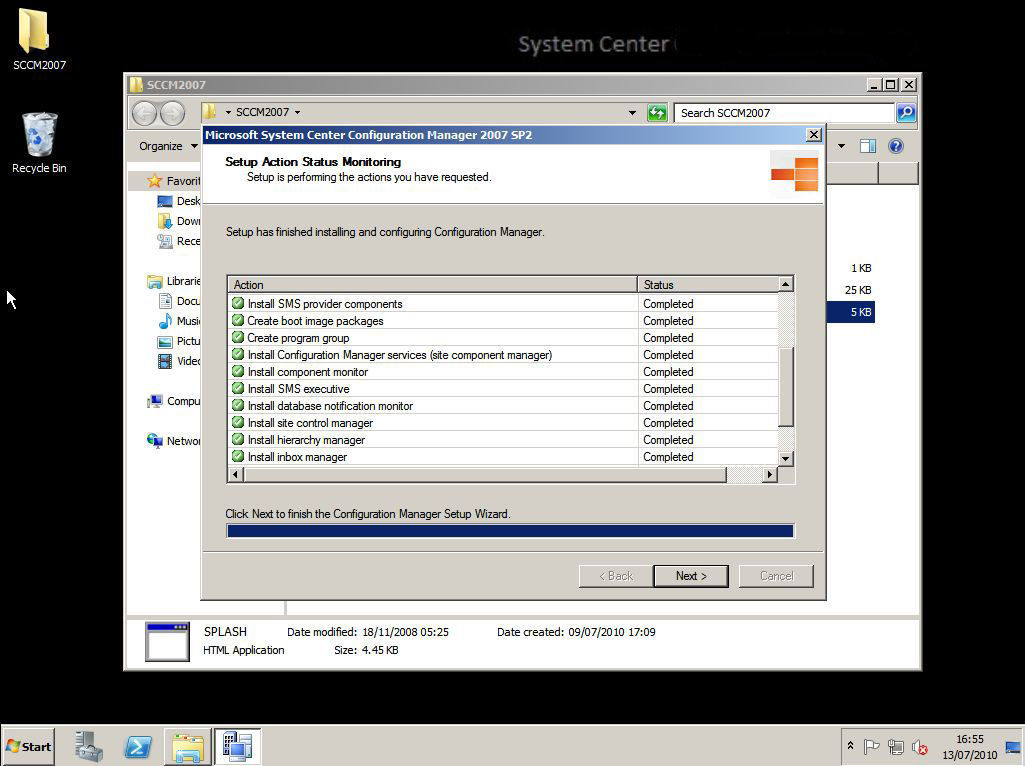
12. It will run the pre requisite check again > when finished click begin install.
13. When finished click Next > Finish.
14.Now you need to send out the clients and configure SCCM, I’ll cover that in a later article.
Related Articles, References, Credits, or External Links
SCCM 2007 Initial Setup and Configuration
SCCM OSD Capture a Windows 7 Reference Machine