
KB ID 0000104
Problem
Originally we had TS Web in 2003, and while I had a little play with it, it basically just gave you RDP over web, which would have been good if it ran over HTTP or HTTPS, but it didn’t. Also, as anyone who has ever done a complex Google search for “/tsweb” will testify, left a nice big security hole in to your servers.
With the release of Server 2008 we got TSWeb 2008, this was a whole different beast, and the web portal was very similar in operation to Citrix Web Presentation Server.
With Server 2008 R2, Terminal Services became Remote Desktop Services, so if you only have a couple of clients (i.e. don’t need an application farm etc,) then this might be just what you need, and buying licences for Remote Desktop Services is a LOT cheaper than buying the same licences plus Citrix licences that are about three times the price per seat.
I originally wrote this for TSWeb 2008, and updated it for Remote Desktop Services 2008 R2, I’ll leave the older information at the bottom for anyone who is still running 2008 R1.
Solution
Setup Remote Desktop Services Web Access on Server 2008 R2
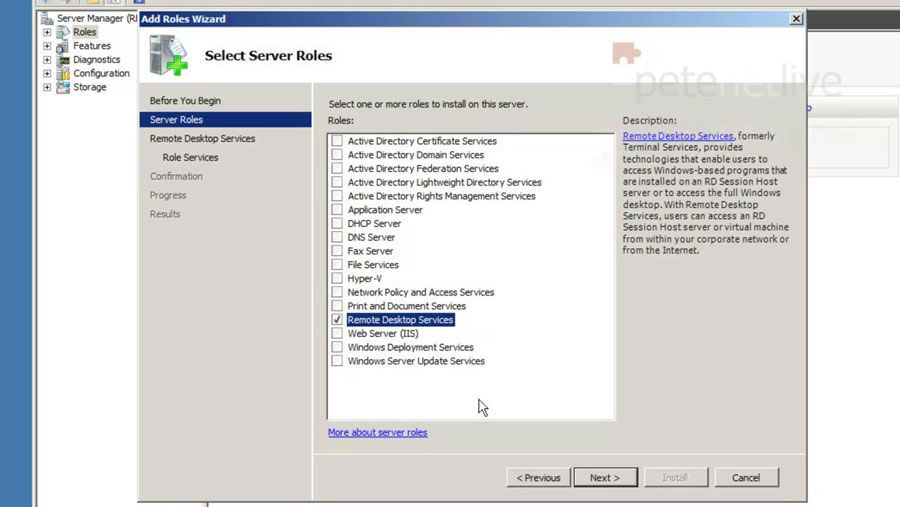
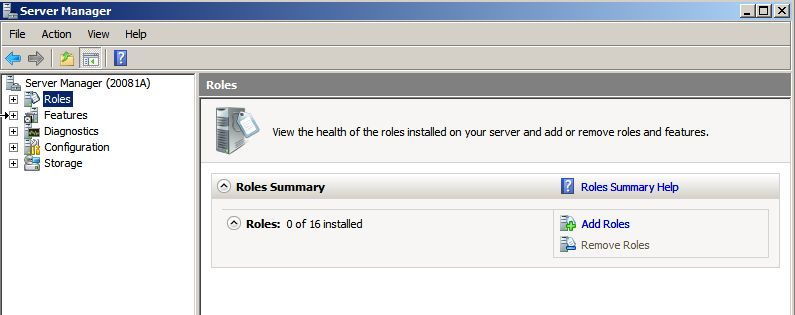
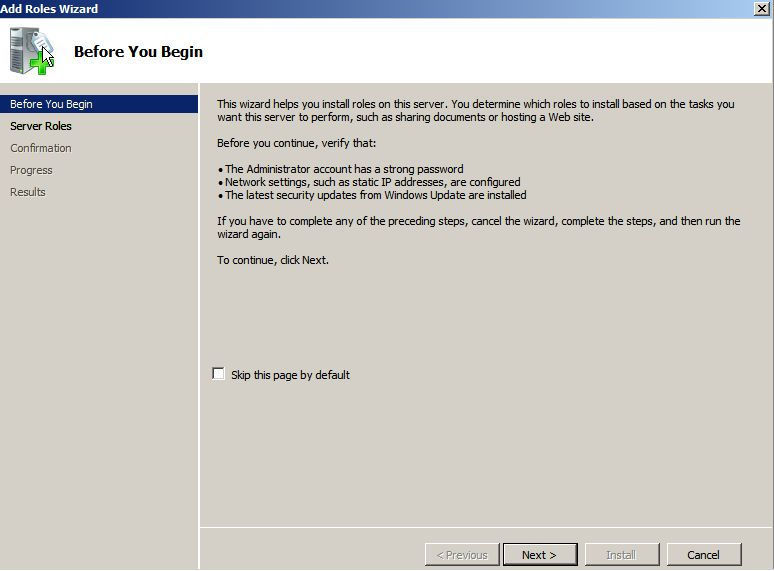
1. In this example I’ve got a fresh server which is a domain member, and I’m going to put the Licensing server and the same box. From server manager (ServerManager.msc) >Roles > Add Roles > Next > Remote Desktop Services > Next > Next.
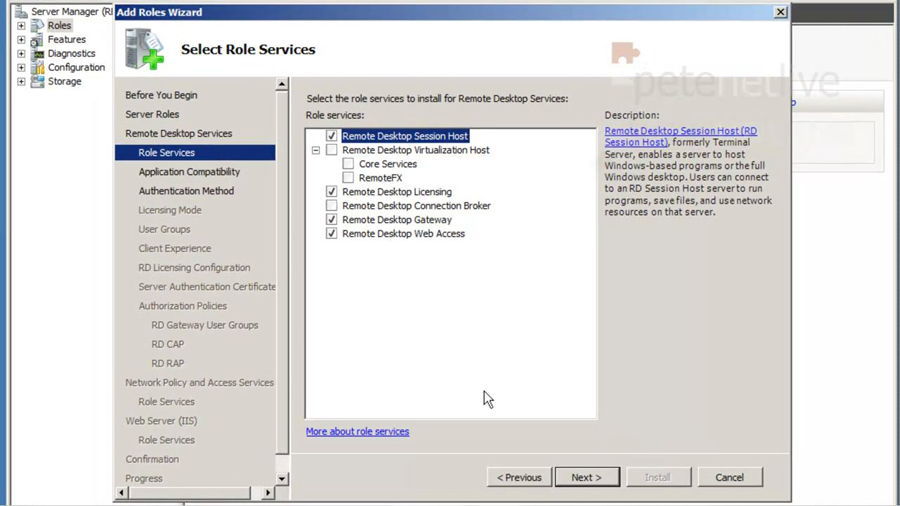
2. Everything is going on one server, you may want to split roles up in a larger production environment, but here we are adding Remote Desktop Session Host, Remote Desktop Licensing, Remote Desktop Gateway > Remote Desktop Web Access > Next > Next.
Note: When selecting role services, you will be prompted to “add required role services”, please do so.
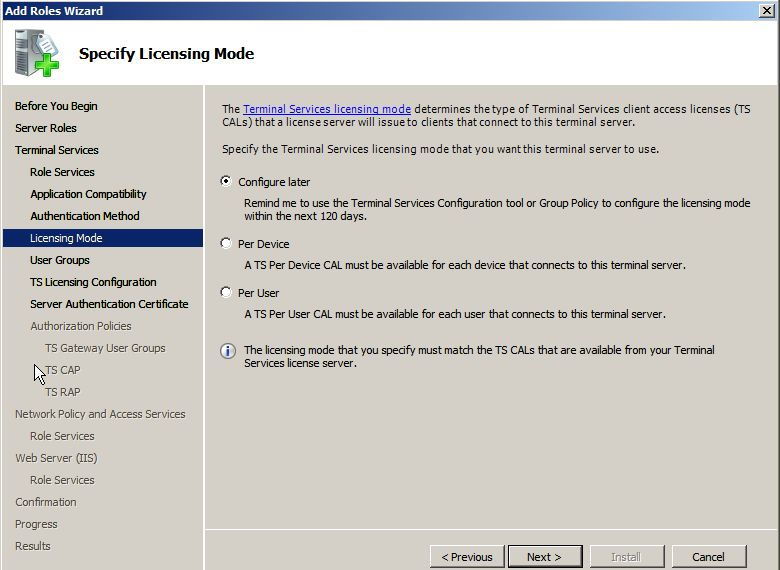
3. I’m choosing the least secure method (choose this if you have older client running older versions of the RDP client) > Next > Either select a Licensing model (per user or per device, or select configure later) > Next.
Note: The licensing model chosen MUST match the CALS that will be in the licensing server. (If you are unsure configure it later, then you will have 120 days grace period to sort it out).

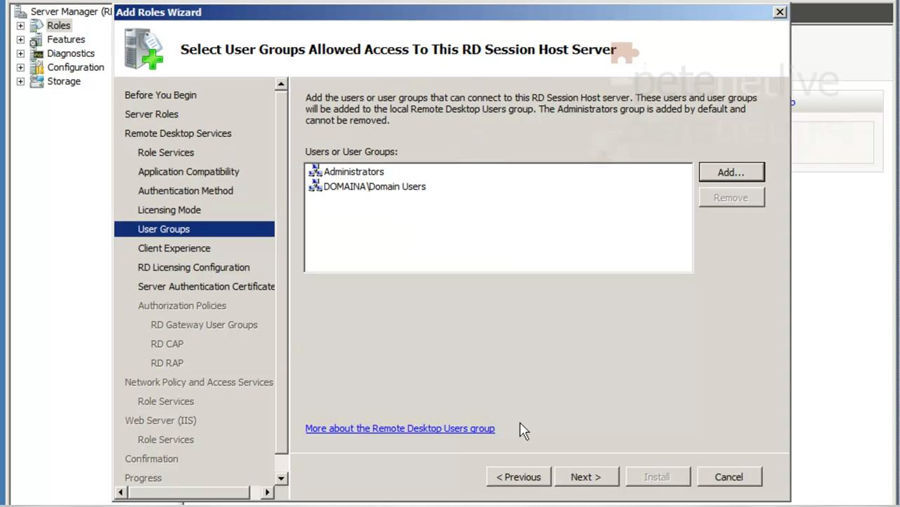
4. Add in which user groups to want to allow access to the host server > Next.
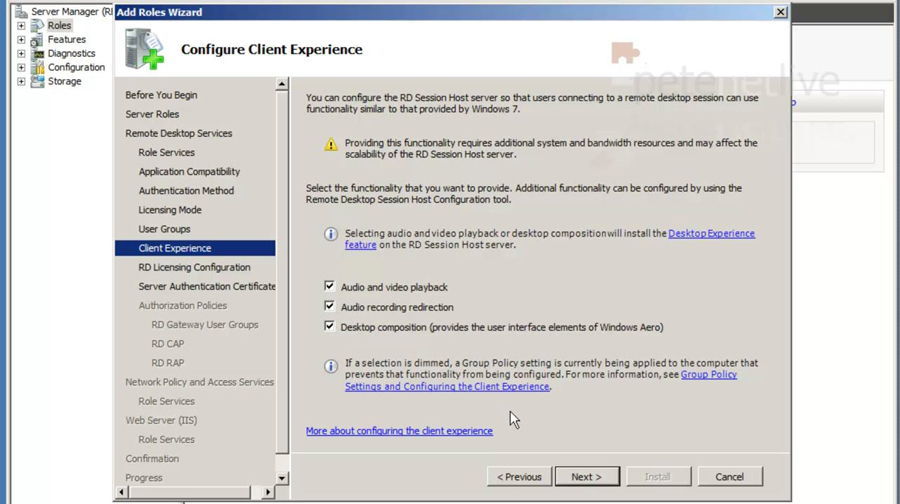
5. Decide which options you want to allow, to enrich your end user experience > Next > I dont need a scope as all my RD Servers will be 2008 R2, it you have TS servers as well you will need to configure a scope > Next.
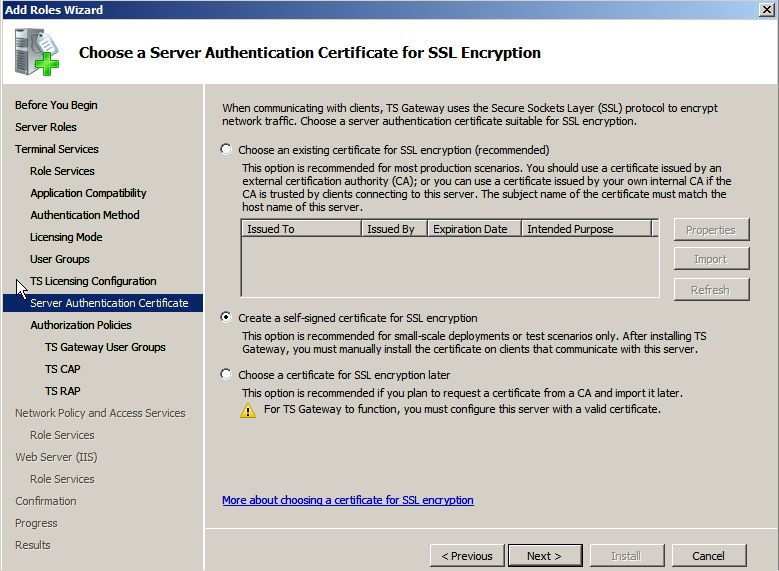
6. If you already have a certificate you can select it here, I’m going to manually import the certificate into IIS at the end of the procedure > Select “Now” to configure the access policies > Next.

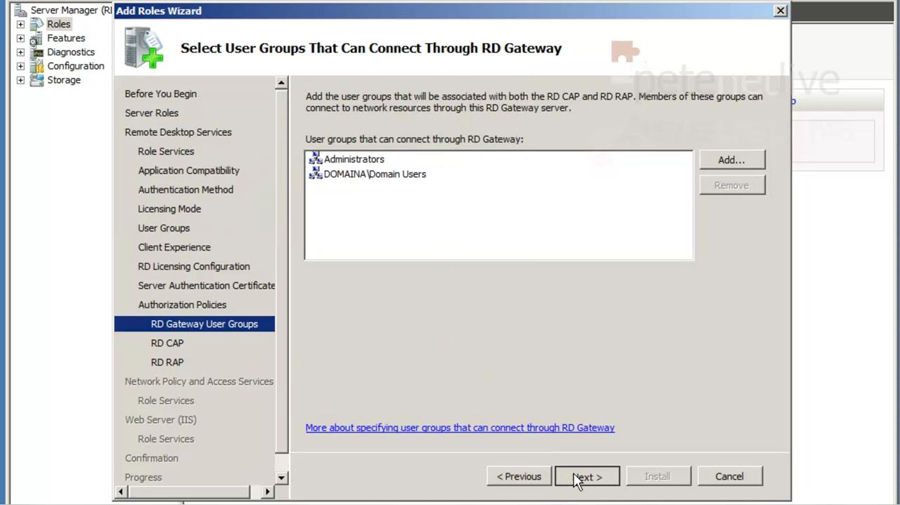
7. Add in which user groups you want to allow through the Remote Desktop Gateway > Next.
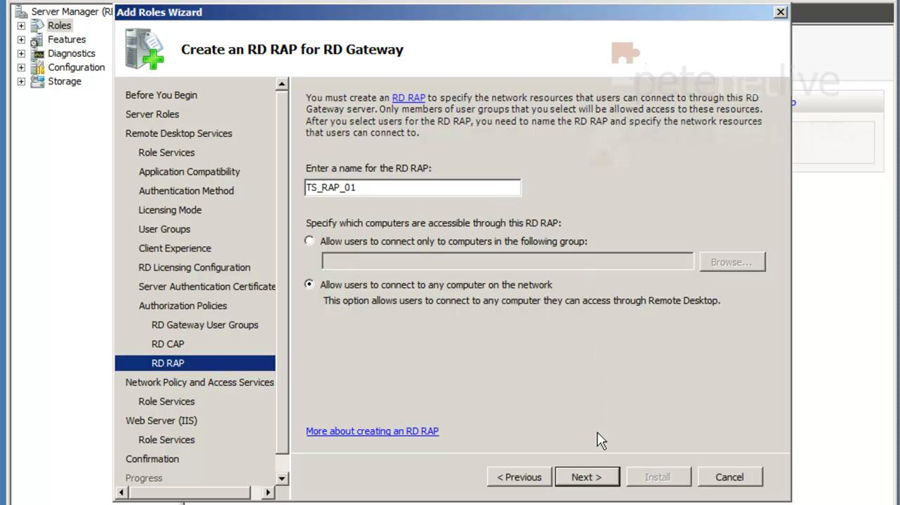
8. At the RD CAP screen, I’m just going to use passwords > Next > Then at the RD RAP screen, I’m going to allow connections TO ANY computer > Next > Next > let it install the Network Policy Server component > Next.
9. Install > Then go and have a coffee.

10. When completed, select yes to reboot which it will do (twice).

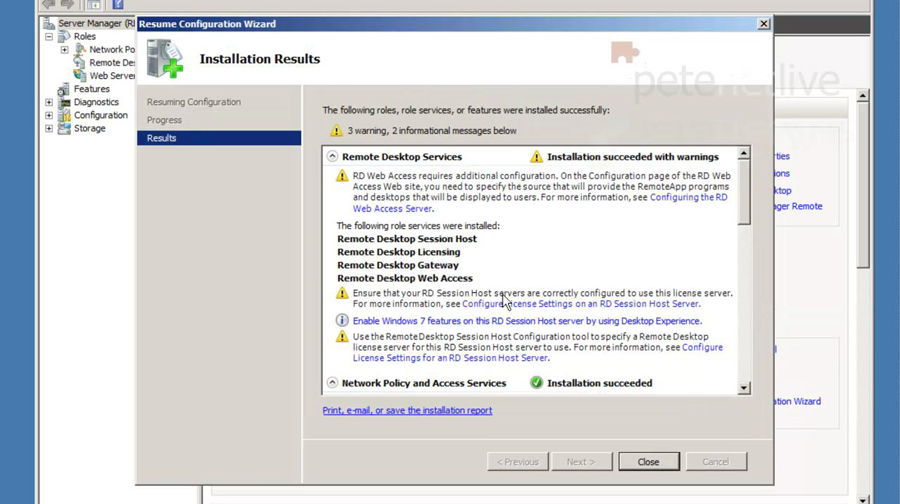
11. After you log back into Windows the installation will complete > Close
Import and Enable a Digital Certificate in IIS7
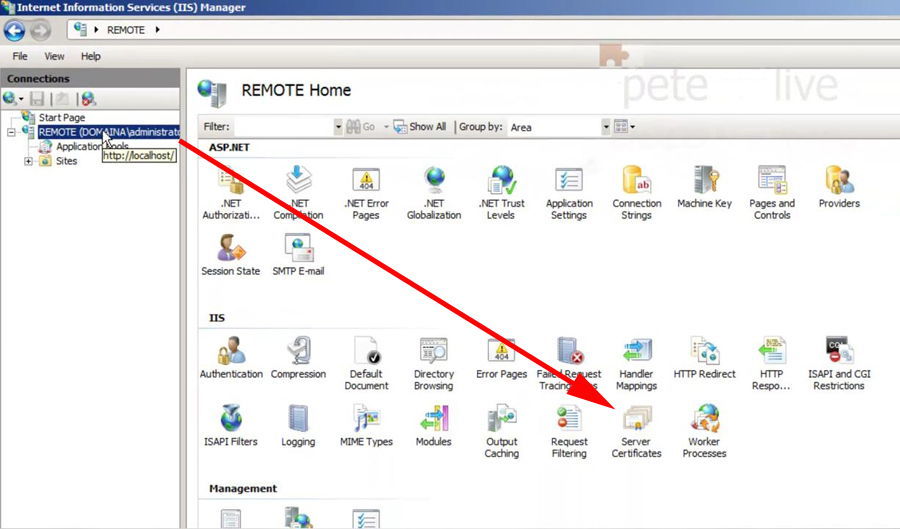
12. Start > Administrative tools > Internet Information Services Manager > Select the {server-name} > Server certificates > From here you can either create a certificate request, or complete a request, and import a certificate.
13. Here is my certificate with the “friendly name” WebServer.

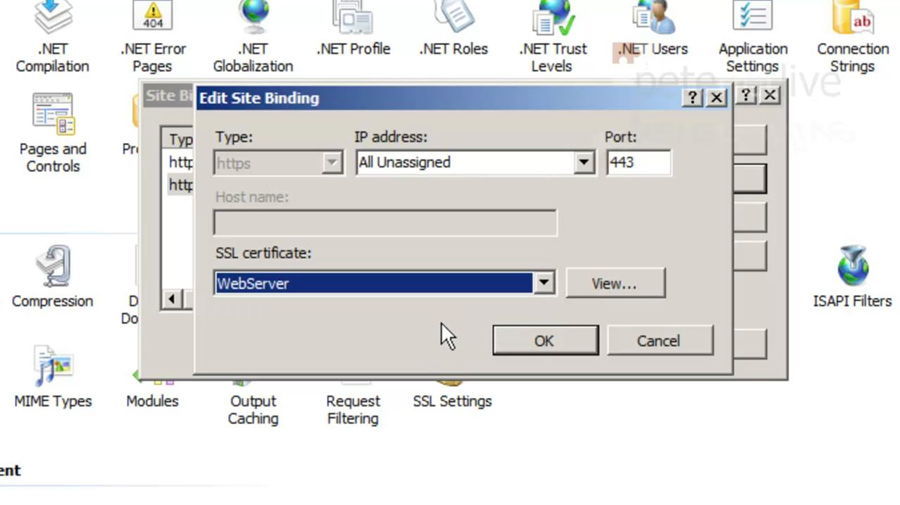
14. To enable my certificate right click the “Default Web Site” (Assuming that’s where you have RDWeb installed) > Edit Bindings.

15. Select HTTPS > Edit > And select your SSL certificate > OK.
16. Restart the website (or run “iisreset /noforce” from command line).
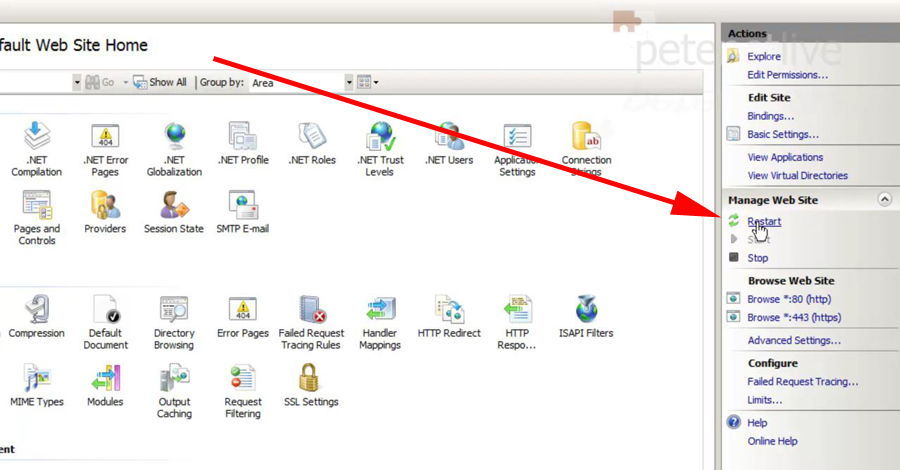
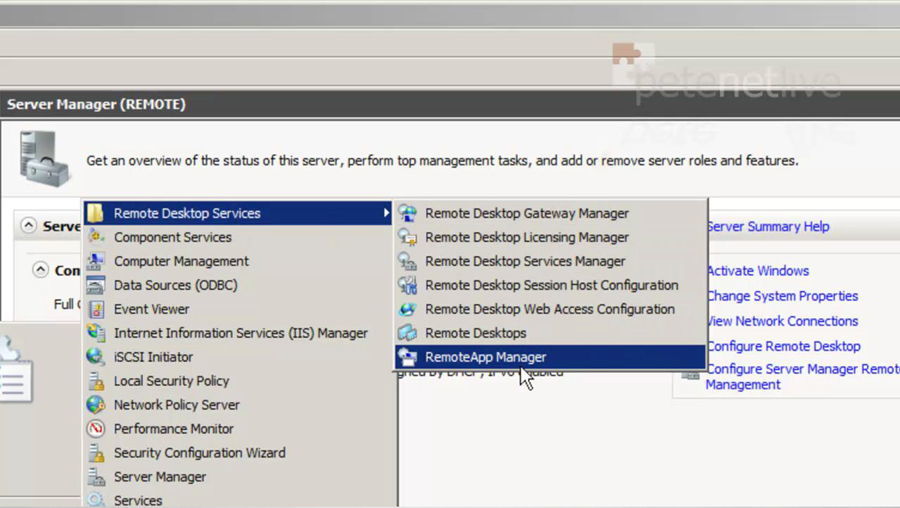
17. Start > Administrative Tools > Remote Desktop Services > RemoteApp Manager.
18. Anything that needs configuring will have a yellow warning triangle, or a red cross over it. First you will see it’s complaining that there are no computers in the “TS Web Access Computer ” group.
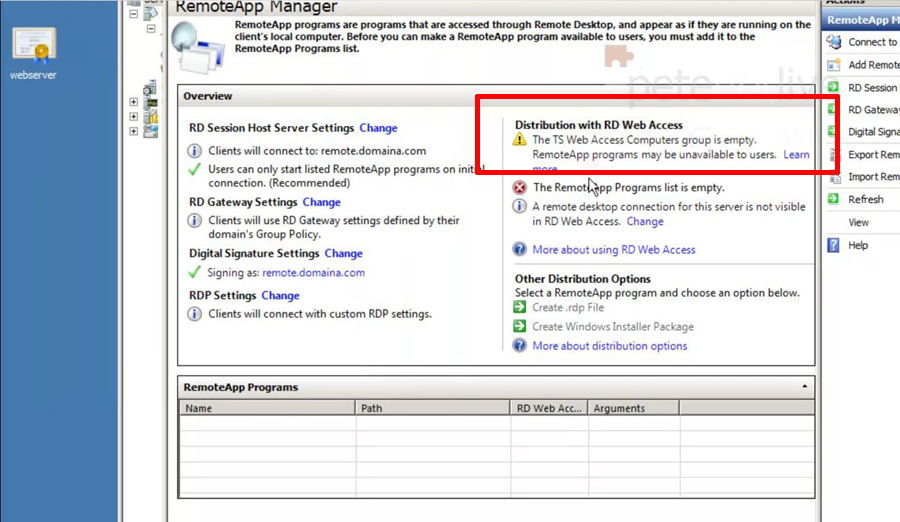
19. That’s just a LOCAL group on the server itself, launch ServerManager >Configuration > Local Users and Groups > Groups > Locate the group.

20. Add in your groups as required > Apply >OK.

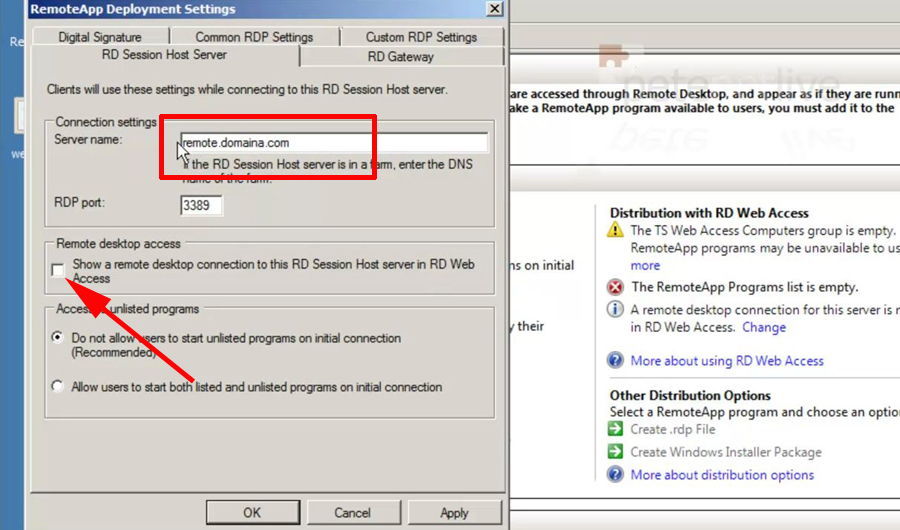
21. Back in the RemoteApp Manger > Check the RD Session Host Server >Settings (on the menu on the right) > Make sure the PUBLIC name (which will be the CN on your digital certificate) is displayed NOT the LOCAL FQDN of the server. You can also tick the option (shown with the arrow) to display the RDP shortcut to your users on the web portal. > Apply > OK.
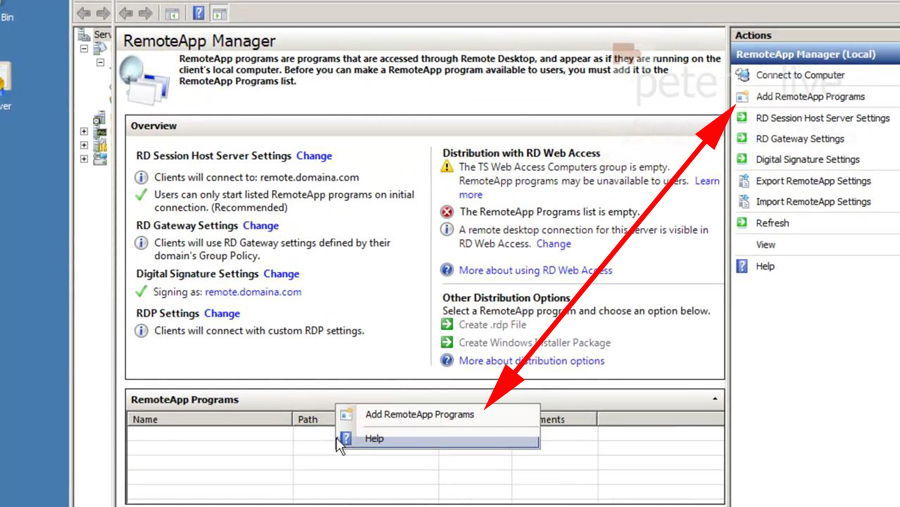
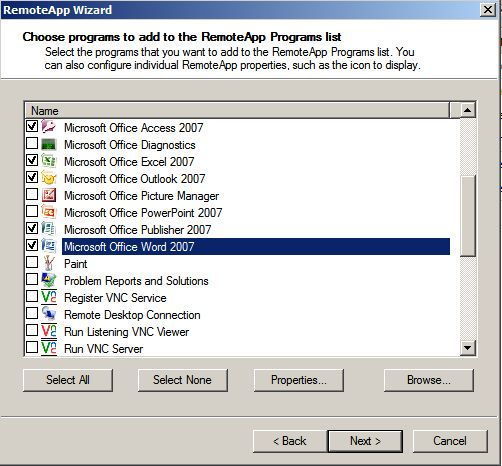
22. To do the next step, you need to have the applications you want to give to your users, actually installed on the server. > Either right click at the bottom, or select “Add RemoteApp Programs”.
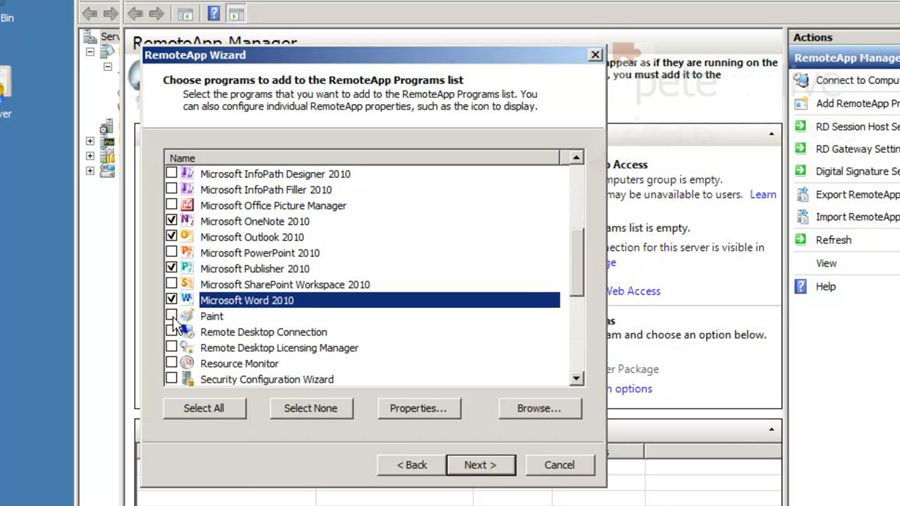
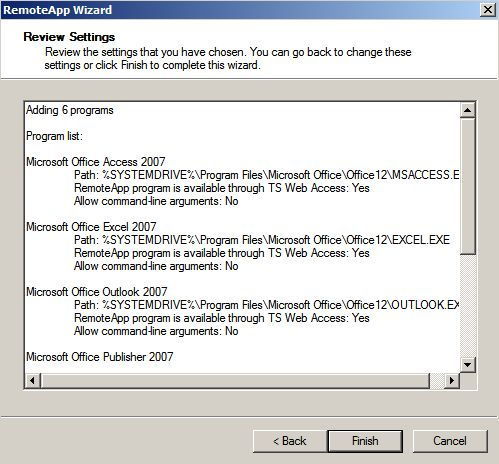
23. Follow the wizard, and select the programs as required.
24. Click refresh > Make sure there’s no more red/yellow warnings > Close RemoteApp Manager.

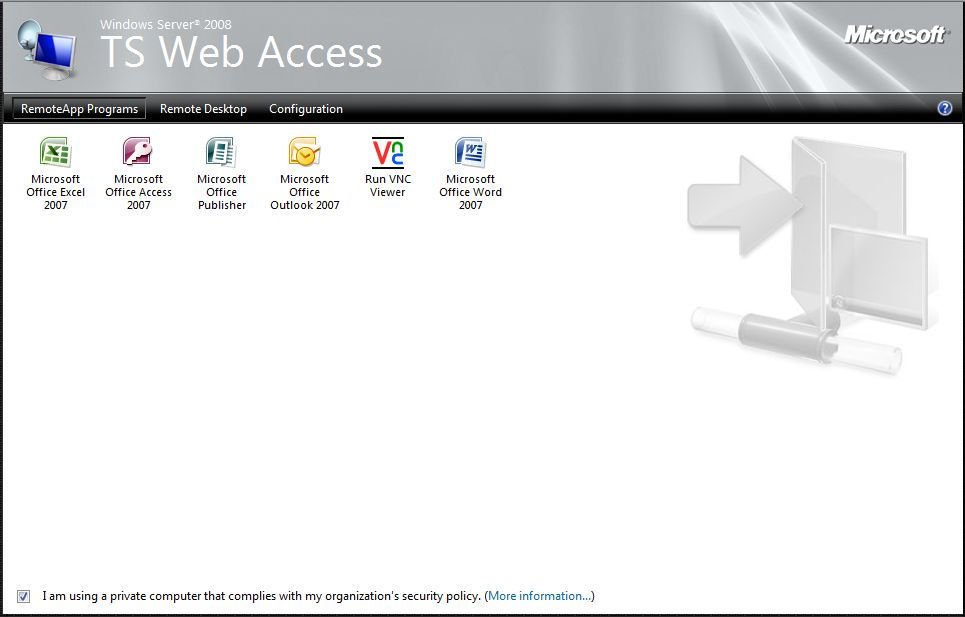
25. To test it, connect to your server on https://{servername}/RDWeb and log in.
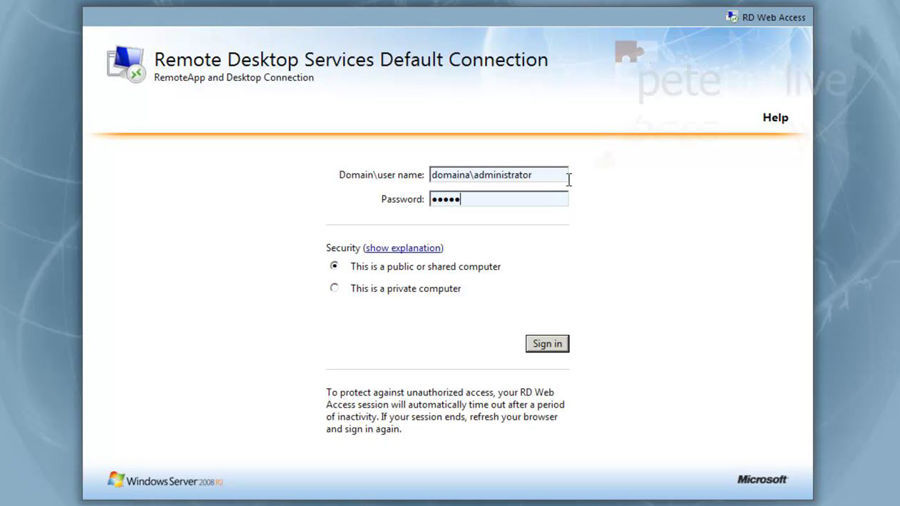
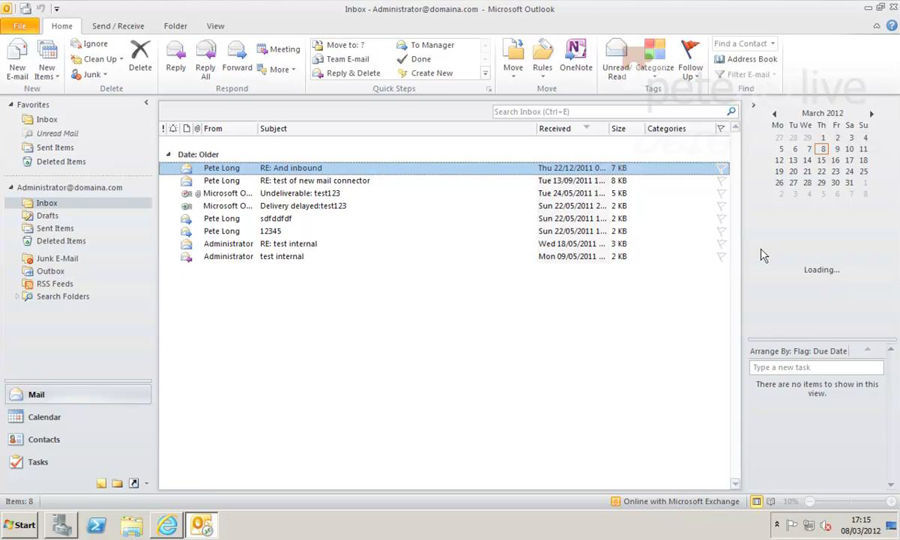
26. You applications should be shown, give them a test, here I’ll launch Outlook.
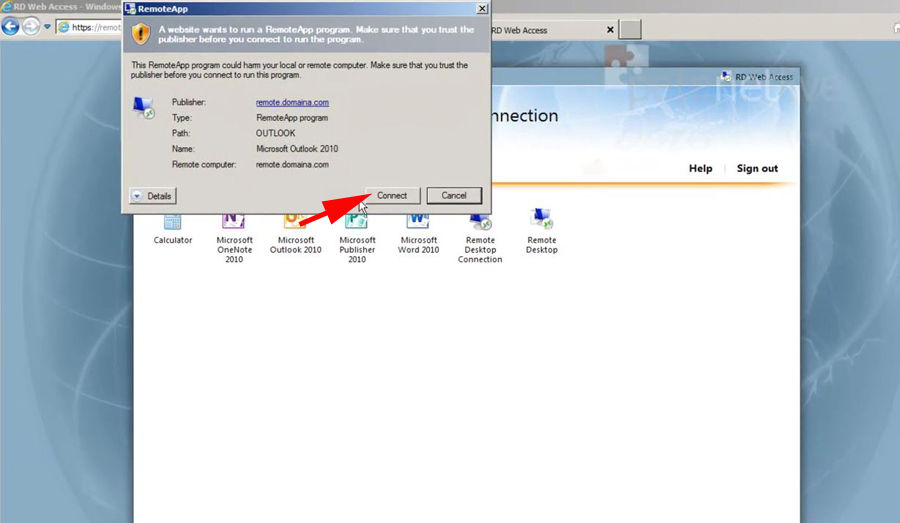
27. I already have Outlook configured on the Remote Desktop Server so mine just opens (your users will need to setup Outlook, if they don’t have a profile on the RD server already).
Setup Terminal Services Web Access on Server 2008 R1
1. Start > Server Manager (or Start > run > CompMgmtLauncher.exe (Enter) > Add Roles..
2. Next.
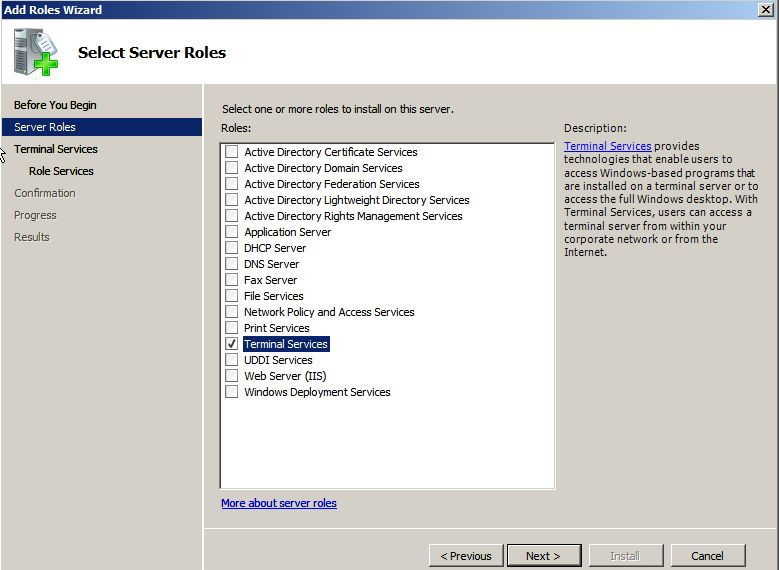
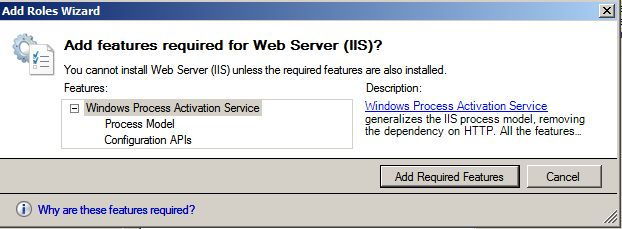
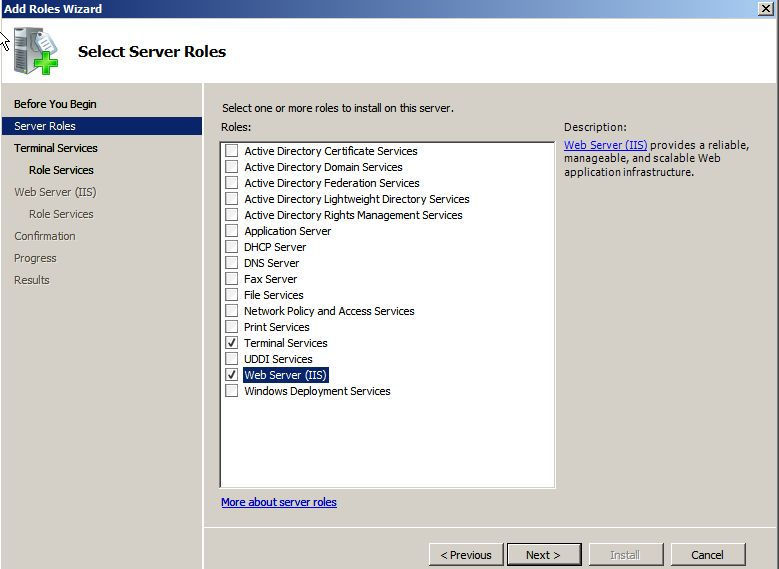
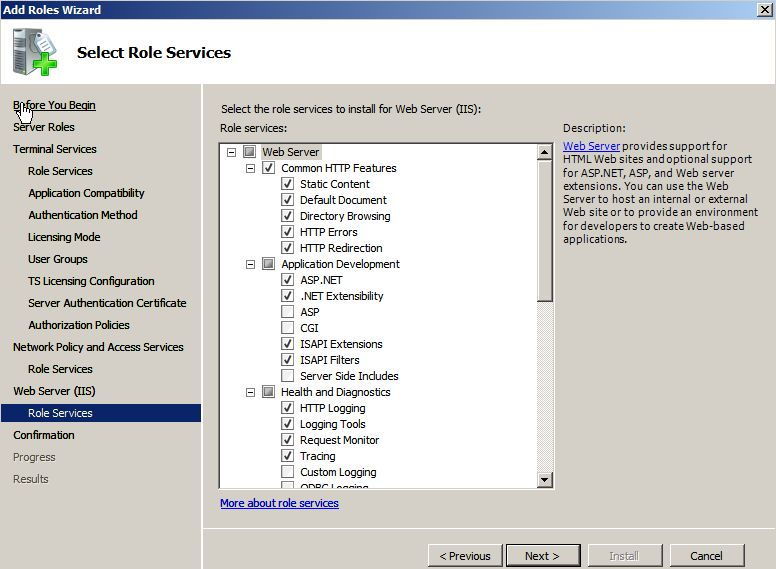
3. Tick Terminal Services > Tick Web Server IIS.
4. As soon as you select IIS > In the Pop up Select “Add Required Features”.
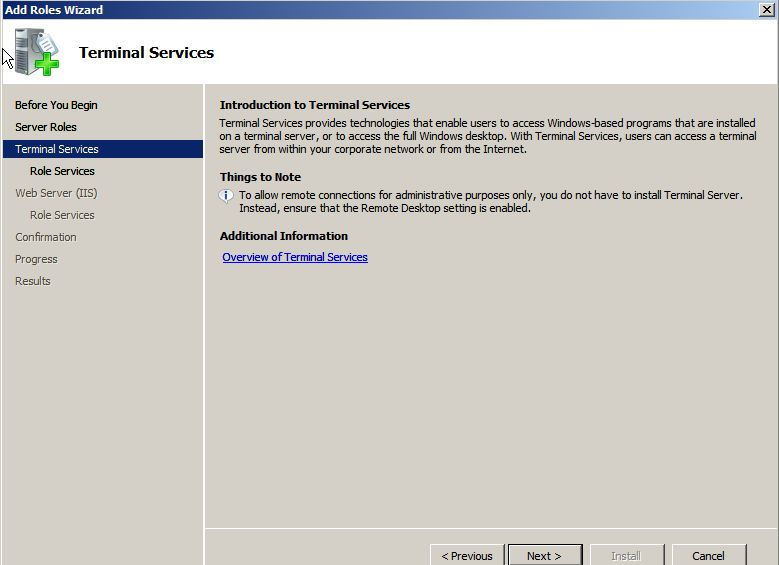
5. Next.
6. Next.
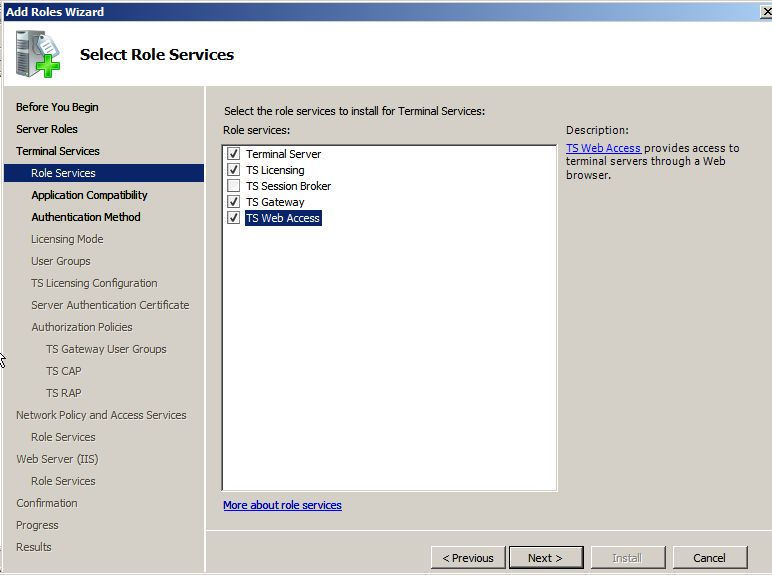
7. Select Terminal Server > TS Licensing > TS Gateway > At The Popup Select “Add Required Roles Services”.
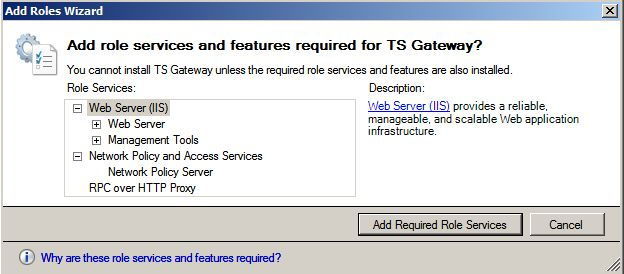
8. Select TS Web Access > At the Popup Select “Add Required Roles Services”.

9. Next.
10 Next.
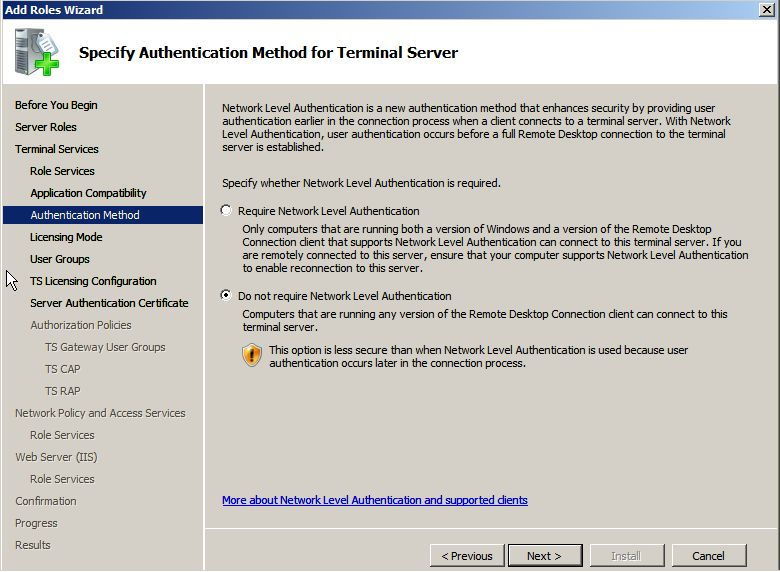
11 I’m going to select “Do Not require Network Level Authentication” > Next.
12. Next.
13. Next.

14. .I’m selecting “Configure Later” for the licensing (Like previous versions you get 120 days grace to sort this out) > Next.
15. Allowing Access to TS > By default the “Remote Desktop Users” group on the TS server is allowed access you can add additional groups here > Next.

16. Connect externally to https://{public_IP} (Note this has to be in the browsers trusted site list) > Enter a username and password > Login.
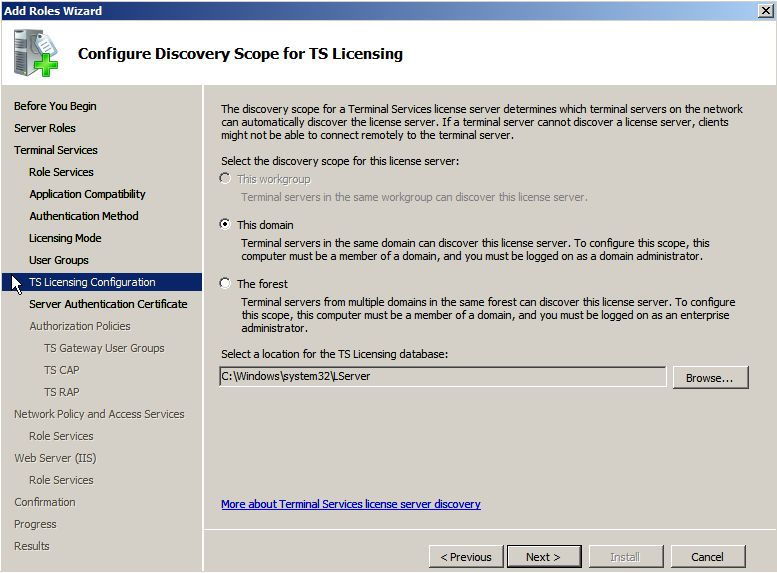
17. Select the scope you require for TS Licensing > Next.
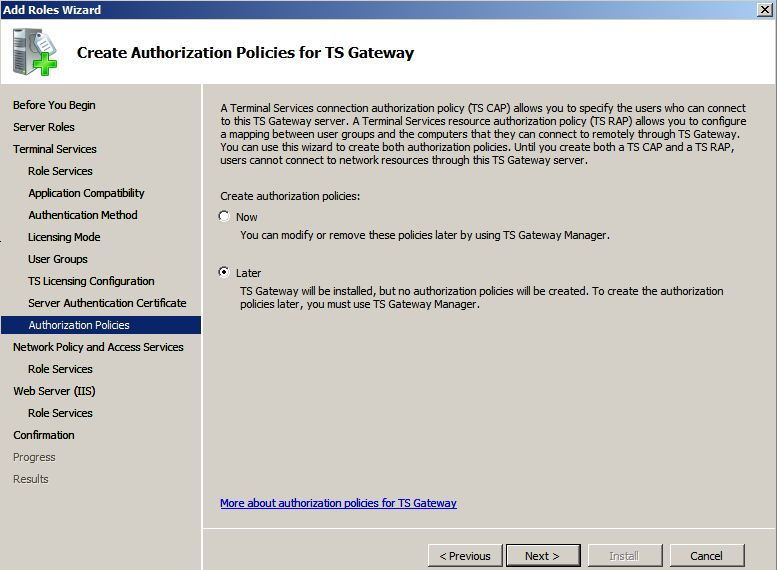
18. Later > Next.
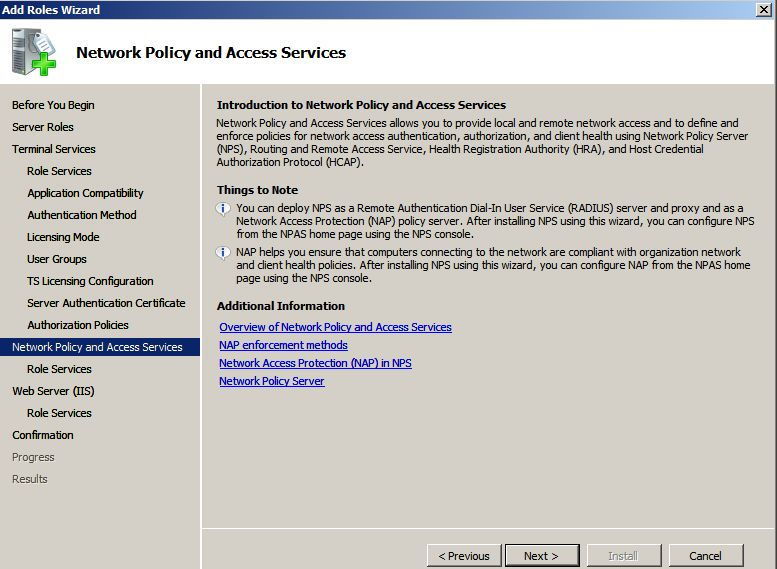
20. Next.
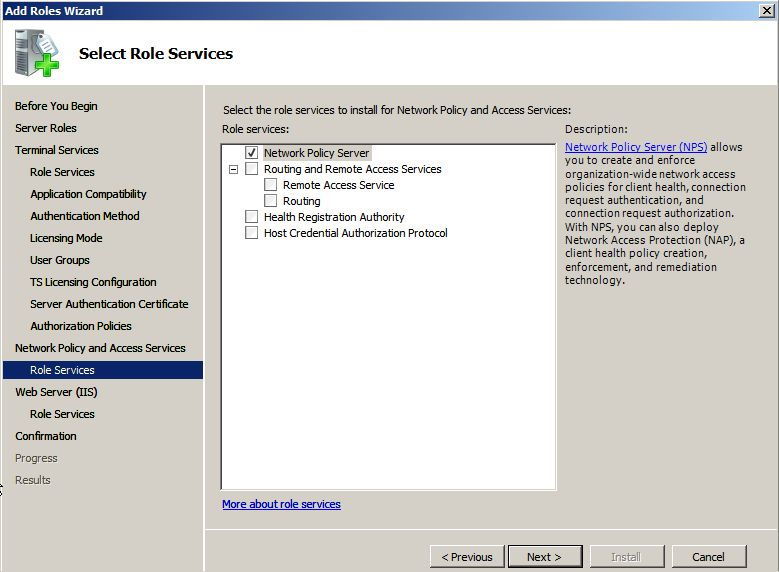
21. Next.
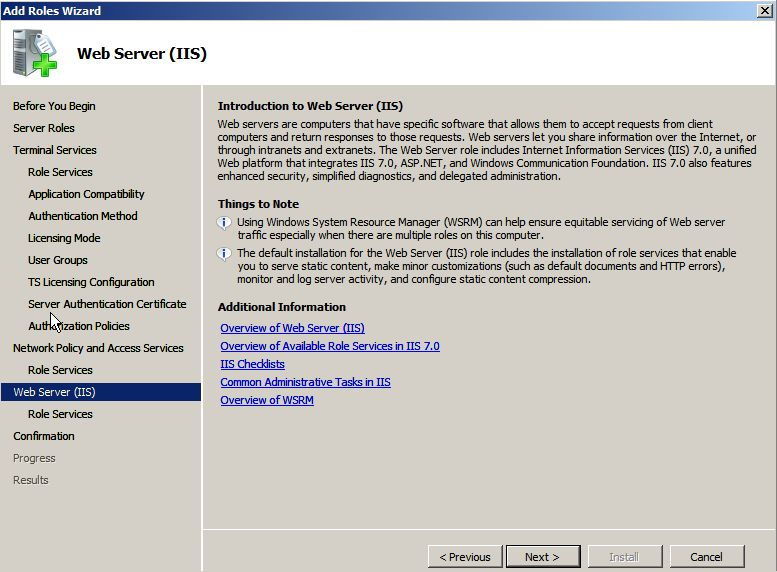
22. Next.
23. Next.
24. Install.
25. The Roles will install.

26. Close.
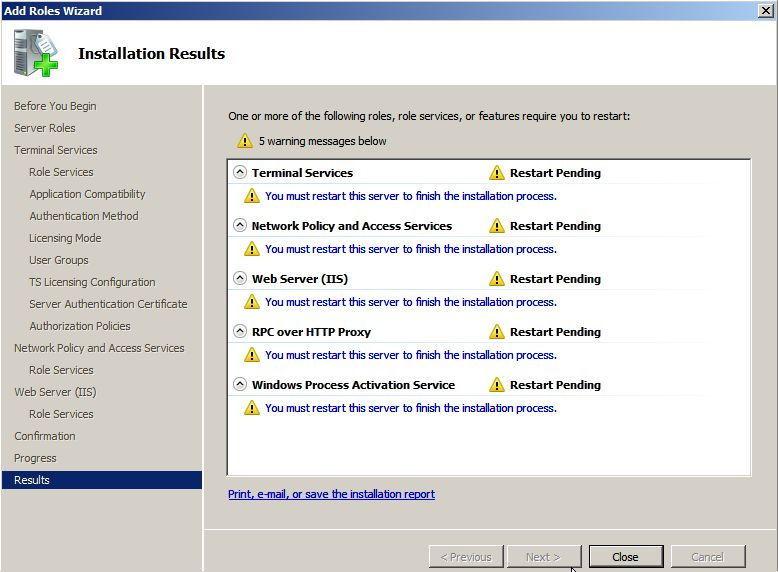
27. Click Yes to reboot.

28. After reboot installation will continue.
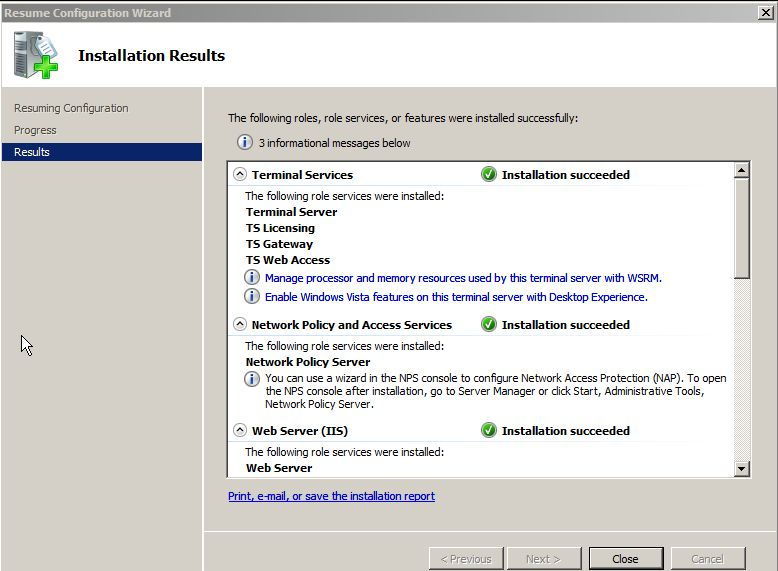
29. Close.
Deploying Applications
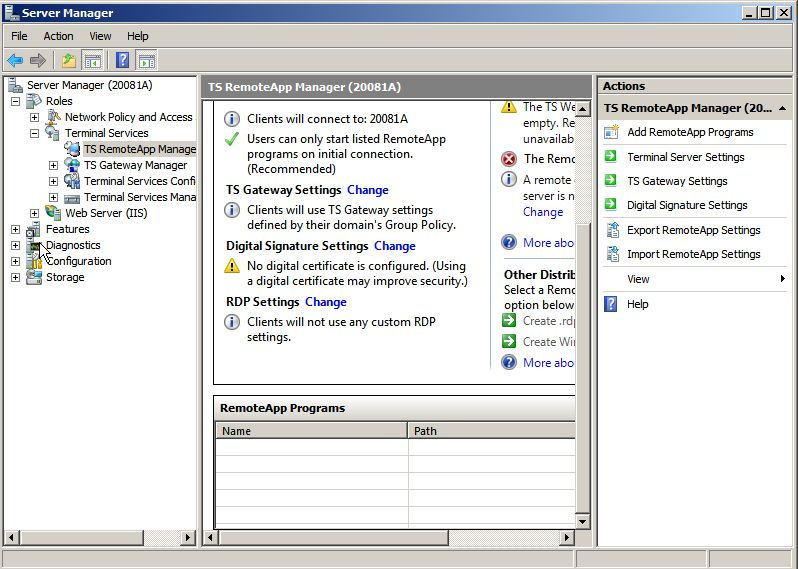
1. Start > Server Manager (or Start > run > CompMgmtLauncher.exe (Enter)) > Expand > Roles > Terminal Services > TS Remote App Manager > Select “Add Remote App Programs” (Right hand window).
2. Next.
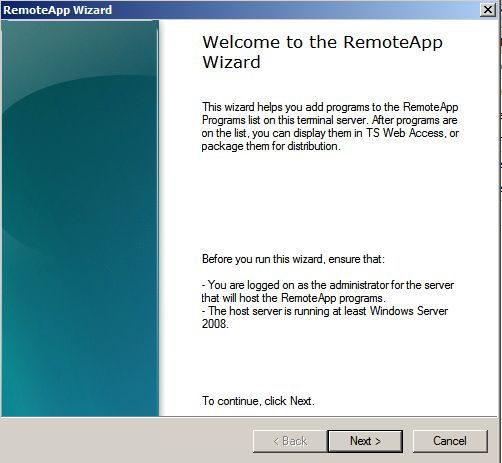
3. Select the application you require or browse to its Executable > Next. >
4. Finish.
Connecting from a client
1. On a Client PC open internet explorer > Navigate to http://{serverIP or name}/ts > Note: If you do not have ActiveX enabled and the latest RDP client you may see this error. 
2. There’s your applications > simply select one.
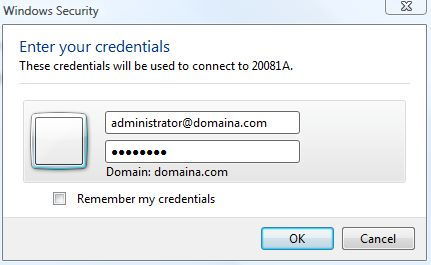
3. Enter your login credentials.
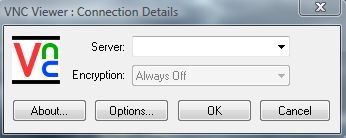
4. Wait for the application to deploy.
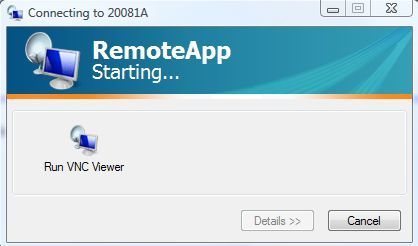
5. And there you go 🙂
Related Articles, References, Credits, or External Links
Windows Server 2008 R2 Deploying Applications with RemoteApp /p>
Original Article Written 02/11/11