KB ID 0000081
Problem
This section assumes you want multiple partitions, and goes through the steps needed to create them using FDISK.
For this example the hard drive in question will have a PRIMARY partition (approx 2Gb) and two LOGICAL DRIVES (each approx 1Gb) if I’ve just confused the hell out of you CLICK HERE
Solution
Creating Partitions
1. First ensure you have a windows 98SE Bootdisk, you can download one, CLICK HERE
2. Boot the PC with your boot disk, ENSURE the boot order is set in the BIOS to boot from the floppy disk BEFORE the hard drive.
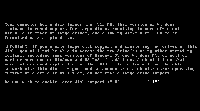
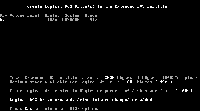
3.To launch FDISK simply type fdisk {enter} at the command prompt, when the program launches press the Y key and {enter} to enable large drive support.
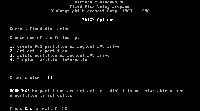
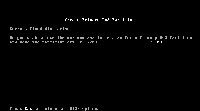
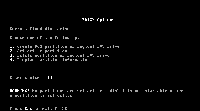
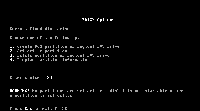
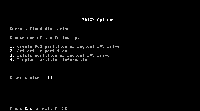
4. This is the main FDISK menu, as we are creating partitions we need to create a DOS partition press 1 then {enter}.
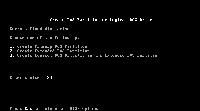
5. Now remember that PRIMARY partitions MUST be created first so press 1 then {enter}.
6. FDISK does a drive check, just wait.
7. At this point we DON’T want the default setting or the PRIMARY partition would take up the whole drive, press N then {enter}.
8. FDISK does another drive check, just wait.
9. You need to type in the size (In Megabytes) that you want the PRIMARY partition to be, this is a 4 Gb drive so I’ve typed 2048 Mb (2Gb) then press {enter}.
10. This just confirms the partition was created, press Esc.
11. Now we are back at the main menu, we need to start creating an EXTENDED partition, so press 1 then {enter}.
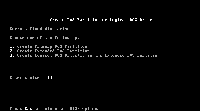
12. EXTENDED partition is number two so press 2 then {enter}.
13. Yet another drive check, more waiting :0)
14. Now we want to use the rest of the drive for the EXTENDED partition and by default it will show us this value. Press {enter}
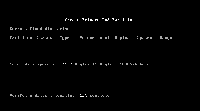
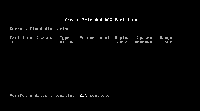
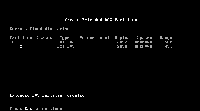
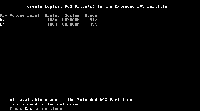
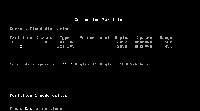
15. Just a confirmation screen, we can see our nice new partitions now, press Esc.
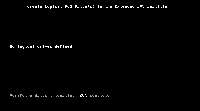
16. Now because we’ve got an EXTENDED partition and no LOGICAL DRIVES, it gets us to create them by default, after another drive check of course :0)
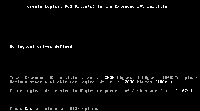
17. Now by default it will try and use the whole EXTENDED partition, as we want two logical drives, we don’t want it to do this, so type in the size (In Megabytes) of the drive you want, in this case I’ve used 1024Mb (1Gb) then press {enter}.
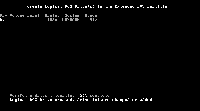
18. And there she is! time for FDISK to do yet another drive check, just wait.
19. Now it wants us to use up the rest of the EXTENDED partition, if you want a LOT of LOGICAL DRIVES you can keep going, as we only want two just press {enter}.
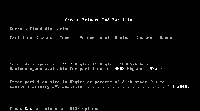
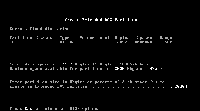
20. OK there’s our two LOGICAL DRIVES and FDISK is telling us that we have used up all the EXTENDED partition, just press Esc.
21. Now the last thing we need to do is make the PRIMARY partition active (so you can boot from it) press 2 then {enter}.
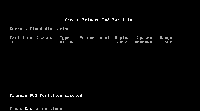
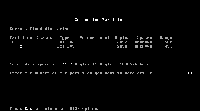
22. There’s your PRIMARY partition at the top, so press 1 then {enter}.
23. Now FDISK tells us the partition is active, press Esc.
24. Back wherewe started :0) Press Esc.
25. Press Esc to exit FDISK, when you are back at command line press Ctrl+Alt+Del to reboot the PC. All your partitions are now created.
Once the PC has rebooted you can format each drive using the format c: command (substitute c for all your other drives. If you’re going to install windows 2000 or XP you won’t need to do this it can be done from the operating system setup.
Related Articles, References, Credits, or External Links
NA

