KB ID 0000067
Problem
Regular visitors to PNL will know I much prefer to do things at command line, but I appreciate most people trying to set up a new firewall will want to use the GUI.
Before you start you will need to know what IP addresses you want to use, what password you want to use etc.
Solution
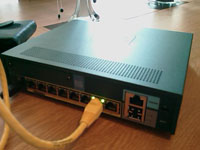
1. You get two network cables in the box, connect your PC/Laptop to Ethernet port 1 (See the photo, that’s the second one in from the right – By default Ethernet port 0 is used for outside on an ASA, though this can be changed). Power on the ASA.
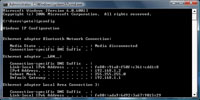
2. Your PC has to be set to get an IP address dynamically, the ASA will lease it an address, and the ASA will take the ip address of 192.168.1.1 on its inside interface. here’s the result of an “ipconfig” command to prove it worked.
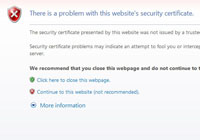
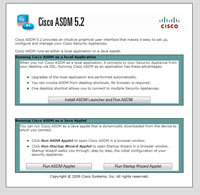
3. Open an IE (Or Firefox) window and navigate to https://192.168.1.1
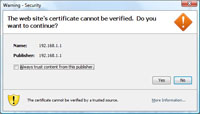
4. Standard stuff, click “Continue to this website”.
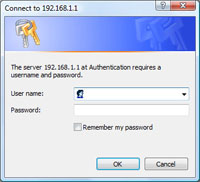
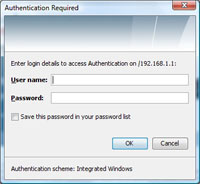
5. Leave both box’s blank and click OK.
6.Click “Run Startup Wizard Applet”.
7.Click Yes (Isn’t Java annoying!)
8. More annoying Java just click OK.
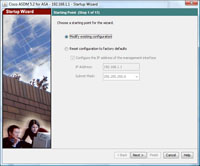
9. After some time we will at last arrive at the startup wizard. We want to modify it so > Next.
10. Give the firewall a hostname, domain name and set the password (note it uses the names to generate an RSA Key remember this if you ever change them in future) > Next.
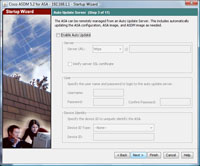
11. We don’t want this > Next.
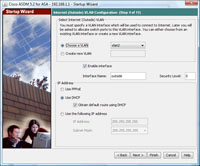
12. OK We now set the outside IP address, don’t mess with the VLAN information, in this case my outside Interface is going to get its IP address automatically via DHCP, if yours is static then Select “Use the following IP address and type in the IP address and subnet mask > Next.
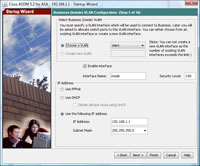
13 Now the inside interface, TRUST ME leave it on 192.168.1.1. Even if that’s NOT want you want, if you change it here then when you get to the end it will all fail, because you have a DHCP address leased on an IP that’s on a different range. We will change the IP address of this interface at the end! > Next.
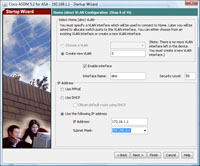
14. This page is for setting up a DMZ, which (unless you’ve purchased the Security Plus Licence) you wont be using anyway. > Next.
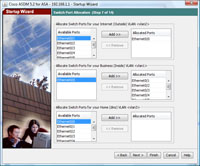
15. Leave Interface 0 on the outside and everything elapse on the inside VLAN (unless you want to allocate ports to your DMZ) > Next.
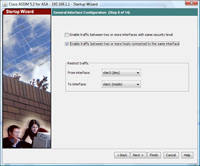
16 Tick the bottom option > Next.
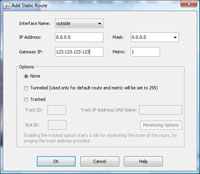
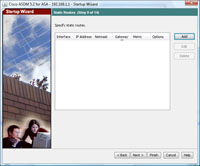
17 On the route page – you have the option to enter internal and external routes – if your outside interface gets its IP details by DHCP then you can leave all blank, if your on a static then you will need to supply the IP of your ISP router as the default route outside (route 0.0.0.0 0.0.0.0). If it make more sense think of this as the firewall’s default gateway.
18 Mines DHCP so I’ll just click Next..
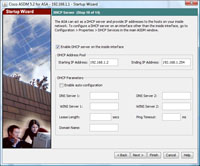
19. Once again TRUST ME leave this alone we will change this later > Next.
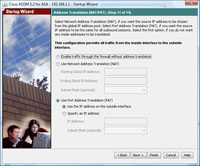
20. There about 2 chapters of textbook on this subject – we are going to use PAT and use the IP address of the outside interface. (all internal traffic will appear to the outside world to have come from that IP address.) > Next.
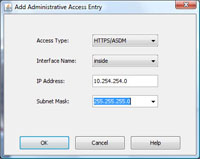
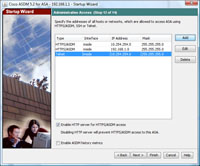
21 On administrative access click Add > Now add ASDM access for either a client or the network that the firewall IS GOING TO connect to >OK.
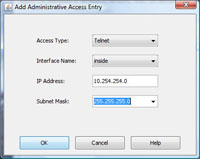
22. You might also want to add Telnet access for the the above as well.
23. Notice we have access for the 192.168.1.0 network AND the network we are going to be on when we are finished. > Next.
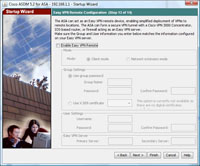
24. We are not going to be using this > Next.
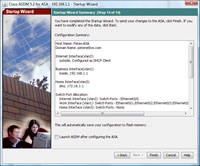
25. Have a quick review > Tick “Launch ASDM after configuring ASA” > Finish
Remember when you log into the ASA now you have changed the password! (Leave the username blank)
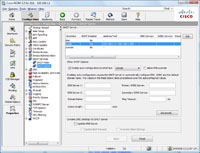
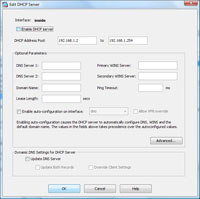
26. Now we will sort the inside interface out > From the ASDM > Configuration > Properties > DHCP Server > Inside > Edit.
27 Un tick the “Enable DHCP Server” > (Or set according to your DHCP requirements > OK
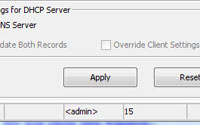
28. Apply
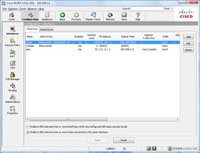
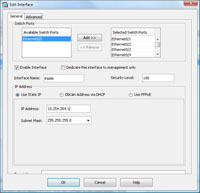
29. Configuration > Interfaces > Inside > Edit
30. Set the correct IP address and subnet mask > OK.
31. .Apply. > At the warning click OK
32.Settings will be applied. DO NOT TURN OFF THE FIREWALLS POWER SUPPLY.
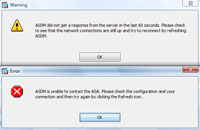
33. Fair enough we cant talk to it because we changed its IP address :).
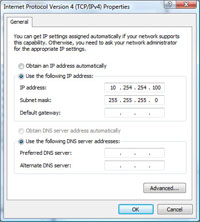
34. Change your IP address so you can communicate with the firewall on its new IP address.
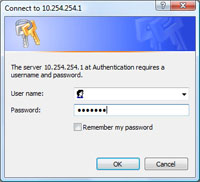
35. As before launch your browser and connect to the internal IP address (remember its https).
36. Username = blank > Password you set earlier > OK.
37. File > Save running config to flash.
38. Apply > All Finished.
Do the same thing from command line
hostname Petes-ASA
domain-name petenetlive.com
interface vlan1
ip address 192.268.1.1 255.255.255.0
interface vlan2
ip address dhcp setroute
http 10.254.254.0 255.255.255.0 inside
telnet 10.254.254.0 255.255.255.0 inside
interface vlan3
no shutdown
ip address 172.16.254.1 255.255.0.0
nameif DMZ
same-security-traffic permit intra-interface
enable password password123
no dhcp address 192.168.1.1-192.168.1.254 inside
Related Articles, References, Credits, or External Links
NA

