KB ID 0001605
Problem
With older versions of Horizon View, we simply deployed another Connection server and called it a Security Server. The drawback of that is, it requires another Windows licence. You can now deploy VMware UAG (Unified Access Gateway), try to think of it as a ‘Netscaler for VMware’, and like other VMware solutions it’s a small appliance built on VMware’s ‘Photon’ Linux.
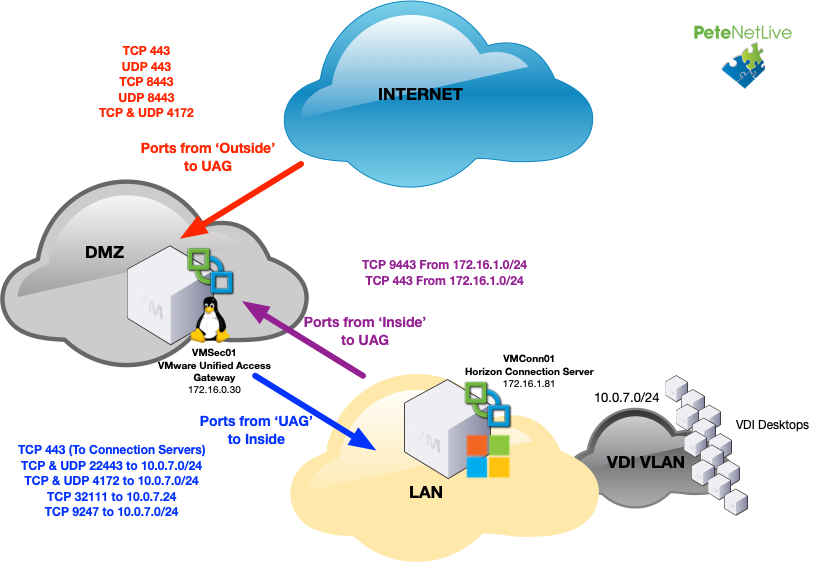
Below is a typical deployment and shows you the ports you will be required to open on your firewall to make this work;
You can deploy multiple UAGs and have them behind a load balancer, or point individual UAGs to separate Horizon Connection servers. Her I’m simply deploying one internal Horizon Connection Server, and one VMware UAG in my DMZ.
Step 1: Deploy the UAG Appliance
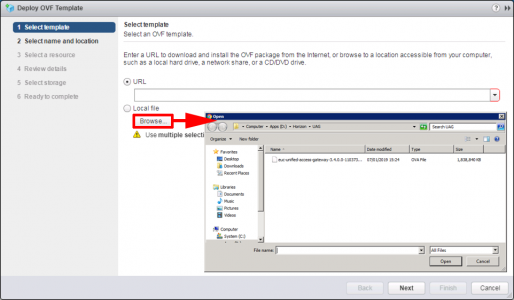
I’ve covered deploying OVA files before, but essentially download the OVA, and within your vSphere client select deploy OVF template. Navigate to, and select the OVA file you have downloaded from VMware > Next.
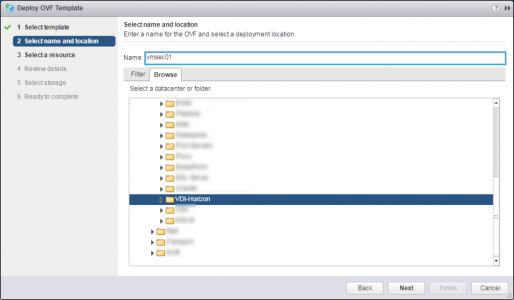
Select your Datacenter and optionally folder > Next.
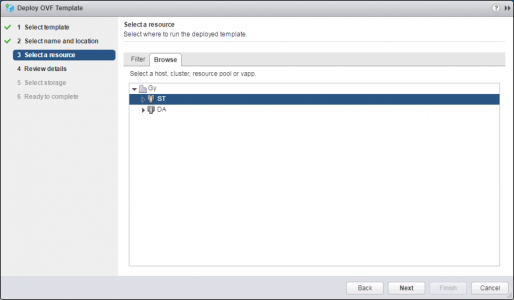
Pick where you want to deploy the appliance (Cluster etc.) > Next.
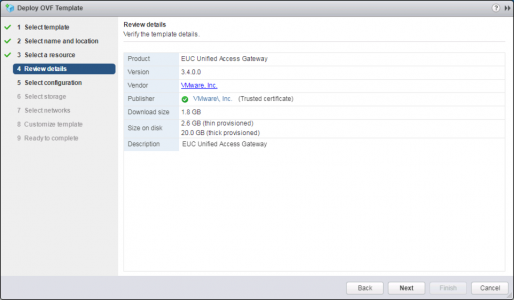
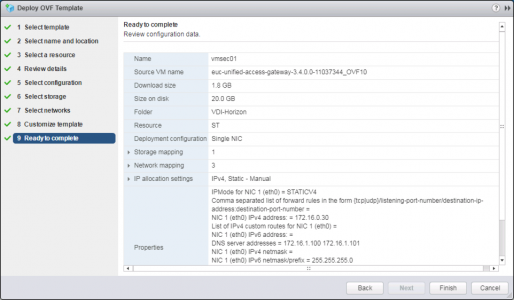
Review your settings > Next.
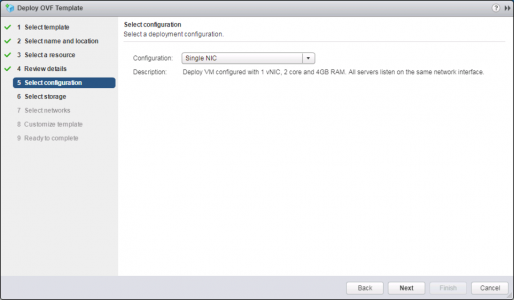
I’m deploying into a DMZ so there will be no shortcutting the firewall! > Single NIC > Next.
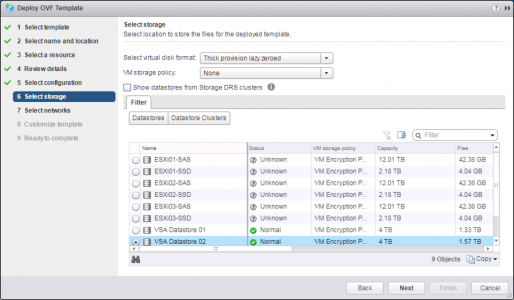
Select the storage you want to deploy the appliance to > Next.
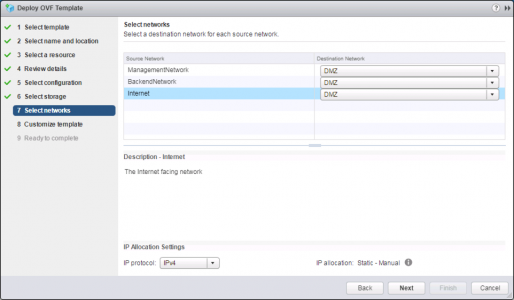
Confusingly, (as we have picked single NIC?) set them all to the correct port group > Next.
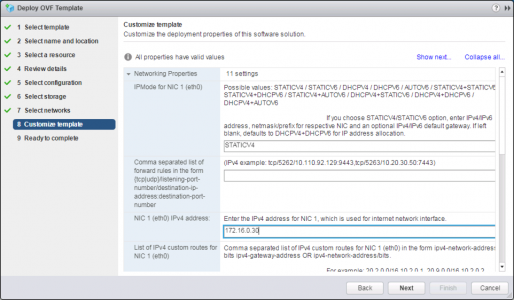
Specify the IP address > Scroll down.
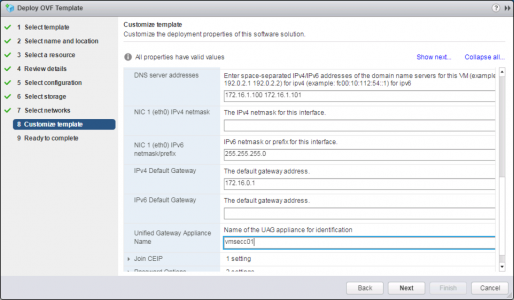
Complete the DNS and IP settings > Give the appliance a name > scroll down.
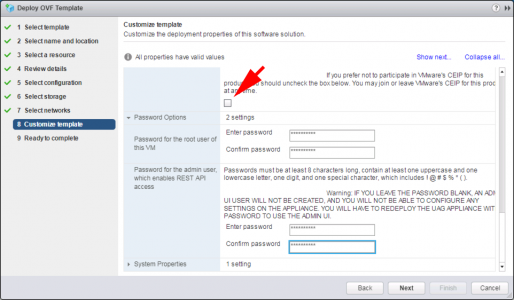
Untick CEIP > Set the admin, (needed for the web front end), and root (needed for console login) passwords.
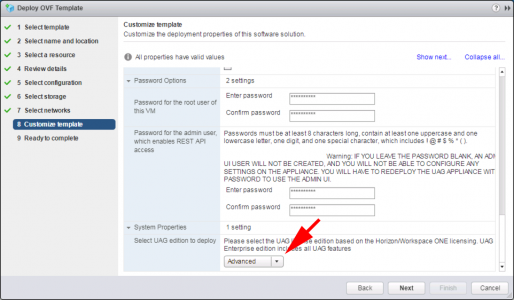
Select the edition to deploy (based on your licence) > Next.
Review the settings > Finish.
Step 2: UAG Pre Configuration Tasks
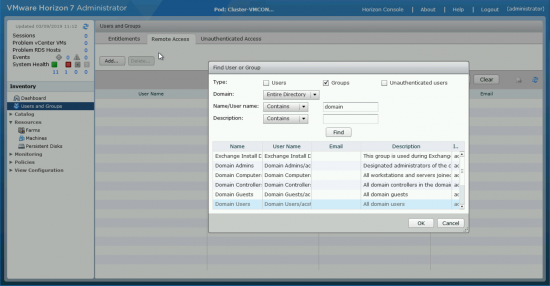
To allow users to access Horizon machines externally, you need to ensure you have granted Remote Access Rights in Horizon Administrator, Note: This is in addition to any Entitlements you have already setup for the machine pools.
Take a copy of the Thumbprint, from the Horizon Connection Server you will be pointing the UAG at, keep it handy you will need it in a minute.
Optionally
If your UAGs are going into a DMZ there’s a chance that they wont be able to resolve internal domain names, (you can specify internal IP addresses of course). I prefer to enter the names/FQDNs of my connections servers, in the appliances hosts file, so it can be resolved. Log into the console as root;
vi /etc/hosts
If you’re unsure how to use vi, (i.e you don’t wear sandals, or have a ginger pony tail.) Press I (insert) make your changes > Press Esc > Type :wq {Enter}.
Step 3: Configure UAG for Horizon
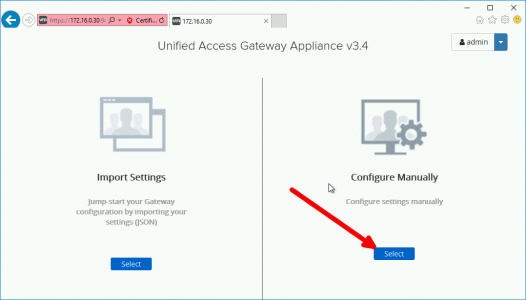
Connect to the UAG with a web browser (https{ip-address}:9443) > Login with the admin account > ‘Configure Manually’.
Optional: Add Certificate
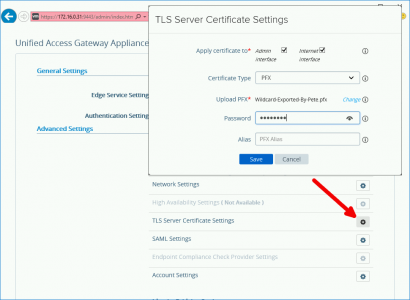
If you have a publicly signed certificate, the easiest way to import it is with a PFX file and a password, (use the search box above, I’ve covered creating PFX files many times). You need to go to Advanced Settings > TLS Server Certificate Settings > Select admin and internet interfaces, (as required) > Browse to the PFX file and enter the password you set, (for the pfx file!) > Save.
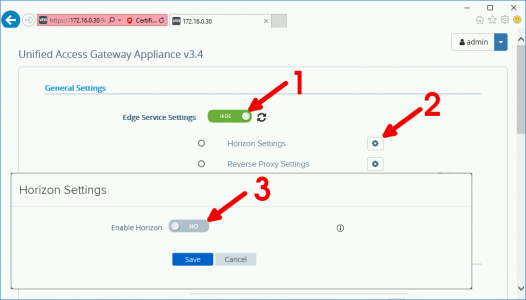
General Settings > Edge Service Settings > SHOW > Horizon Settings > Enable Horizon > Save.
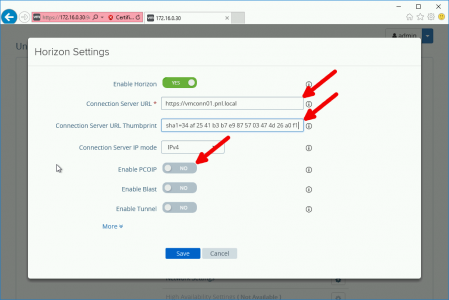
Enter the URL of the internal connection Server, and the Thumbprint you took note of, (above) > Enable PCOIP.
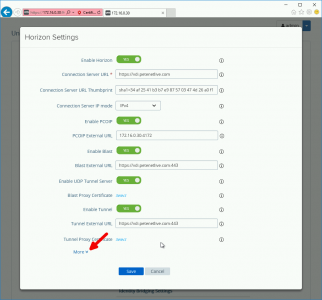
Set the external PCIOP URL to the external IP of the UAG, (or load balancer if using one) and add :4172 to the end, Enable Blast > Set the public URL of the UAG, (or load balancer if using one) and add :443 to the end. Enable Tunnel, and set the same URL again with :443 on the end. If you want to, open the ‘more options’ section and take a look at the optional settings, though I’m leaving everything else on the default settings > Save.
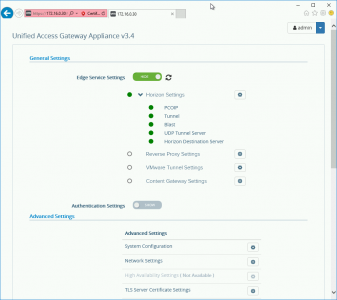
Have a cup of coffee, refresh the page a few times > Log off and back on again, and hopefully all the options should ‘go green‘. If not, check the firewall ports, and make sure the UAG can resolve the name of the connection server.
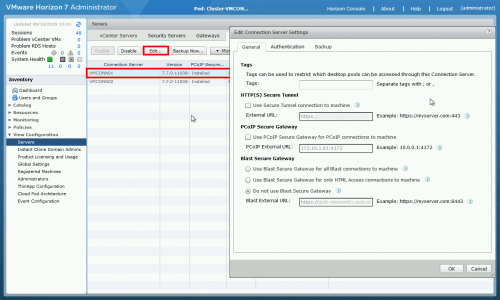
Over in Horizon Administrator > Select each internal connection server and remove ‘Secure Tunnel‘, PCOIP Secure Gateway, and select ‘Do not use Blast Secure Gateway‘ > OK.
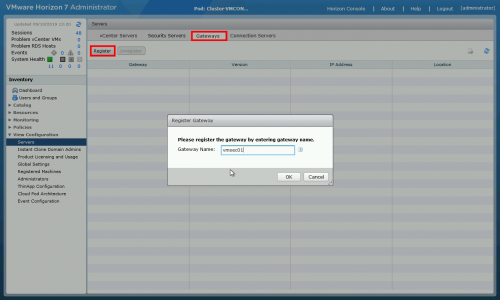
You can register the UAGs, in the Gateway section, but you wont see anything change until they have been used ‘in anger’.
You can now test externally by trying to connect with a Horizon Client.
Related Articles, References, Credits, or External Links
NA



03/05/2021
‘IN ANGER’?!?!??!?!
Can you explain further?
“You can register the UAGs, in the Gateway section, but you wont see anything change until they have been used ‘in anger’.”
06/05/2021
They wont appear until they exist, and are passing traffic. i.e are used in for something.