
KB ID 0001075 D
Problem
Back in Part One, we joined Cisco ISE to Active Directory, now we we will take the built in ISE policies and change them. This will allow our clients to authenticate, with the correct protocols.
Solution
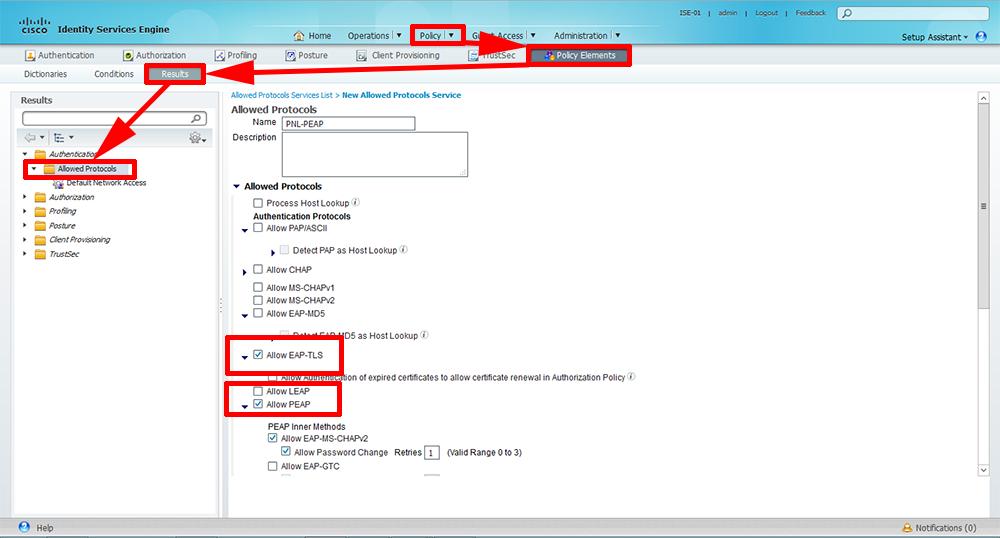
1. By default ISE will use pretty much any available protocol, we are going to use PEAP, although I’m also going to allow EAP–TLS (it’s more secure and if I start rolling out certificates I’ve already got it available). Policy > Policy Elements > Results > Authentication > Allowed Protocols > Add > Give the protocol set a name > Allow EAP–TLS and PEAP.
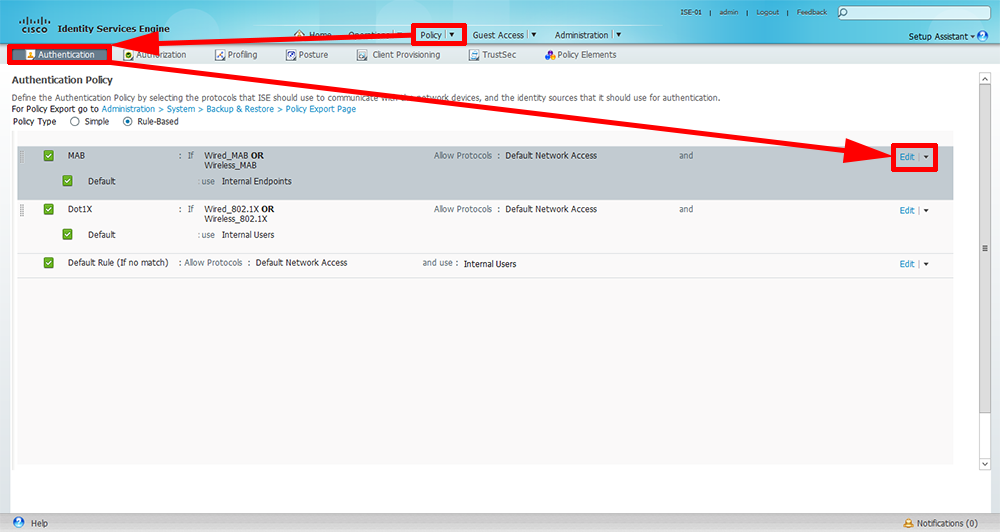
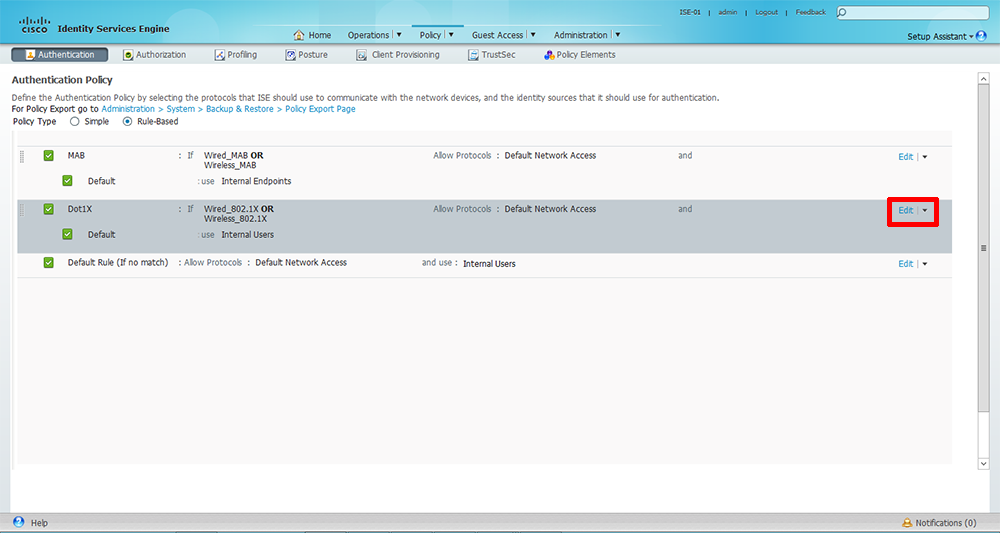
2. Policy > Authentication > There will be three built in, one for MAB and one for 802.1x, and a ‘catch all’ rule at the end. Edit the MAB rule.
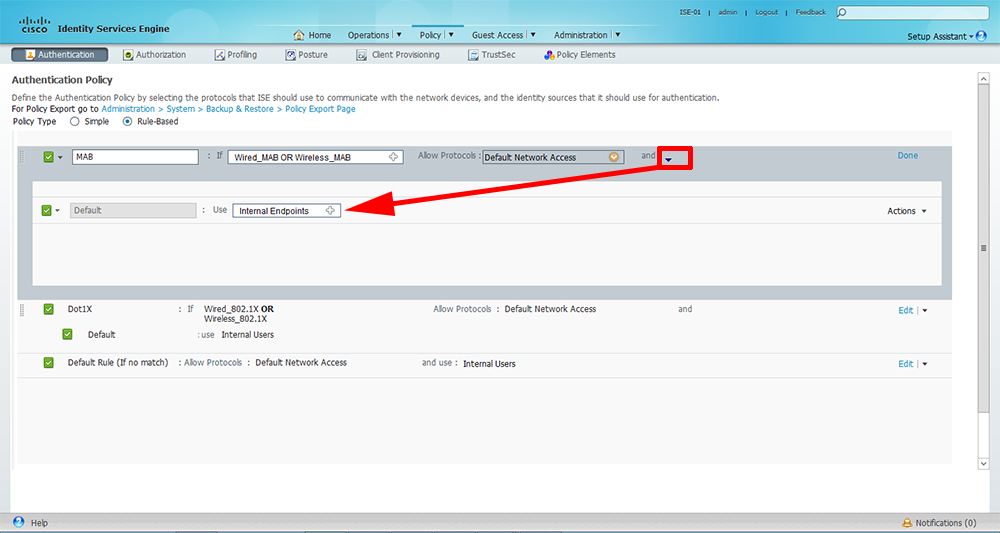
3. Click the cross next to ‘Internal Endpoints’.
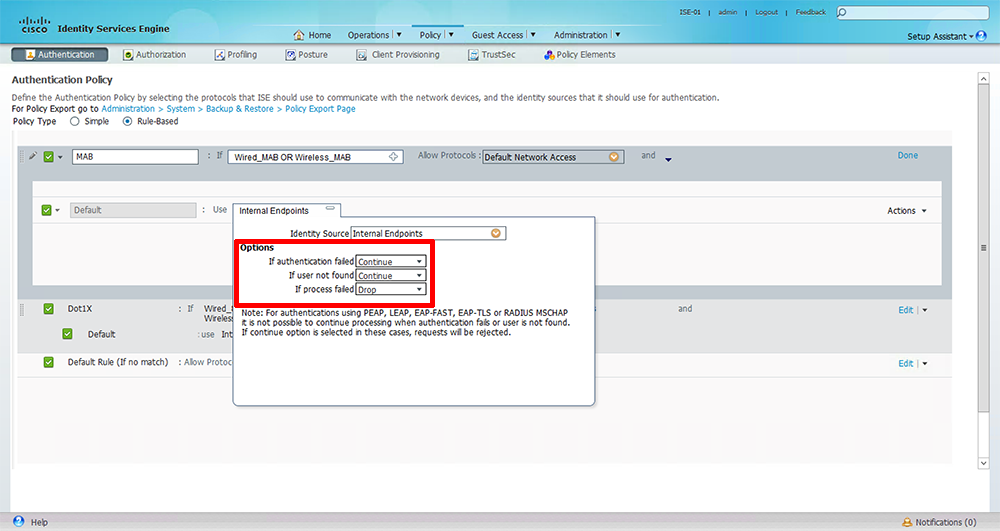
4. Change the options, (top to bottom) to; Continue, Continue, and Drop.
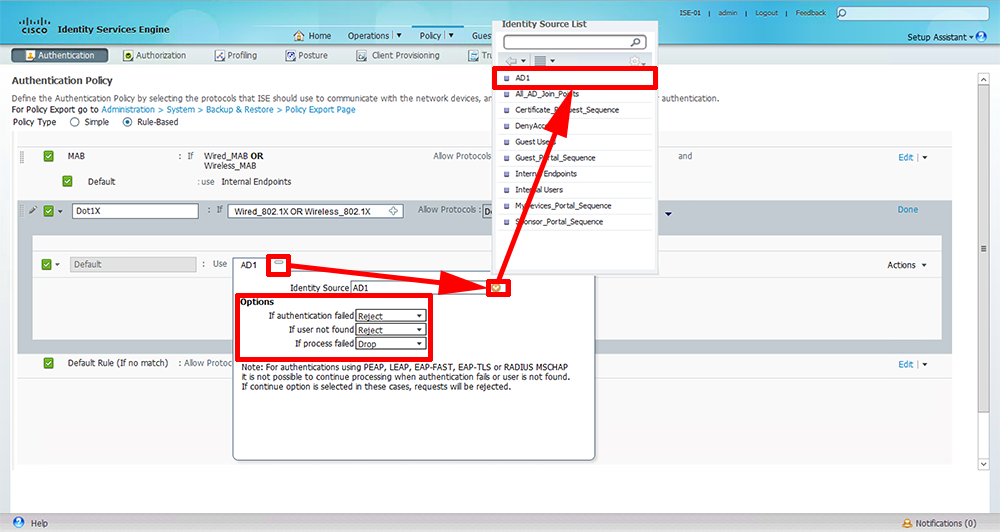
5. Now edit the Dot1x policy.
6. Set the identity source to the Active Directory you configured in part one. Ensure the options are set (top to bottom) to; Reject, Reject, and drop.
7. Finally change the ‘Allowed Protocol’ to the set you created in step 1. Then click ‘Save’.

Related Articles, References, Credits, or External Links
NA