
KB ID 0000912
Problem
If you have a slow connection, and you are trying to replicate servers from one site to another you may struggle to do the initial replication. I’ve had an ongoing problem with a client who was trying to do this, we set it up, and the link was too slow. The client upgraded his internet connections at both sites, still the replication window would have been longer than 24 hours. In the end we chose to ‘seed’ the replication. Using this process we take a backup on the servers at the source location, then take the backup to the target location. Finally we setup the replication task and tell it to use the backup as a ‘seed’. Using this method is preferable because only the changes then get replicated over the slow link.
In the following scenario Im using Veeam 6.5 but the process is the same for Veeam 7. As a backup target Im going to host a backup repository on a Buffalo NAS Box (via iSCSI), that I can transport to the other site easily. I’ve also got a Veeam server at both locations, if you do not you may need to setup a temporary server at the source location to do the initial backup.
Because I’ve got a Veeam server at both locations I can utilise them BOTH as backup proxies, If you are only going to have a Veeam box at the target location, then I strongly suggest you setup a backup proxy on another server at the source site.
Solution
Veeam Backup and Recovery Download
Create a Backup of the Source Machine with Veeam
At this point I’ve added the iSCSI box as a backup repository (If you are unsure on how to do this, I do the same thing again to present the iSCSI box at the target site below.
1. Im not going to run through how to setup a simple backup job, Veeam is refreshingly easy to use.
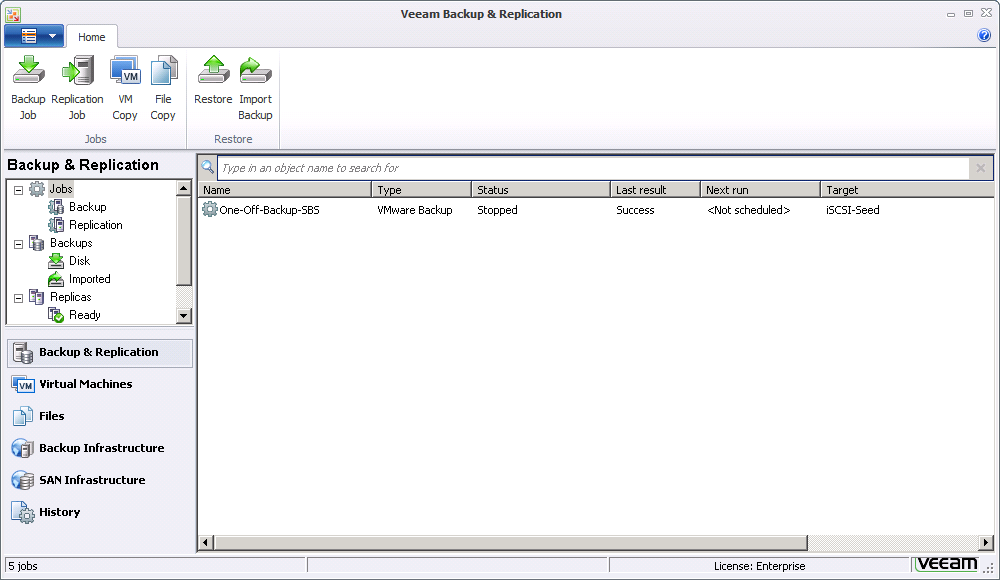
2. So now I have the backup on my iSCSI device, I can turn it off and move the files to the target location.

Present the Backed Up files to the Veeam Server at the Target Location
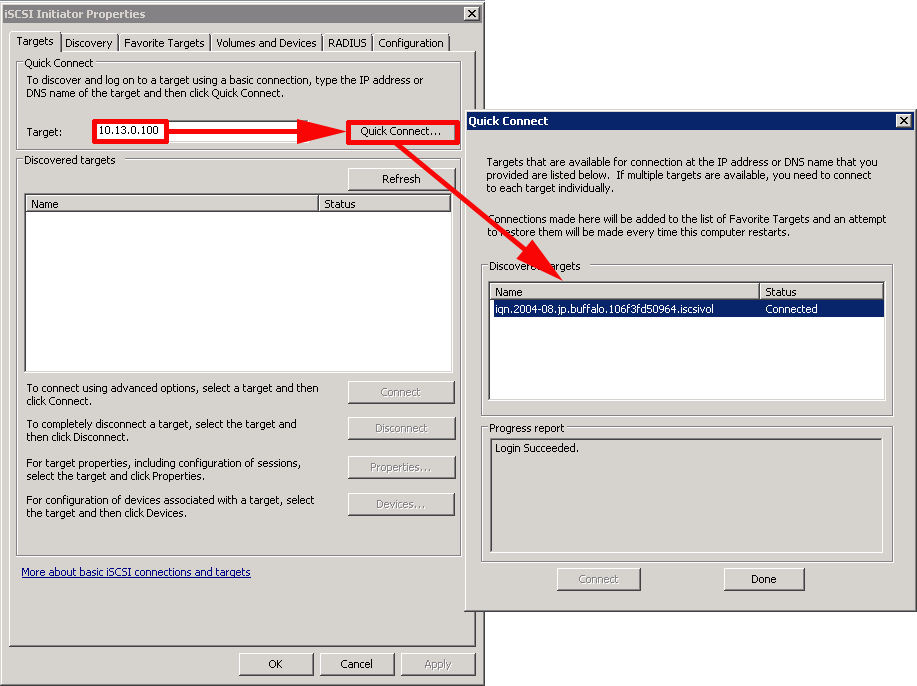
3. Here I’m pointing my Veeam Server directly at the iSCSI server.
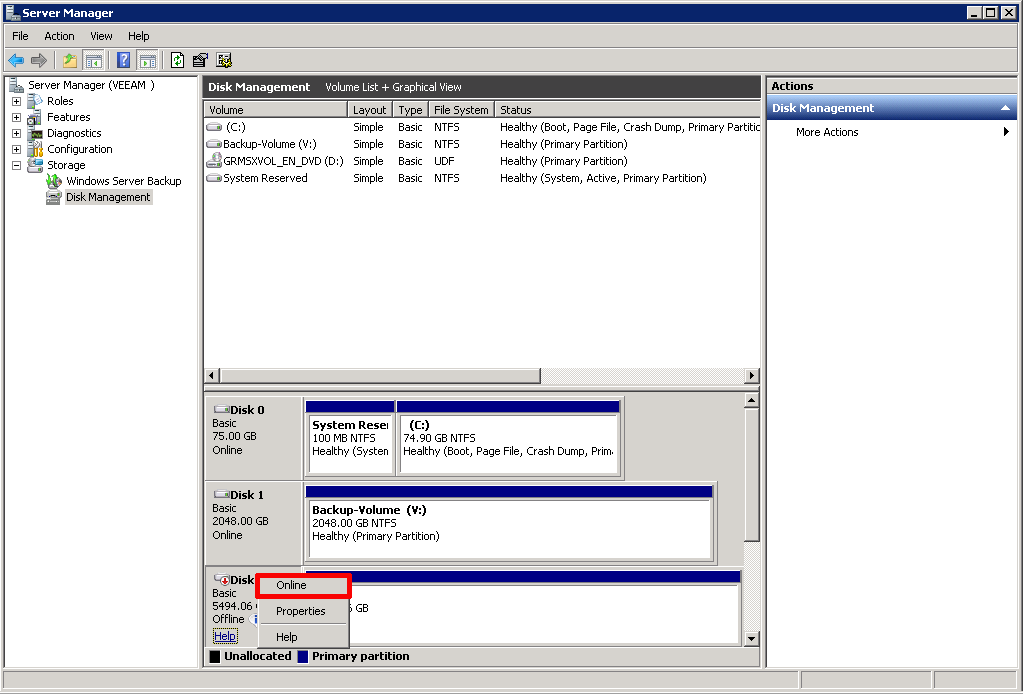
4. Now I can bring the new ‘drive’ online and make sure it gets a drive letter in Windows.
Veeam: How Do I Add a Backup Repository?
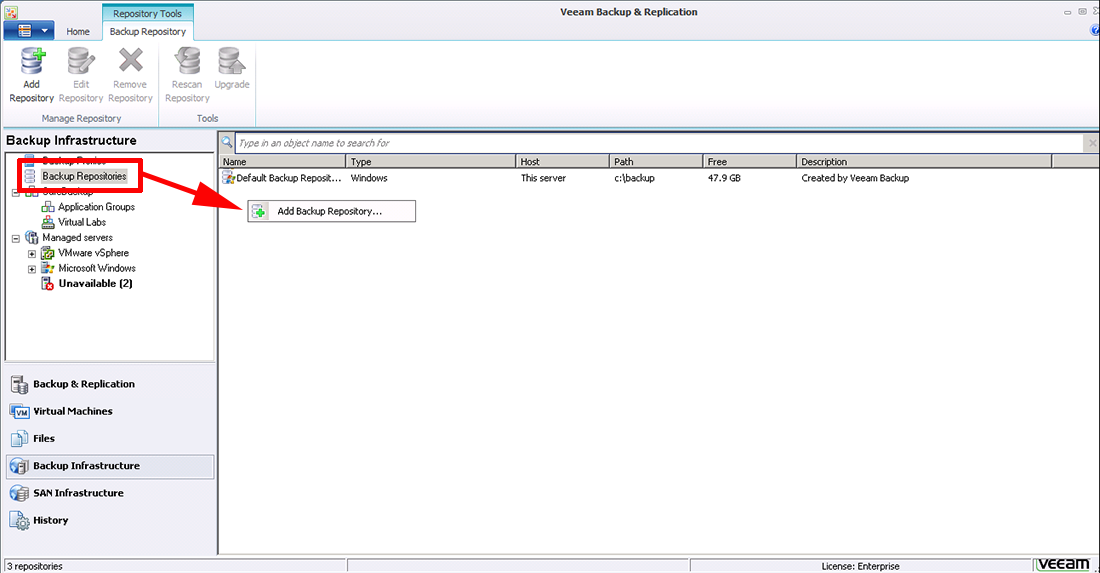
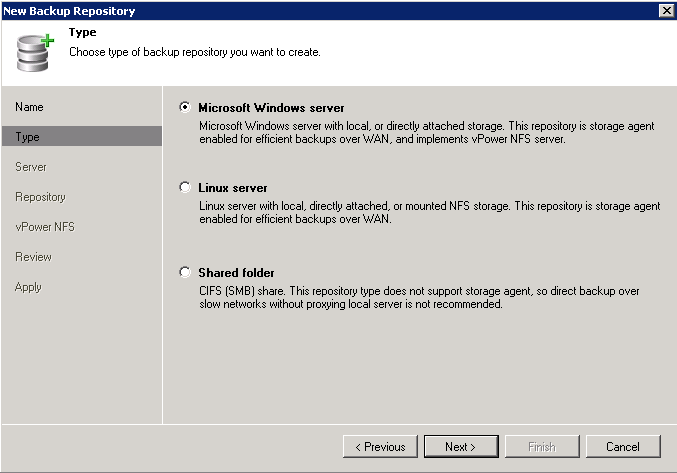
5. Launch Veeam > Backup & Replication > Backup Repositories > Add Backup Repository.
6. Give it a sensible name > Next.

7. Next.
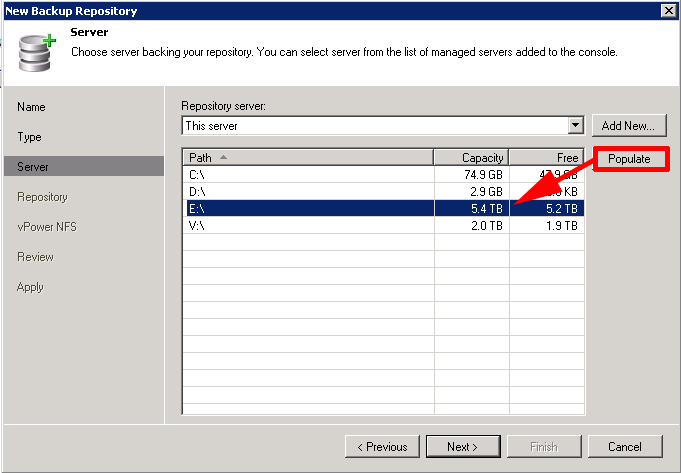
8. This Server > Populate > Select the iSCSI drive letter.
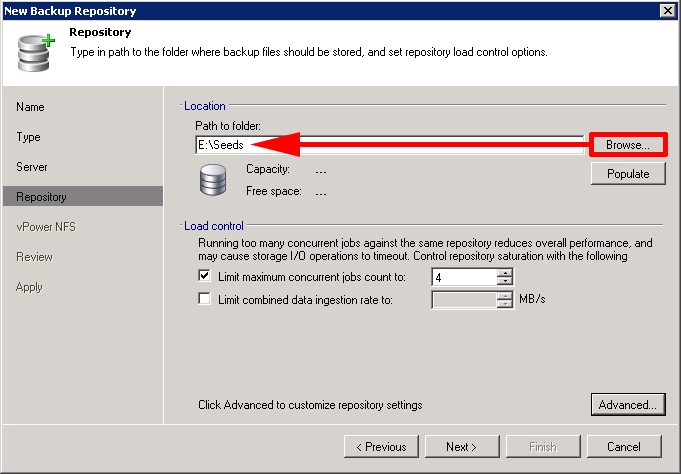
9. Browse to the folder that contains your backup data > Next.
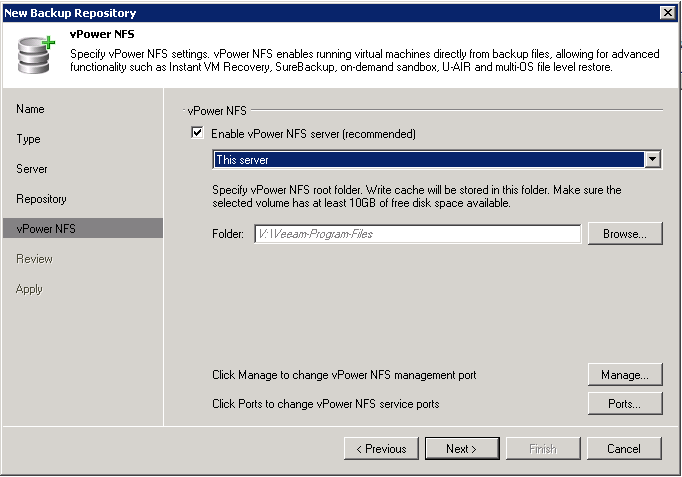
10. I’ve already configured vPower NFS so I’ll just click Next.
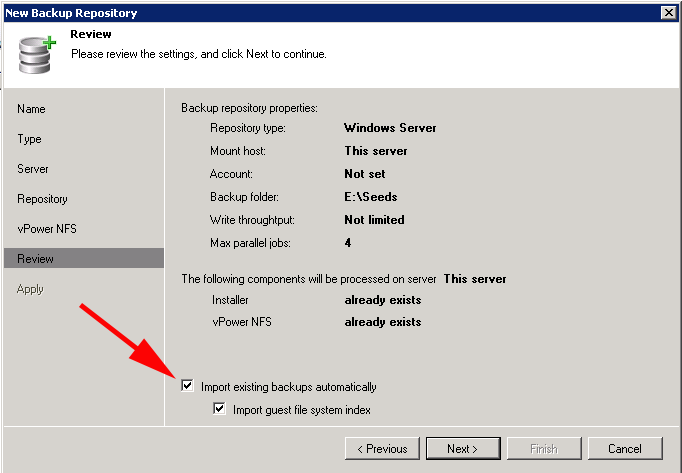
11. Tick ‘Import existing backups automatically’, and ‘Import guest file system index’ > Next.
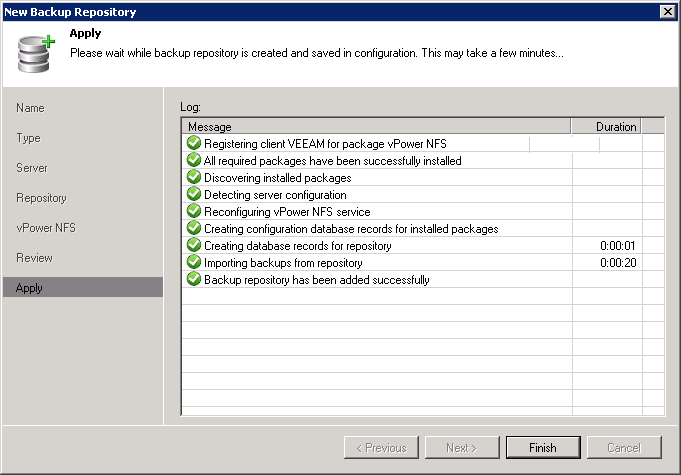
12. Finish.
How Do I Setup a Veeam ‘Seeded’ Replication Job?
13. Launch Veeam > Backup & Replication > Replication Job > Give the job a name > Tick ‘Low connection bandwidth (enable replica seeding). At this point I also want to tick the next two options so that if I need to failover the Virtual machines it will connect them to the correct VMware Port group on the target host. Also the IP addresses of the failed over machines will be changed to match the subnet of the target network > Next.

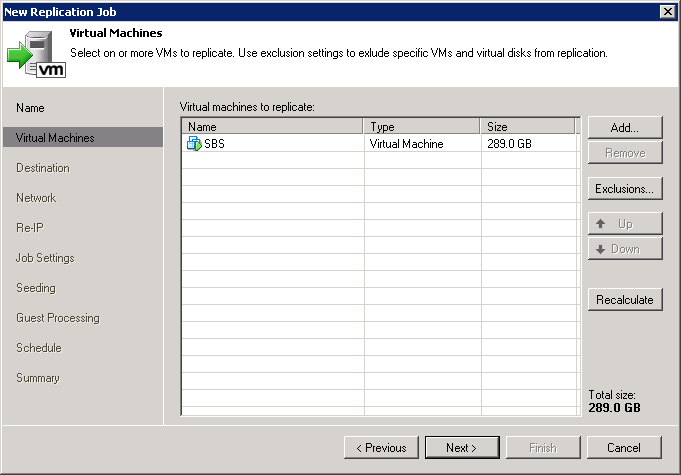
14. Add > Browse to the VM(s) you want to replicate and select them > Next.
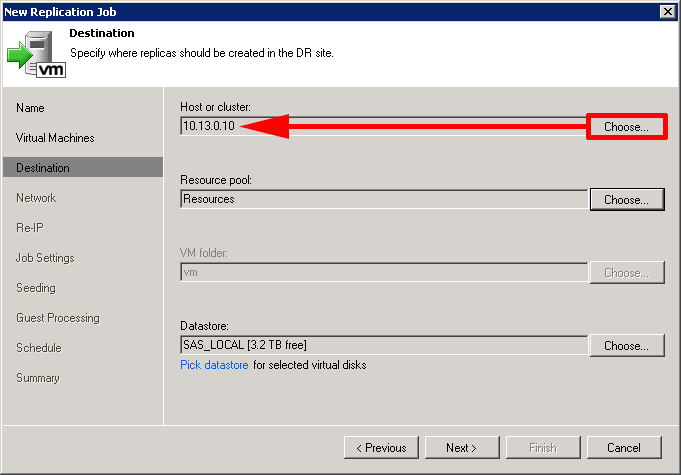
15. Choose the host that you want to replicate the virtual machine to >Set the resource pool if you use them > Select the datastore where you will be hosting the replica files > Next.
16. Add > Locate the ‘Port Groups’ on the source and the target virtual networks. (Note: Here the port groups have the same name, they are NOT the same port group) > Next.

17. Add > Add in the IP address details from the source network and the network you will want to bring up the replicas on in the event of a failover > OK > Next.

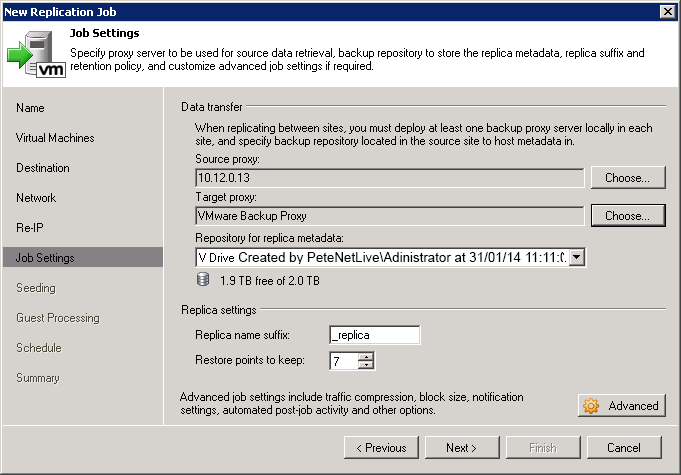
18. Add in the source and destination proxies (make sure you have one at both ends!) > Select a local repository (this is just for the metadata not the actual replica) > Here I’m going to store seven restore points (handy because you can restore single files from a replica if you need to). DONT click Next.
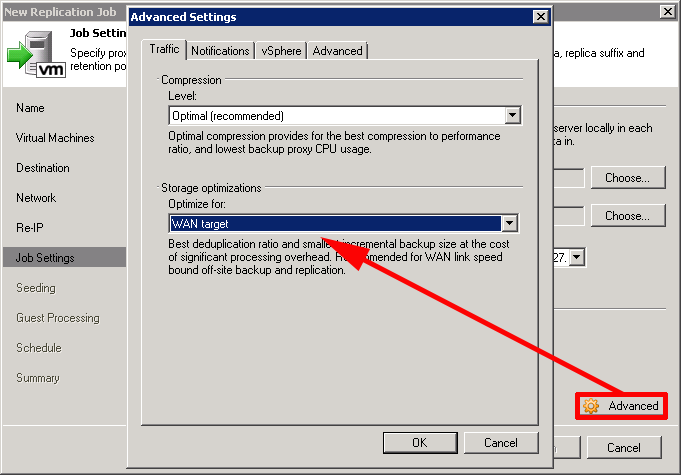
19. Advanced > Traffic Tab > Set Optimize for to ‘WAN target’ > OK >Next.
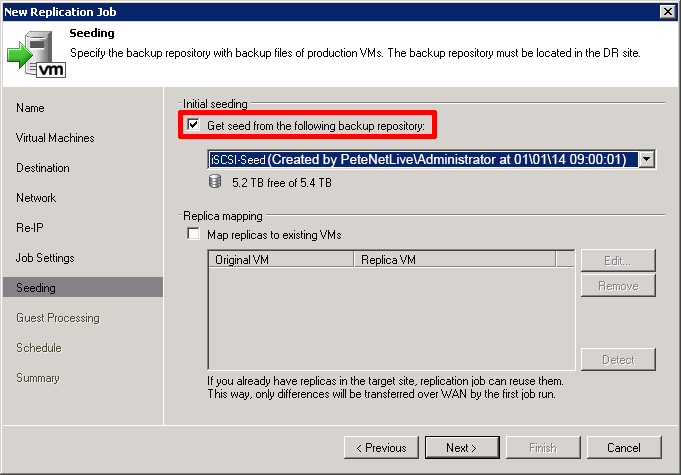
20. Enable seeding and select your new repository > If you have ran the job successfully before you may have an existing replica mapping you can use, I do not > Next.
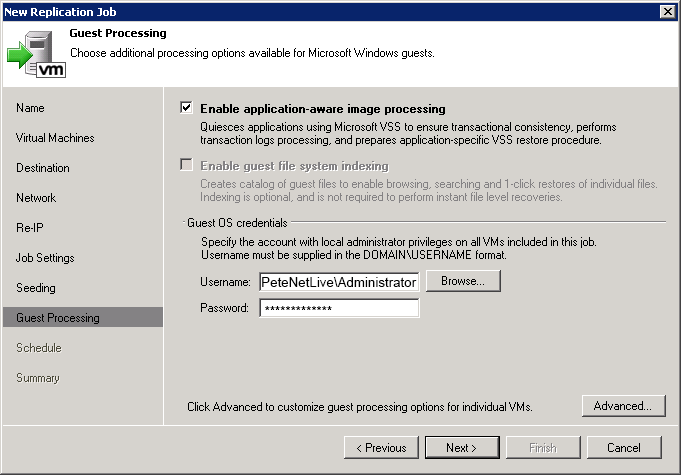
21. Enable application aware image processing (in case you ever want to restore a single file, or mail attachment, or SQL table for example) > Enter and administrative account and password > Next.
22. Set the schedule for the job > Create.
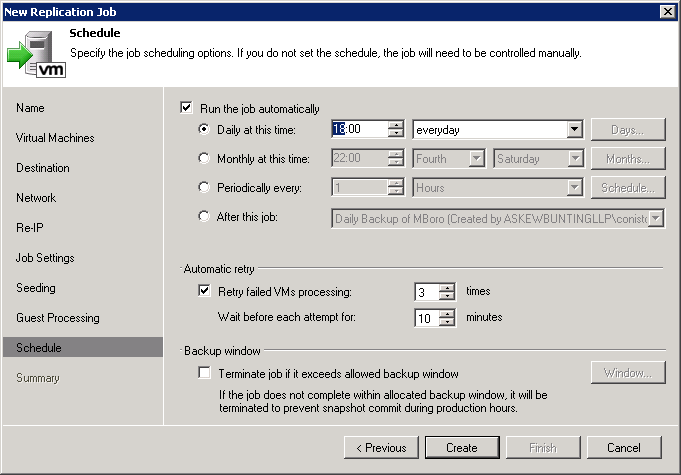
23. Finish, (if you want to start the job immediately tick the box, and it will run now, and then run again as scheduled).

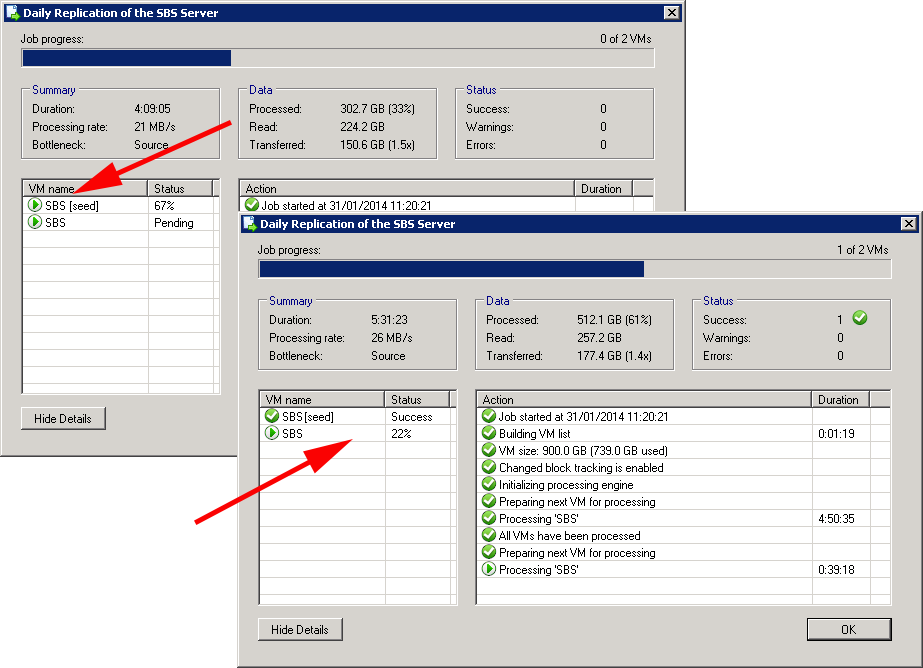
24. Now when the job runs it scans the ‘seed’ first, creates the replica, and finally replicates the difference.
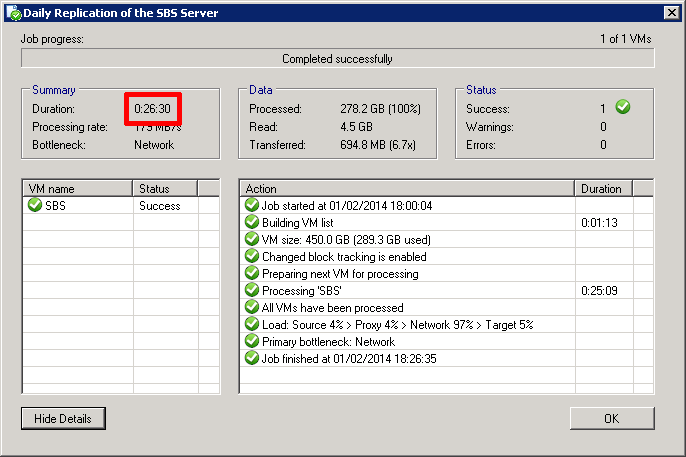
25. You will notice whenever the replication tasks run in future, it only replicates the differences. For example, here on a subsequent run, it only took twenty six and a half minutes to do the job.
Related Articles, References, Credits, or External Links
NA