KB ID 0000610
Problem
Kiosk mode is quite useful, if you have some machines that you want to put in a public area for visitors to use, or for machines that are used in displays etc. Or if you have some older PC’s that you just want to repurpose as internet terminals or ‘point of sale’ box’s.
Essentially it’s a system that delivers a virtual VMware View desktop to a PC or Thin client without the need to authenticate to the connection server. Kiosk authentication is disabled by default, so you need to run a few commands to get it enabled.
Solution
Before starting you will need a Virtual Machine ready to be used for the Kiosk machine. You might want to create this machine with a “nonpersistent” disk.
Configure Windows 7 to be a VMware View Desktop
Step 1: Prepare Active Directory
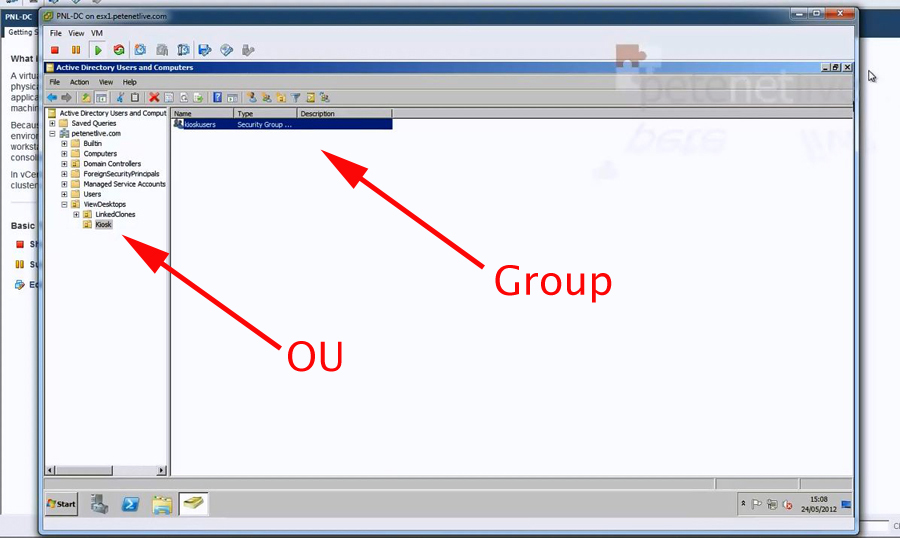
1. Set yourself up an OU to hold your kiosk machine, and a security group that will contain the user account you are going to create later.
Step 2: Configure the VMware Connection Server
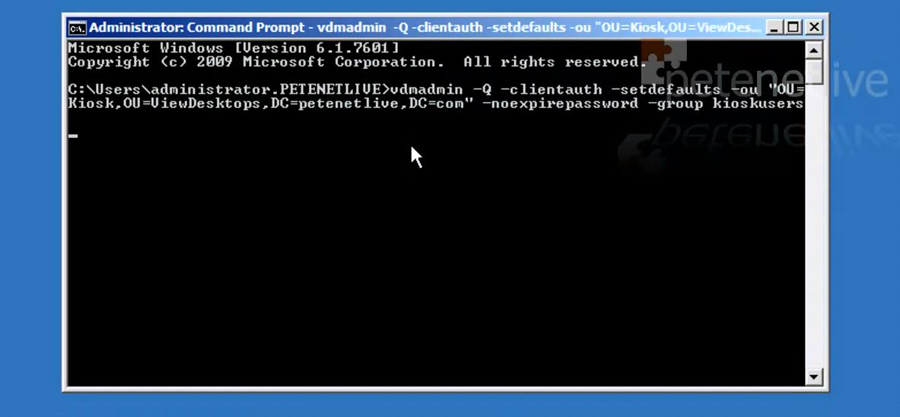
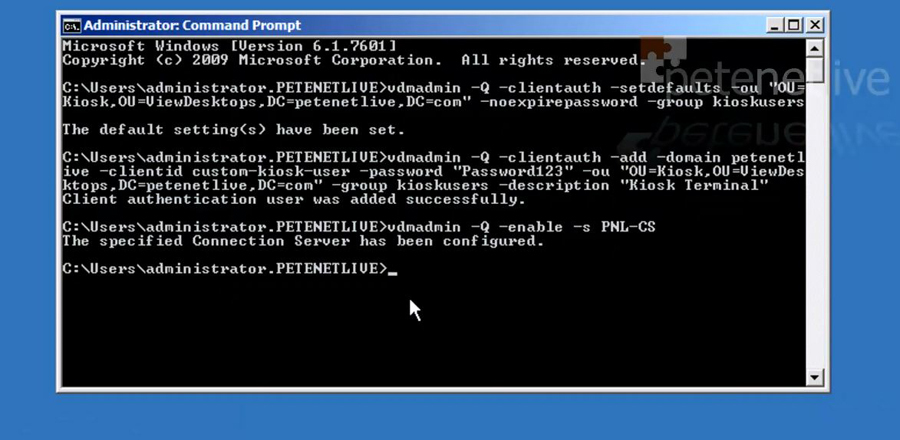
2. Now log into your VMware Connection Server, open a command window with elevated privileges. then issue the following command;
Note: where kioskusers is the name of the group you created.
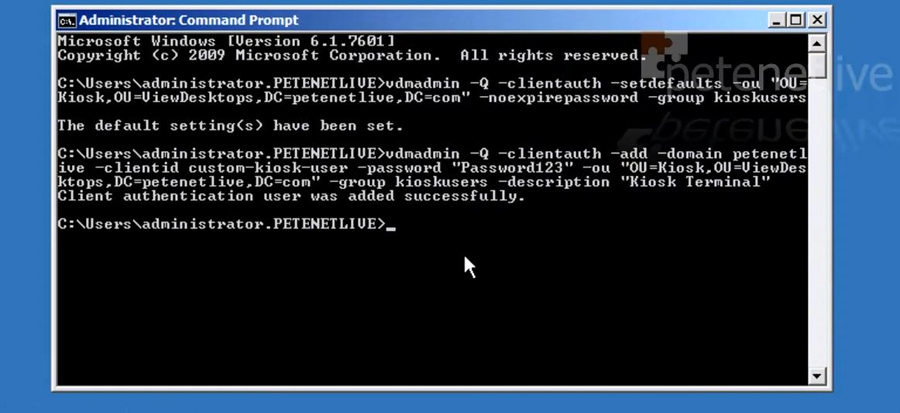
3. Now I will create a user ‘custom-kiosk-user’ with a password of ‘Password123’, and put him in the OU and group we created earlier;
Note: Alternatively you can create a user that matches the MAC address of the client machine and auto generate a password like so, (this assumes the thin client or PC’s MAC addresses is 3C:4A:92:D3:12:1C).
4. Then allow this connection server to accept kiosk connections with the following command;
Note: Where PNL-CS is the name of my VMware Connection Server.
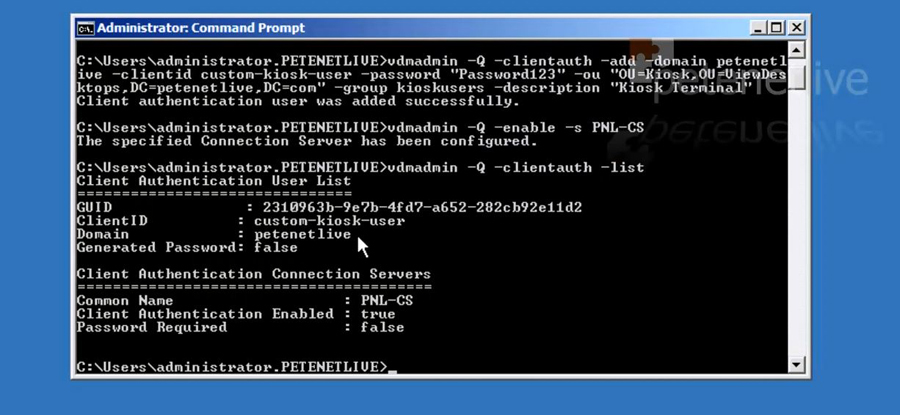
5. You can view the settings configured on this connection server with the following command;
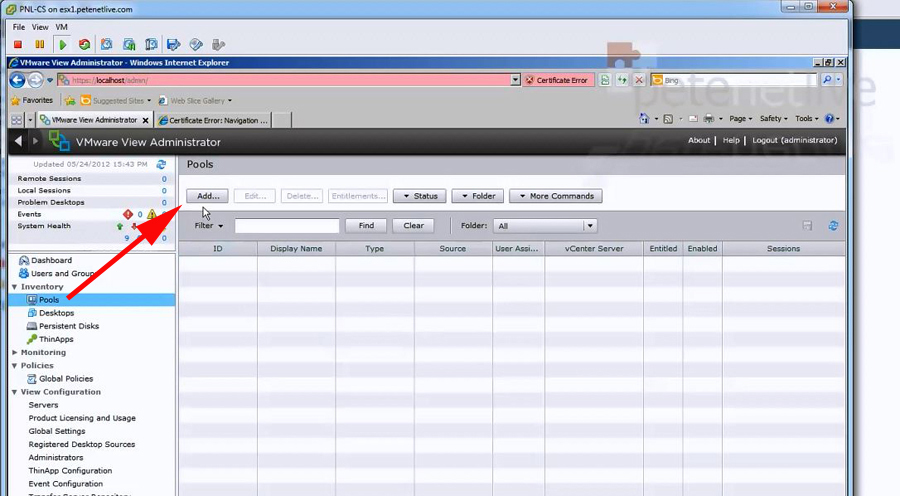
6. While still on your connection server open VMware View Administrator, and create a ‘Pool’ for your Kiosk machine.
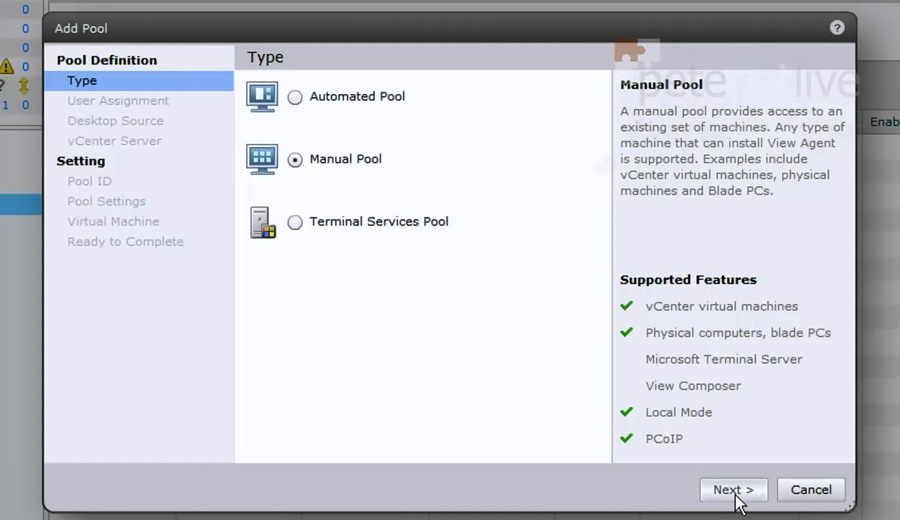
7. Manual Pool > Next.
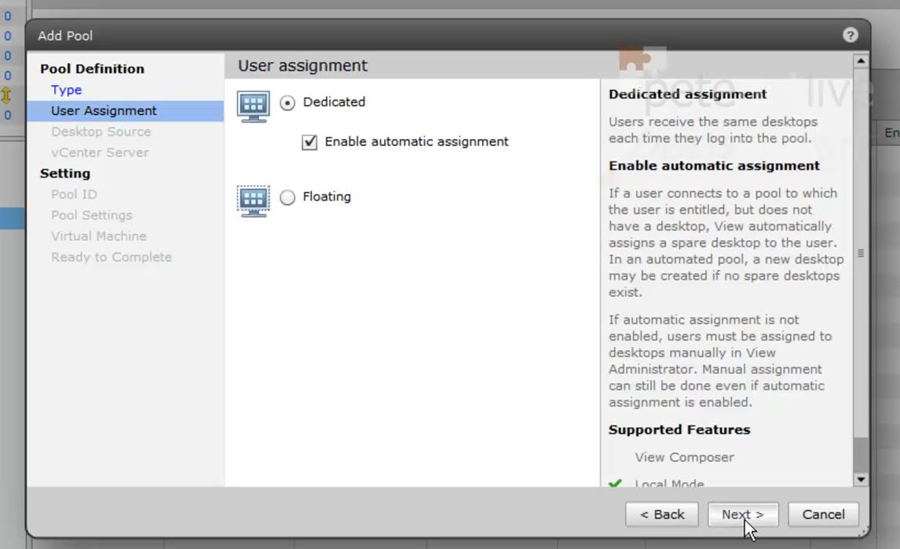
8. Dedicated > Next.
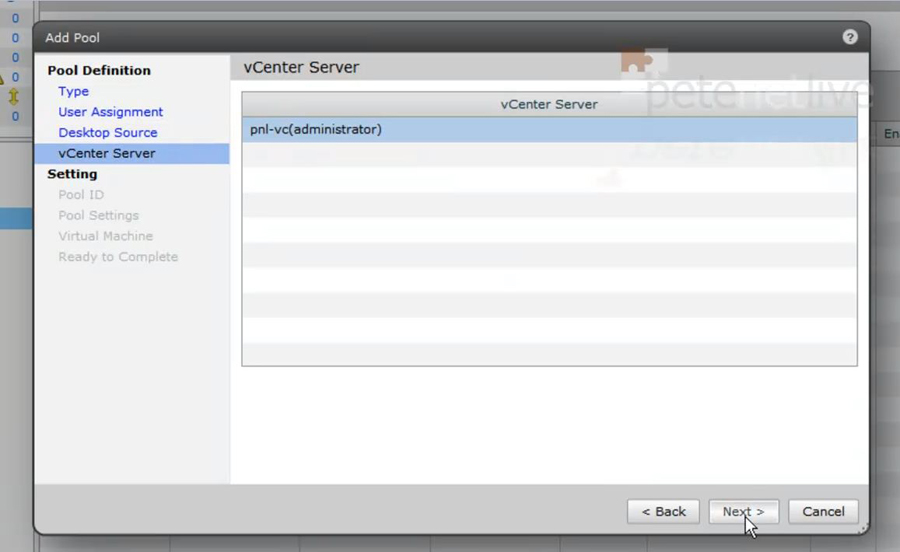
9. vCenter virtual Machines > Next.

10. Next.
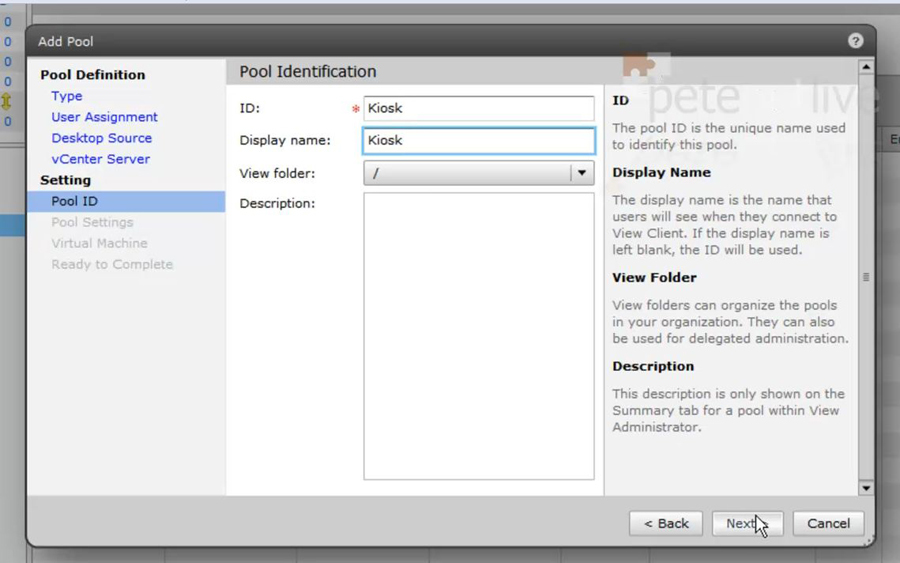
11. Give the pool an ID and Display name > Next.
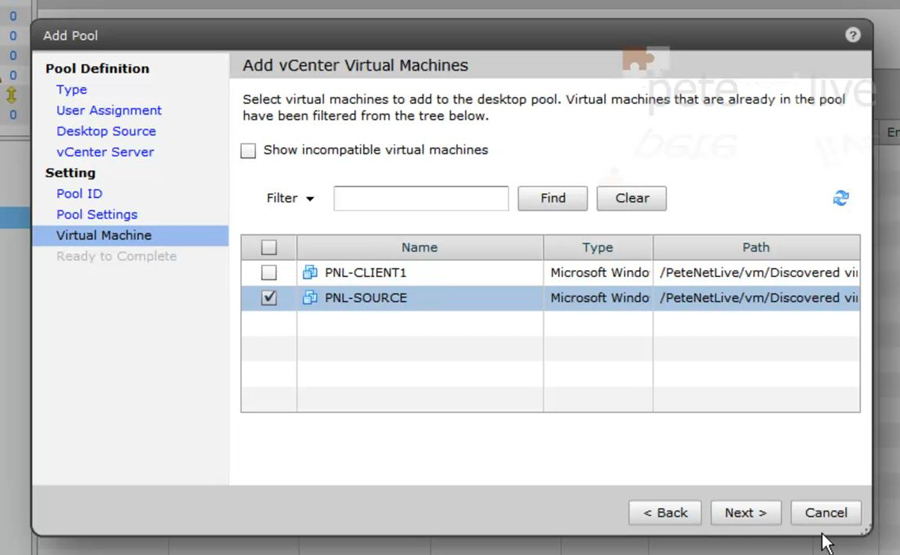
12. Select the machine you are using as the source for the Kiosk machine > Next.
13. When the pool is created > Entitlements.

14. Add in the group that you created in step 1 > OK.

15. Just check on the ‘desktops’ tab and make sure the machine is listed as ‘available’.

Step 3: Connect to the Kiosk Machine
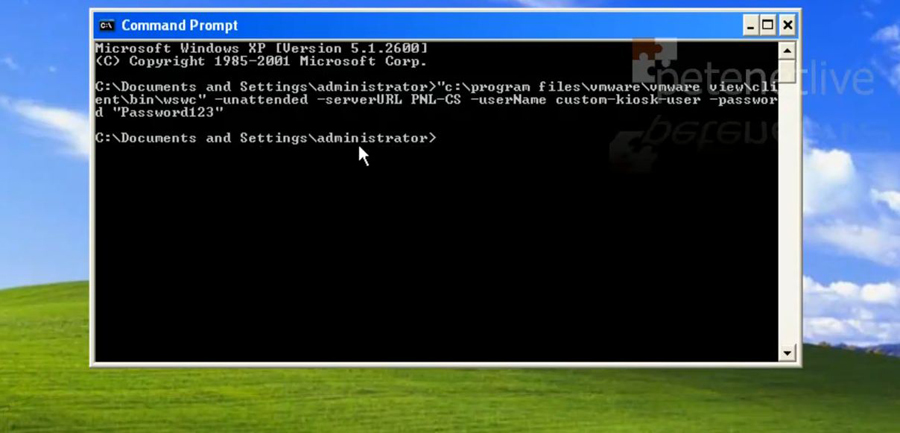
16. Now from your client machine or thin client, you can execute the following command to open the kiosk session.
Note: In a live environment you may want to make the host machine or thin client automatically log on and put this command in the ‘startup’ folder, or call it from a startup/logon script so the machine will boot straight into the kiosk virtual machine.
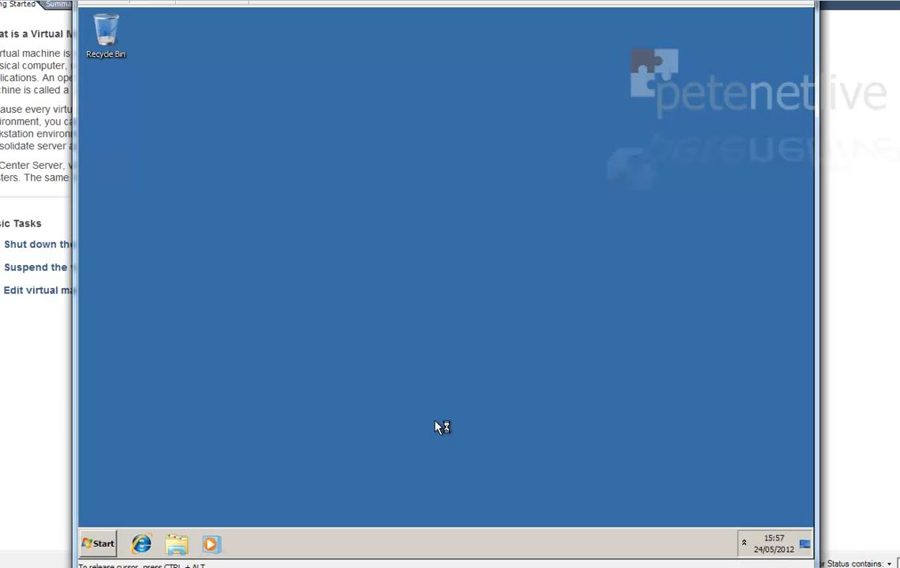
17. All being well you should be presented with the kiosk VM machine, note you no longer get the normal VMware View tool bar etc, it will behave as if the machine is in front of you.