
Windows SBS – Moving the Windows Software Update Services Database (SUSDB.mdf)
KB ID 0000609
Problem
Last week a client rang in to say their servers system drive was running out of room. A quick scan showed me the biggest thing on there was a 12 GB database called SUSDB.mdf.
A few searches told me what I’d already guessed from the name, WSUS was the offender, so I set about moving it to their data drive that had lots of free space.
Solution
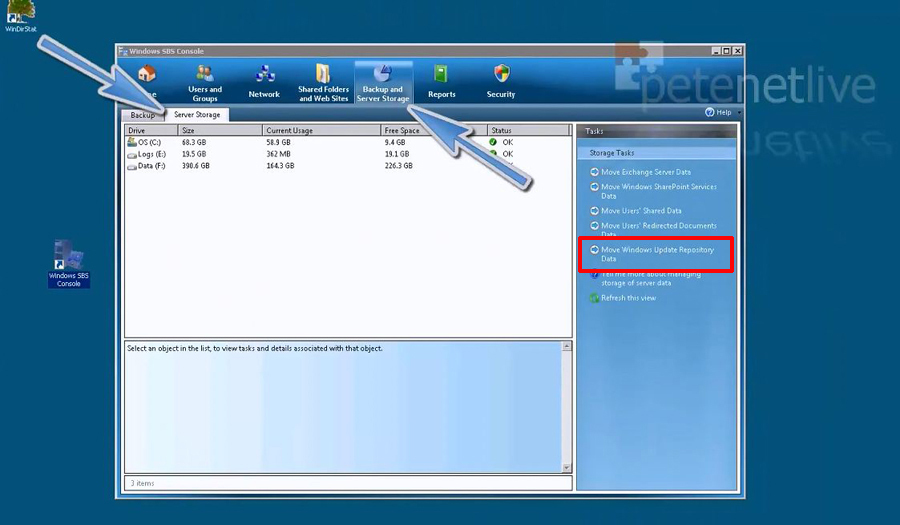
1. Launch the Windows SBS Console > Backup and Server Storage > Server Storage > Move Windows Update Repository Data.
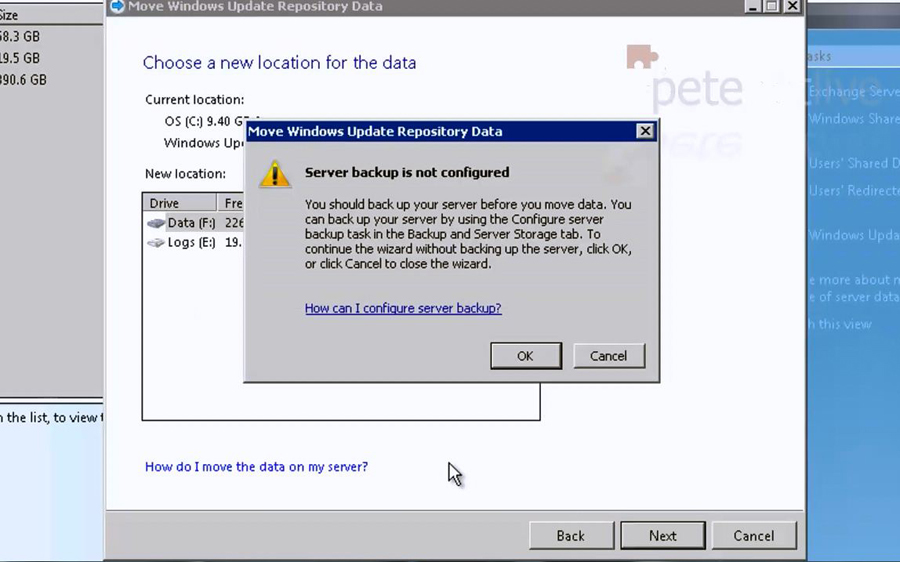
2. If you are using third party backup software you may see this warning > OK.
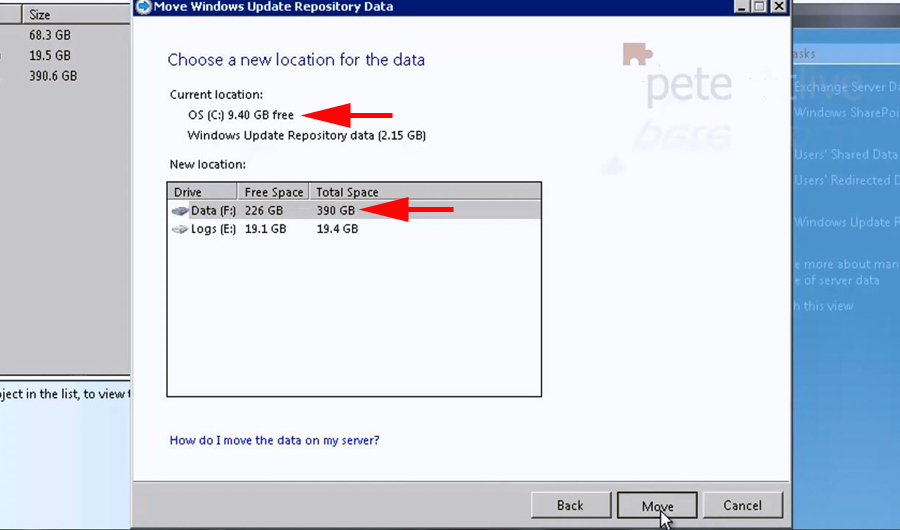
3. Locate the Drive you want to Migrate TO and select it > Next.
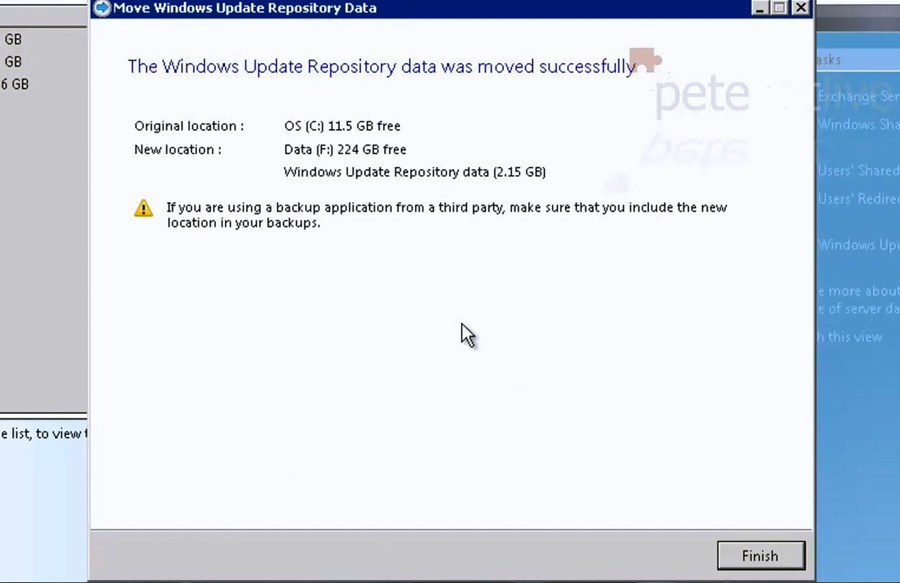
4. This will move a few GB of data across to the new location. However it does NOT move the database itself.
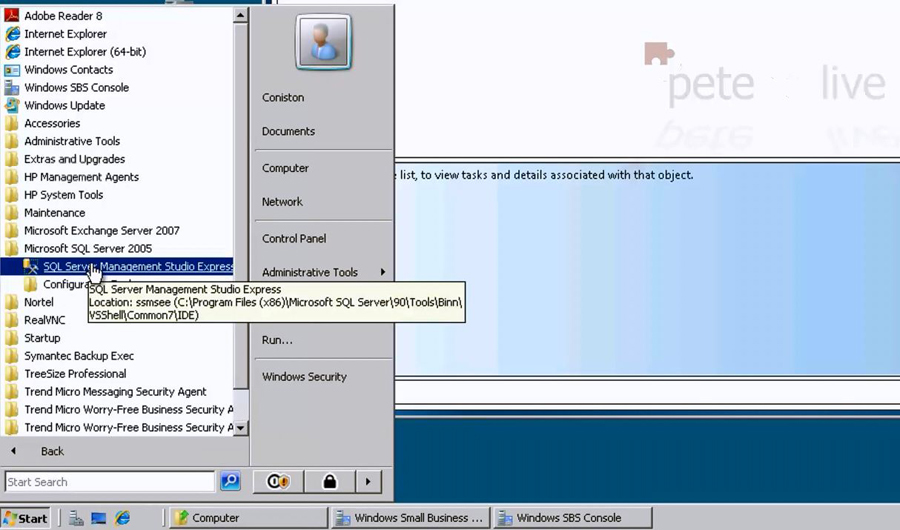
5. To actually move the Database > Start > All Programs > Microsoft SQL Server 2005 > SQL server Management Studio Express, (Note: You may need to run as administrator).
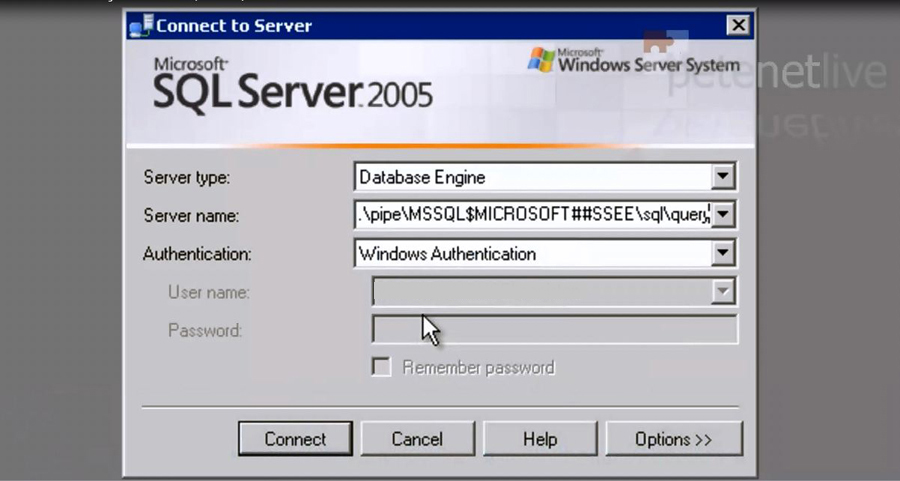
6. Change the server name to the following and log in.
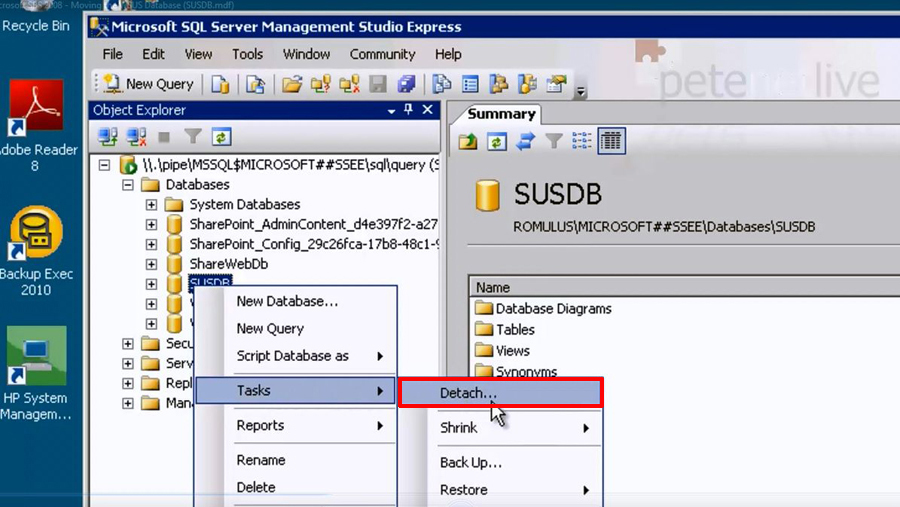
7. Expand Databases > Locate the SUSDB Database > Right Click > Detach.
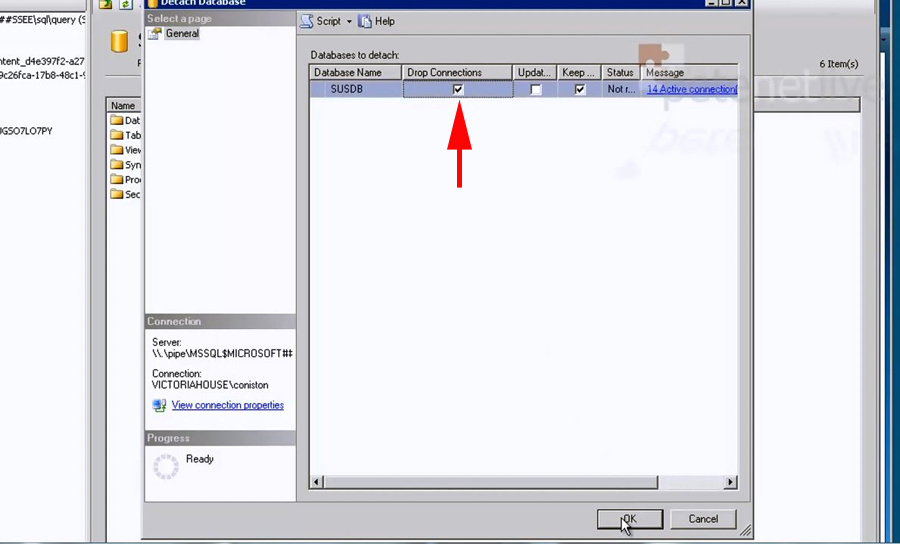
8. Tick the “Drop Connections” box > OK.
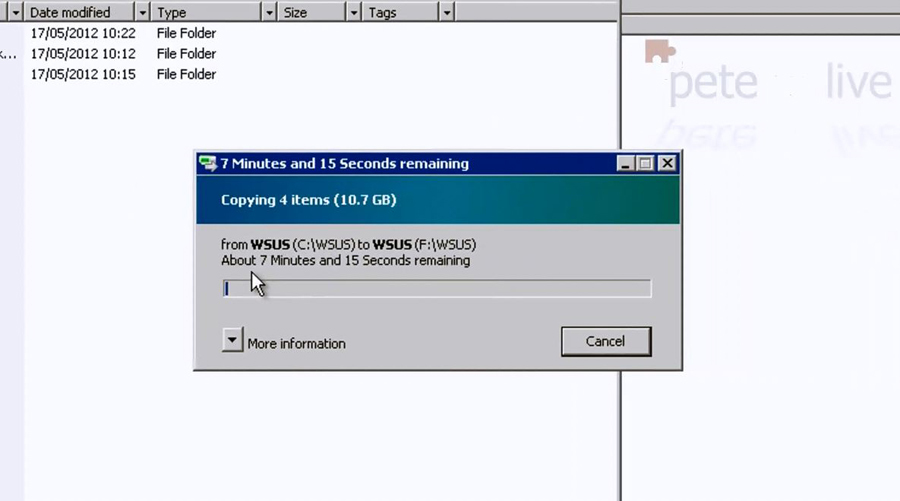
9. I suggest you COPY the database from the system drive to the new drive.
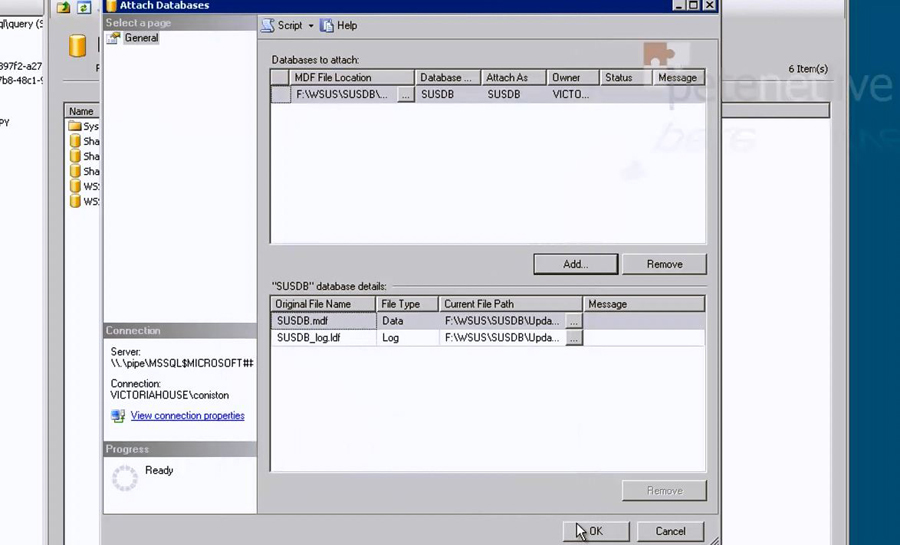
10. Once its moved across, back in the SQL management studio > Right click Databases > attach.
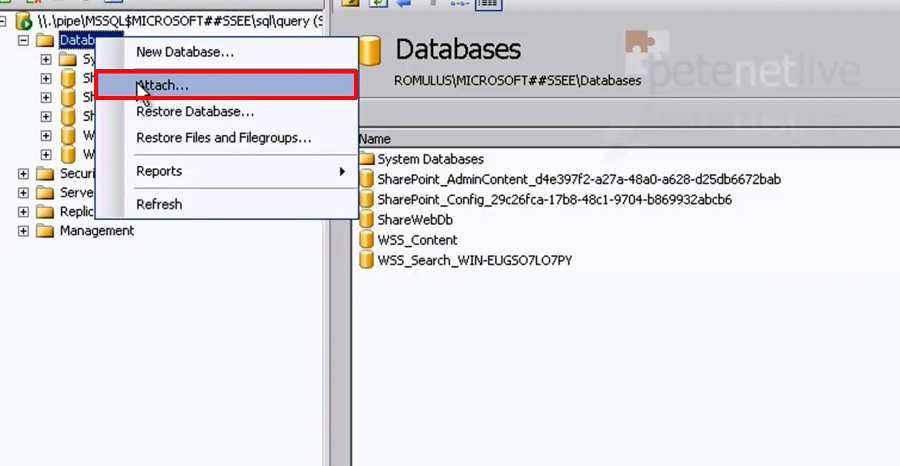
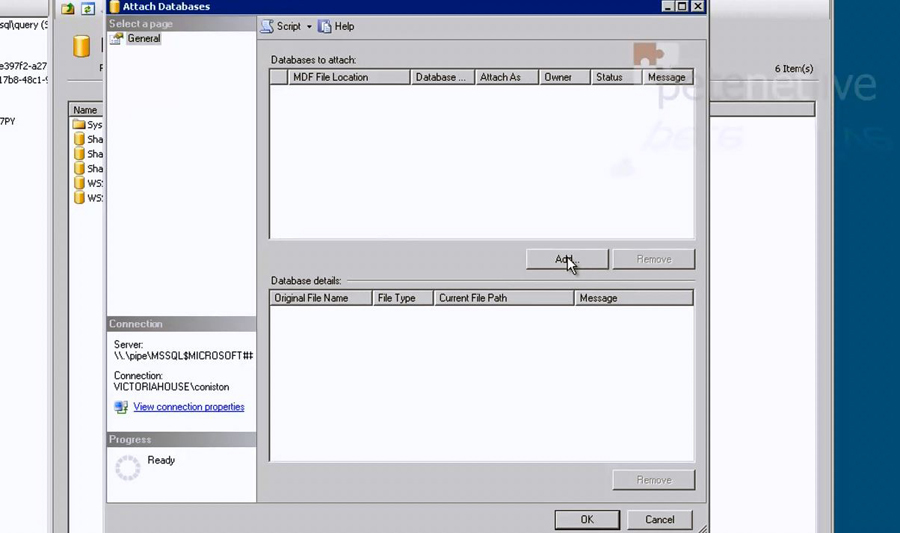
11. Add.
12. Browse to the NEW location of the SUSDB.mdf file > OK.
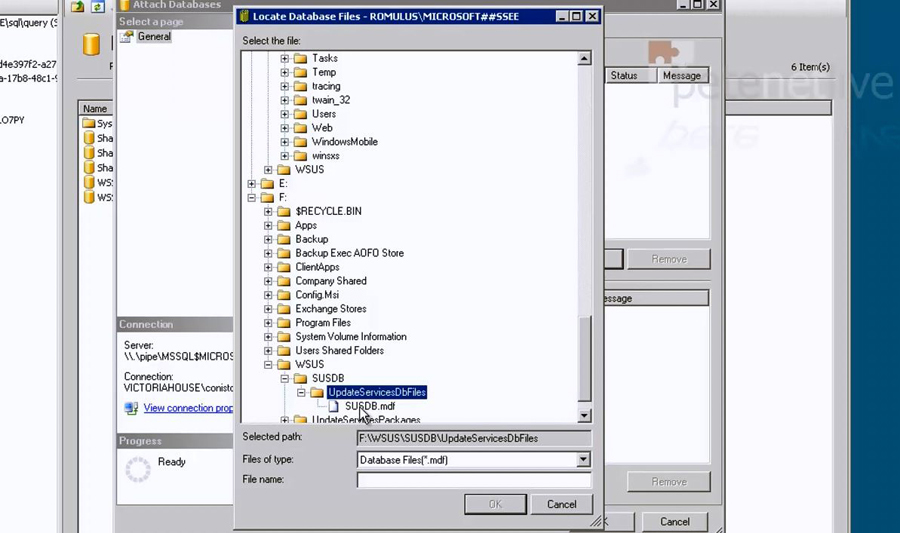
13. OK.
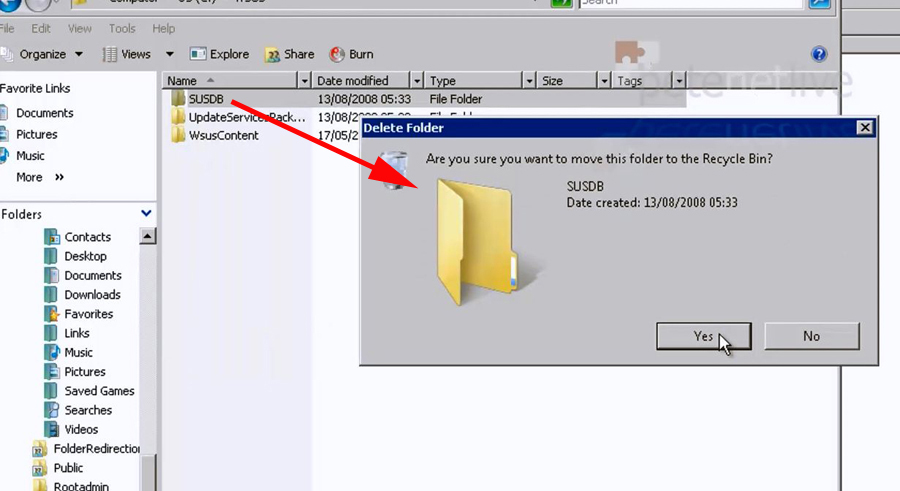
14. Once the database is successfully added back in you can go back to the system drive and delete the original WSUS database.
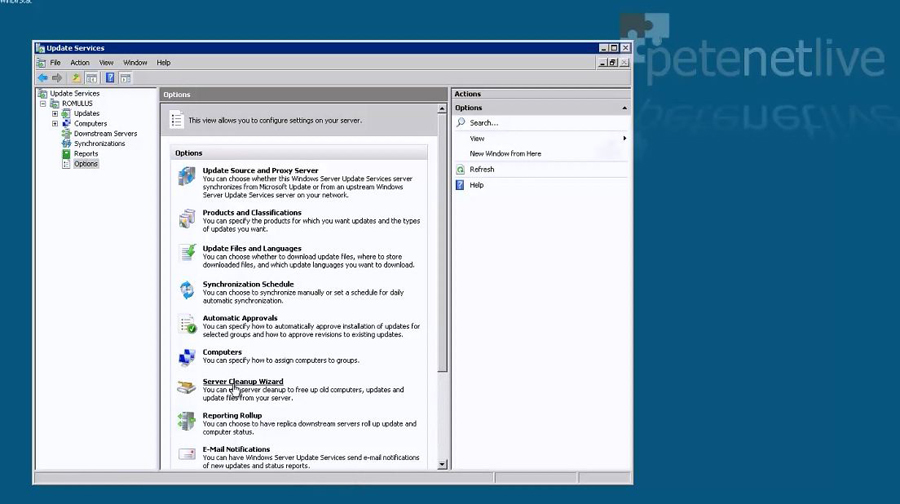
15. When finished, it’s good practice to tidy up the database > From within the Window Server Update Services Console > Options > Server Cleanup Wizard.
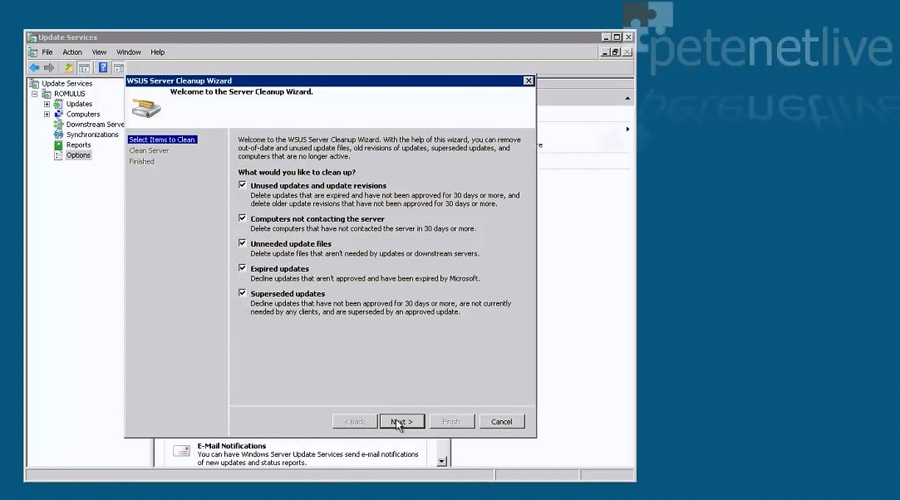
16. Select All > Next > Prepare to wait A LONG TIME (this will probably take a few hours!)
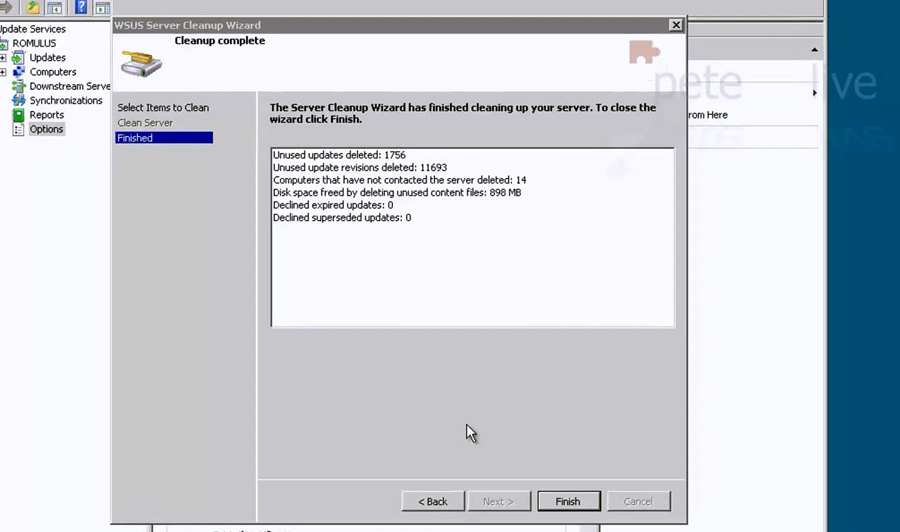
17. When its finished you should see something like this.
Related Articles, References, Credits, or External Links
NA