
KB ID 0000291
Problem
Reinstalling Windows XP from scratch can cure a multitude of slowness problems, I rebuild all my machines at least once a year. Wiping and reinstalling XP might seem like a scary task, but as long as you backup your data first, and are methodical you will find its not hard at all. And a fresh XP install will run as good as the day you got it out of the box.
In fact if I know it’s going to take me more than a few hours to fix a problem on an XP box, I will head towards wiping it straight away. You’re looking at about four hours work (unless your machine is very underpowered).
Solution
Here’s my XP Box – Slow and in need of rebuilding.
Before you start
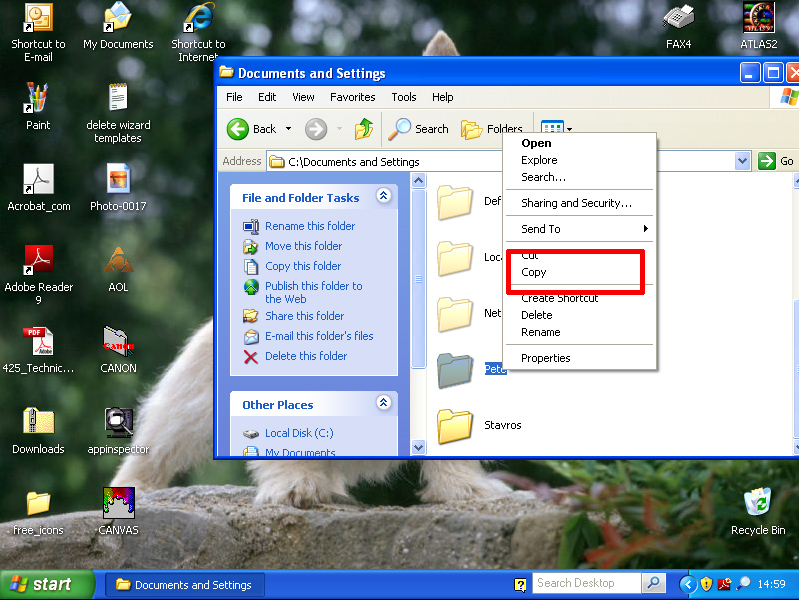
1. Make sure your data is backed up. Take a copy of your entire user profile, it’s at C: Documents and Settings{your username} note you may need to log on as the administrator if it will not copy your folder while you are still logged in. You can either burn this data to CD/DVD or copy onto an external drive.
2. Make sure you have the unlock code for Windows XP and Microsoft Office and any other software applications you use. Recover them (XP and MS Office) with Magic Jellybean. Then write them down.

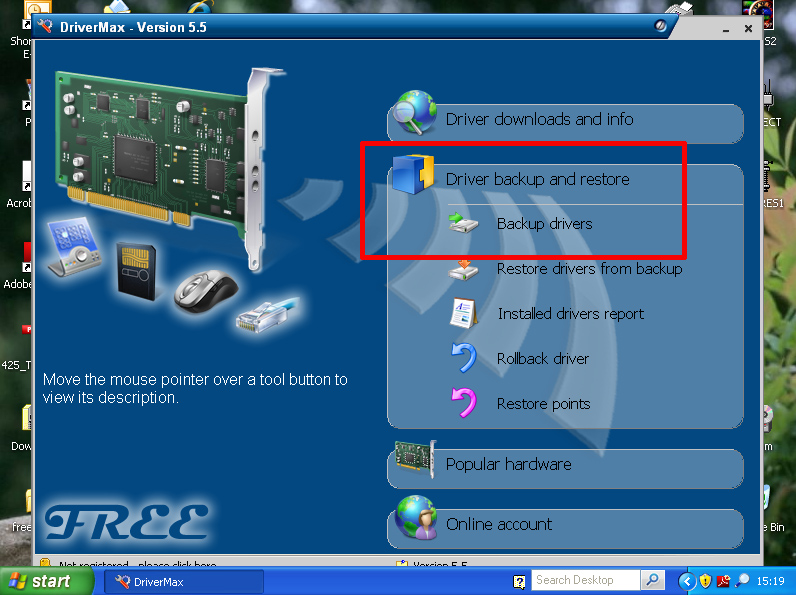
3. Make sure you have the relevant drivers for you hardware > Download and install DriverMax > Driver Backup and Restore > Backup Drivers.
4. Next > Select all > Next > Save the Drivers > Next > Close > Exit DriverMax.
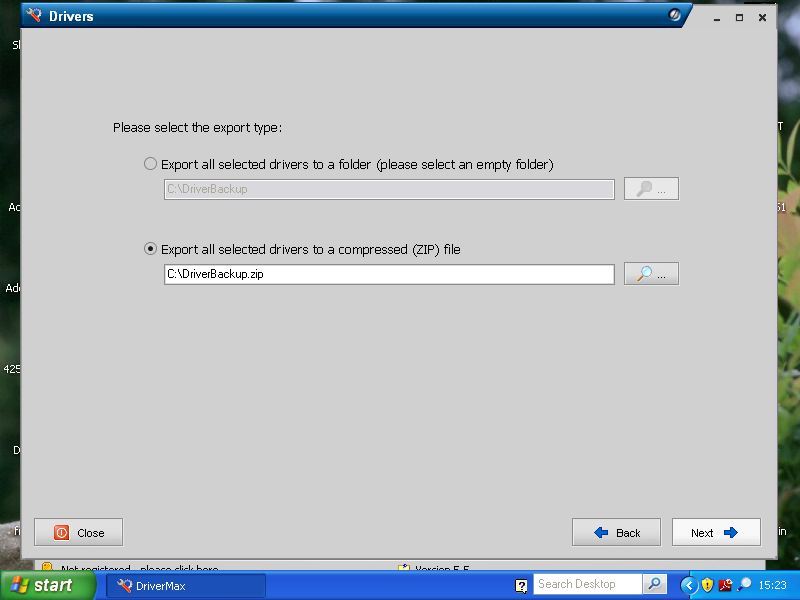
5. Copy the folder you have just backed up elsewhere, again either burn to CD/DVD or put on some removable storage. (Note: Also put a copy of DriverMax on there in case you can’t download it, post rebuild without the network drivers).
Note: At the very minimum have your modem or network card drivers then you can download any drivers you “thought you had”.
6. Make sure you have the Windows XP install disk – it should have come with the PC. If you do not have one, speak to the vendor who sold you the PC, or you can buy a Windows XP CD from ebay (Note: this is NOT illegal, providing you are just buying the media and not an unlock code or COA (Certificate of Authenticity)). Look on your computer’s chassis, if you see a 25 character Windows XP unlock code then you need to buy the OEM Version of the Windows XP disk. If you need an OEM CD then I’d recommend buying a Dell recovery XP CD (Don’t worry if your PC is not a Dell machine).
7. Make sure you have the account details for your email accounts (including the password). If you use Outlook Express, here are some additional steps you might want to take.
8. Last minute common sense check – All your data is backed up? You have all the install CD/DVD’s for your programs? Scour your PC’s drives for any other data you might have squirreled away in an odd location.
Flatten and reinstall Windows XP (Erase Everything)
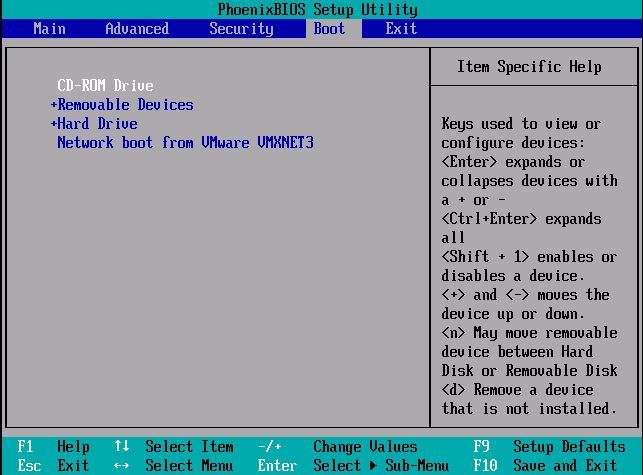
1. Set your PC’s boot order to boot from CD BEFORE your hard drive. This can either be done in the systems BIOS look for “Press {a Key} to enter setup” when your PC first boots up, Usually F1, F2, F10, Esc, or Delete. Note: Some Newer PC’s have the option to launch a “Boot Menu” by pressing a different key, you can use this method also. Either way if you boot you PC with the CD in it and you don’t see “Press any key to boot from CD” you’ve done something wrong!
2. Place the CD in the drive and reboot.
3. At the ‘Press any key to boot from CD…’ press a key.
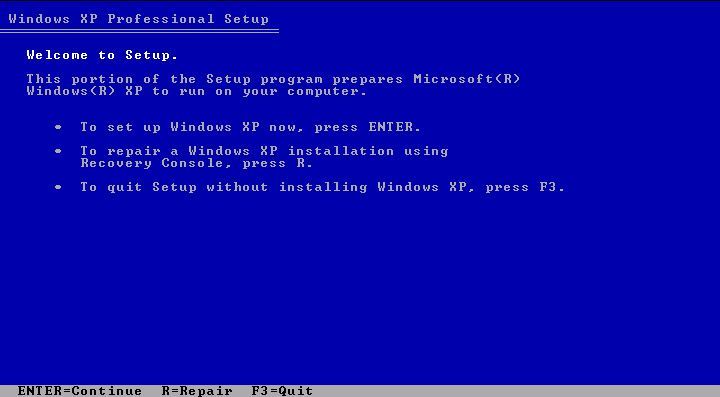
4. At the welcome screen press enter, (you can press R here to repair an existing installation).
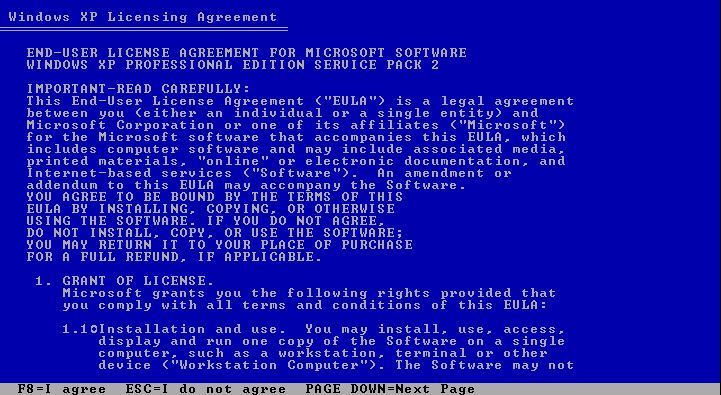
6. At the license agreement press F8 to accept the EULA.
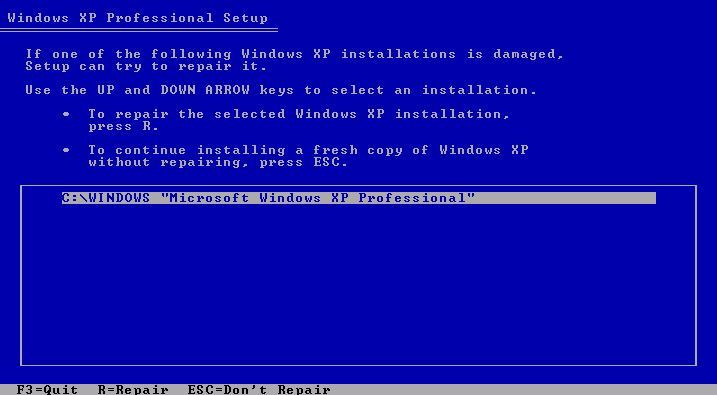
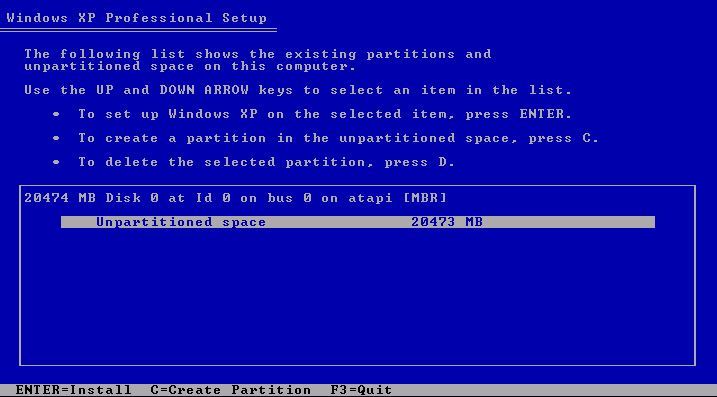
7. Hard Drive partitioning: It will find the old partition, press escape to continue, you can delete by pressing D then you get a warning, press ENTER, press L to confirm.
8. To just create one big partition press Enter and skip to step 9, or if you want to create more than one partition (i.e. have hard Drive C: and D: etc), ensure the ‘un-partitioned space is highlighted and press C. Type in the amount of space you want to use (in Megabytes) for the Partition – there will always be a small amount you cant partition don’t worry! Then press Enter to continue, you can keep doing this until all the space is used up. When finished select the partition you want to put XP on and press Enter.
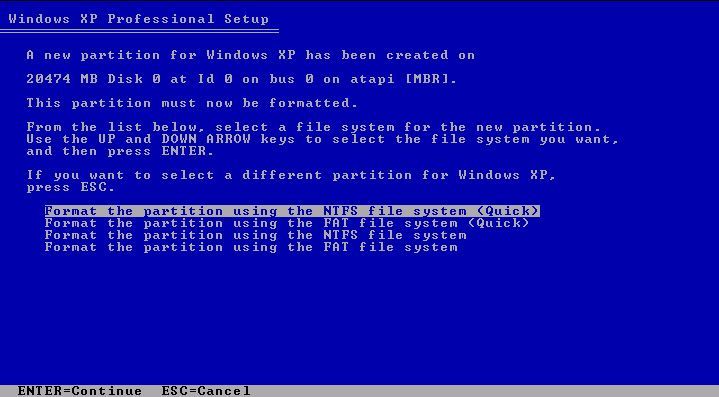
8. You will now be asked to format the partition. Select the top option “Format the partition using the NTFS file system (quick) > Enter.
9. Go and put the kettle on, this will take a while!
10. When it’s done it will copy a lot of files over to the hard drive, time to fit in more coffee!
11. The system will then reboot (after a 15 second countdown – to force it to do it now press enter).
12. You’re now in the nice looking graphical stage of the setup.
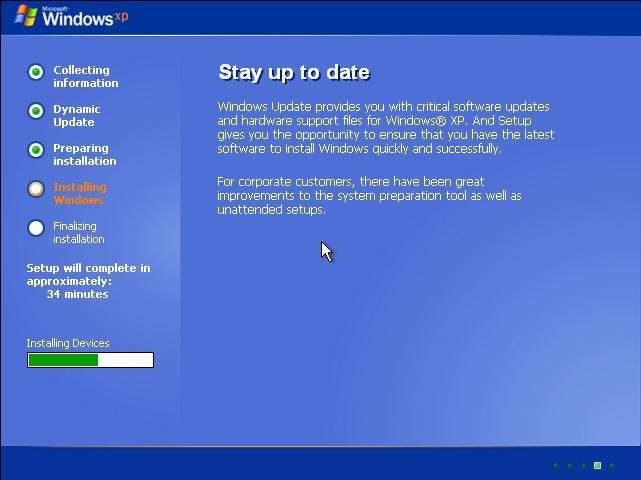
13. For a long time the install will do its own thing, you can check its progress on the left hand side.
14. You will be asked to enter your language and input locales, do so, if your American then you’re laughing just click Next.
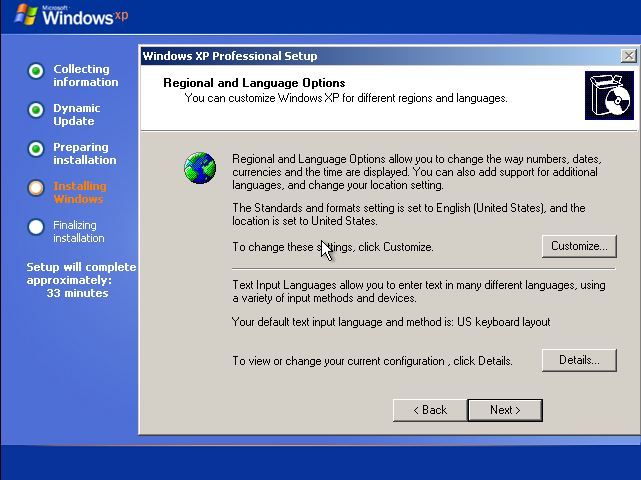
15. If like me you are in the UK > Customize > Languages > Details > Add.

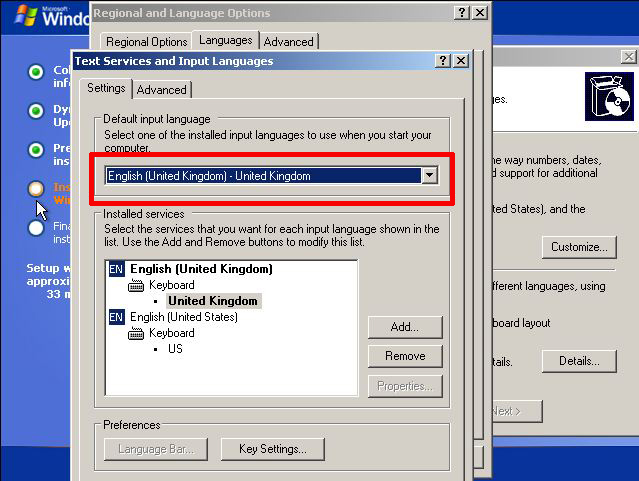
16. Select your input language (in my case English (United Kingdom) > OK.
17. Then change the default input language to the new one > Apply.
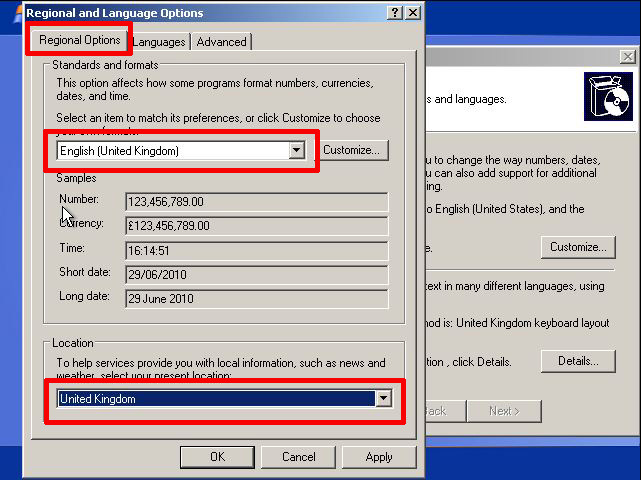
18. Select the Regional Option tab and change BOTH options on there as appropriate > Apply.
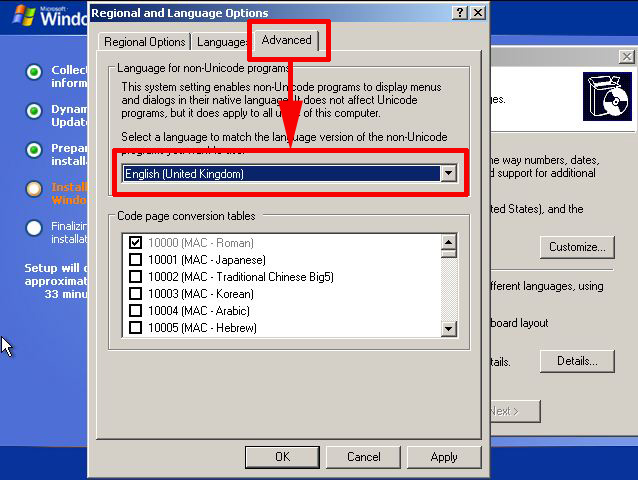
19. Select the Advanced Tab and change as well > Apply > OK.
20. Now if you are not American you can click Details > Select United States > Remove > Apply > OK > Next.

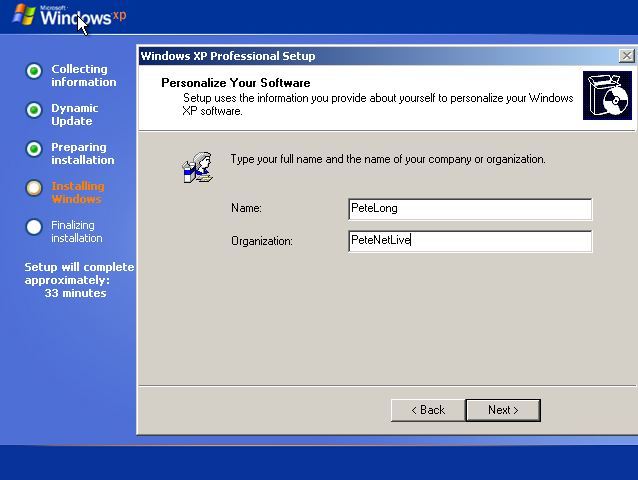
21. You will need to enter your name and organisation info > Next.
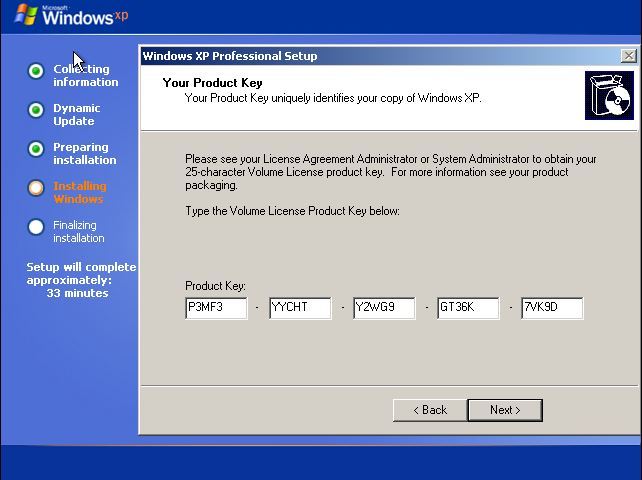
22. Aha! Pirates beware, time to enter the unlock code, if you have a typo you can go back and correct it (don’t panic) Press Next.
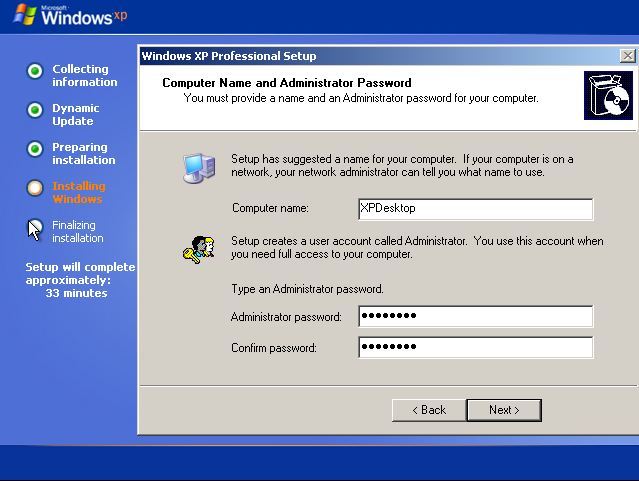
23. Pick a sensible name for the PC (the default one is not usually intuitive) and enter an administrator’s password (twice), DO NOT EVER FORGET THIS PASSWORD.
24. Time to tell the PC where you are, check the time zone, which annoyingly are always set to Tijuana (unless you live in Tijuana of course!). If you’re in the UK don’t forget to tick the daylight saving time box, click Next.

25. The next input will be Network settings, you can always configure these later at your leisure so I usually click Next here. If you want to configure your IP address etc, select custom settings before clicking next and follow the onscreen prompts.
26. After it’s finished it will reboot and USUALLY tell you it’s going to resize you monitor resolution, just click OK and let it go. If it all goes to pot here DO NOTHING it will revert back!
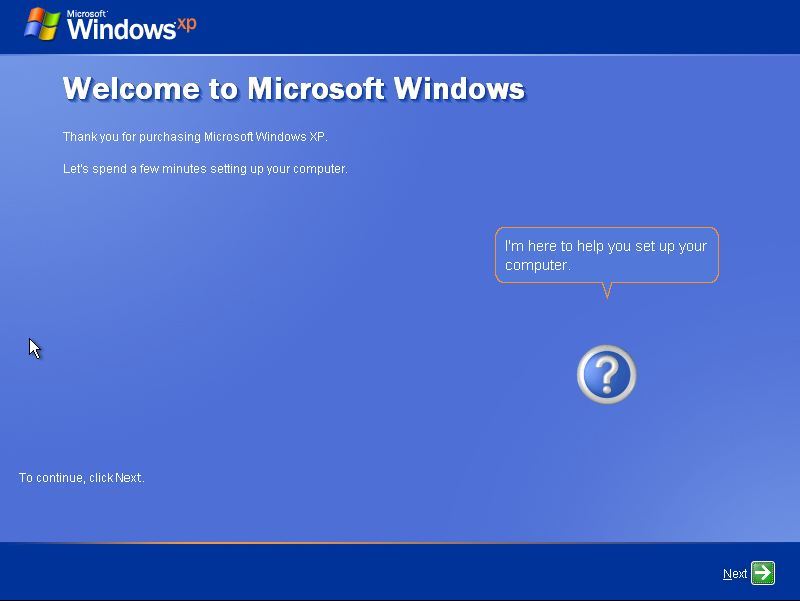
27. Depending on your version it will now either:
a. Log into Windows fine. b. Present you with the administrator’s logon prompt. c. Launch a welcome to Windows session to configure, Automatic updates (TURN THEM ON), create more users and connect to Microsoft to register (you can skip the registration bit if you like).
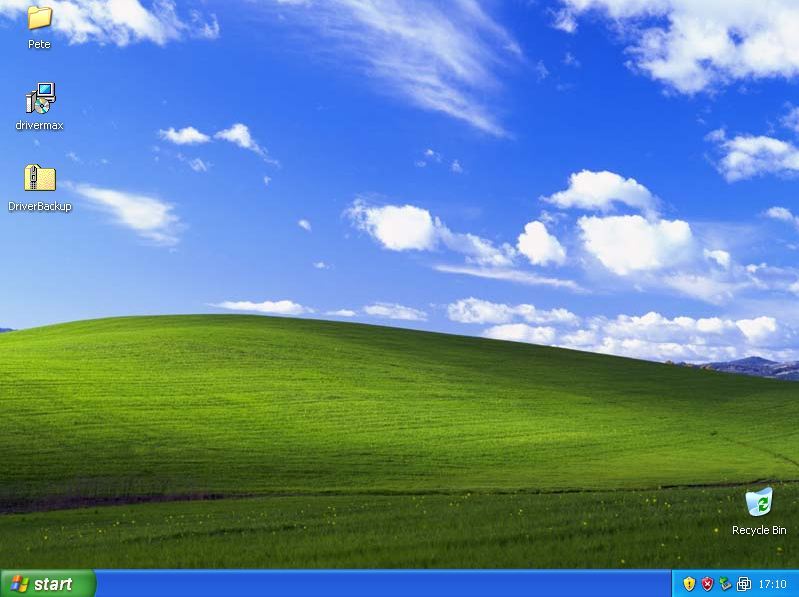
28. After all that you will be looking at a fresh install of Windows, now it’s time to put all the latest drivers back in and restore your data. Copy back your old profile folder, your driver backup file and your copy of Drivermax.
29. To restore your my documents COPY them from OLDFOLDERMy Documents to C:Documents and settings{your username}My Documents.
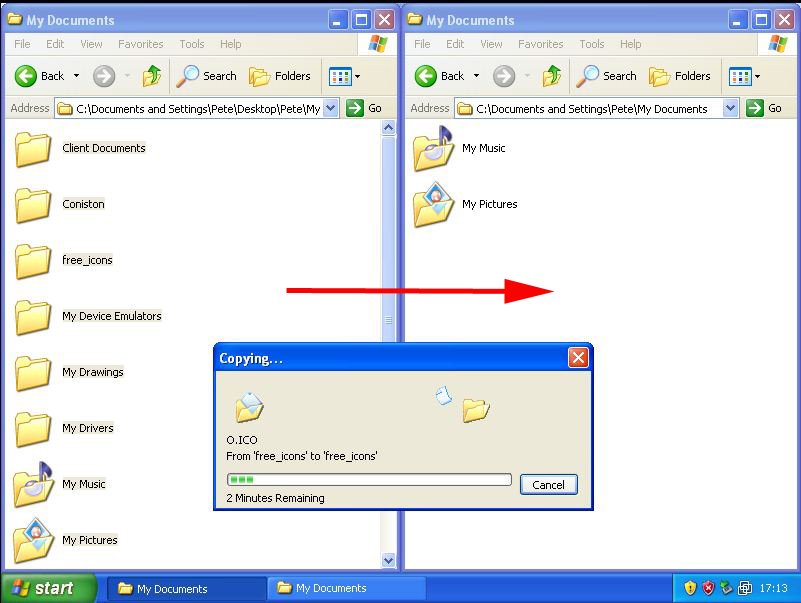
30. To restore your favorites COPY them from OLDFOLDERFavourites to C:Documents and settingsyour usernameFavourites.

31. To restore your desktop ICONS, COPY them from OLDFOLDERDesktop to C:Documents and settings{your username}Desktop.

32. You will notice that DOES NOT restore you old Windows wallpaper. If the wallpaper you used is in your “my pictures folder” then you can set it as the desktop again. If however, it was a picture you saw on the internet, and then set it as the desktop background. You will find it at OLDFOLDERApplication DataMicrosoftInternet ExplorerInternet Explorer Wallpaper, simply right click it and select “Set as Desktop Background”.
Note: You need to enable hidden files and folders before you can see the folder the wallpaper lives in.

Additional Steps that might be required.
Microsoft Outlook:
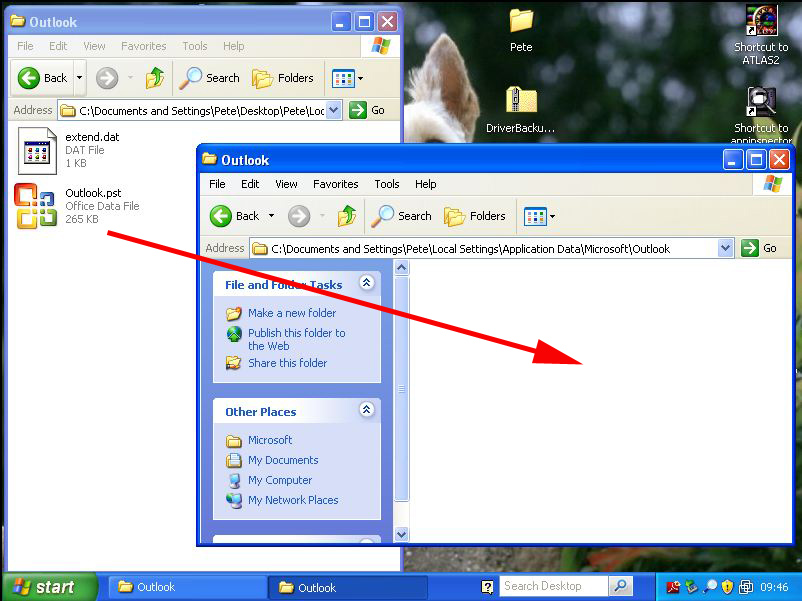
If you had your emails stored on your PC you will need to recover them from the .PST file in your old profile, .pst files live in,
C:Documents and Settings{your username}Local SettingsApplication DataMicrosoftOutlook
So you would copy them from OLDFOLDERLocal SettingsApplication DataMicrosoftOutlook to that location (remember to have hidden files enabled first).
Note: If your mail is on a Microsoft Exchange server them you will not need to do this, (Unless you ever said “Yes” when asked to archive your old mail). If you have archived your old mail then there should be a file called Archive.pst in your old profile folder in the location above.
Note: If you use the Outlook autofill/nickname system see here to migrate those settings.
Microsoft Word
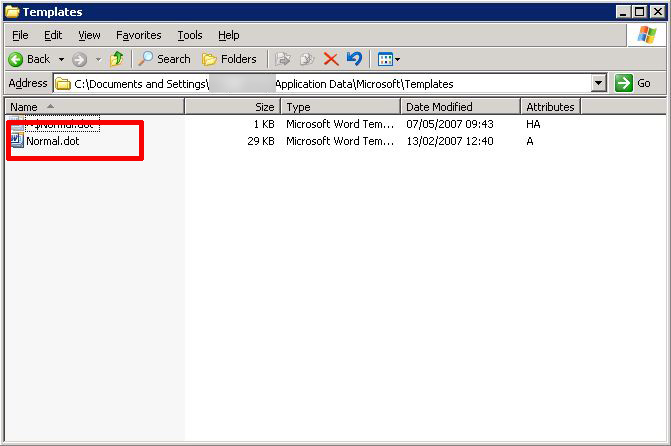
If you use Autotext, Macros, Autocorrect, or have some personal styles and settings that you want to keep, all these settings are found in the “normal.dot” file, the normal.dot file location is,
C:Documents and Settings{your username}Application DataMicrosoftTemplates
Note: As above you need hidden files enabled.
Note: If anyone has anything to add, or thinks I’ve made a glaring omission, click here.
Related Articles, References, Credits, or External Links
NA