
KB ID 0000073
Problem
Below is a walkthrough for upgrading the OS image and ASDM using the ASDM, this method does not require access to a TFTP server.
Warning:
Before upgrading/updating the ASA to version 8.3 (or Higher) Check to see if you have the correct amount of RAM in the firewall (“show version” command will tell you). This is VERY IMPORTANT if your ASA was shipped before February 2010. See the link below for more information.
ASA – Memory Error (Post upgrade to version 8.3)
Warning 2:
Be aware, if you are upgrading to an OS of 8.4(2) or newer you can no longer access the device via SSH when using the default username of “pix” you need to enable AAA authentication for SSH, do this before you reboot/reload the firewall or you may lock yourself out.
ASA Enable AAA LOCAL Authentication for SSH
Solution
1. Firstly make sure you have the latest system and ASDM images on your PC, you will need a valid service agreement and a CCO login with Cisco to download them.

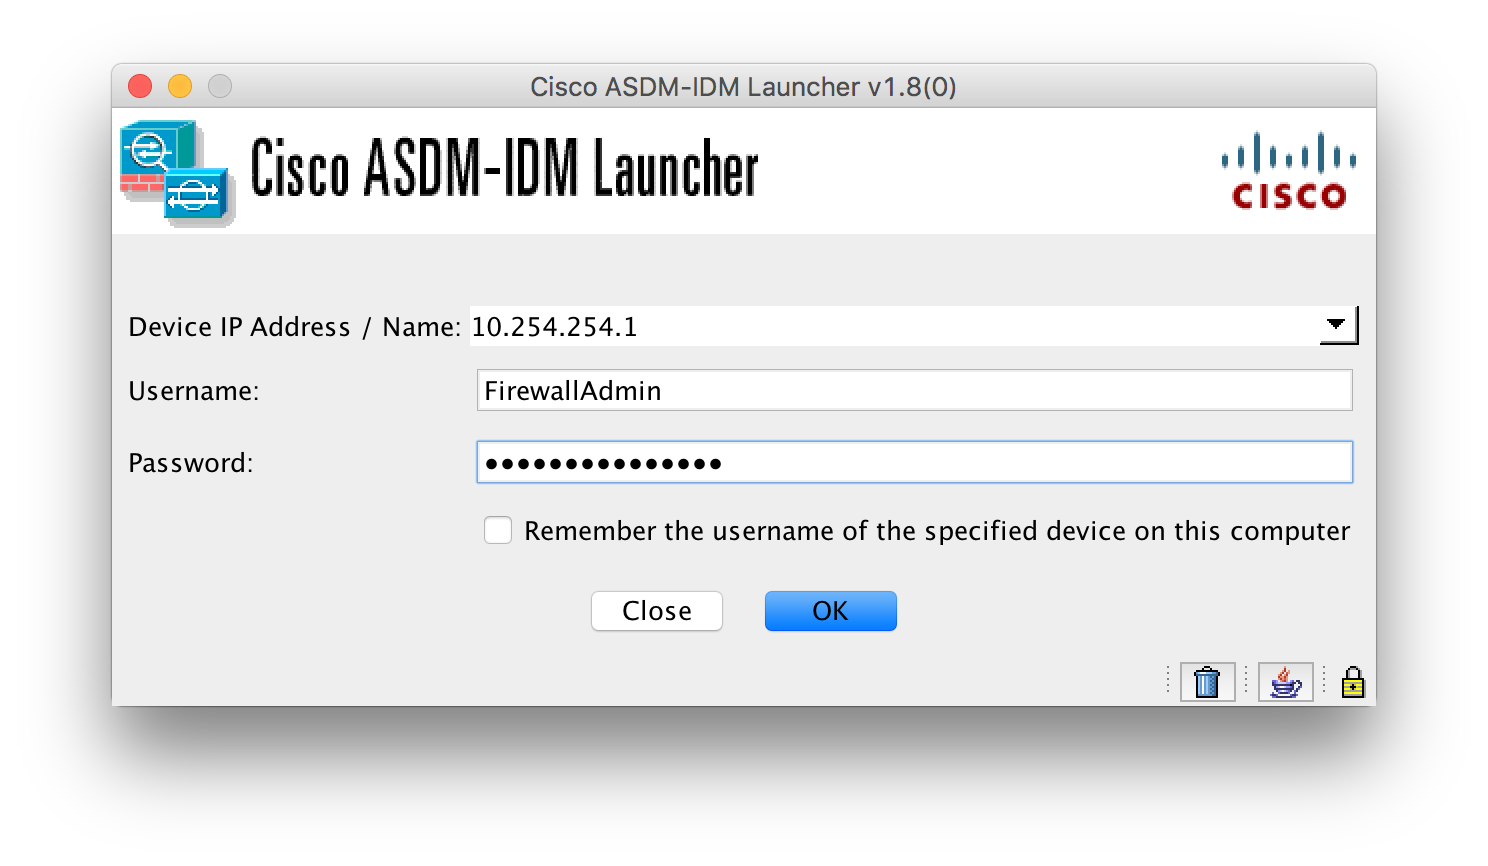
2. Connect to the ASDM either via the client software or a web page pointed to https://IP_OF_THE ASA (NOTE you need to be on an IP that’s allowed to connect to to the ASA.)
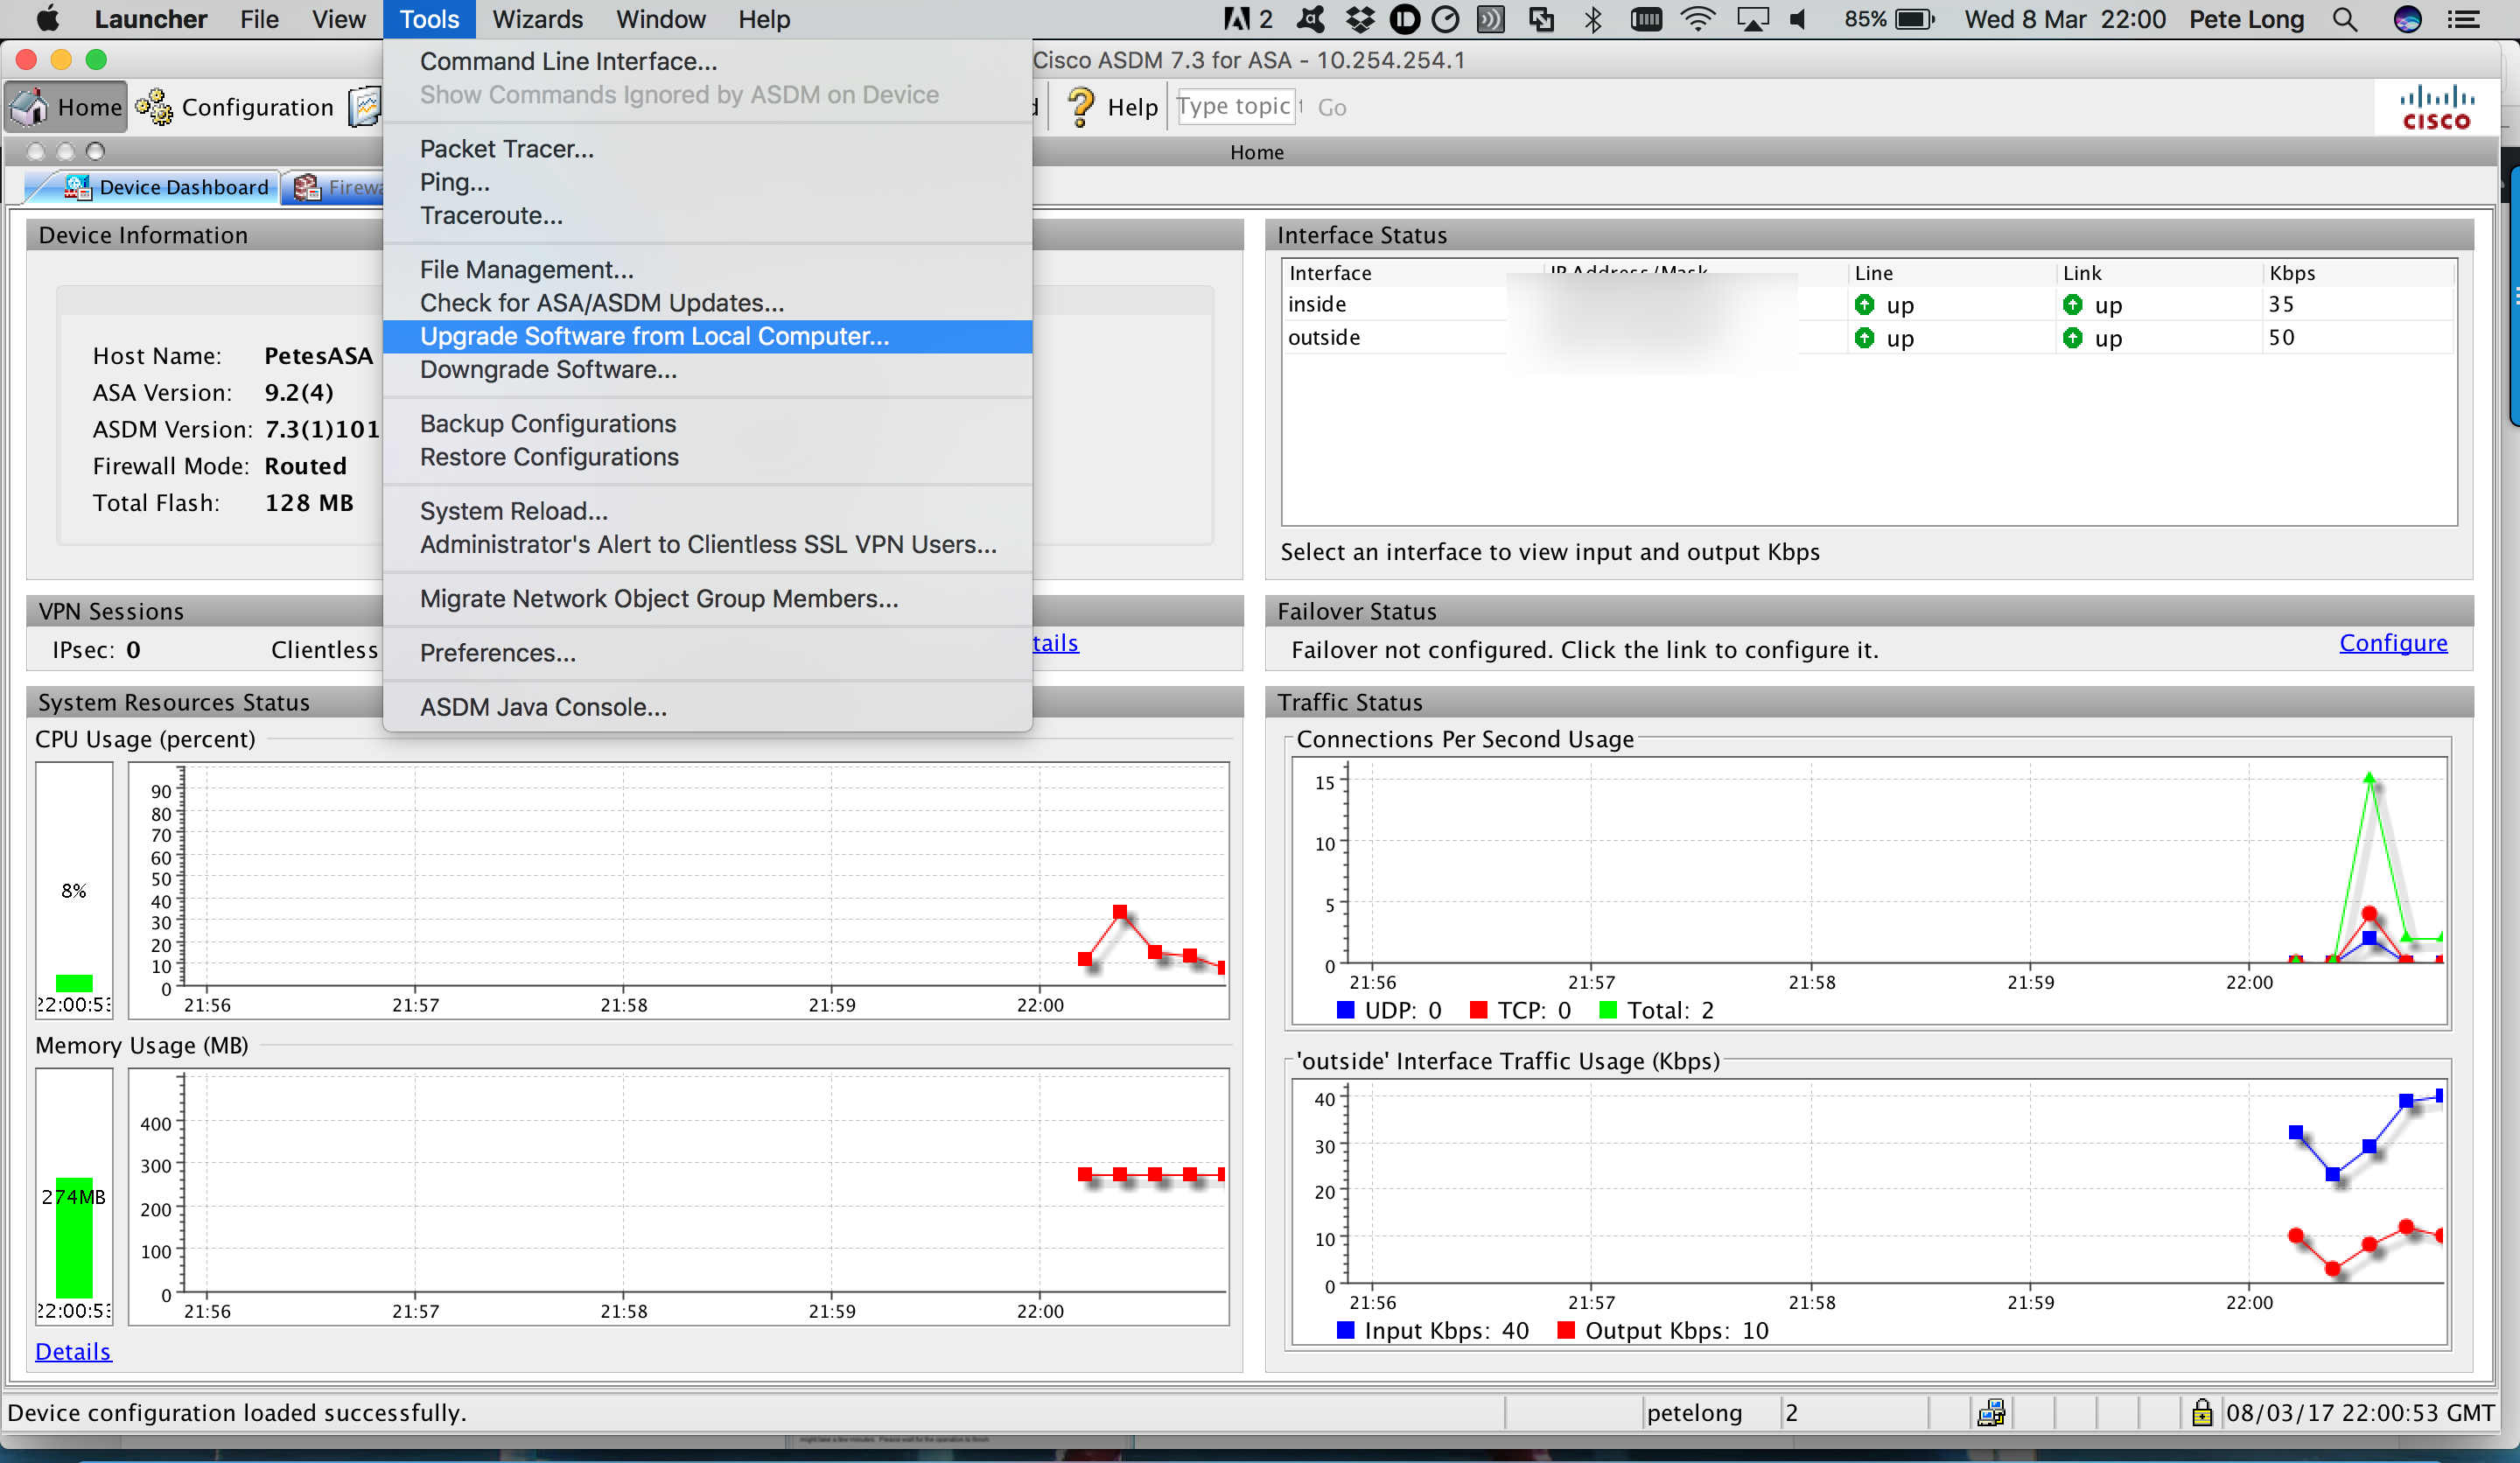
3. Tools > Upgrade software from Local Computer, or Upload Image on Local PC, on older versions.
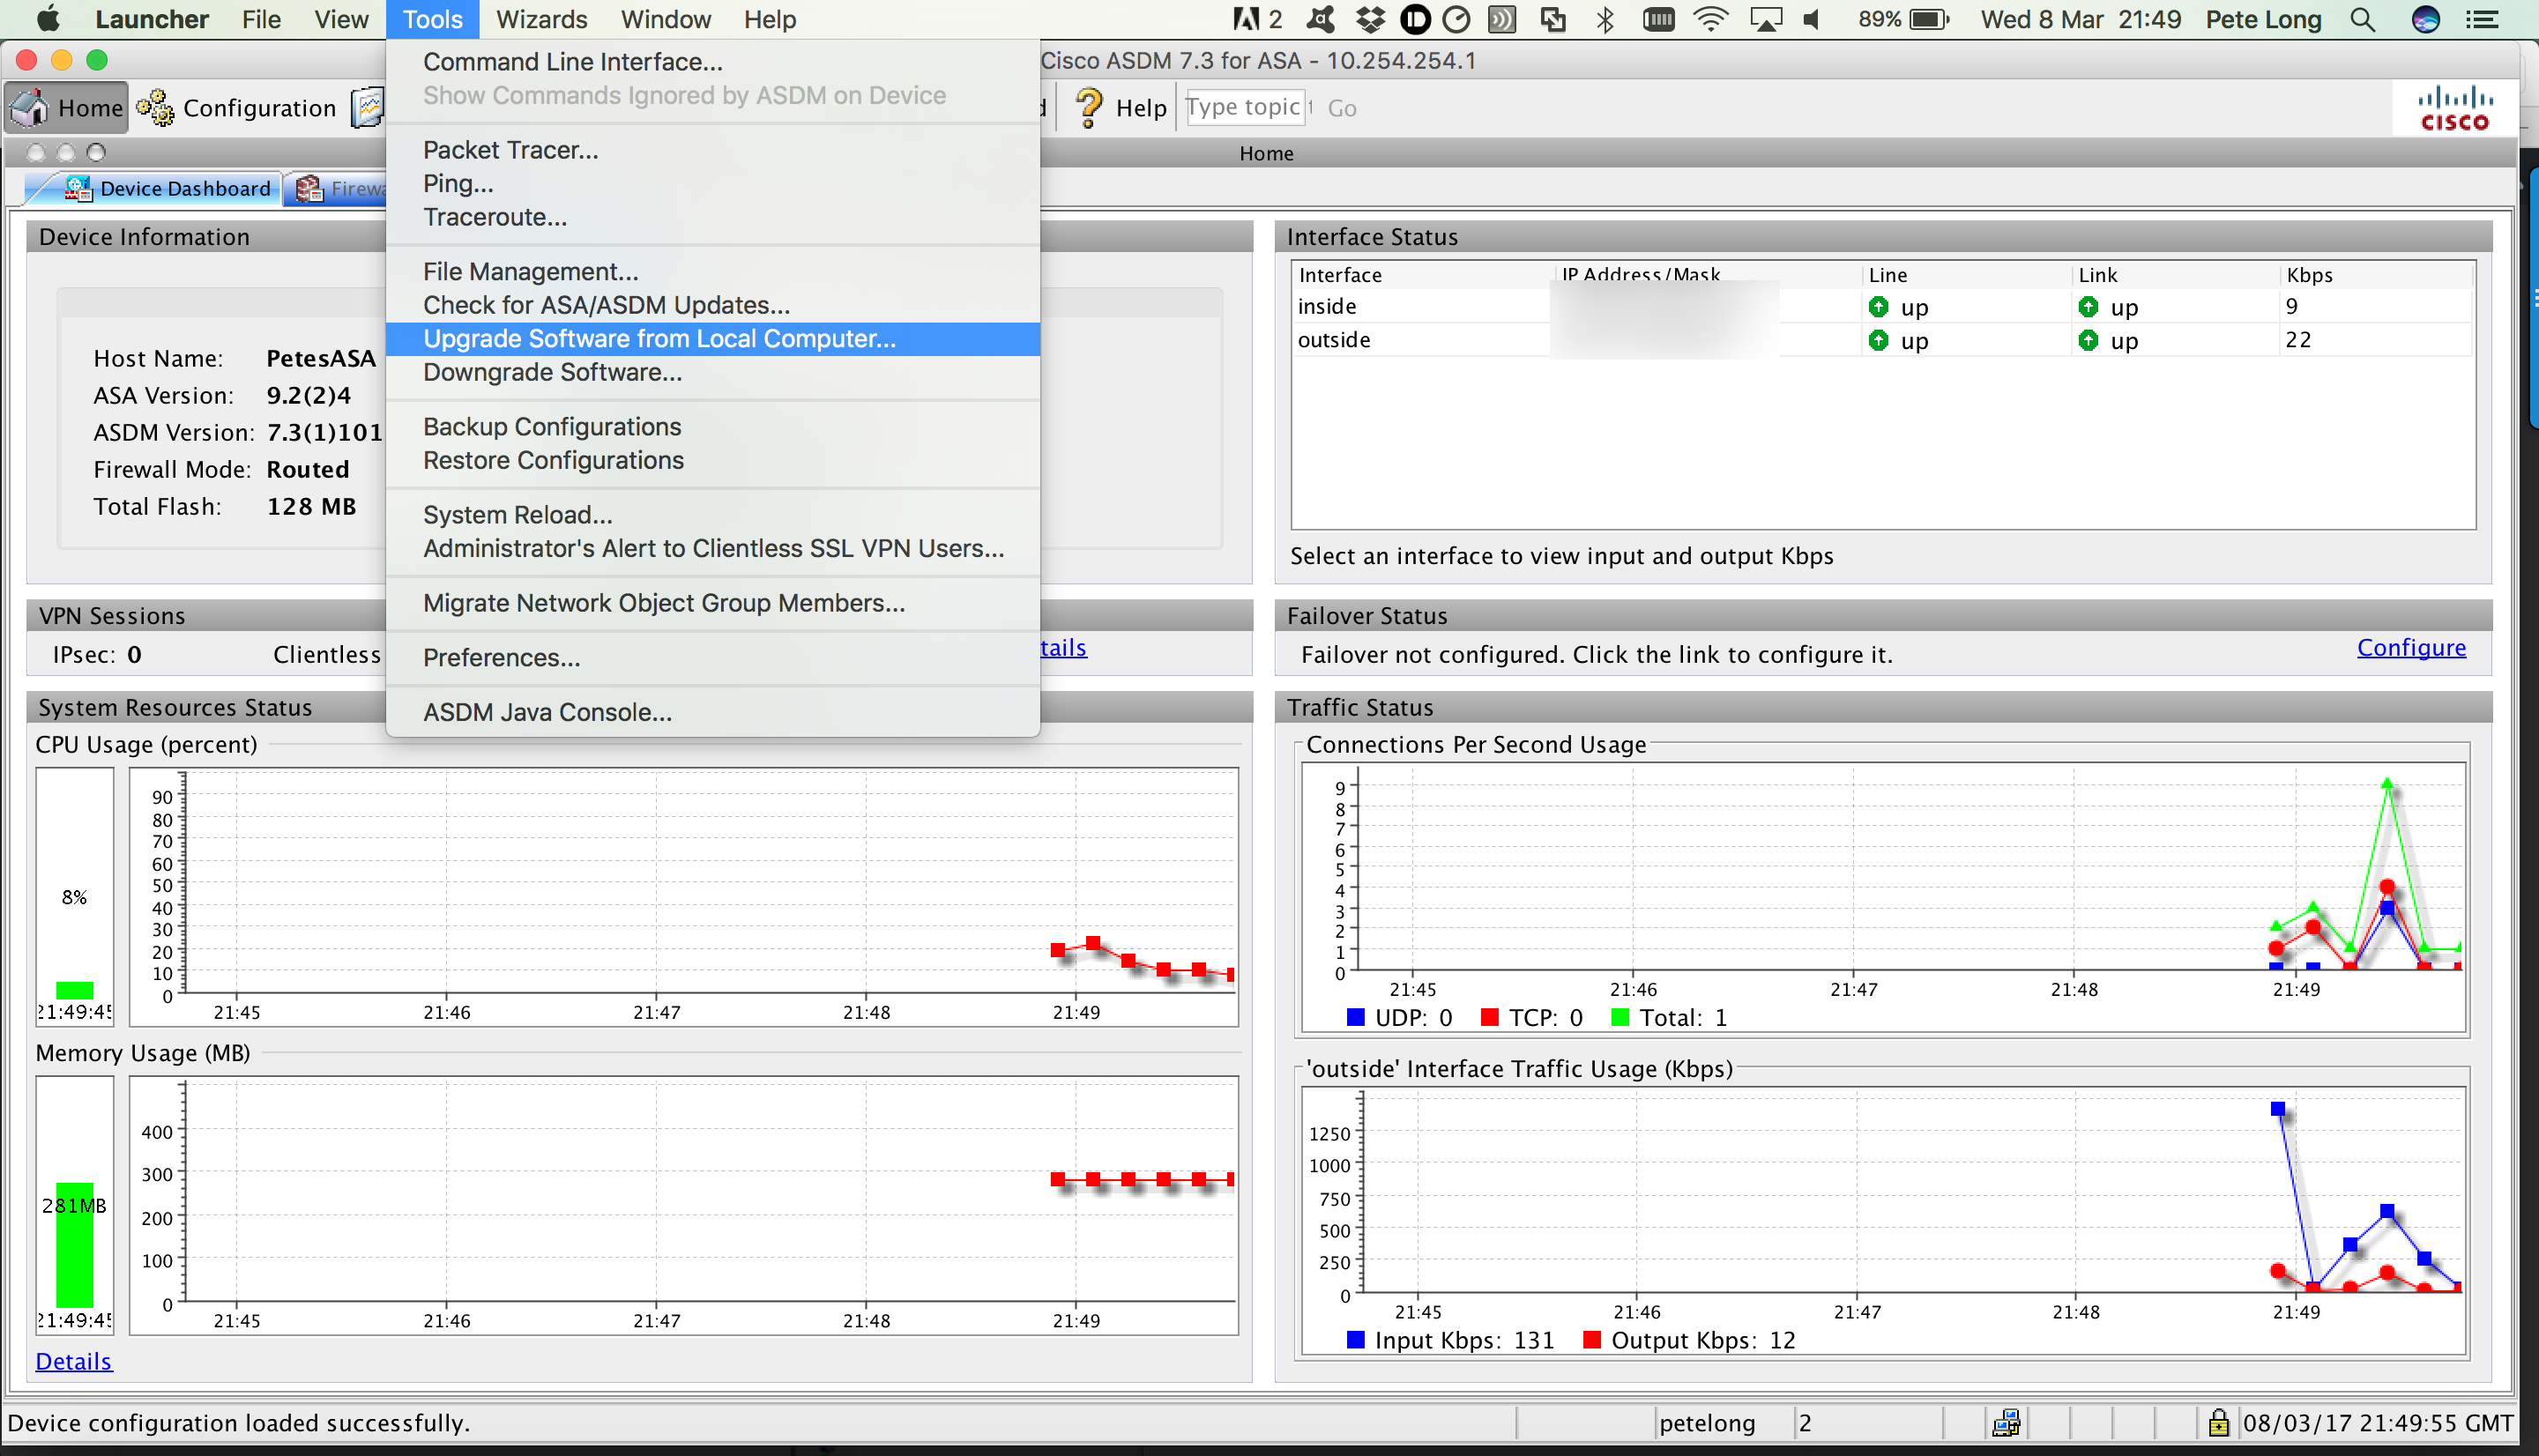
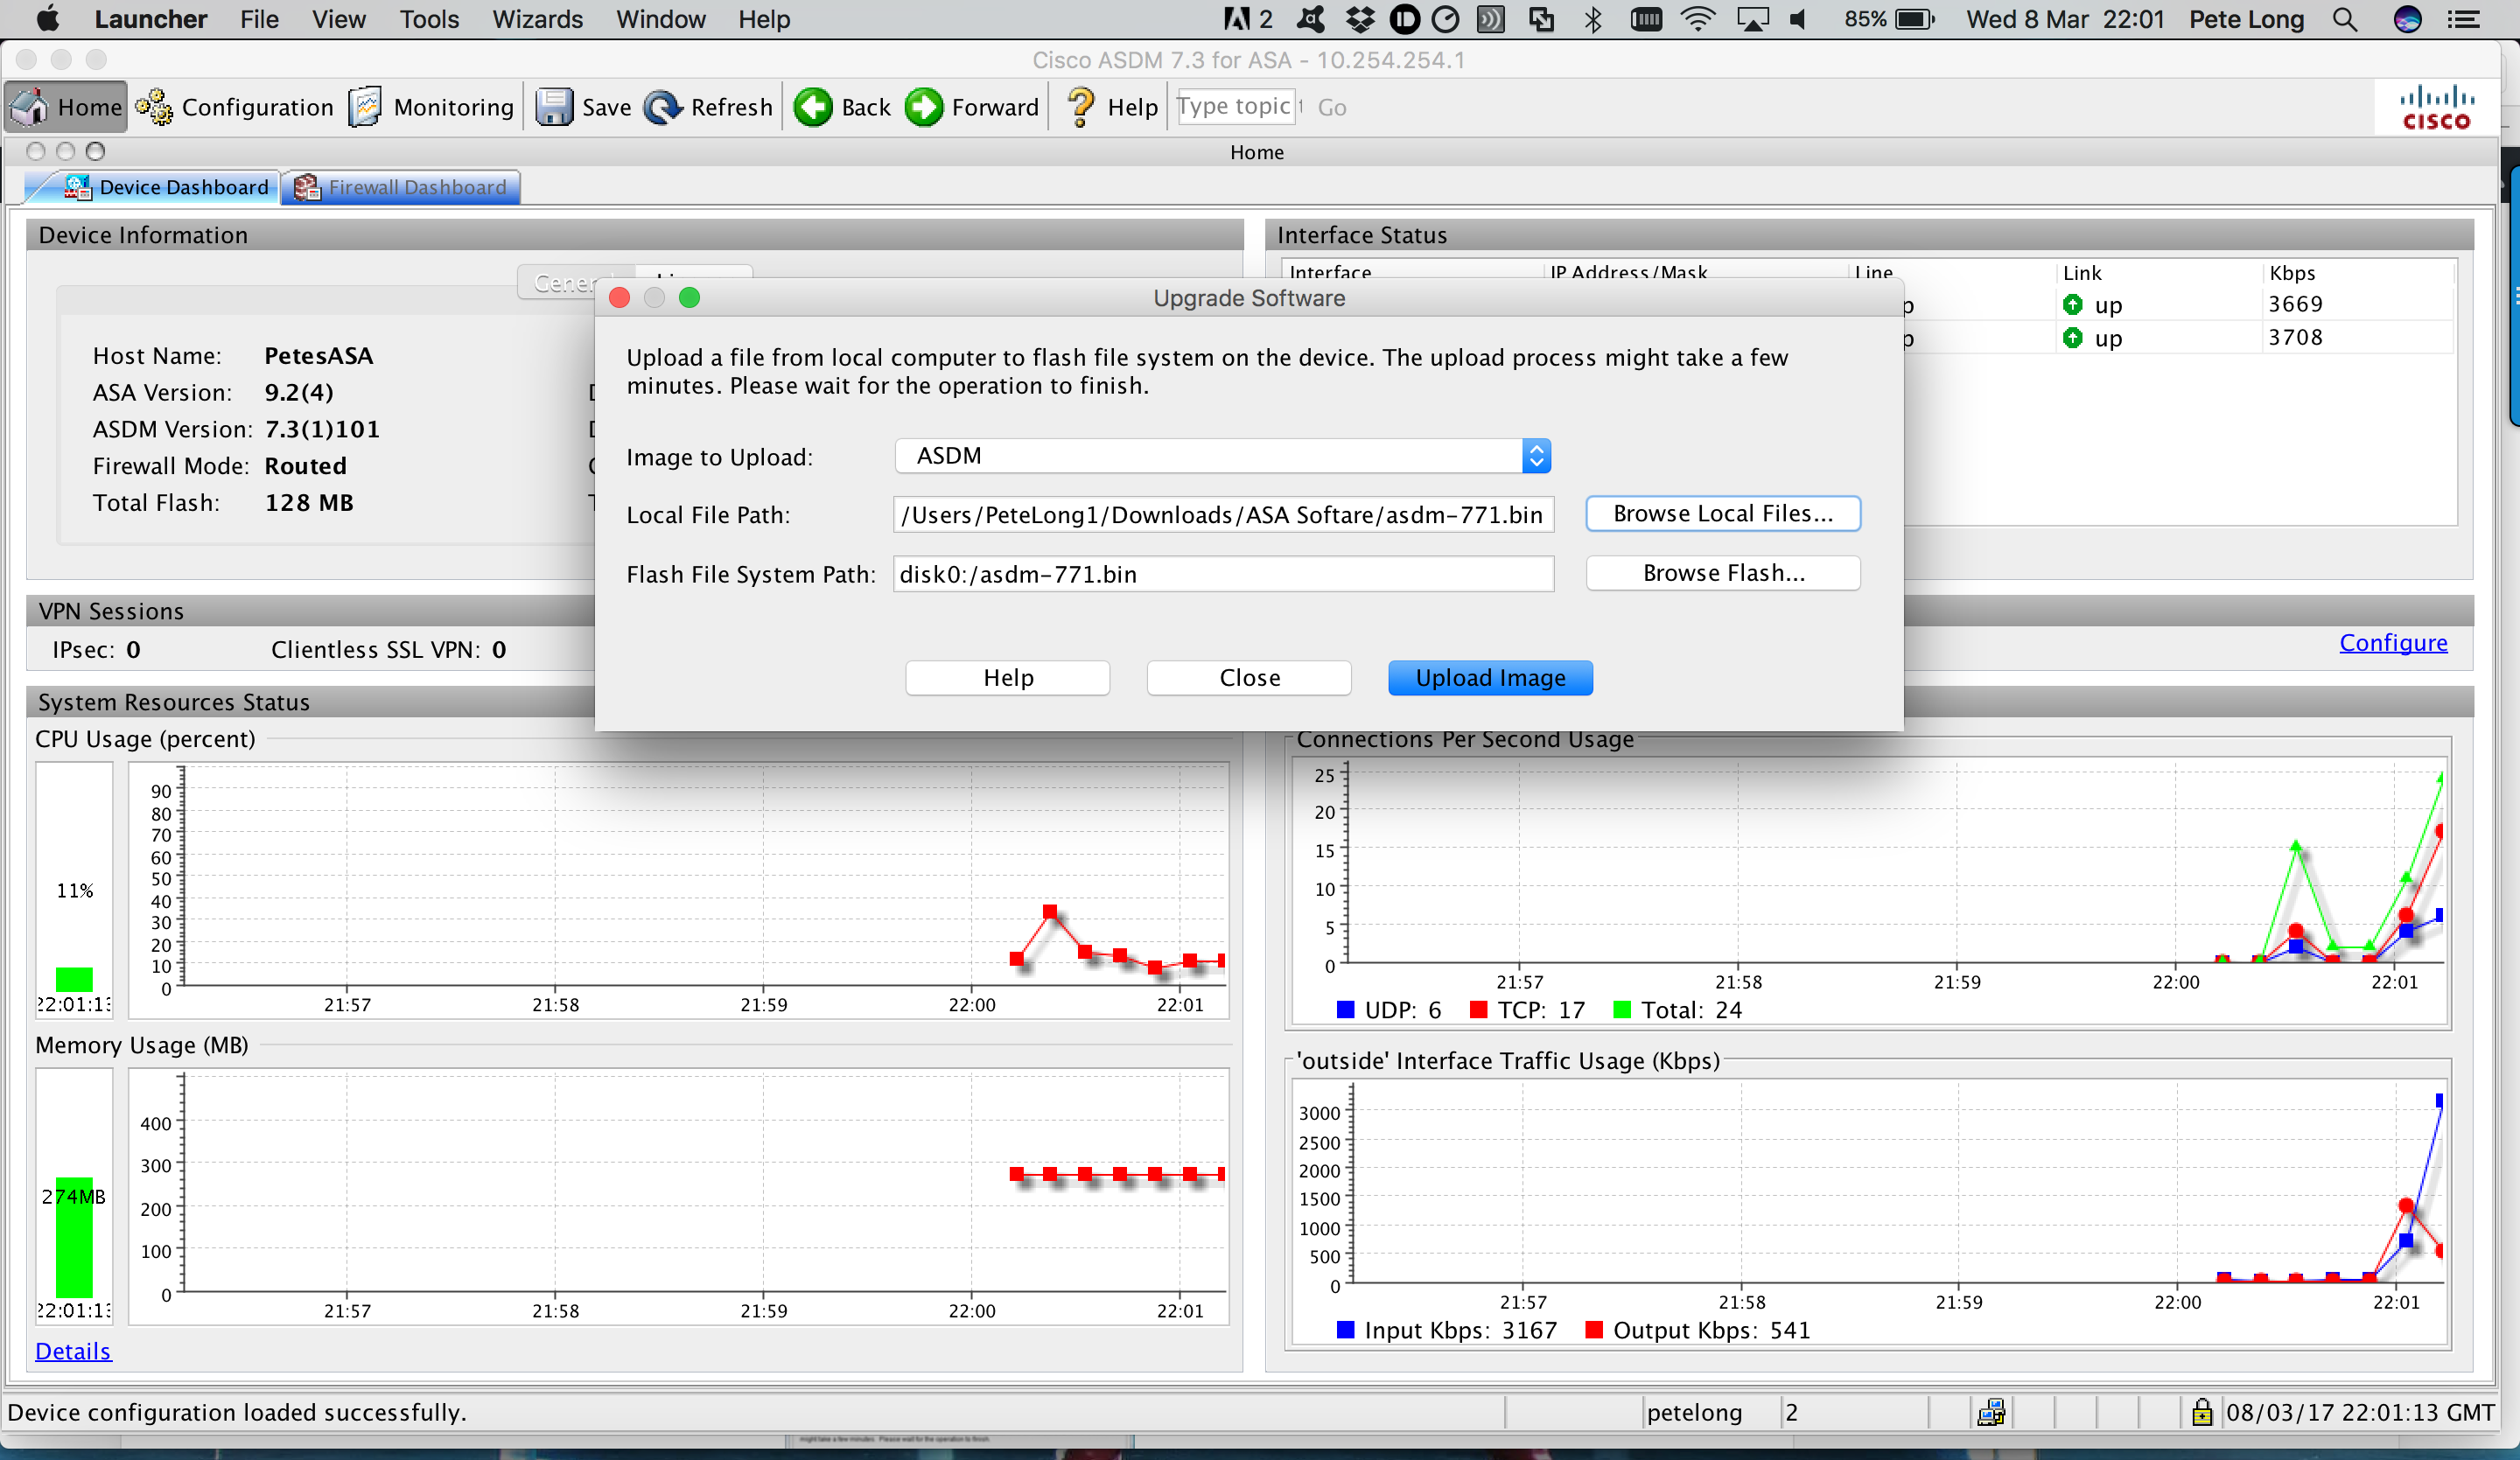
4. Select “ASA Image” > Browse Local.

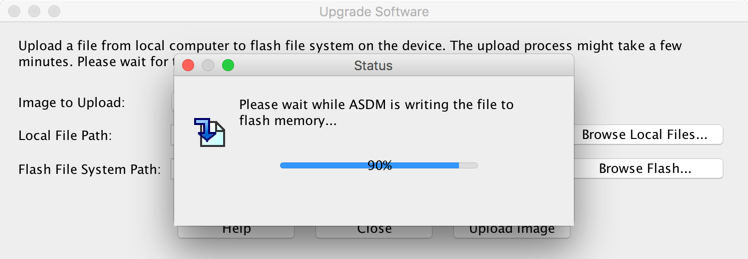
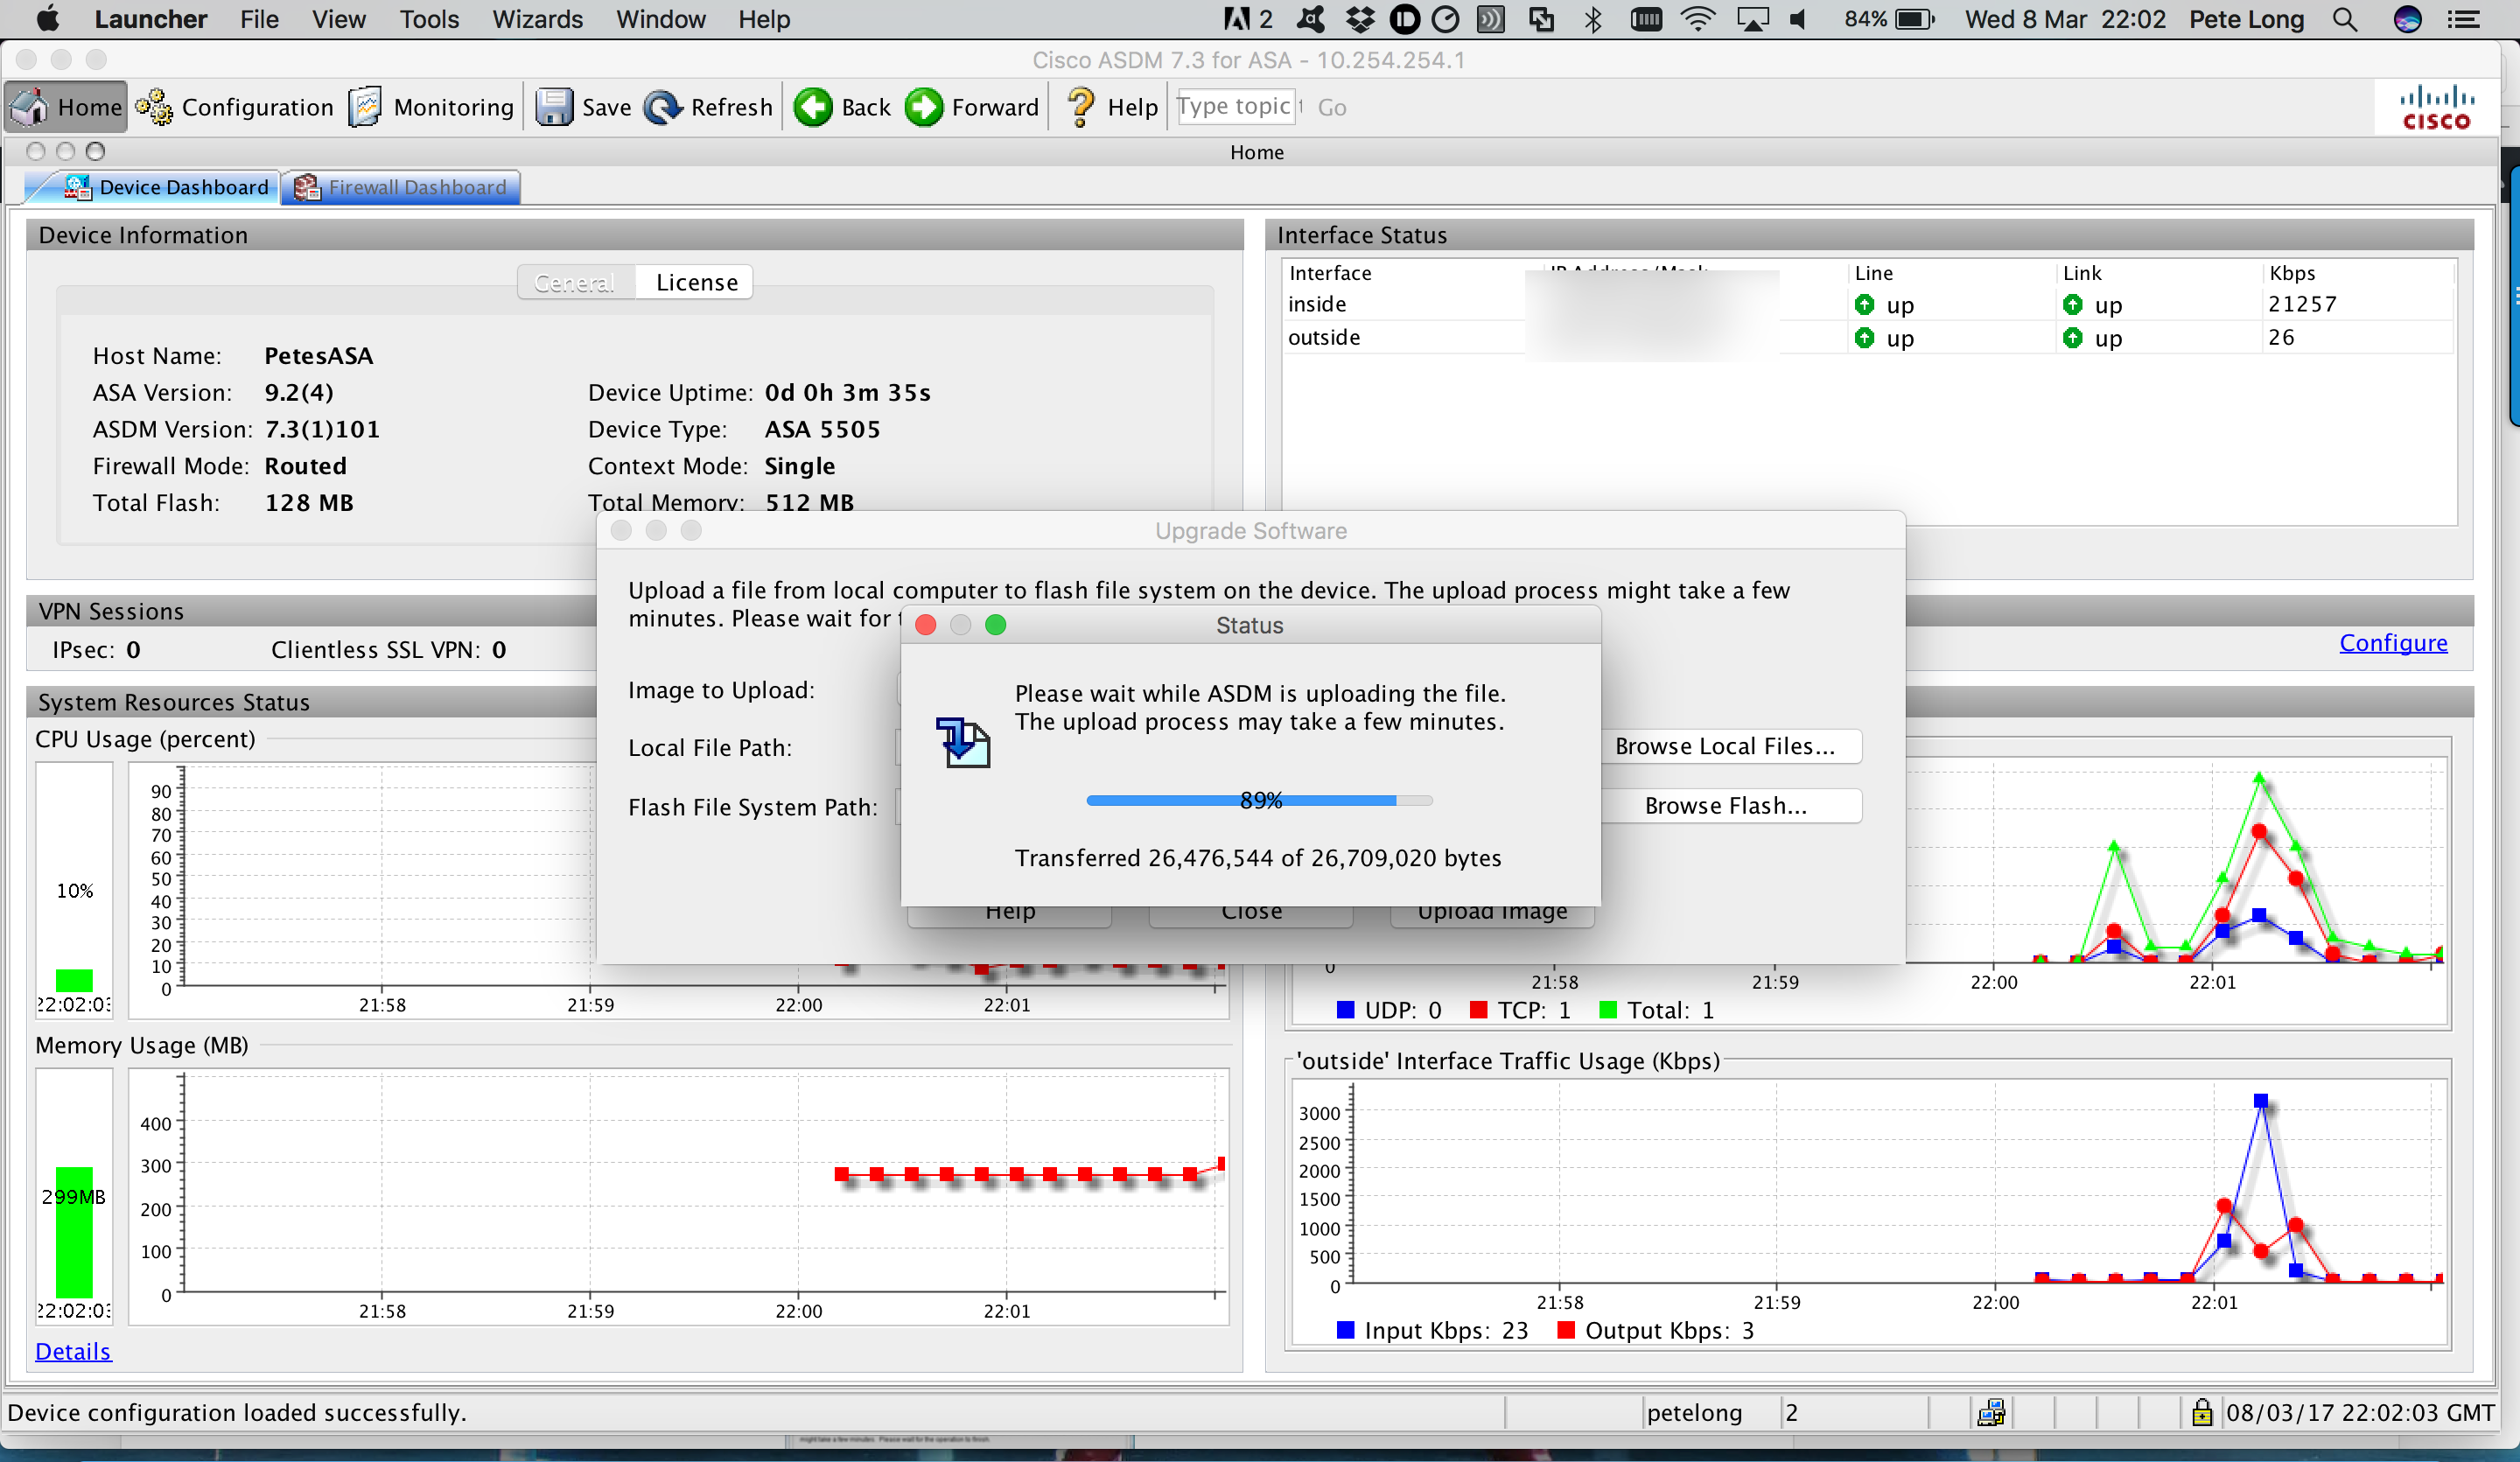
5. The image will upload, if it complains there is not enough space, the go to tools, file management and delete the old image (yes it’s safe to do that, as long as you don’t reboot the firewall or have a power cut).
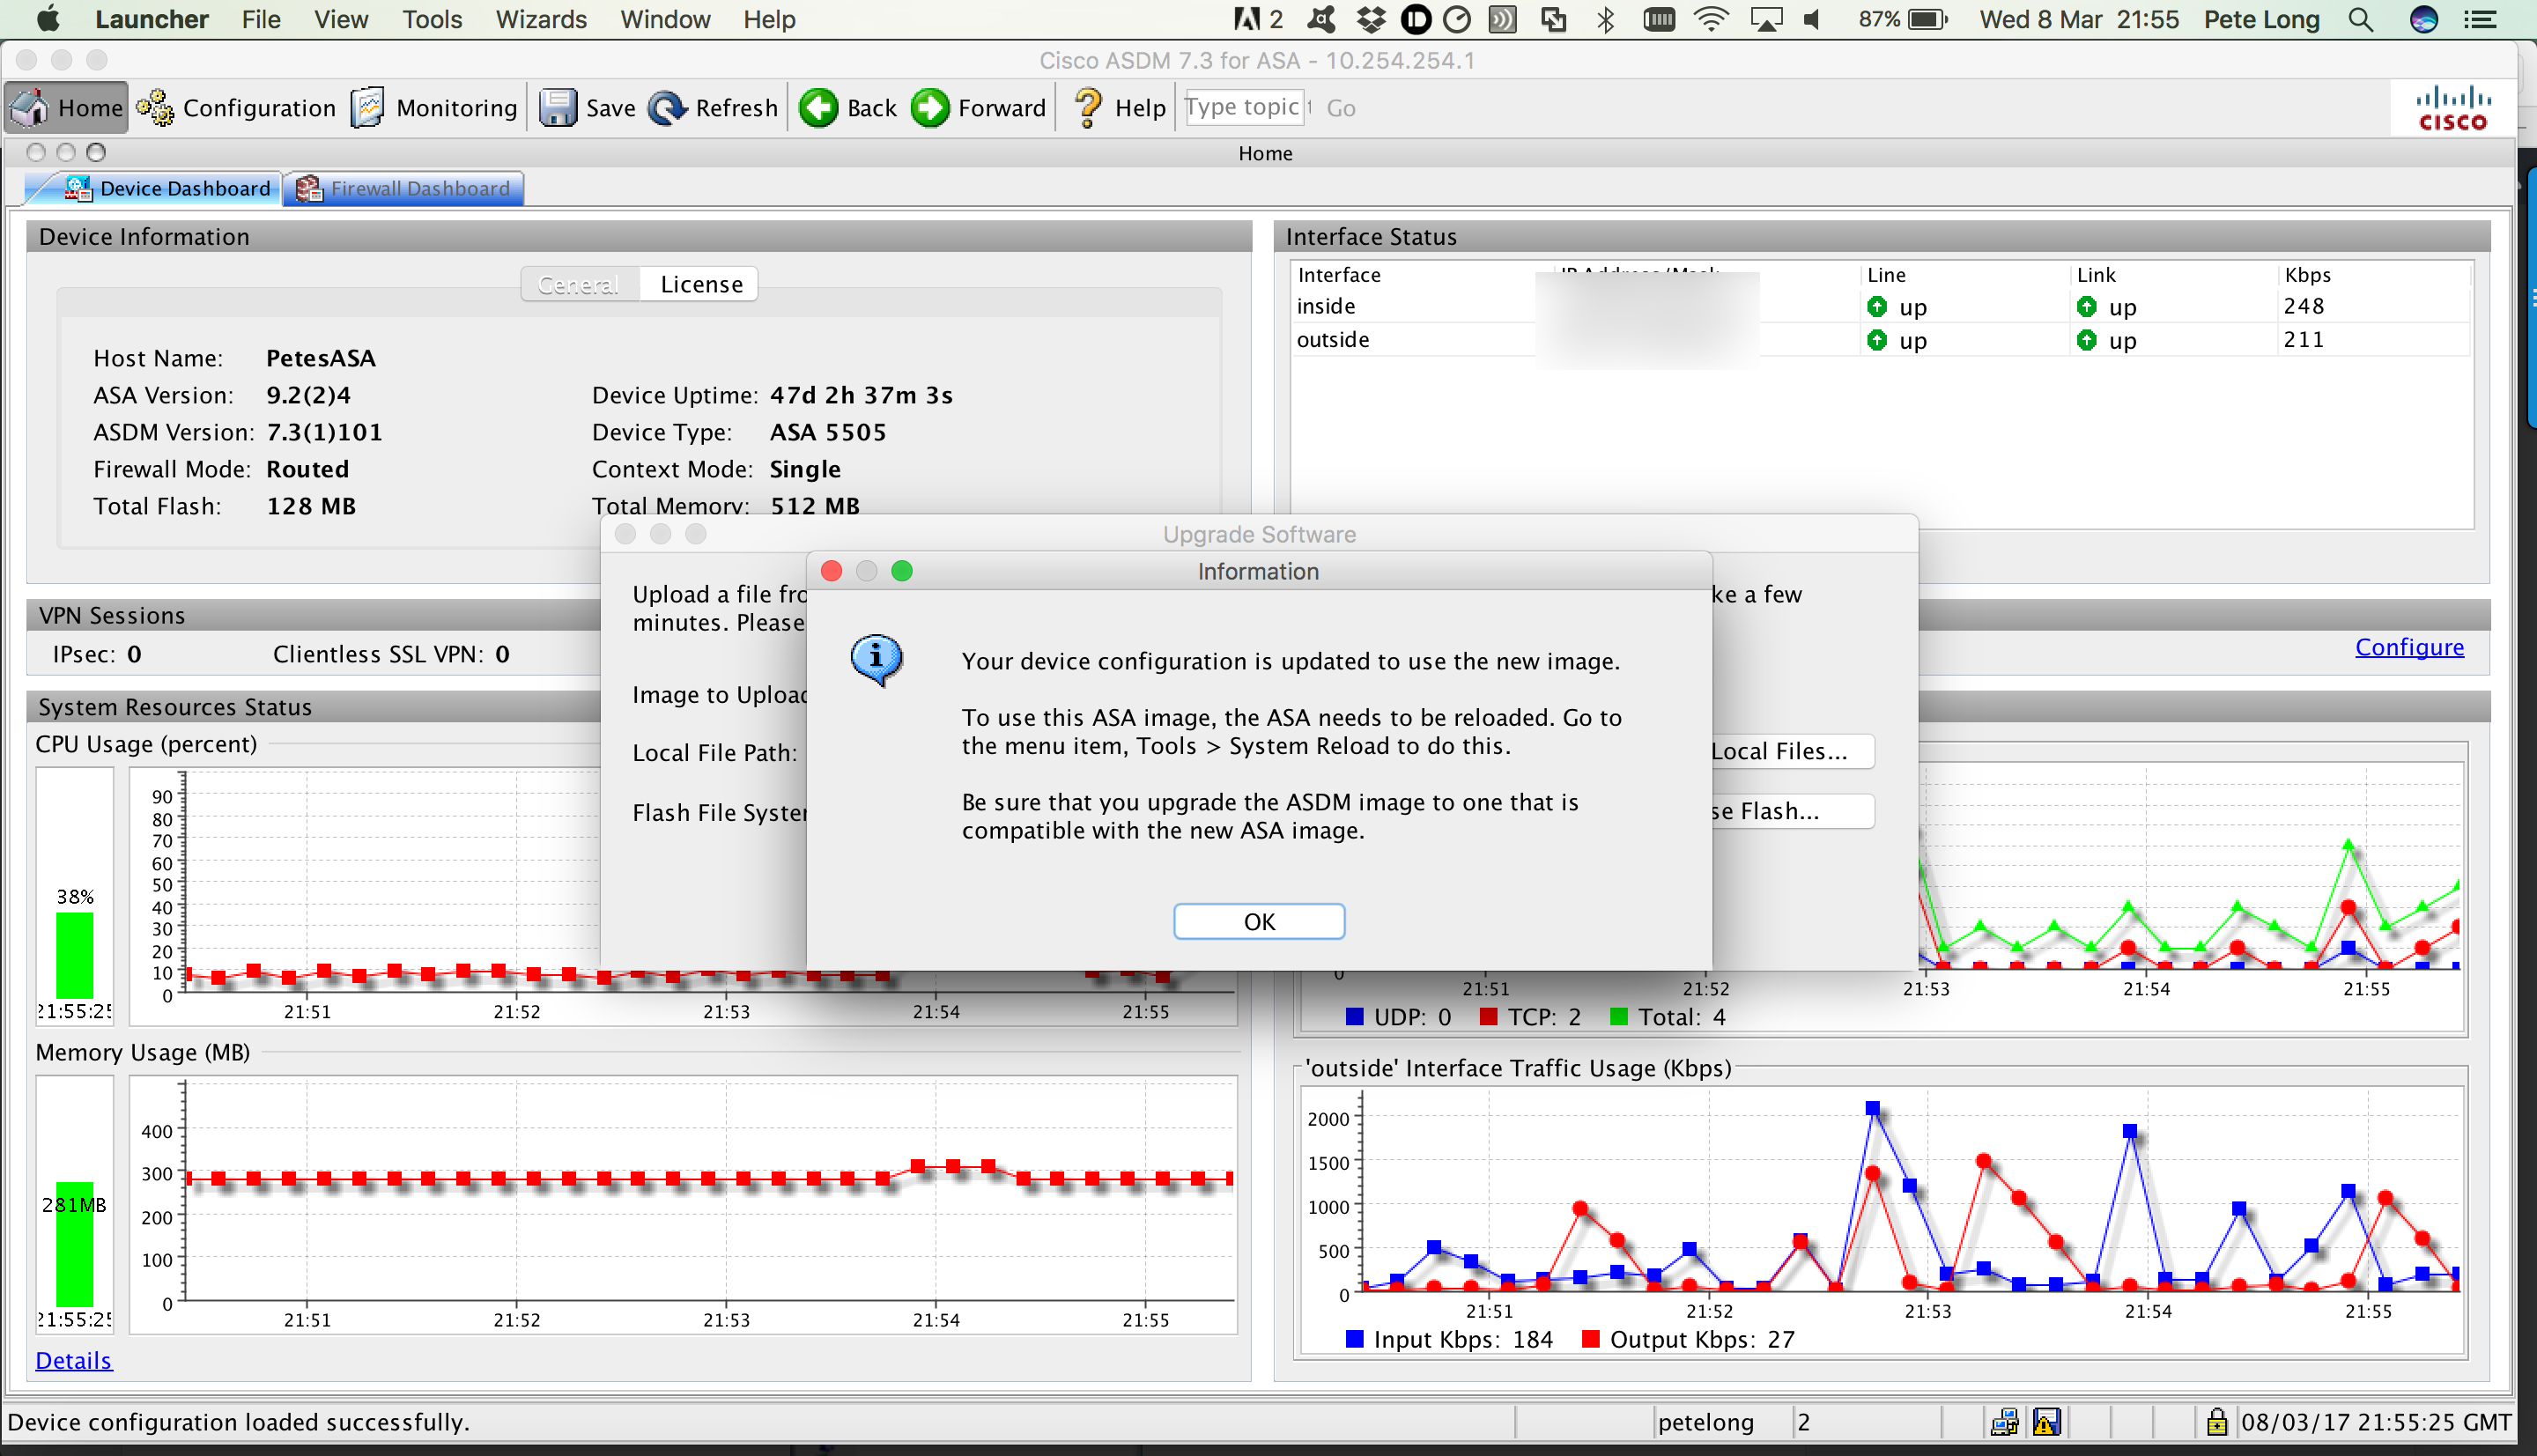
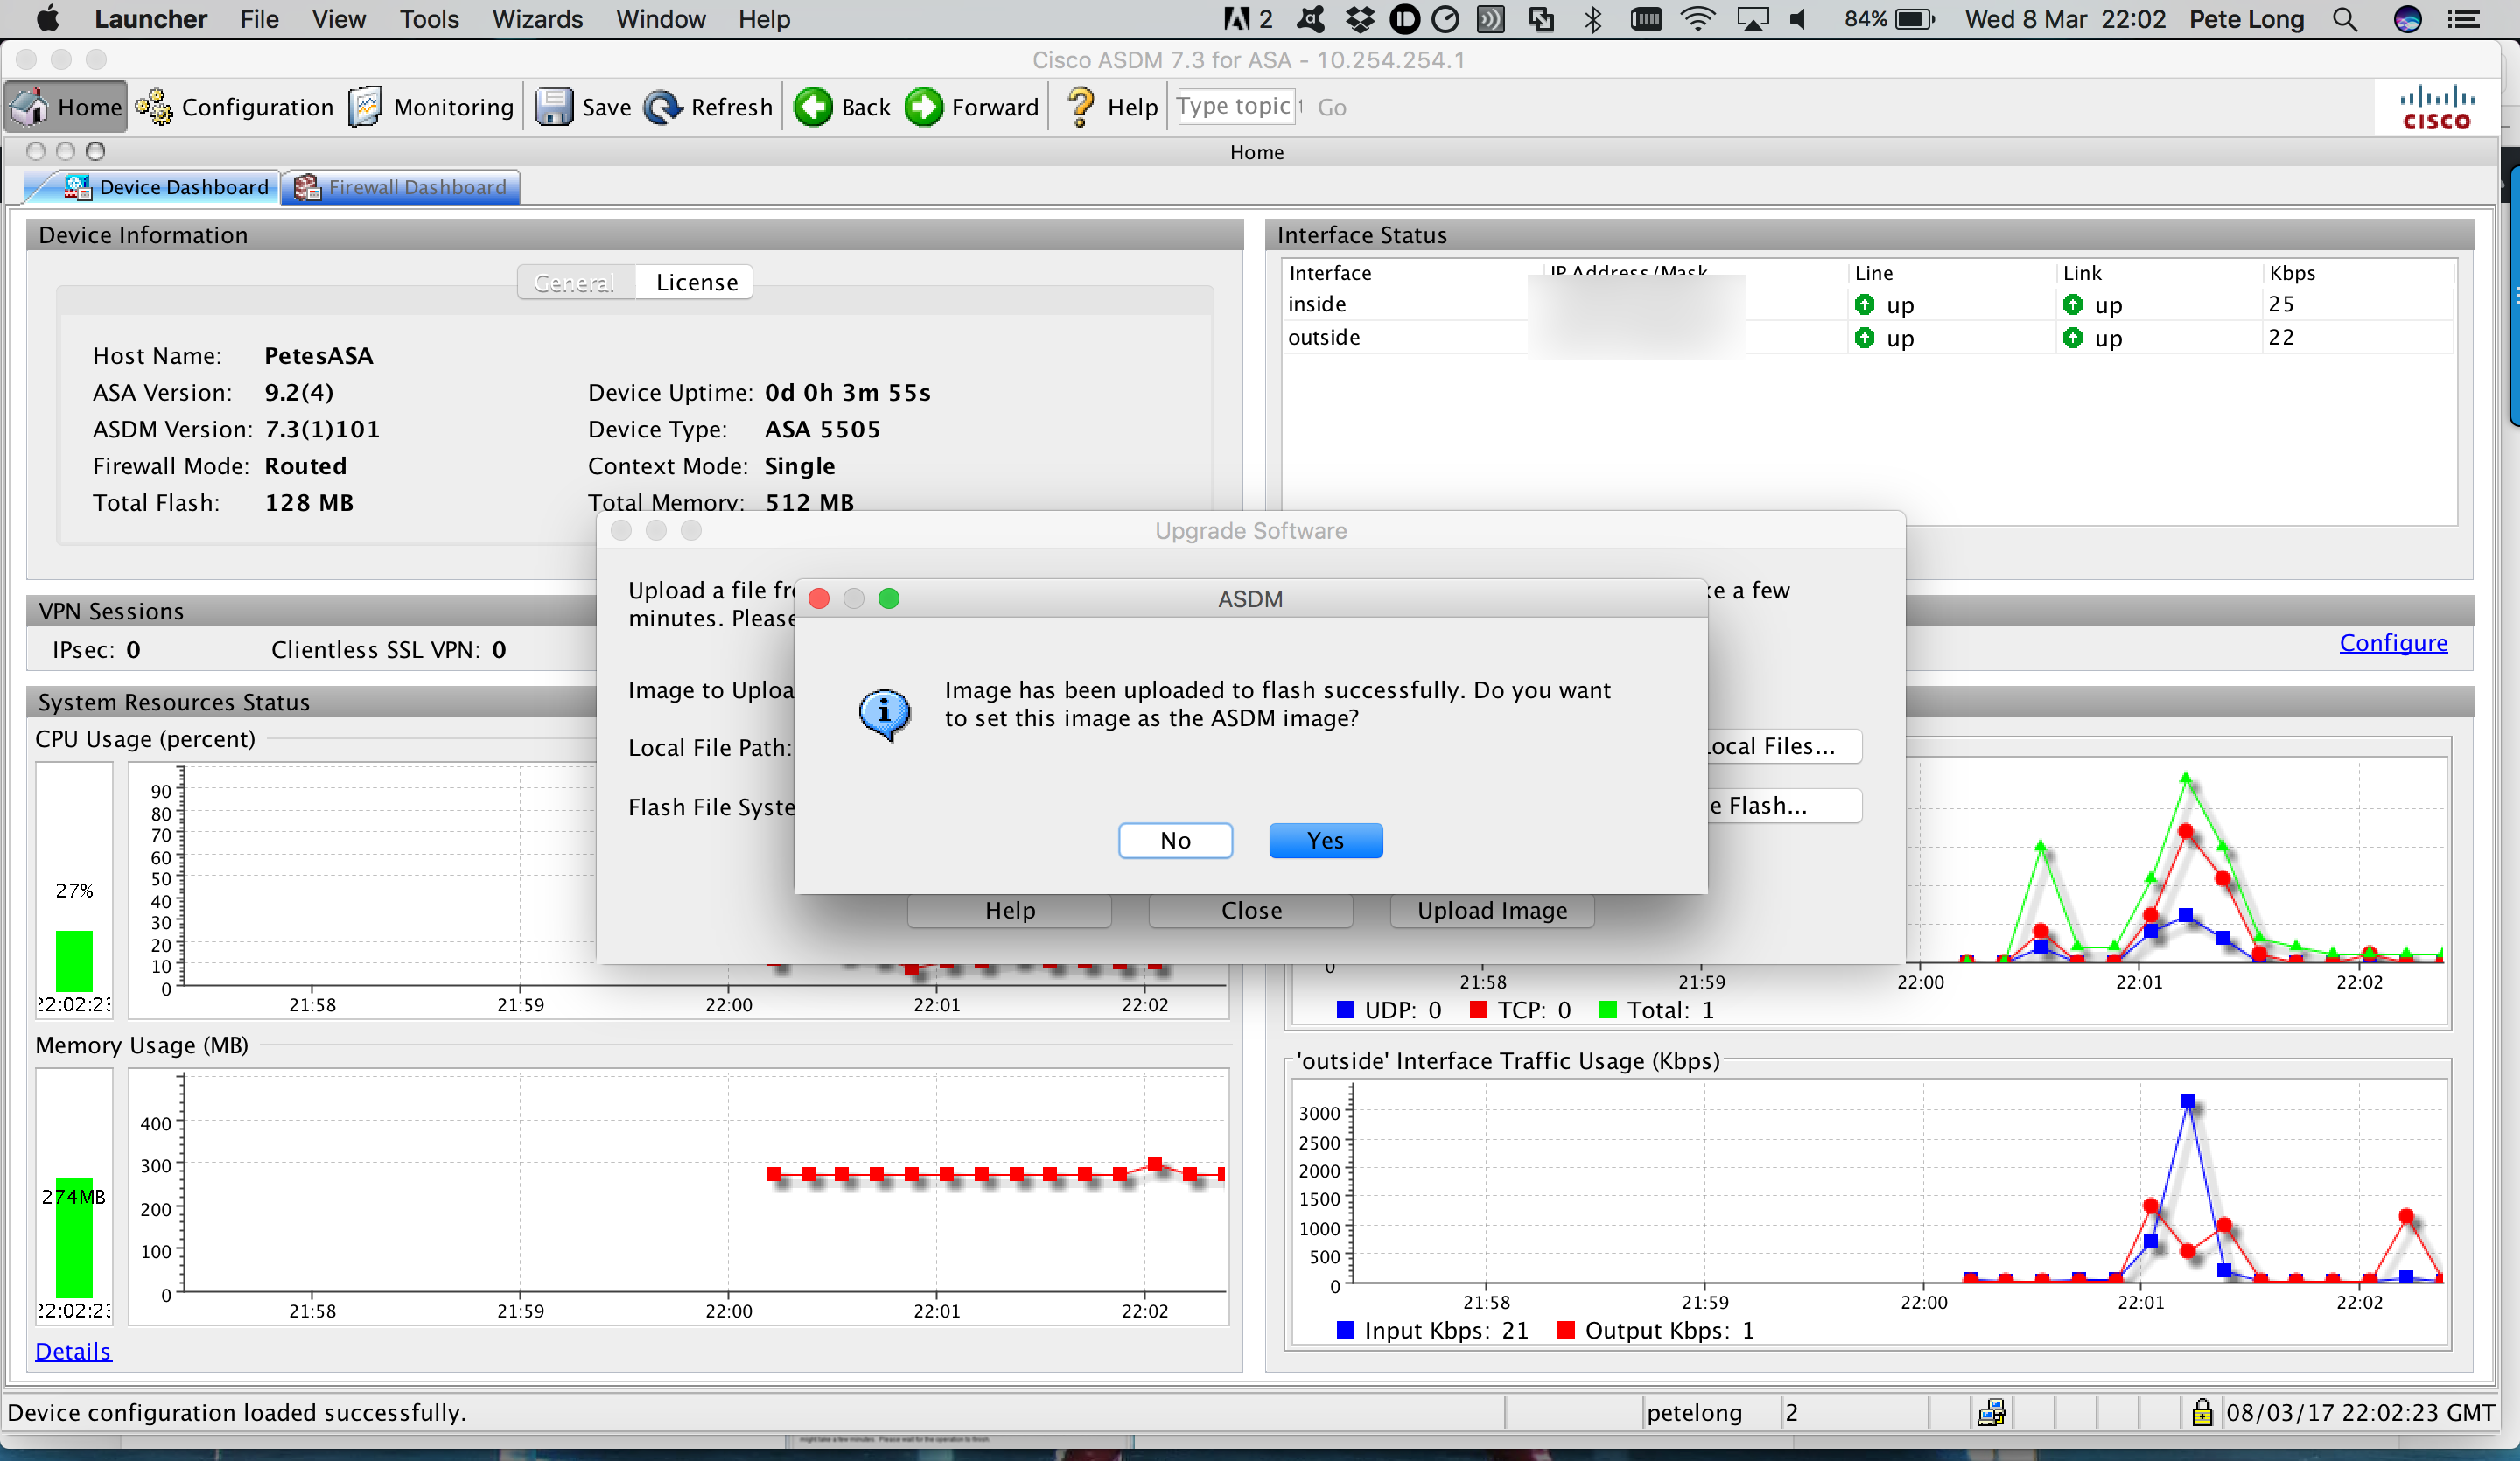
6. ‘Yes’ to use the new image..
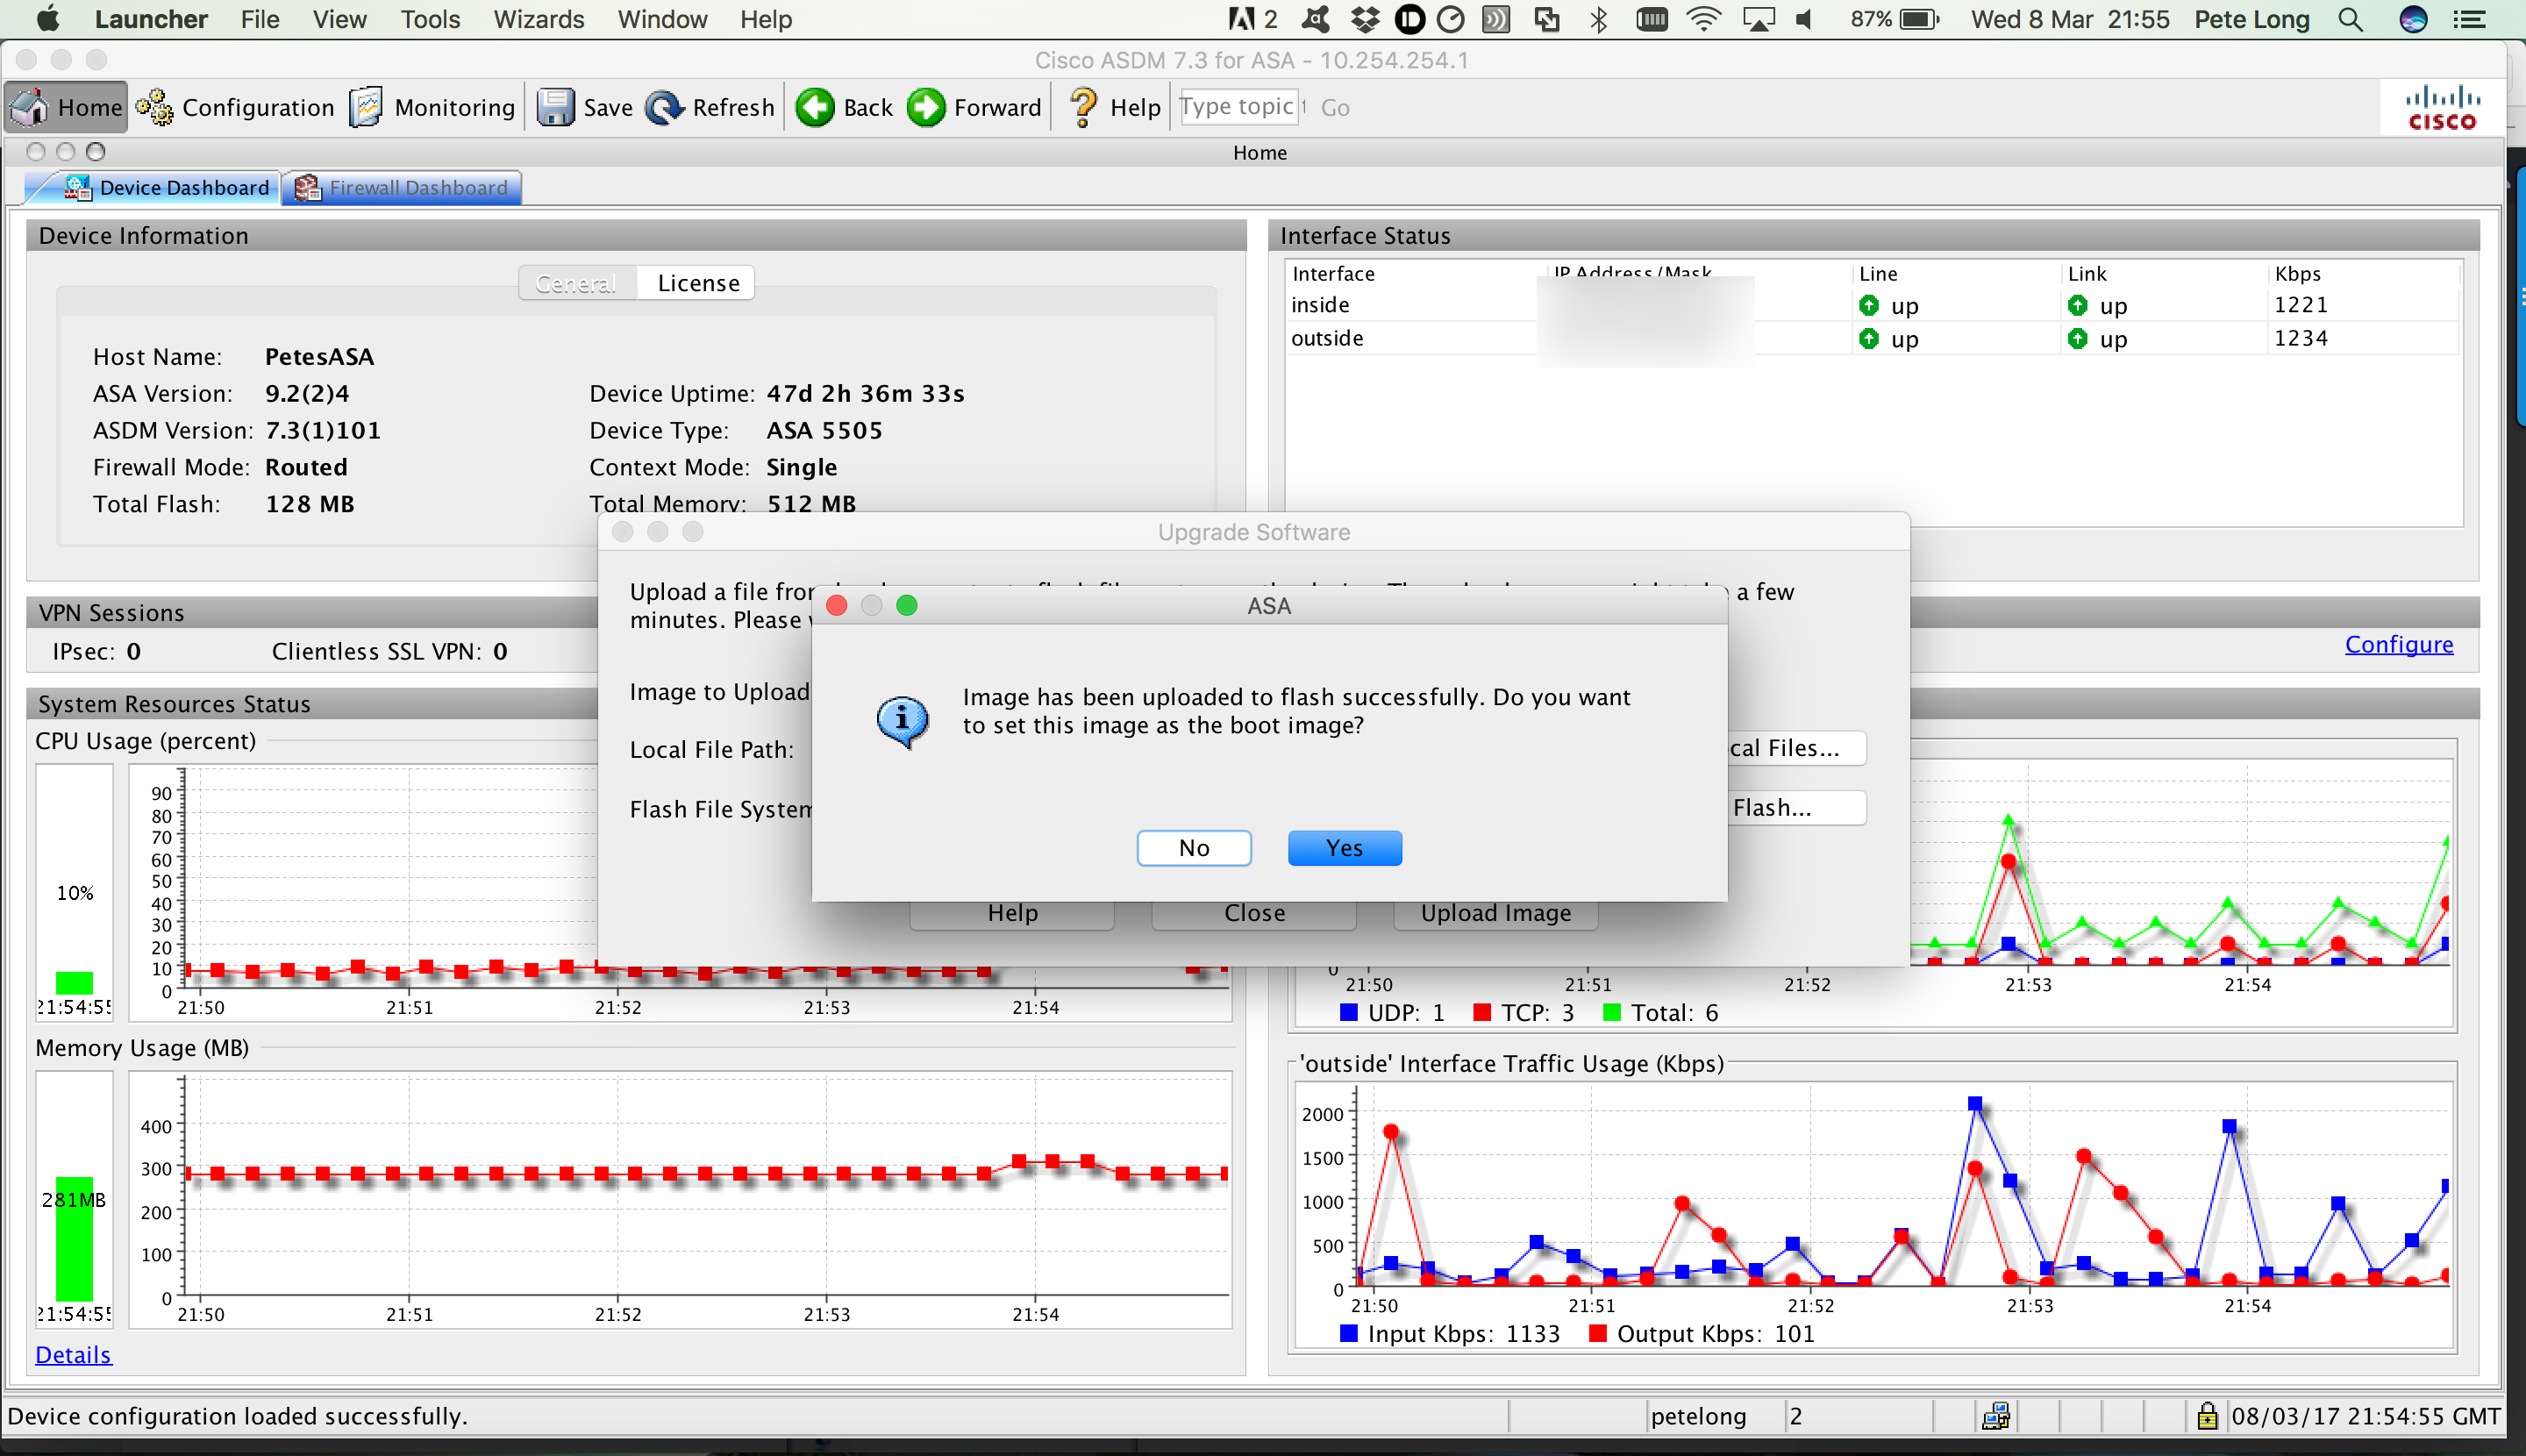
Note: On older versions o the ASDM you have to set this manually, (Configuration > Device Administration > Boot Image > Boot Config File Path Section > Browse Flash).
Note: On even older ASDM’s this is on the Properties Page
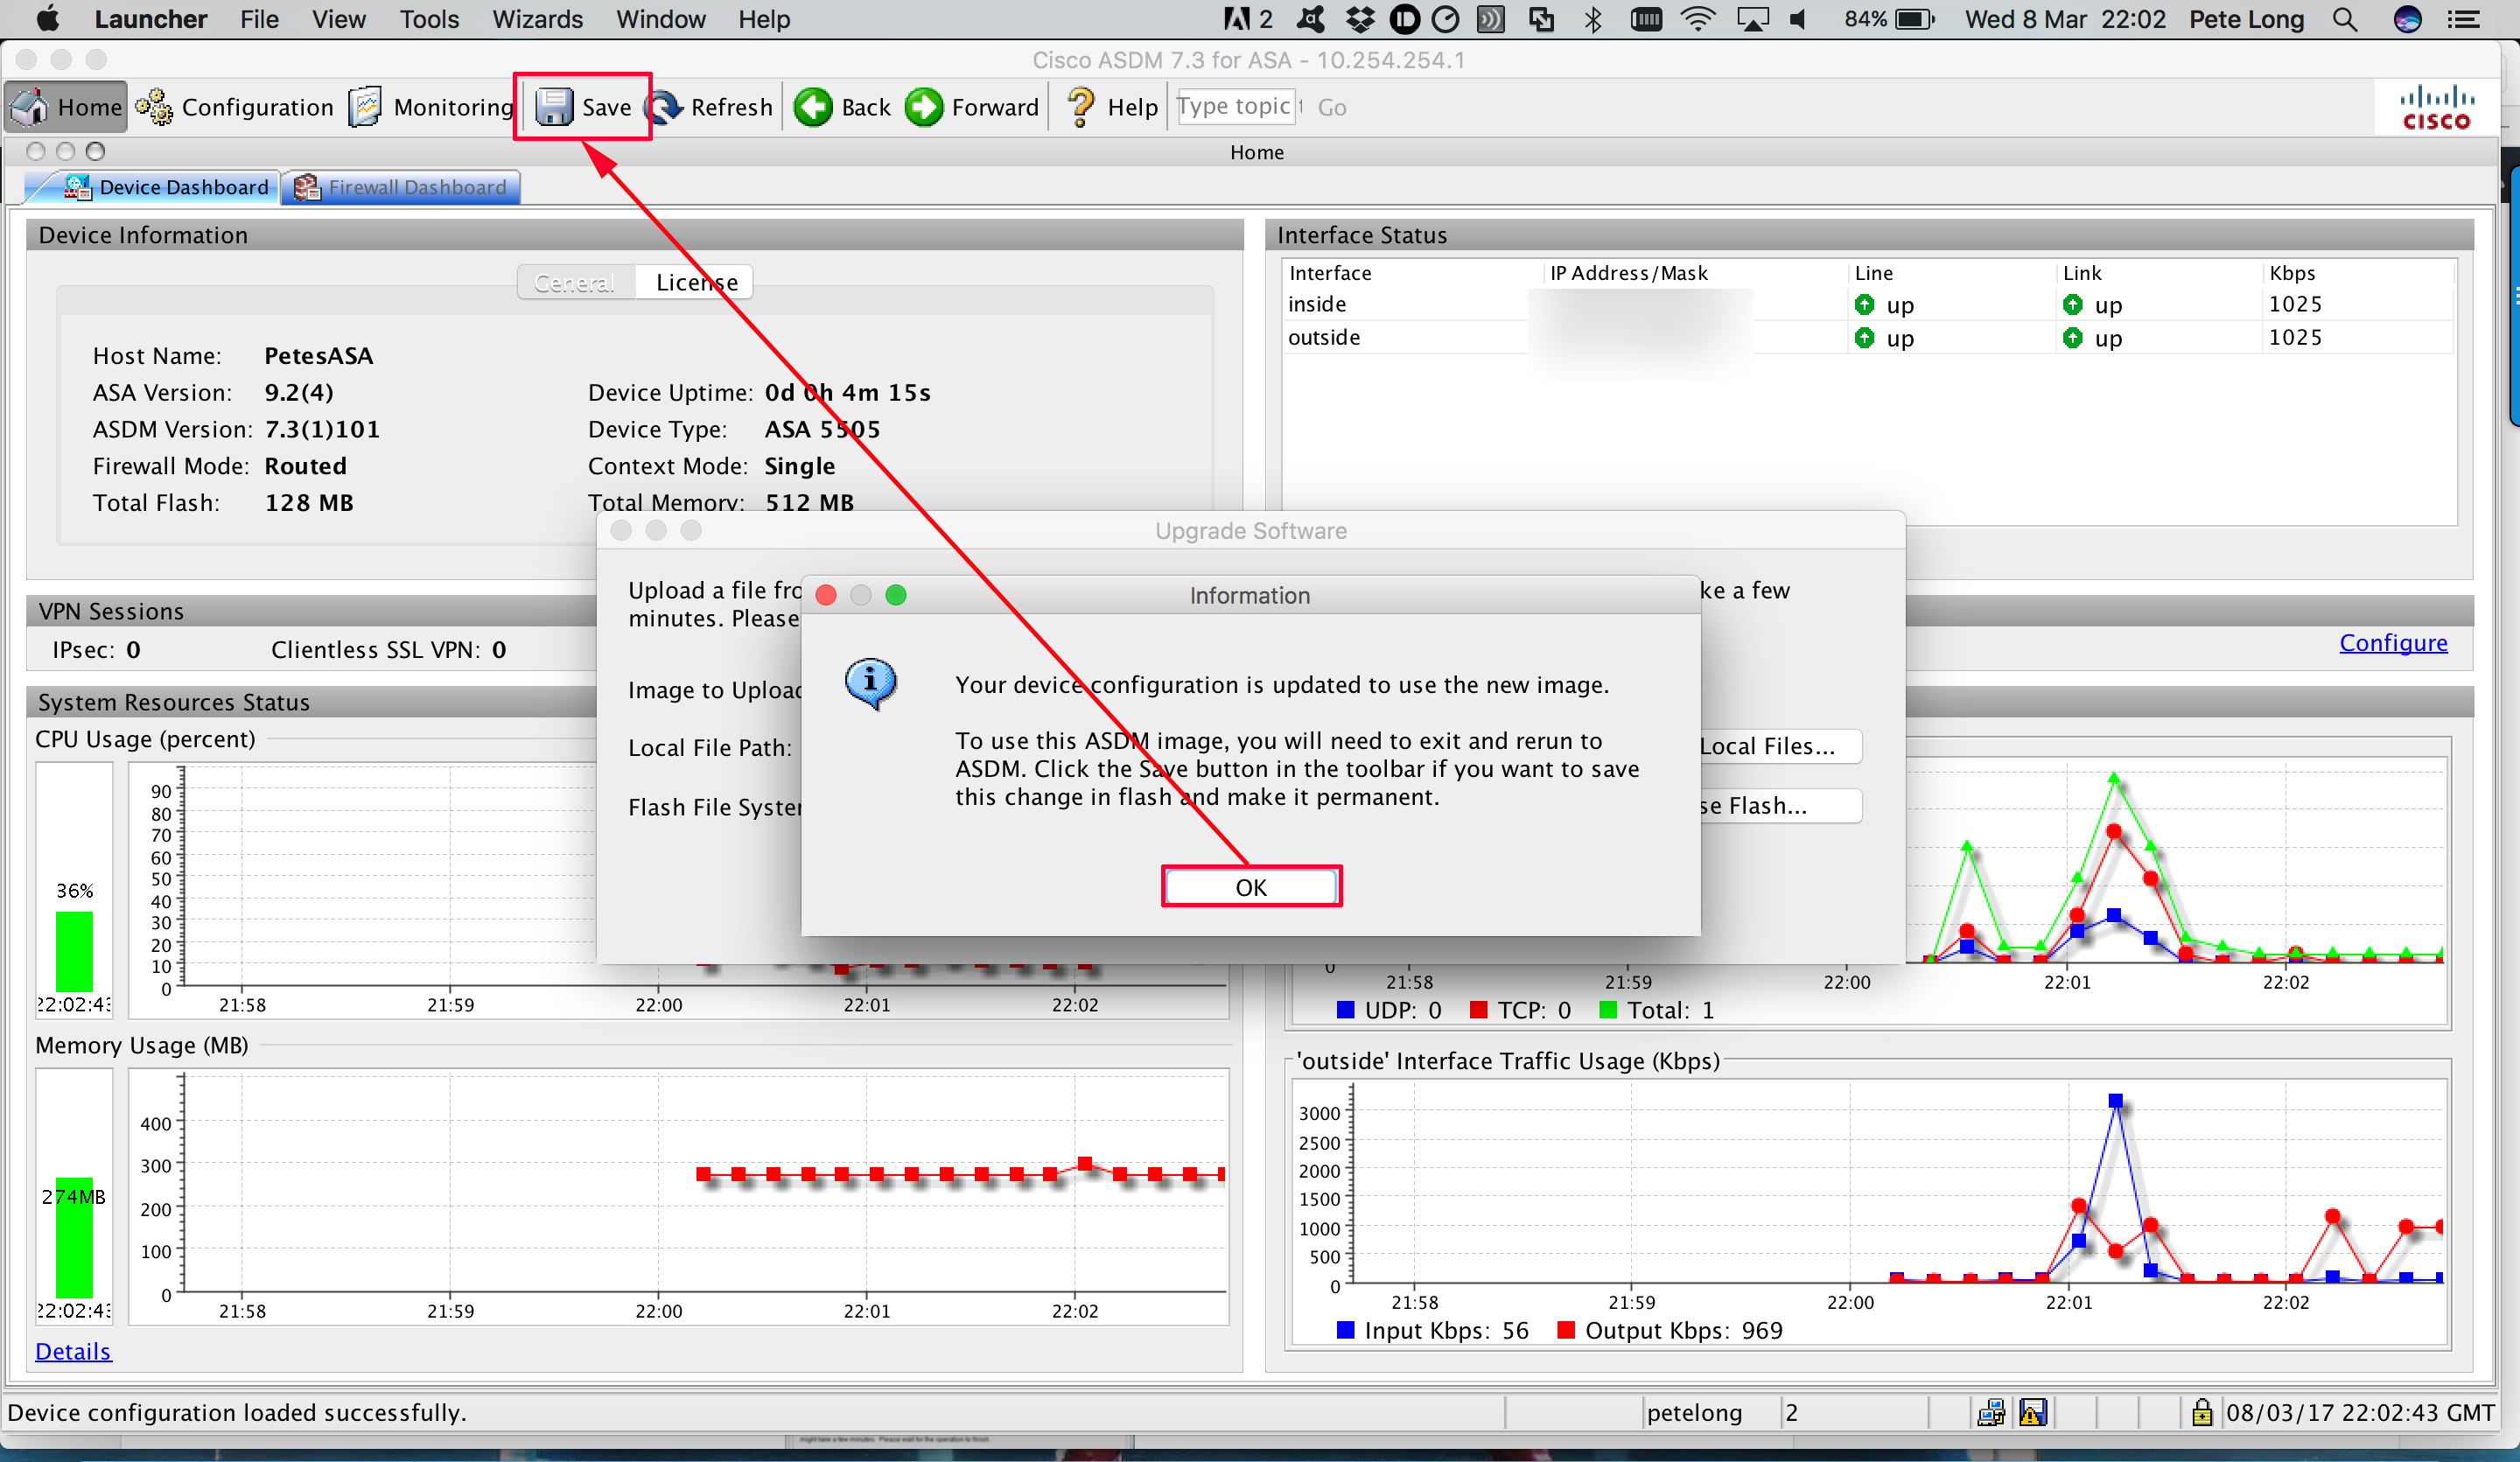
7. OK.
Update ASDM from the ASDM
8. Tools > Upgrade software from Local Computer, or Upload Image on Local PC, on older versions.
9. This time select ASDM > Browse to the ASDM image > Upload Image.
10. The new image will be uploaded to the firewall.
11. Yes.
Note: On older versions this needs to be set on Configuration > Device Administration > Boot Image > ASDM Image File Path Section > Browse Flash.
Note: On even older versions this is on the Properties Page.
12. OK > Save..
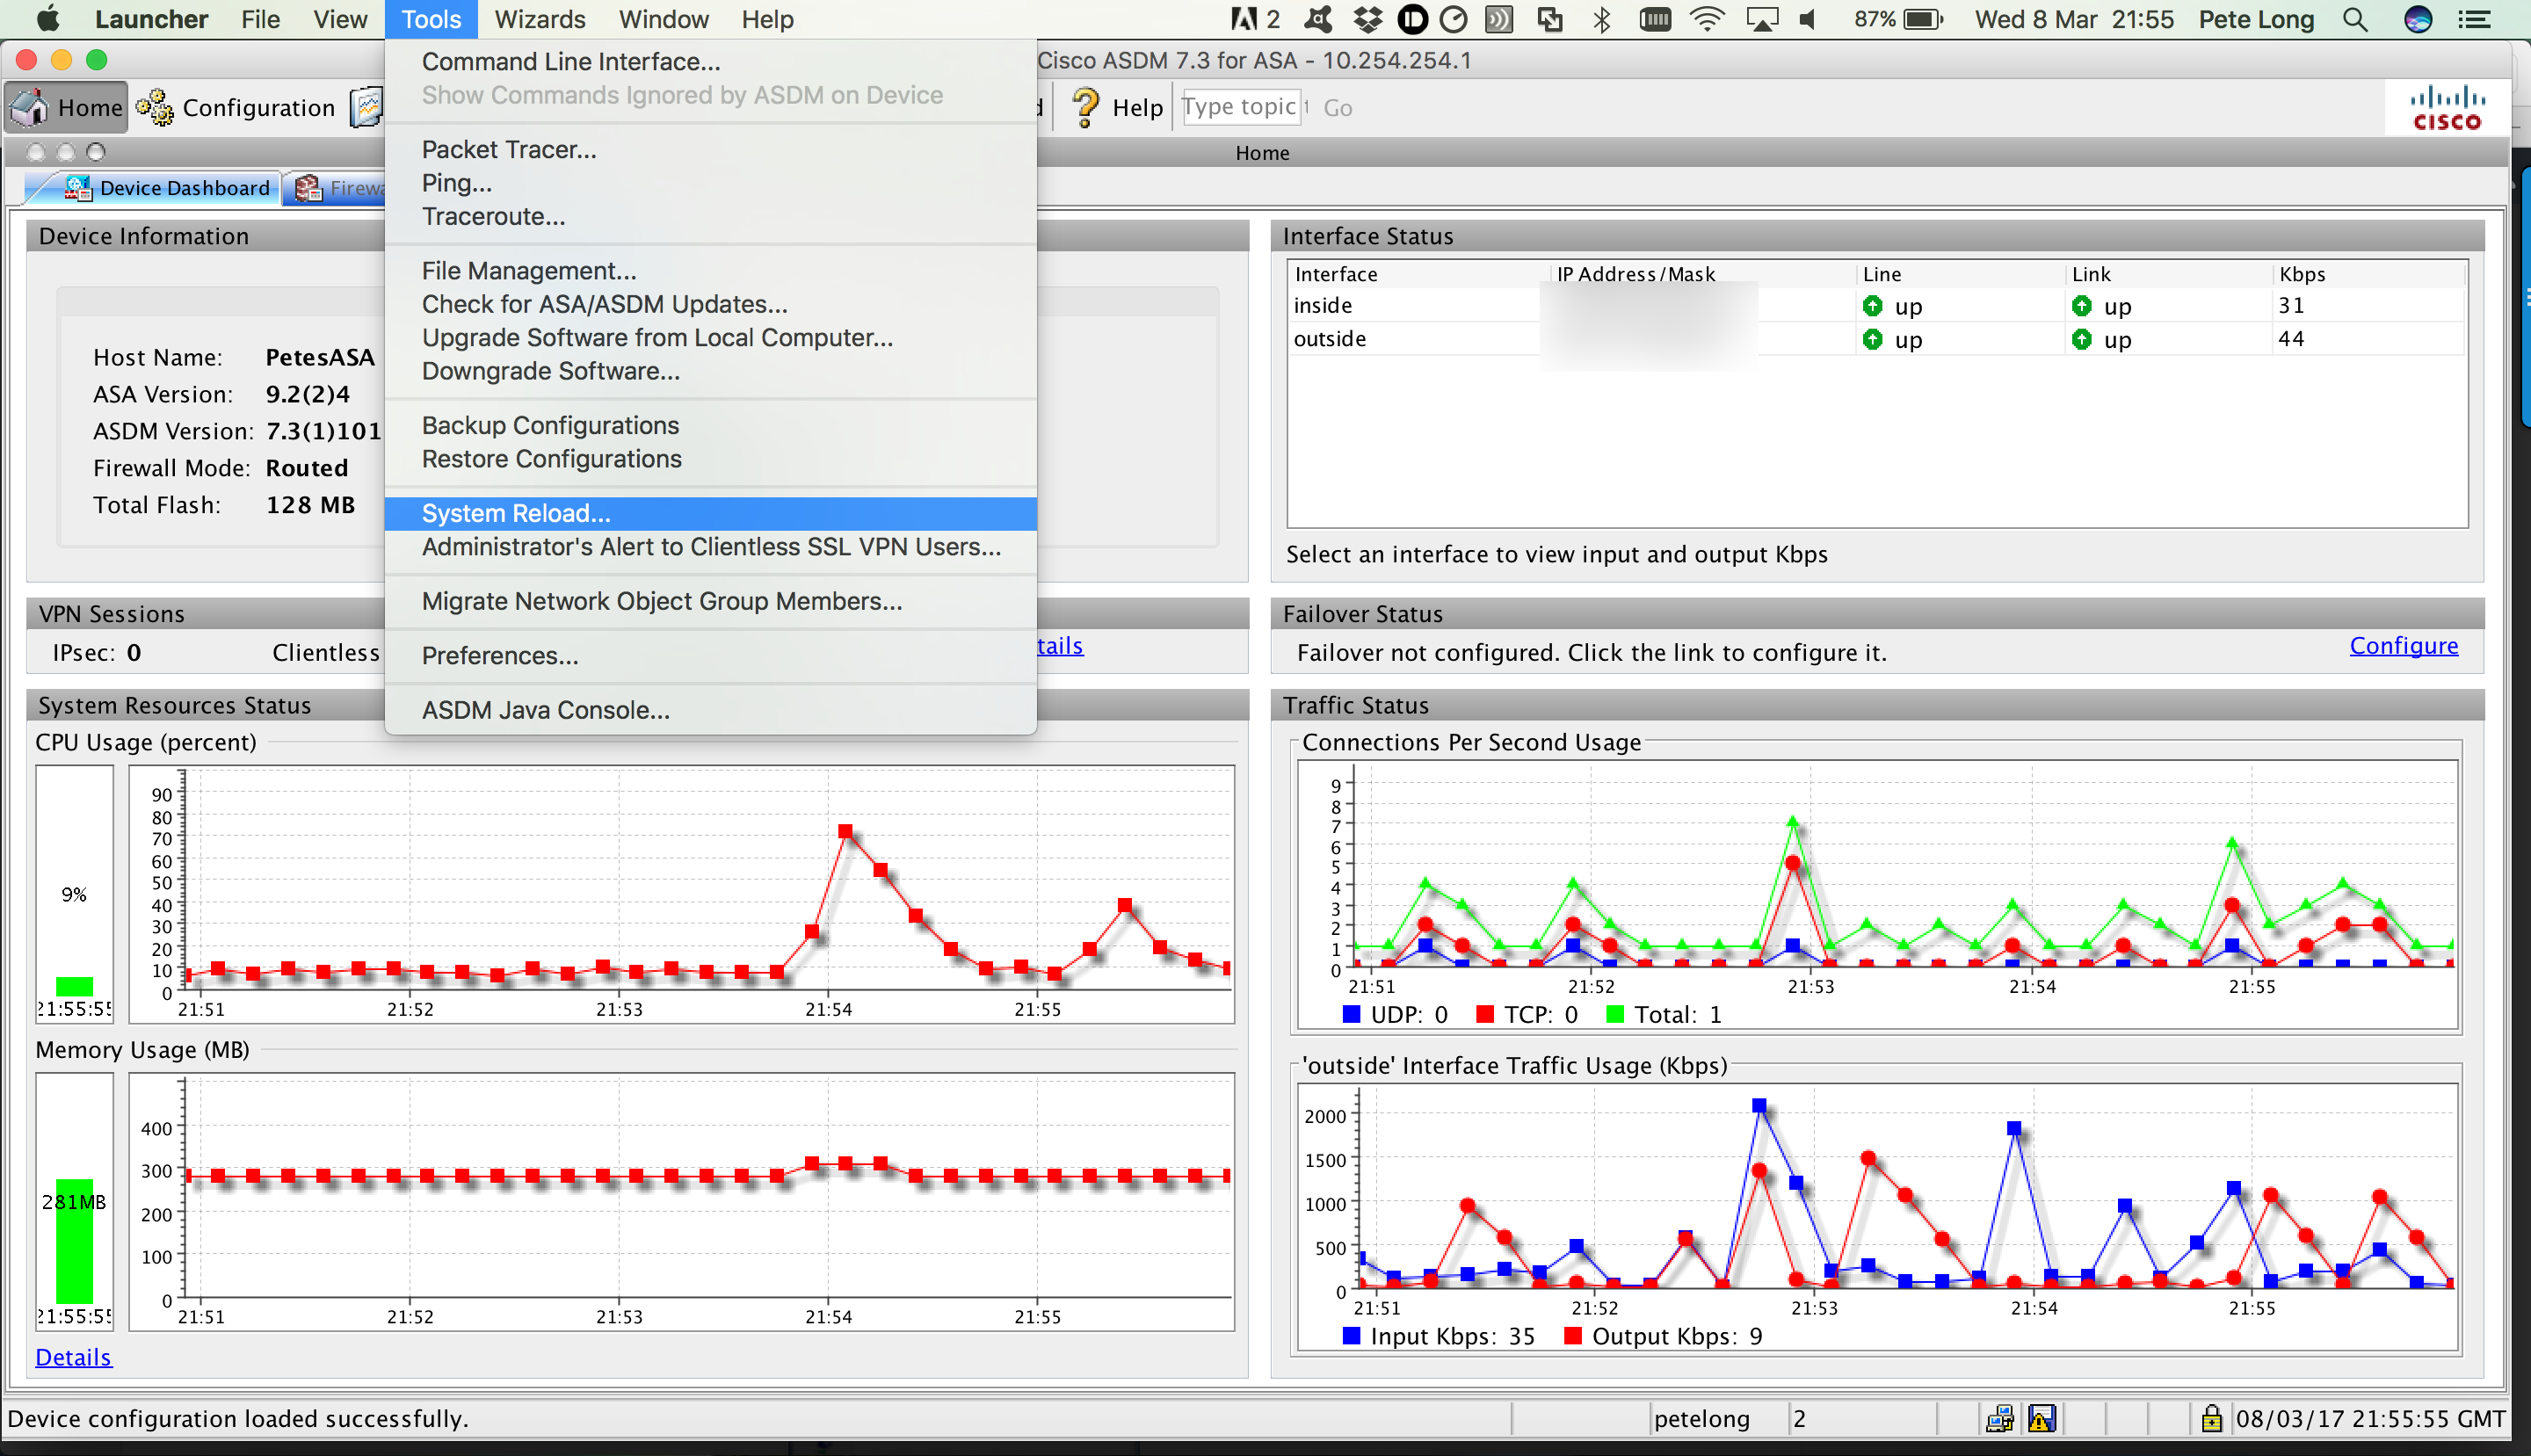
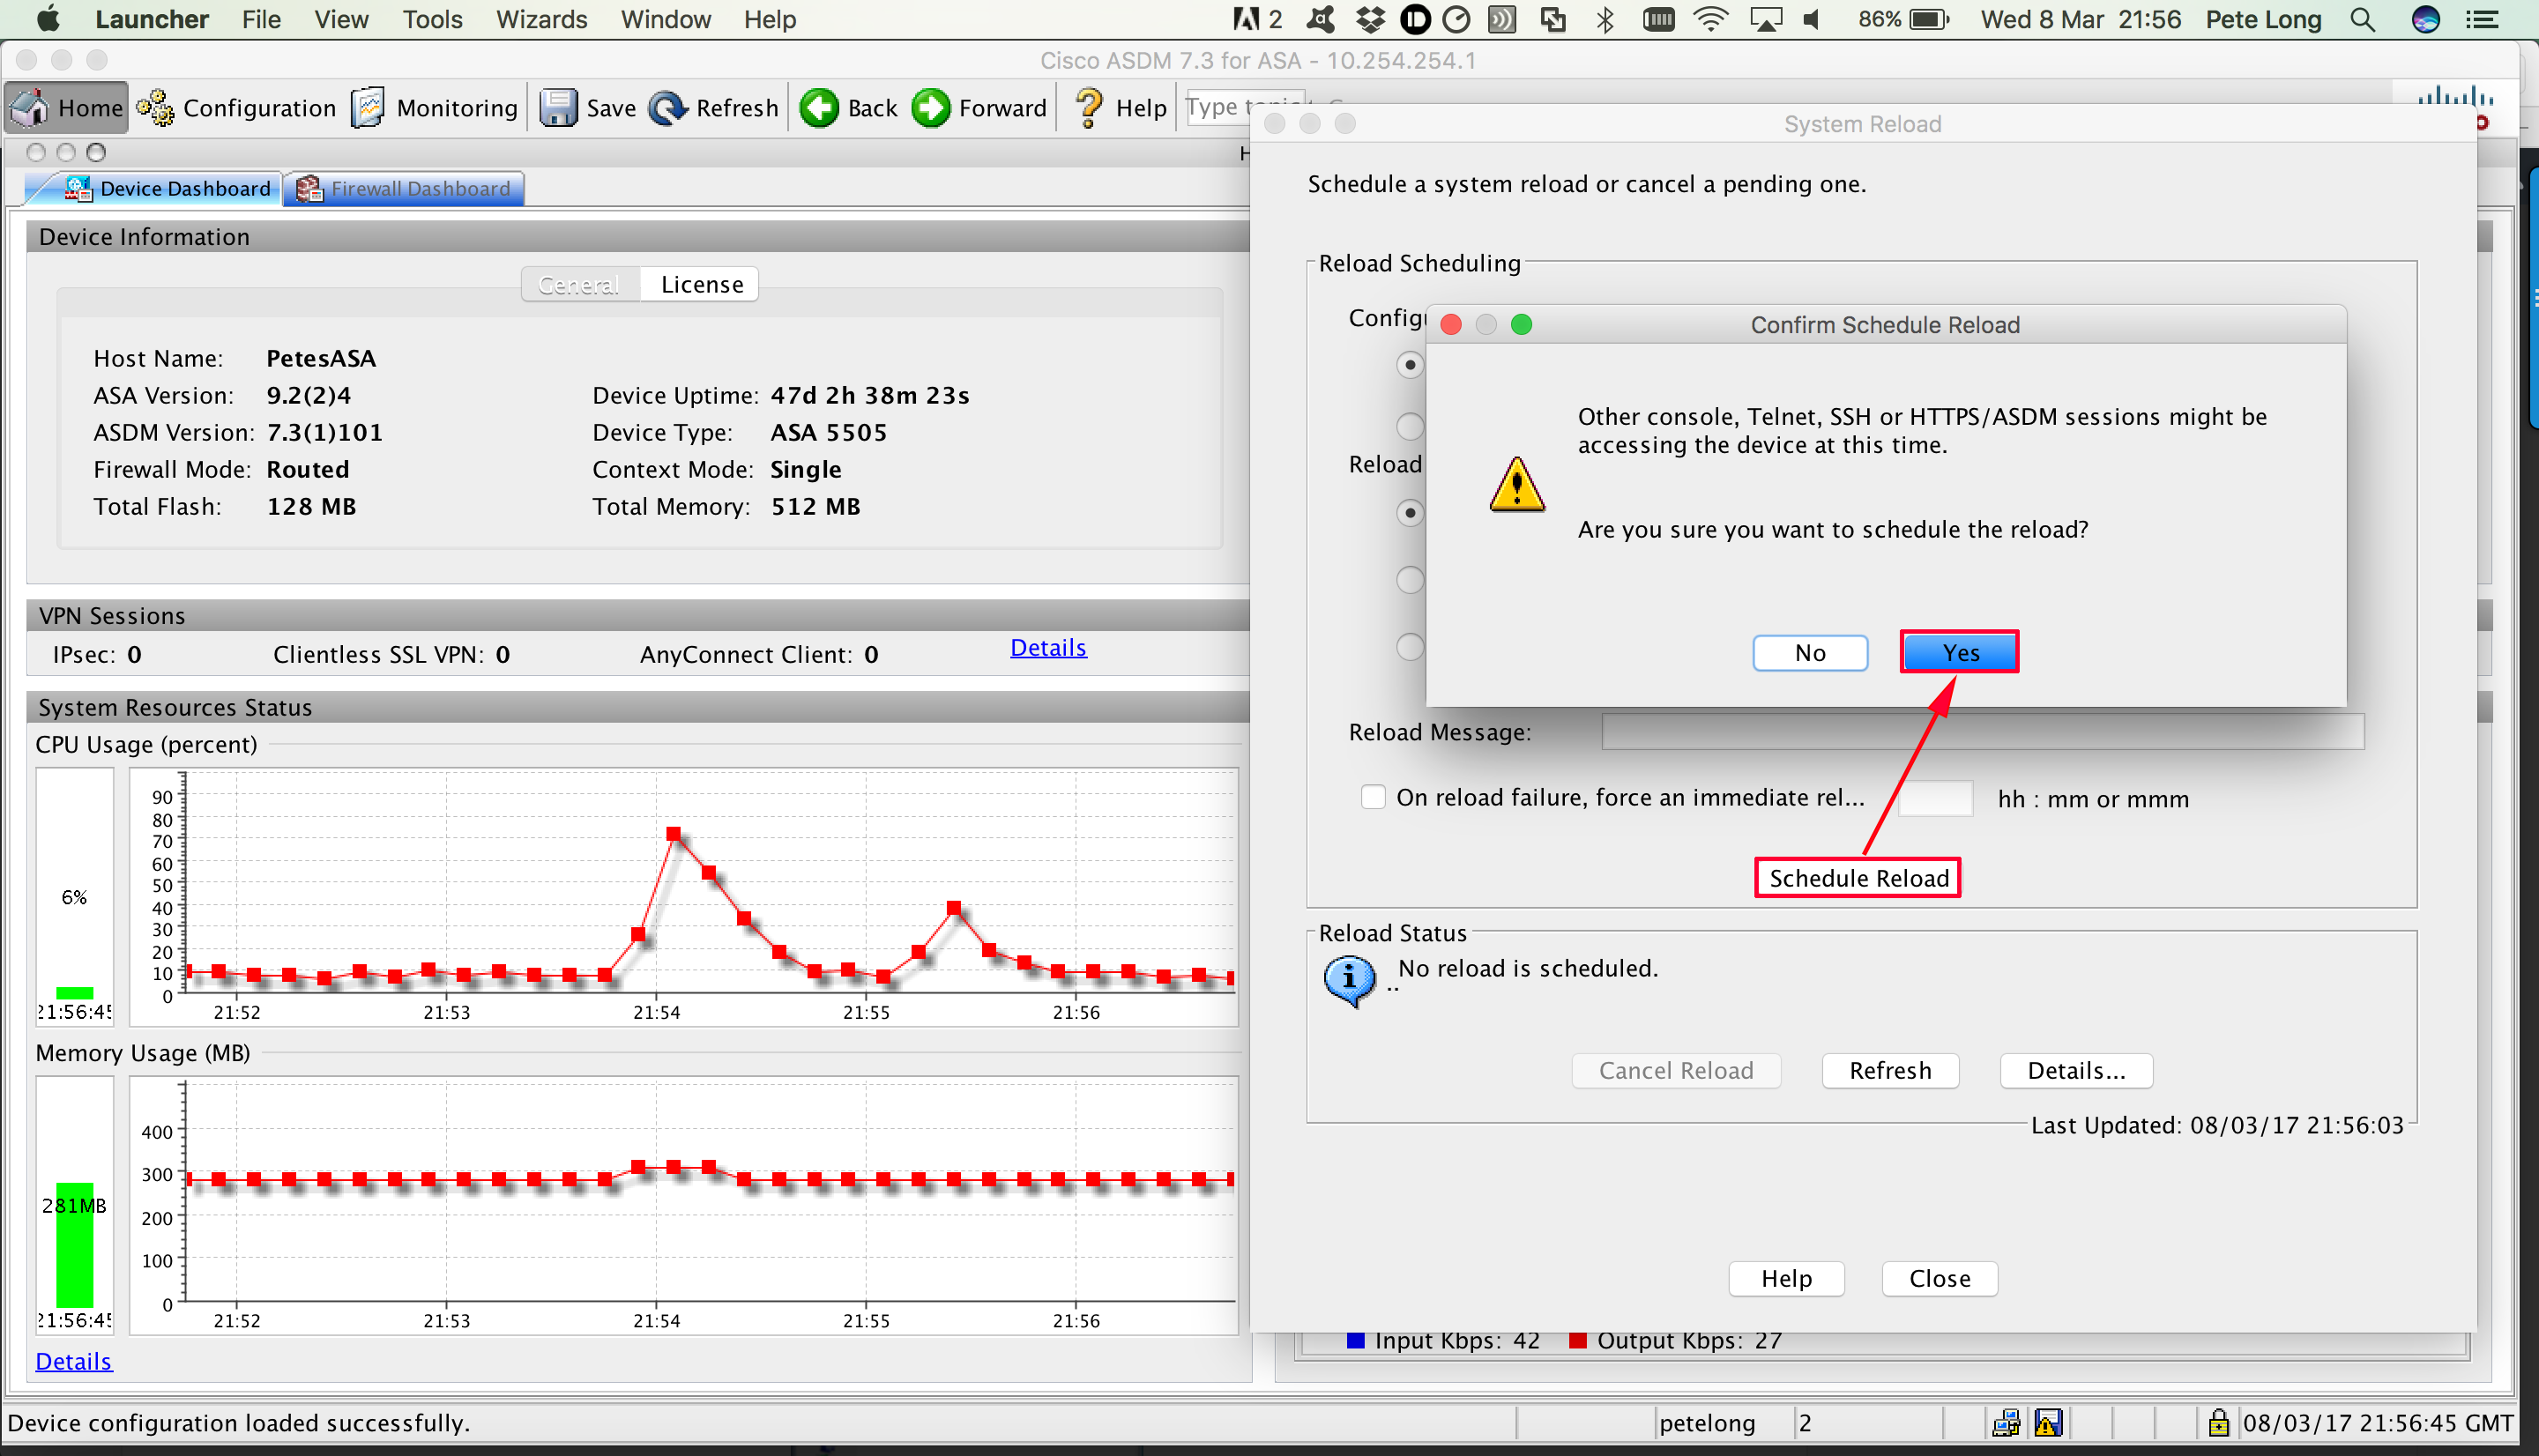
13. Tools > System Reload.
14. Select ASDM Image > Browse Local.
Related Articles, References, Credits, or External Links
Cisco ASA5500 Update System and ASDM (From CLI)